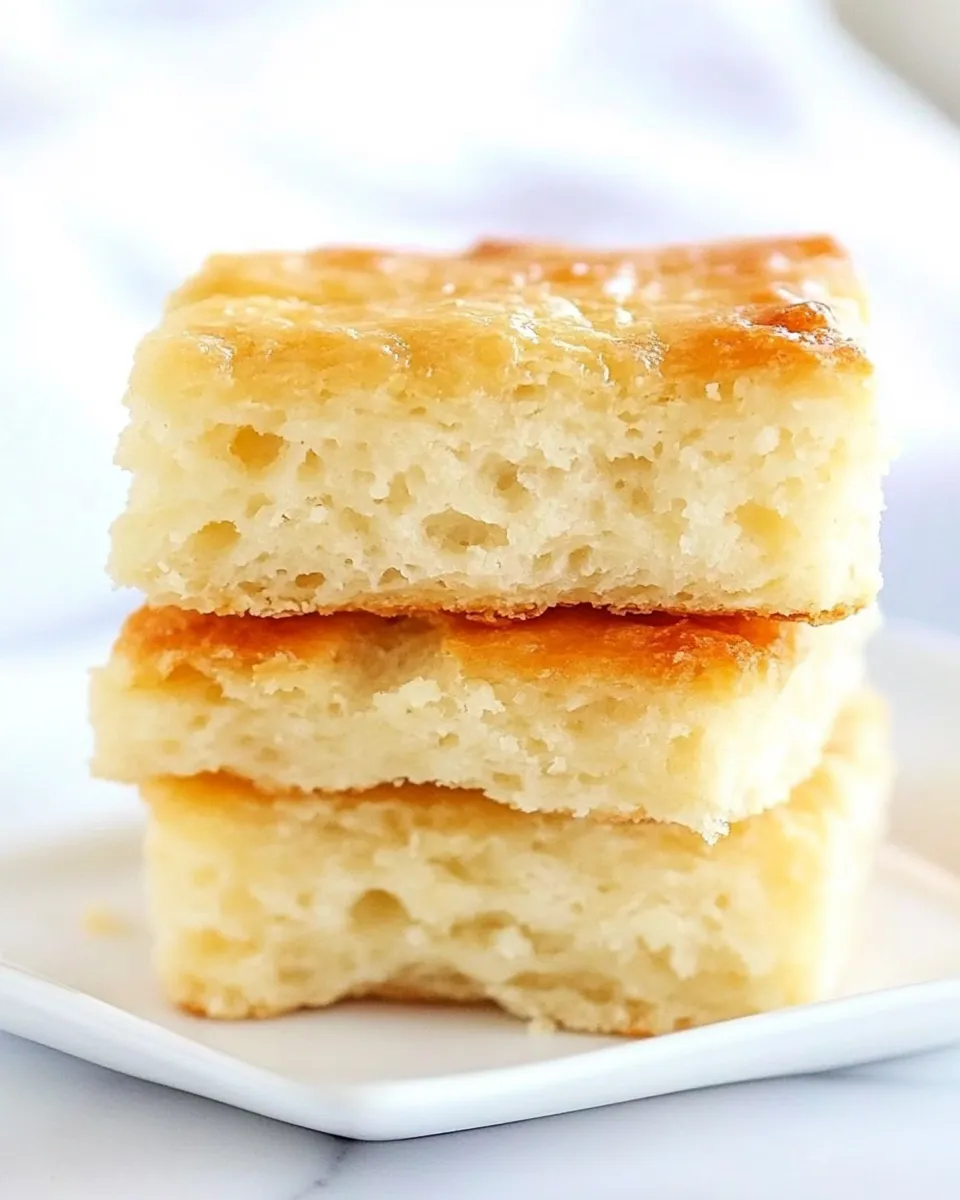
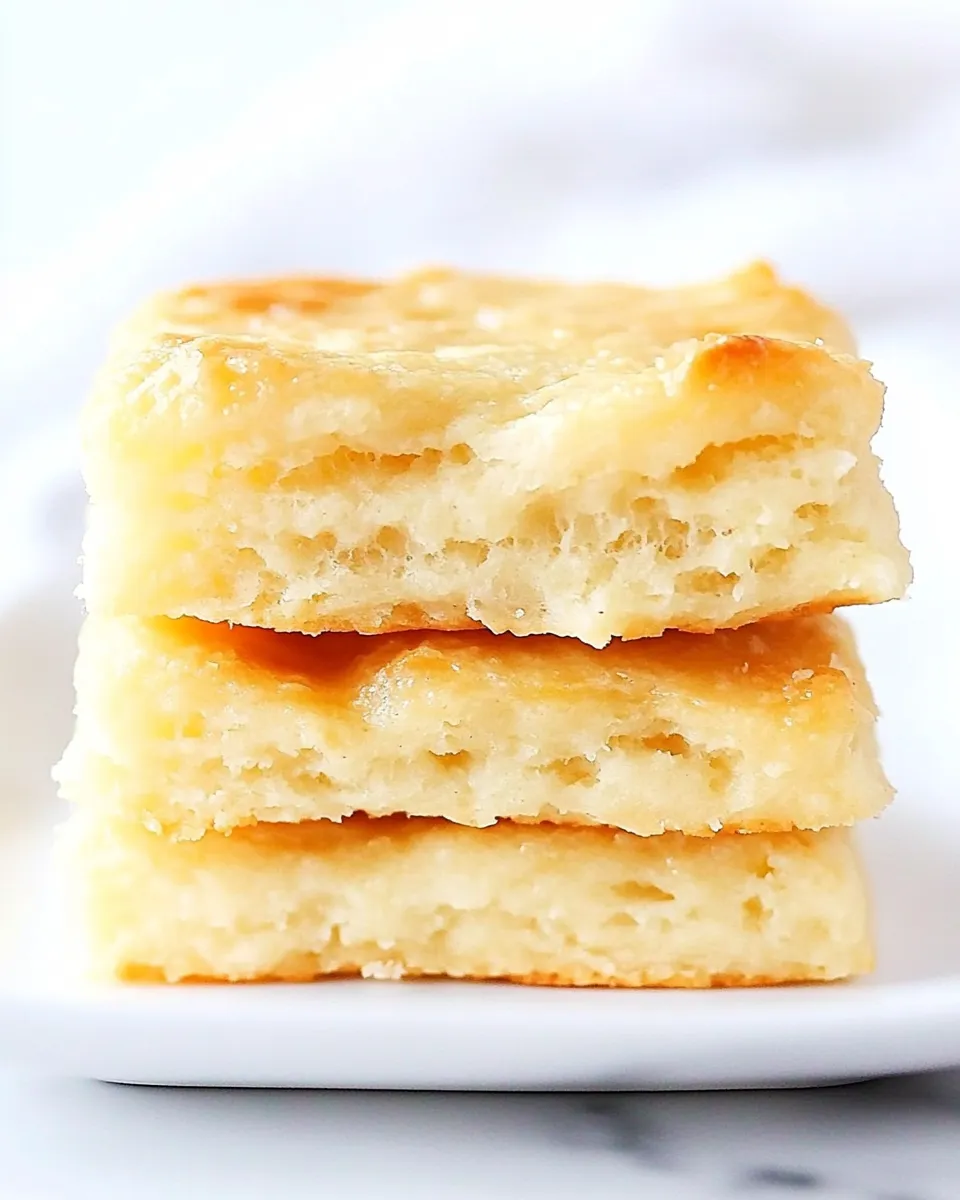
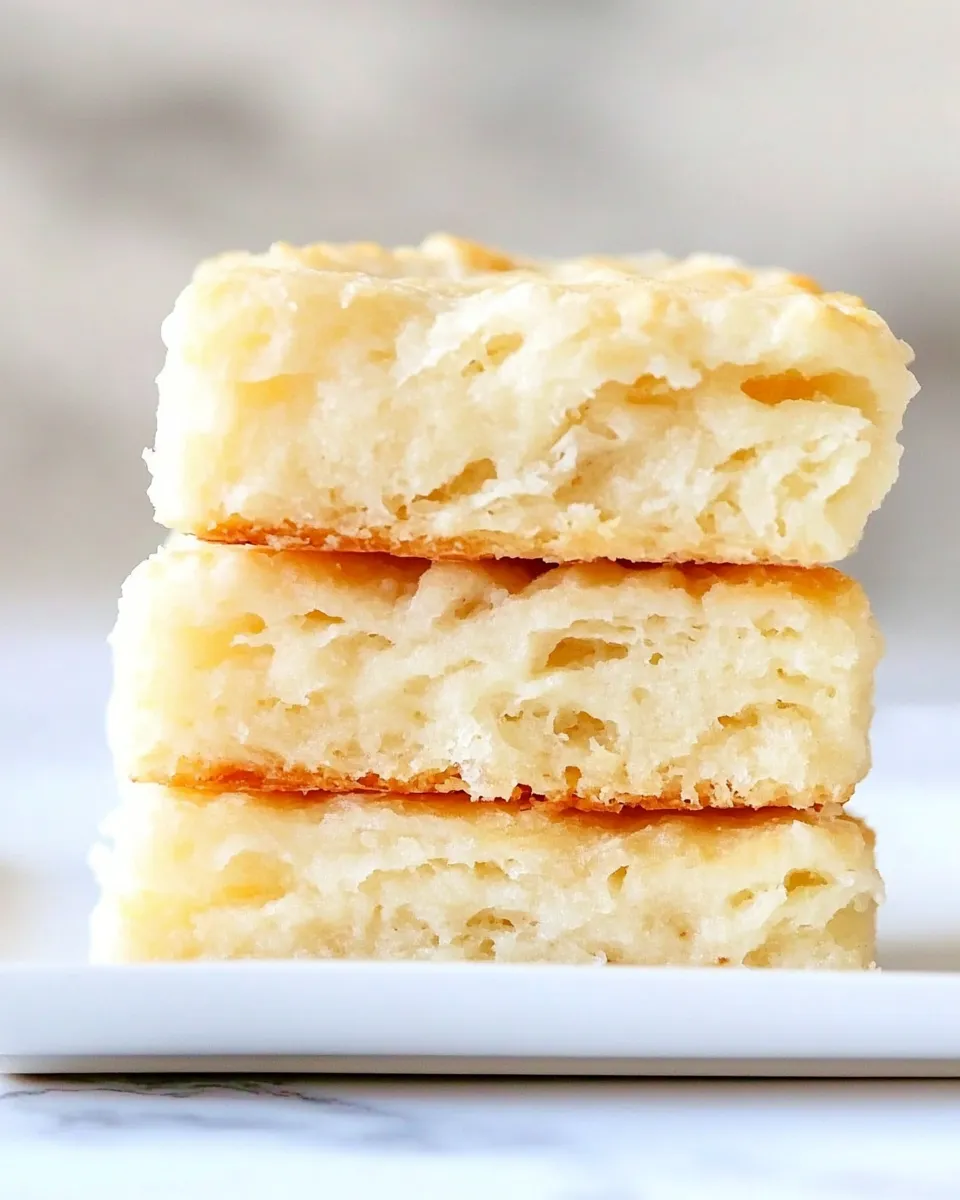
7-UP Biscuits Recipe (from scratch)
These biscuits are honest, quick, and nostalgic — the kind that turn a hurried breakfast into something that feels made with care. The leavening comes from a fizzy shortcut: 7-UP. Sour cream gives a tender crumb, and melted butter in the pan creates crisp, buttery edges without fuss. They bake up in under 20 minutes and ask for very little attention.
I make these on mornings when I want fresh bread without rolling pins or long rises. The dough is sticky and forgiving; you pat it into shape and cut it, rather than working it into submission. That “gentle handling” is the trick to light, flaky layers, and the result is a biscuit that’s both tender inside and golden on top.
Below you’ll find the exact ingredients and step-by-step directions I use every time, plus troubleshooting tips, swap ideas, and serving suggestions. If you’re comfortable in a kitchen that values speed and flavor, these biscuits will become a reliable go-to.
Ingredient List

- 2 cups all-purpose flour — the structure for the biscuits; measure by spooning into cup and leveling for accuracy.
- 1 tablespoon baking powder — the rising agent; makes the biscuits light and tender.
- 1 teaspoon salt — balances flavor; don’t skip or reduce too much.
- ⅓ cup shortening — provides flakiness and a tender crumb; cut into the flour to resemble coarse crumbs.
- ½ cup sour cream — adds moisture and a slight tang; helps create a soft interior.
- ½ cup 7-UP soda (room temperature) — the carbonation gives lift and a hint of sweetness; bring to room temperature before using.
- ¼ cup butter (melted) — melted butter for the pan creates a golden, buttery bottom and edges; pour into the baking dish before arranging biscuits.
7-UP Biscuits, Made Easy
- Preheat oven to 450°F (230°C). Melt 1/4 cup butter and pour it into an 8″ square or 9″x7″ rectangular baking dish; set the dish aside.
- In a large mixing bowl, whisk together 2 cups all-purpose flour, 1 tablespoon baking powder, and 1 teaspoon salt.
- Add 1/3 cup shortening to the flour mixture and cut it in with a fork or pastry cutter until the mixture resembles coarse crumbs.
- Add 1/2 cup sour cream and stir with a wooden spoon until combined.
- Add 1/2 cup 7-UP (room temperature) and stir until the dough is sticky and shaggy.
- Lightly flour a work surface. Turn the dough out onto the floured surface and gently pat or roll it into a roughly square or rectangle about the same size as your prepared baking dish. Do not overwork the dough.
- Using a bench scraper, knife, or pizza cutter, cut the dough into evenly sized biscuits by cutting all the way through the dough.
- Transfer the cut biscuits into the buttered baking dish, arranging them as desired. If any melted butter remains in the bowl or measuring cup, spoon it over the biscuits.
- Bake in the preheated oven for 16 to 18 minutes, or until the tops are golden brown.
- Remove the dish from the oven and let the biscuits cool for a few minutes before serving.
Why It’s My Go-To
These biscuits are a reliable shortcut when I want something homemade without the long lead time. The 7-UP replaces the need for long fermentation or yeast and pairs beautifully with sour cream to give tenderness that’s hard to beat. They’re fast: from mixing to the table in under half an hour if your oven is ready.
I also appreciate how forgiving the recipe is. The dough is forgiving of imperfect measuring and gentle overworking, so even bakers who are new to biscuits can expect good results. The method is straightforward, and the payoff — warm, buttery biscuits with a tender inside and crisp bottom — is instant comfort.
Vegan & Vegetarian Swaps
If you’re vegetarian, this recipe already fits (no meat in the dough). For vegan adaptations, make direct swaps that preserve texture:
- Replace the shortening with a vegan or plant-based shortening compatible with baking to keep flakiness.
- Use a dairy-free sour cream alternative to substitute for the sour cream’s tang and moisture.
- Swap the 1/4 cup melted butter for a melted plant-based butter or neutral oil if needed; spoon a little over the biscuits before baking for browning.
- Keep the 7-UP the same — the soda is vegan and provides the lift you need.
These swaps will change flavor subtly but will maintain the key textures: lift from the soda, tenderness from the cream substitute, and flakiness from the fat.
Recommended Tools
These are the few tools I use every time:
- Large mixing bowl — for dry and wet ingredient mixing without mess.
- Whisk — to combine flour, baking powder, and salt evenly.
- Fork or pastry cutter — to cut shortening into the flour until coarse crumbs form.
- Wooden spoon — for folding sour cream and soda into the flour mixture.
- Measuring cups and spoons — accurate measuring keeps texture consistent.
- 8″ square or 9″x7″ rectangular baking dish — the recipe is sized for these dimensions.
- Bench scraper, knife, or pizza cutter — for dividing the dough into even biscuits.
- Oven mitts and wire rack — to safely remove the hot dish and cool the biscuits briefly.
Learn from These Mistakes
These are the common missteps I see and how to avoid them:
- Overworking the dough — pressing or rolling repeatedly develops gluten and makes dense biscuits. Pat gently into shape and cut once.
- Cold 7-UP — using soda straight from the fridge can slow the reaction; bring to room temperature first for best lift.
- Uneven cutting — if biscuits vary widely in size the smaller ones will bake faster. Aim for consistent pieces so they finish together.
- Too little fat in the pan — that buttery pool is key for golden edges. Make sure the 1/4 cup melted butter coats the dish before adding the biscuits.
- Ignoring oven temperature — these bake fast at 450°F. A cooler oven yields pale, heavy biscuits; preheat fully before baking.
Health-Conscious Tweaks
If you’re watching calories, sodium, or refined flour but still want the basic method, try these adjustments carefully — note each will alter texture or flavor:
- Reduce salt gradually — try 1/2 teaspoon instead of 1 teaspoon to cut sodium, but taste the dough if you’re unsure.
- Lighten the fat — use a lighter oil or reduce the butter brushed on top, understanding you’ll lose some crispness and flavor on the bottom.
- Partial whole-grain — swap up to half the all-purpose flour for whole-wheat pastry flour to retain tenderness while adding fiber.
- Lower-sugar soda options — if you want fewer sugars, a diet lemon-lime soda can be used, but sweetness and browning will be slightly different.
Substitutions are a balance. Small changes are fine; big ones will change the biscuit into a different product altogether.
Author’s Commentary
I keep this recipe in a small index card tucked into my cookbook because it’s one of those reliable formulas: quick, comforting, and flexible. There’s a little bit of magic in using a carbonated beverage as a leavener — it feels like cheating, but the texture is genuinely pleasing. I make them for busy mornings, to sop up gravy, or as a companion to roasted vegetables. They also make a forgiving platform for jam, honey, or a hearty egg breakfast.
When I test variations, I focus on two things: minimal handling and making sure the butter in the pan is there to create those crisp bottom edges. Everything else is secondary. Don’t be intimidated by the short ingredient list — that’s part of their charm.
Freezer-Friendly Notes
These biscuits freeze well both before and after baking:
- Freeze before baking: Cut the biscuits, place them on a parchment-lined tray so they don’t touch, and flash-freeze until solid. Transfer to a freezer bag, then bake from frozen at 450°F, adding a few minutes to the bake time and checking for golden tops.
- Freeze after baking: Cool completely, then wrap individually in plastic wrap and store in a freezer bag. Reheat in a 350°F oven wrapped in foil for 10–15 minutes or until warmed through.
Label with date; they’re best within 1–2 months for quality.
Reader Q&A
Q: Can I replace shortening with butter?
A: Yes, but keep in mind that butter has more water than shortening, which can slightly change the texture and spread. If you use cold butter cut into the flour, you’ll get a rich flavor and good flakiness; adjust handling to keep the butter cold and work quickly.
Q: My biscuits didn’t rise much. Why?
A: Common causes are old baking powder, cold 7-UP, or overworked dough. Make sure your baking powder is fresh and the soda is room-temperature so the chemical reaction is effective. Also, avoid heavy handling of the dough.
Q: Can I make them larger or smaller?
A: Yes; just be consistent. Larger biscuits will need a couple of extra minutes; smaller ones will finish sooner. Arrange them so similarly sized pieces bake together.
Serve & Enjoy
Serve warm from the dish with butter and jam, honey, or a smear of sour cream. They’re also excellent split and filled with sausage gravy, or used as a base for breakfast sandwiches with eggs and cheese. For a dinner option, serve alongside a stew or roasted chicken to sop up sauce.
These biscuits are about comfort and speed — small, buttery rounds that come together with minimal effort and give a big return. Keep the method, follow the few rules (room-temperature soda, minimal handling, buttered pan), and you’ll have fresh biscuits ready whenever you need them.
7-UP Biscuits Recipe (from scratch)
Ingredients
Equipment
Method
- Preheat oven to 450°F (230°C). Melt 1/4 cup butter and pour it into an 8" square or 9"x7" rectangular baking dish; set the dish aside.
- In a large mixing bowl, whisk together 2 cups all-purpose flour, 1 tablespoon baking powder, and 1 teaspoon salt.
- Add 1/3 cup shortening to the flour mixture and cut it in with a fork or pastry cutter until the mixture resembles coarse crumbs.
- Add 1/2 cup sour cream and stir with a wooden spoon until combined.
- Add 1/2 cup 7-UP (room temperature) and stir until the dough is sticky and shaggy.
- Lightly flour a work surface. Turn the dough out onto the floured surface and gently pat or roll it into a roughly square or rectangle about the same size as your prepared baking dish. Do not overwork the dough.
- Using a bench scraper, knife, or pizza cutter, cut the dough into evenly sized biscuits by cutting all the way through the dough.
- Transfer the cut biscuits into the buttered baking dish, arranging them as desired. If any melted butter remains in the bowl or measuring cup, spoon it over the biscuits.
- Bake in the preheated oven for 16 to 18 minutes, or until the tops are golden brown.
- Remove the dish from the oven and let the biscuits cool for a few minutes before serving.
Notes
You can cut out the biscuits with a round biscuit cutter but you will be left with some dough. It is easier to cut the dough with a knife into square biscuits. That way you will use the whole amount of dough without scraps.