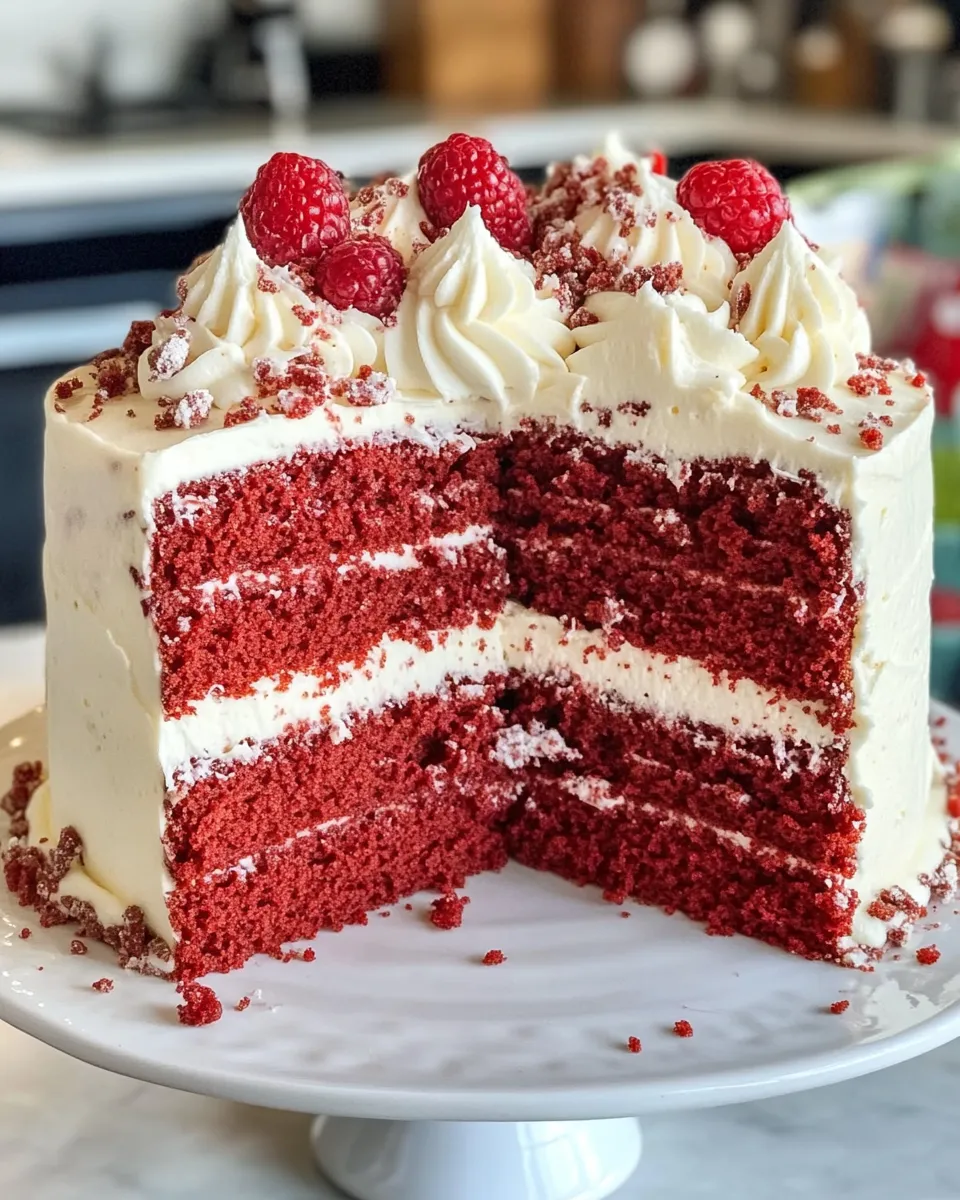
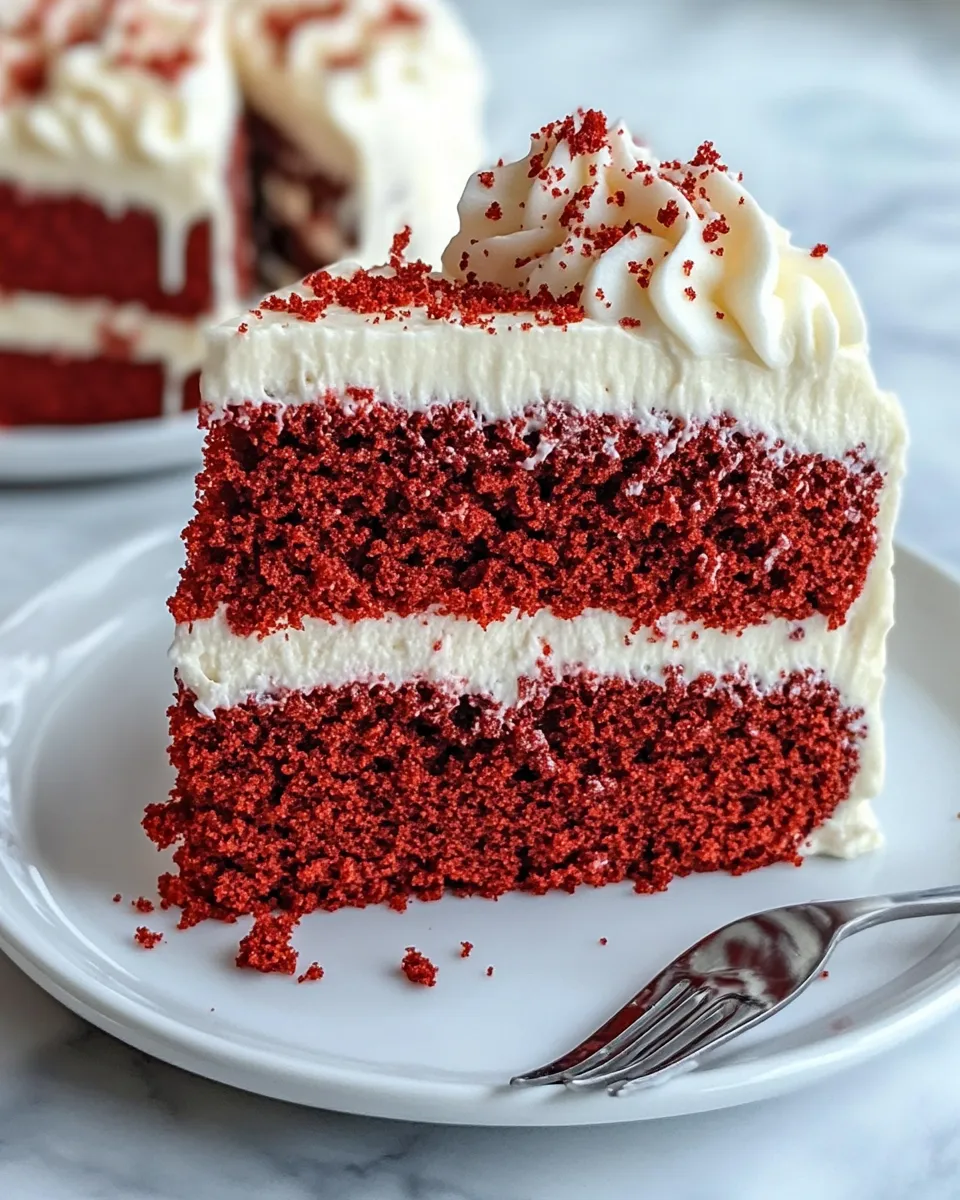
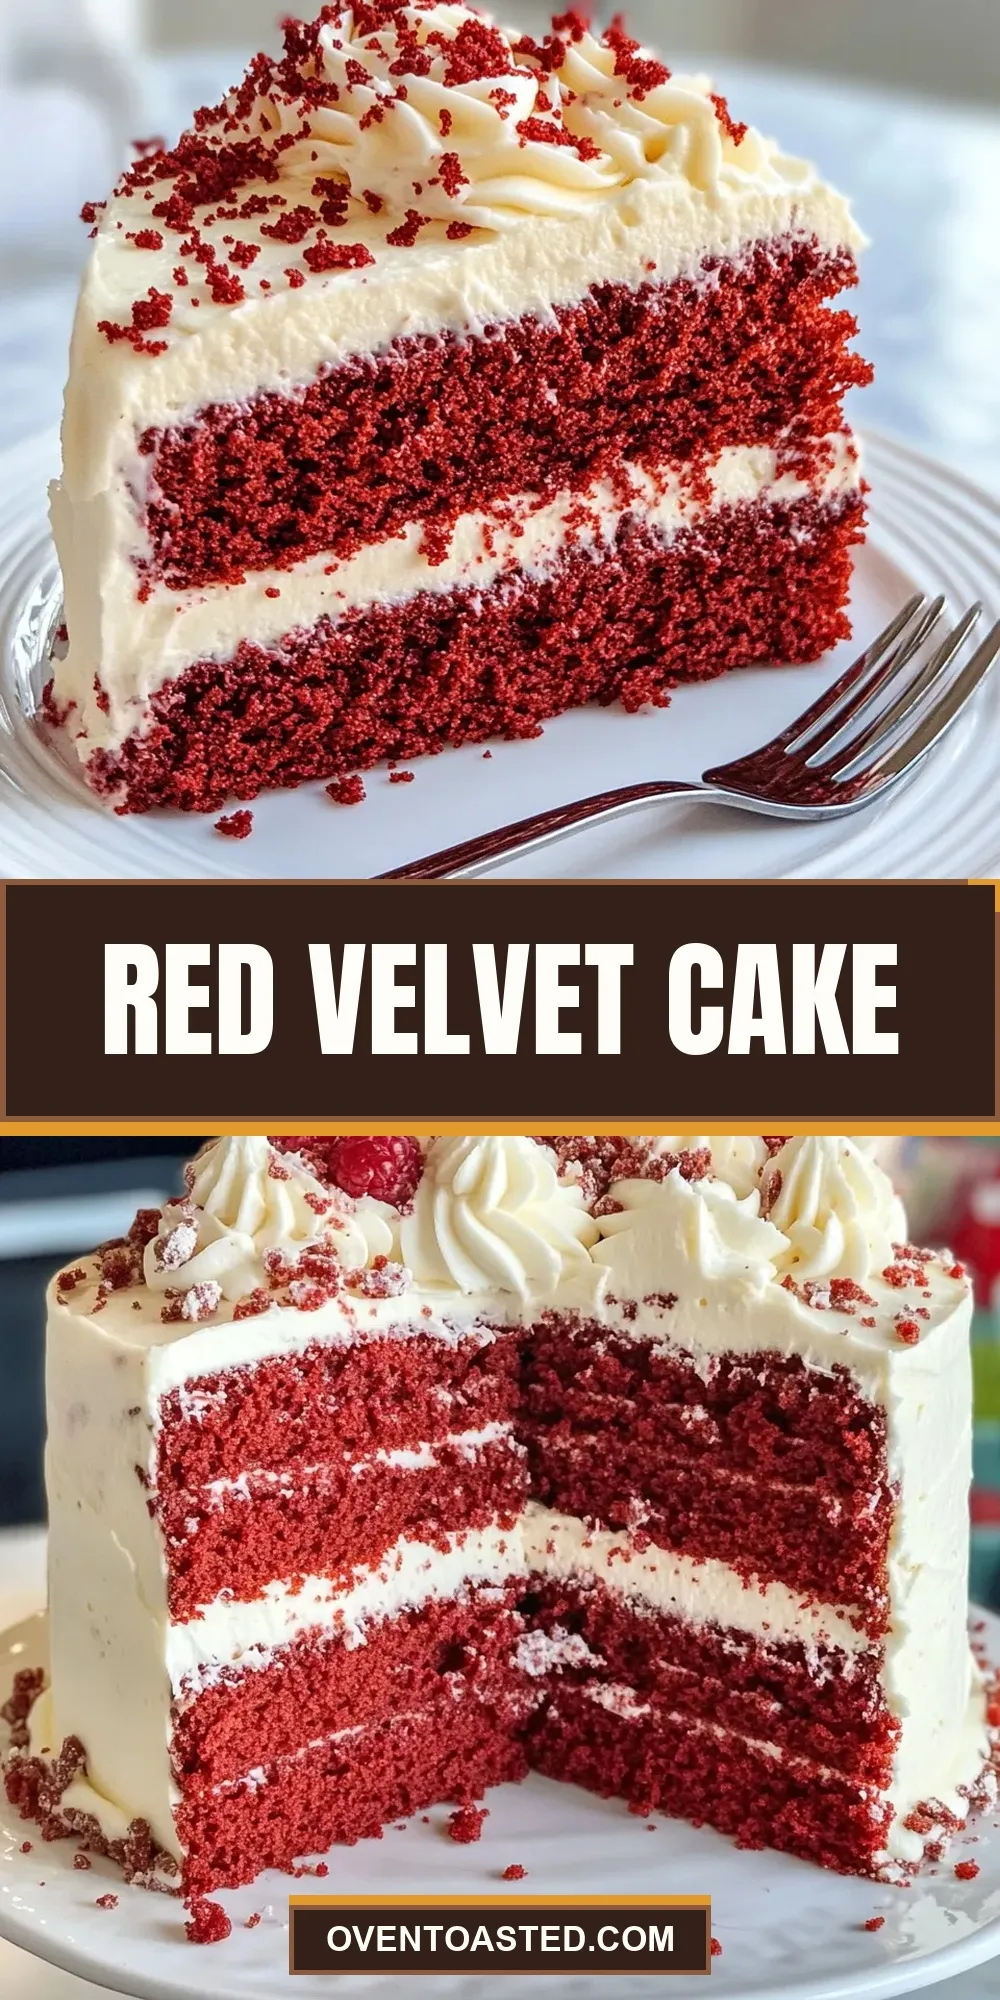
Red Velvet Cake
Few desserts are as iconic and beloved as the Red Velvet Cake. Its striking red color paired with a tender crumb and luscious cream cheese frosting makes it a star at celebrations and cozy gatherings alike. Whether you’re baking for a special occasion or just craving a slice of something indulgent, this recipe delivers a perfect balance of flavors and textures that’s sure to impress.
Why This Red Velvet Cake Stands Out
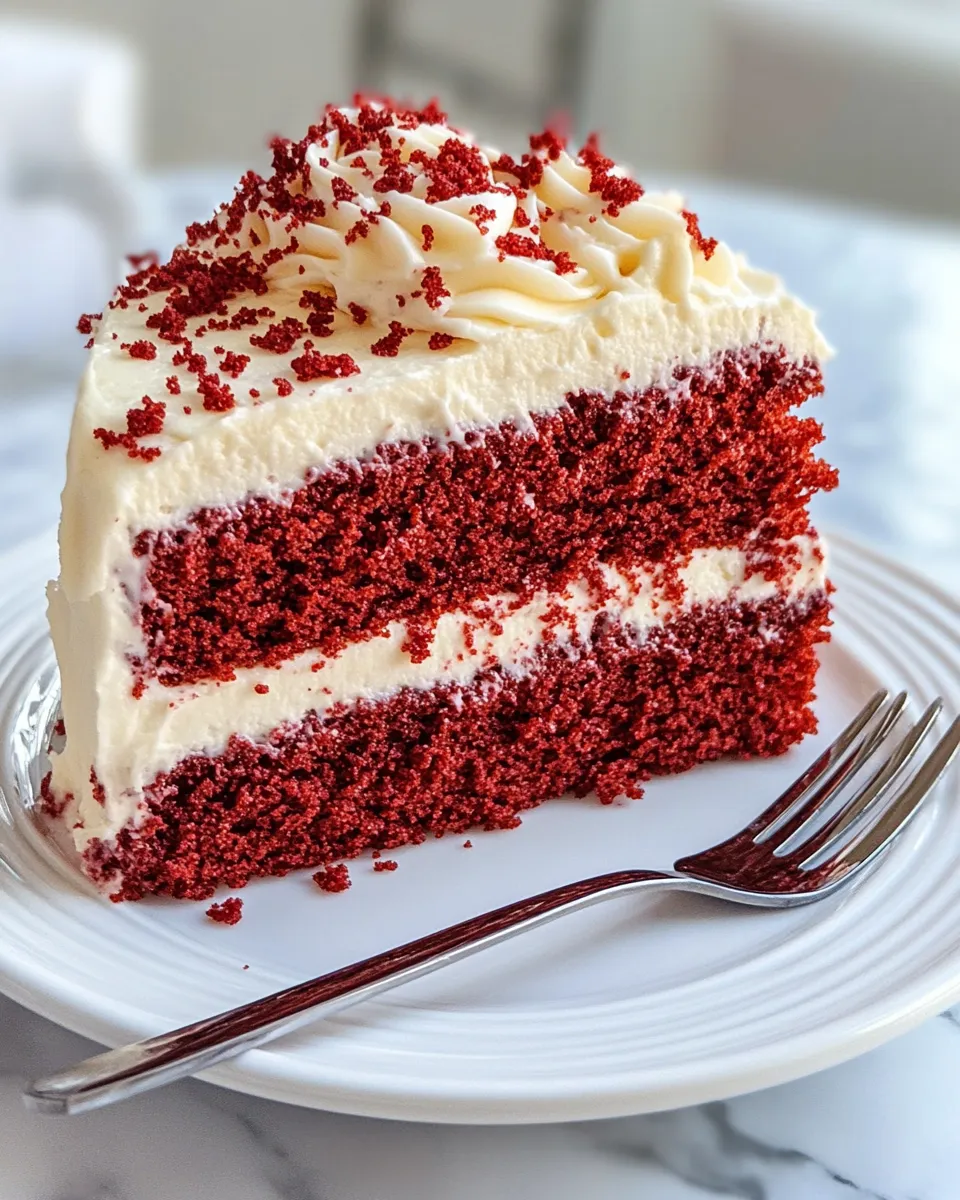
This Red Velvet Cake stands out because it captures the classic elements of the dessert while offering a moist, tender crumb and a vibrant hue that turns heads. The use of vegetable oil keeps the cake moist and soft, while buttermilk adds a slight tang that complements the subtle cocoa flavor. The cream cheese frosting is rich but balanced with just the right amount of sweetness and vanilla. Plus, this recipe is straightforward enough for bakers of all skill levels, making it a go-to for weekday treats or weekend celebrations.
Ingredient Checklist
- 2 1/2 cups all-purpose flour
- 1 1/2 cups granulated sugar
- 1 teaspoon baking soda
- 1 teaspoon baking powder
- 1 teaspoon salt
- 1 cup vegetable oil
- 1 cup buttermilk, at room temperature
- 2 large eggs, at room temperature
- 2 tablespoons cocoa powder
- 1 teaspoon vanilla extract
- 1 tablespoon red food coloring
- 1 cup unsalted butter, softened
- 4 cups powdered sugar
- 1 teaspoon vanilla extract (for the frosting)
- 2 tablespoons milk, if needed for frosting consistency
Tools & Equipment Needed
- Two 9-inch round cake pans – for even baking and shaping
- Mixing bowls – one large for dry ingredients and one for wet
- Electric mixer or stand mixer – for smooth batter and frosting
- Measuring cups and spoons – for accurate ingredient portions
- Rubber spatula – to scrape down the sides of the bowl
- Whisk – for combining dry ingredients
- Cooling rack – to cool cakes evenly
- Offset spatula or knife – for frosting and smoothing the cake layers
Red Velvet Cake Made Stepwise
Step 1: Prepare Your Pans and Oven
Preheat your oven to 350°F (175°C). Grease two 9-inch round cake pans with a little vegetable oil or butter, and lightly dust them with flour or line them with parchment paper for easy release.
Step 2: Mix Dry Ingredients
In a large bowl, sift together the all-purpose flour, cocoa powder, baking soda, baking powder, salt, and granulated sugar. Whisk them well so everything is evenly combined.
Step 3: Combine Wet Ingredients
In another bowl, whisk together the vegetable oil, buttermilk, eggs, vanilla extract, and red food coloring until smooth and vibrant.
Step 4: Bring Wet and Dry Together
Gradually add the wet ingredients into the dry mix, stirring gently with a spatula or using your mixer on low speed. Mix just until combined—overmixing can lead to a dense cake.
Step 5: Bake the Cake Layers
Divide the batter evenly between the two prepared pans. Bake in the preheated oven for 25-30 minutes or until a toothpick inserted into the center comes out clean. Remove from the oven and let the cakes cool in the pans for 10 minutes before transferring to a cooling rack.
Step 6: Prepare the Cream Cheese Frosting
In a large bowl, beat the softened butter until creamy. Add the cream cheese and continue beating until smooth. Gradually add the powdered sugar, one cup at a time, mixing well between additions. Stir in the vanilla extract. If the frosting is too thick, add milk one tablespoon at a time until the desired consistency is reached.
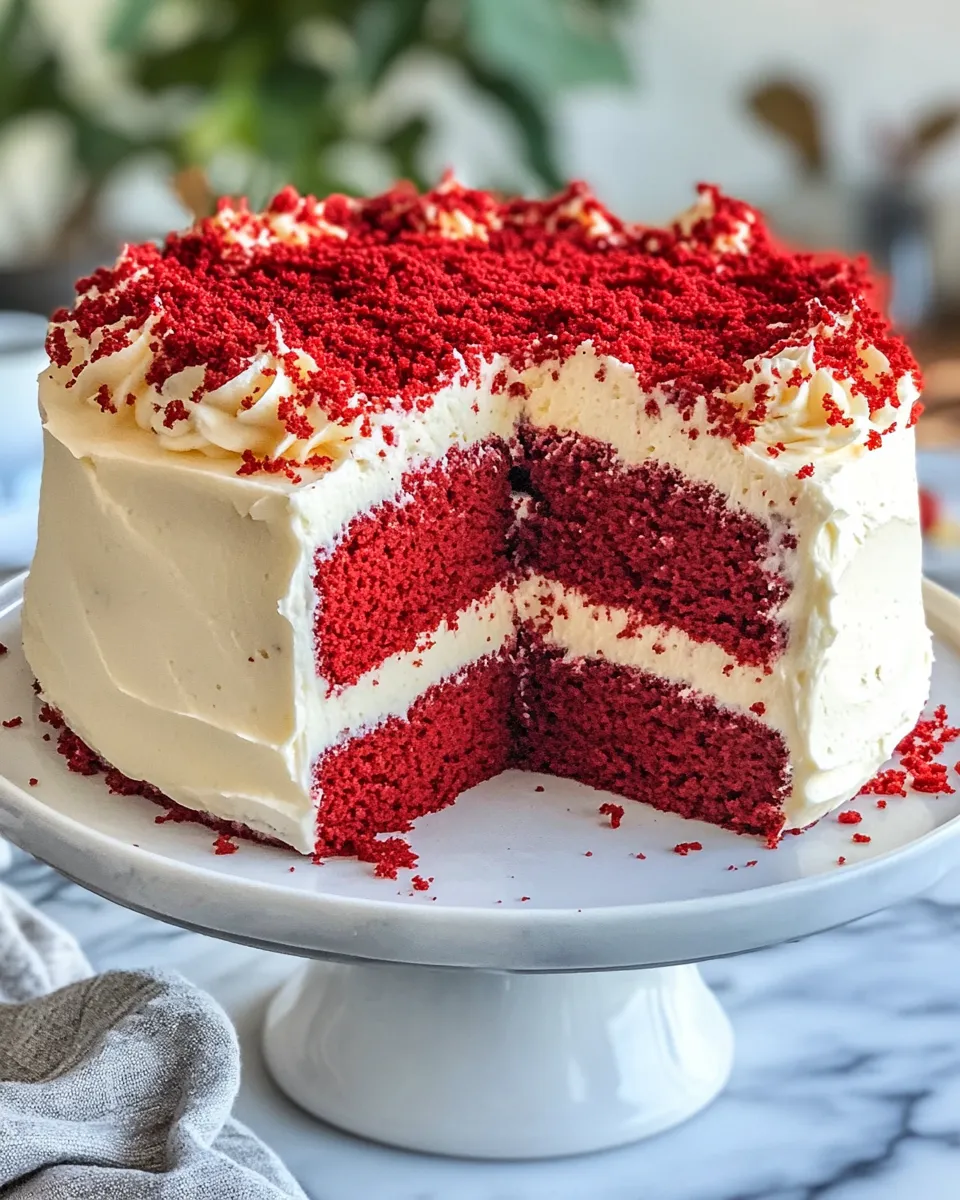
Step 7: Assemble the Cake
Once the cake layers are completely cool, place one layer on a serving plate and spread a generous layer of frosting on top. Place the second cake layer over the frosting and apply a crumb coat (a thin layer of frosting) to seal in crumbs. Chill the cake for about 20 minutes, then finish frosting the top and sides with the remaining frosting. For a finishing touch, consider decorating with cake crumbs or sprinkles.
Seasonal Ingredient Swaps
- Swap out vegetable oil for melted coconut oil to add a subtle tropical flavor.
- Use almond milk or oat milk instead of buttermilk, combined with a teaspoon of lemon juice or vinegar, for a dairy-free option.
- Add a teaspoon of ground cinnamon or cardamom to the dry ingredients for a warm, spicy note in fall or winter.
- Top your cake with fresh berries or pomegranate seeds during spring and summer to add a fresh, tangy contrast.
Behind the Recipe
The origins of Red Velvet Cake are as rich as its color. Traditionally, this cake’s vibrant red hue comes from a reaction between natural cocoa powder and acidic ingredients like buttermilk and vinegar. Modern recipes often use red food coloring to achieve that signature look.
This recipe balances classic flavors with a moist, tender crumb thanks to the use of oil instead of butter in the batter, which keeps the cake soft and fresh longer. The subtle cocoa flavor lends depth without overpowering the cream cheese frosting’s sweet tanginess.
- Using room temperature ingredients ensures a smooth batter and even baking.
- Beating the frosting components until silky is key to a luscious finish.
- Letting the cake layers cool completely prevents melting or sliding when frosting.
Refrigerate, Freeze, Reheat
Store your frosted Red Velvet Cake covered in the refrigerator for up to 5 days. This keeps the cream cheese frosting fresh and the cake moist. Before serving, bring the cake to room temperature for the best flavor and texture.
If you want to freeze the cake, wrap individual unfrosted layers tightly in plastic wrap and then foil. Freeze for up to 3 months. Thaw overnight in the refrigerator, then frost as usual.
Reheating cake slices is generally not recommended as it can dry out the delicate crumb. Instead, enjoy chilled or at room temperature for the best experience.
Frequently Asked Questions
Can I substitute the buttermilk with something else?
Yes! If you don’t have buttermilk, you can make a quick substitute by adding one tablespoon of lemon juice or white vinegar to one cup of milk. Let it sit for 5 minutes before using. This mix replicates the acidity and texture of buttermilk in the recipe.
Is it necessary to use red food coloring?
While the red food coloring gives the cake its iconic vibrant color, you can omit it for a more subtle reddish-brown hue brought out naturally by the cocoa powder and acidic ingredients. However, the classic look is best achieved with the food coloring.
How do I prevent my frosting from becoming too runny?
If your frosting is too soft or runny, chill it in the refrigerator for 15-20 minutes and then beat it again. Adding more powdered sugar can also help thicken it, but be careful not to make it overly sweet.
Can I make this cake vegan?
To make a vegan version, replace eggs with flax eggs (1 tablespoon ground flaxseed mixed with 3 tablespoons water per egg) and use plant-based milk with vinegar instead of buttermilk. Replace butter with vegan margarine or coconut oil and use a dairy-free cream cheese for the frosting. Keep in mind the texture and flavor will be slightly different but still delicious!
Reader Favorites
- Brown Butter Chocolate Chunk Cookies – Rich, nutty, and loaded with melty chocolate chunks.
- Chocolate Chip Cinnamon Roll Cake – A swirl of cinnamon, chocolate, and cake perfection.
- Chocolate Almond Toffee Bark – Crispy, crunchy, and irresistibly sweet.
Before You Go
Make sure to gather all your ingredients and tools before starting to bake your Red Velvet Cake. Taking the time to measure accurately and prepare your pans will help ensure success. Remember, baking is as much about patience and love as it is about technique. Don’t rush the cooling and frosting stages—your effort will shine through in every slice. For more sweet inspiration, explore other crowd-pleasing recipes that bring joy to your kitchen and table.
This Red Velvet Cake recipe is a timeless treat that’s sure to become a favorite. Whether you’re an experienced baker or just starting out, you’ll appreciate how manageable the steps are and how rewarding the results will feel. Happy baking!
Share on Pinterest
Red Velvet Cake
Ingredients
Equipment
Method
- Preheat your oven to 350°F (175°C). Grease two 9-inch round cake pans with a little vegetable oil or butter, and lightly dust them with flour or line them with parchment paper for easy release.
- In a large bowl, sift together the all-purpose flour, cocoa powder, baking soda, baking powder, salt, and granulated sugar. Whisk them well so everything is evenly combined.
- In another bowl, whisk together the vegetable oil, buttermilk, eggs, vanilla extract, and red food coloring until smooth and vibrant.
- Gradually add the wet ingredients into the dry mix, stirring gently with a spatula or using your mixer on low speed. Mix just until combined—overmixing can lead to a dense cake.
- Divide the batter evenly between the two prepared pans. Bake in the preheated oven for 25-30 minutes or until a toothpick inserted into the center comes out clean. Remove from the oven and let the cakes cool in the pans for 10 minutes before transferring to a cooling rack.
- In a large bowl, beat the softened butter until creamy. Add the cream cheese and continue beating until smooth. Gradually add the powdered sugar, one cup at a time, mixing well between additions. Stir in the vanilla extract. If the frosting is too thick, add milk one tablespoon at a time until the desired consistency is reached.
- Once the cake layers are completely cool, place one layer on a serving plate and spread a generous layer of frosting on top. Place the second cake layer over the frosting and apply a crumb coat (a thin layer of frosting) to seal in crumbs. Chill the cake for about 20 minutes, then finish frosting the top and sides with the remaining frosting. For a finishing touch, consider decorating with cake crumbs or sprinkles.
Notes
- Use room temperature ingredients for a smooth batter and even baking.
- Chill frosting if it becomes too runny and beat again for best texture.
- Store frosted cake covered in the refrigerator for up to 5 days; bring to room temperature before serving.