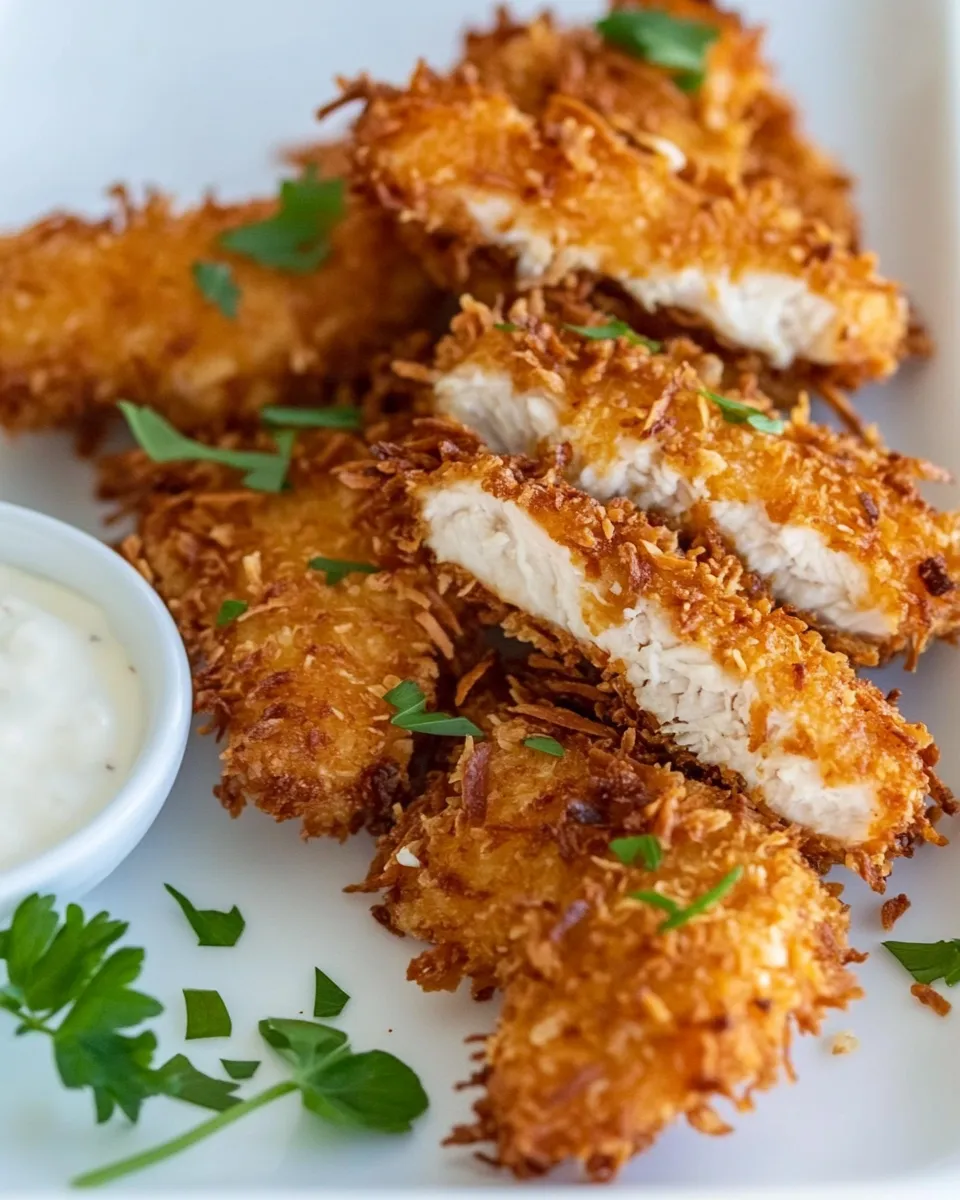
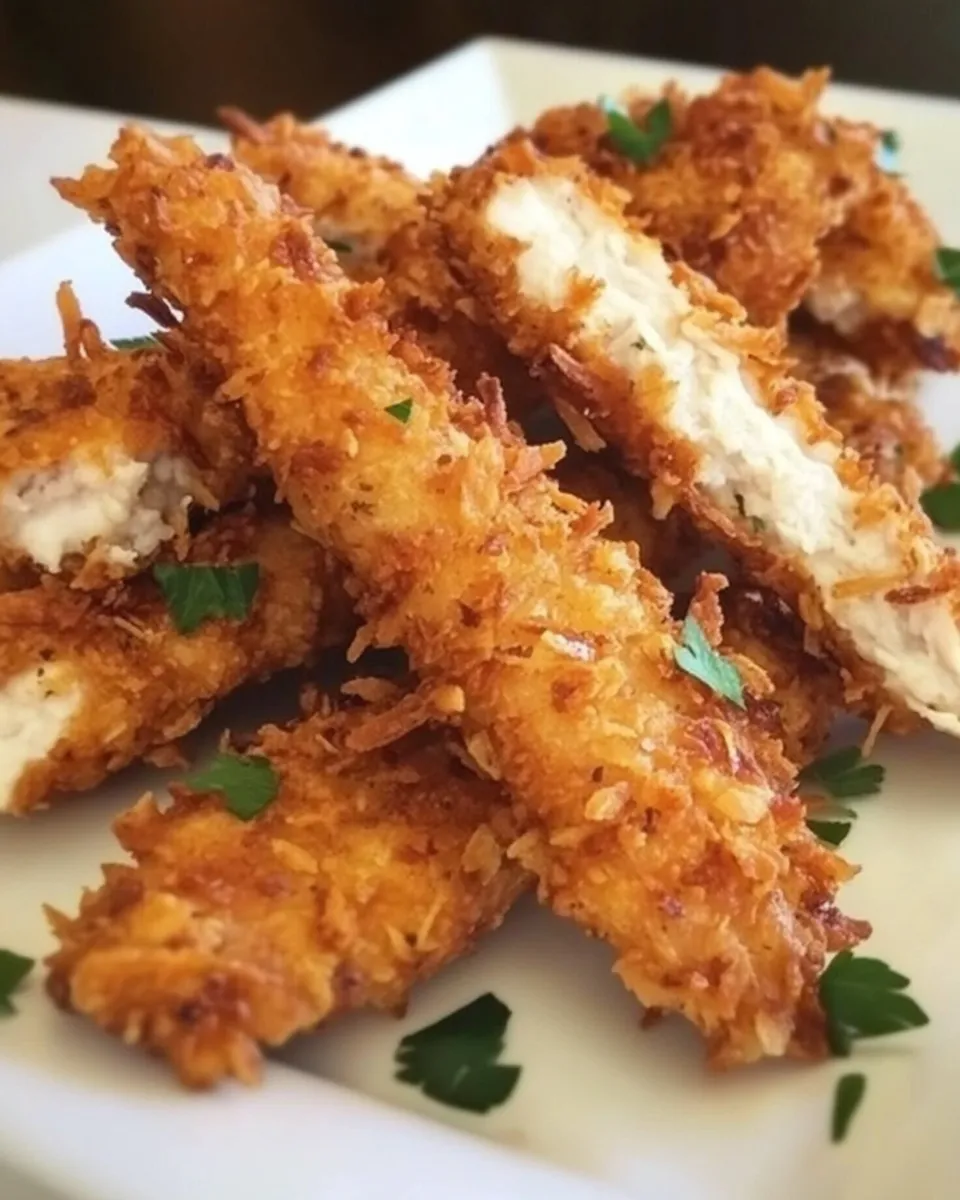
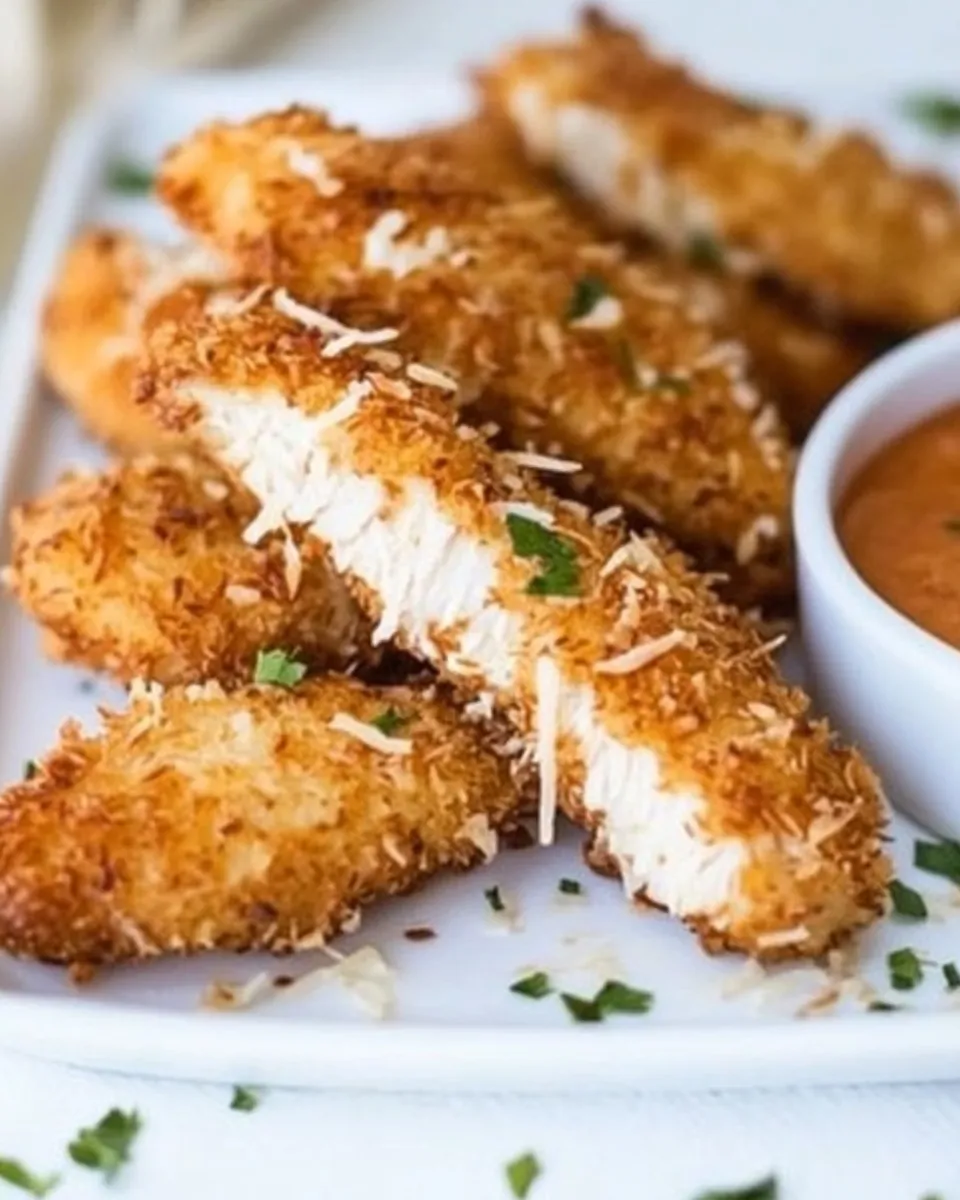
Coconut Chicken Fingers
If you’re on the lookout for a fun and flavorful twist on a classic favorite, you’ve landed in the right place! These Coconut Chicken Fingers are not only simple to whip up, but they also pack a delicious punch with a perfect blend of sweetness and spice. With a crunchy coconut coating and tender chicken inside, they make for an incredible appetizer, snack, or even a main dish. Pair them with your favorite dipping sauce for a delightful experience that will have everyone coming back for more!
Top Reasons to Make Coconut Chicken Fingers
- Deliciously Unique: The combination of coconut, Sriracha, and honey creates a flavor profile that’s both sweet and spicy.
- Quick and Easy: This recipe is straightforward, making it perfect for a weeknight dinner or a weekend gathering.
- Kid-Friendly: With their fun shape and crunchy texture, these chicken fingers are sure to please even the pickiest eaters.
- Versatile: Serve them as an appetizer at a party or as a main dish alongside a fresh salad or rice.
What We’re Using
- 1/2 cup mayonnaise: This will serve as a creamy base for our sauce, adding richness.
- 3 tablespoons Sriracha sauce: For a delicious kick that balances the sweetness of the honey.
- 3 tablespoons honey: Sweetens the sauce and complements the coconut coating.
- 1/2 tablespoon rice vinegar: Adds a touch of acidity to balance the flavors.
- 2 to 3 boneless, skinless chicken breasts: The star of our dish, providing lean protein.
- Salt and pepper: Essential for seasoning the chicken.
- 3/4 cup all-purpose flour: For dredging the chicken, creating a nice base for the coating.
- 2 large eggs: Helps the coating adhere to the chicken.
- 1/4 cup milk: Makes the egg wash a bit creamier.
- 1 tablespoon Sriracha sauce: Extra flavor in the egg wash.
- 1 1/2 cups shredded sweetened coconut: This gives our chicken fingers that signature crunchy coating.
- 1 cup Panko crumbs: For added crunch and texture.
- 1 teaspoon salt: For seasoning the coating.
- 1/2 teaspoon pepper: For a touch of heat.
- Vegetable oil: For frying, ensuring a crispy finish.
Gear Checklist
- Mixing bowls: For combining the ingredients.
- Whisk: To beat the eggs and mix the sauce.
- Frying pan or deep fryer: To fry the chicken fingers to golden perfection.
- Meat thermometer: To ensure the chicken is cooked through.
- Plate or wire rack: For resting the cooked chicken fingers.
Stepwise Method: Coconut Chicken Fingers
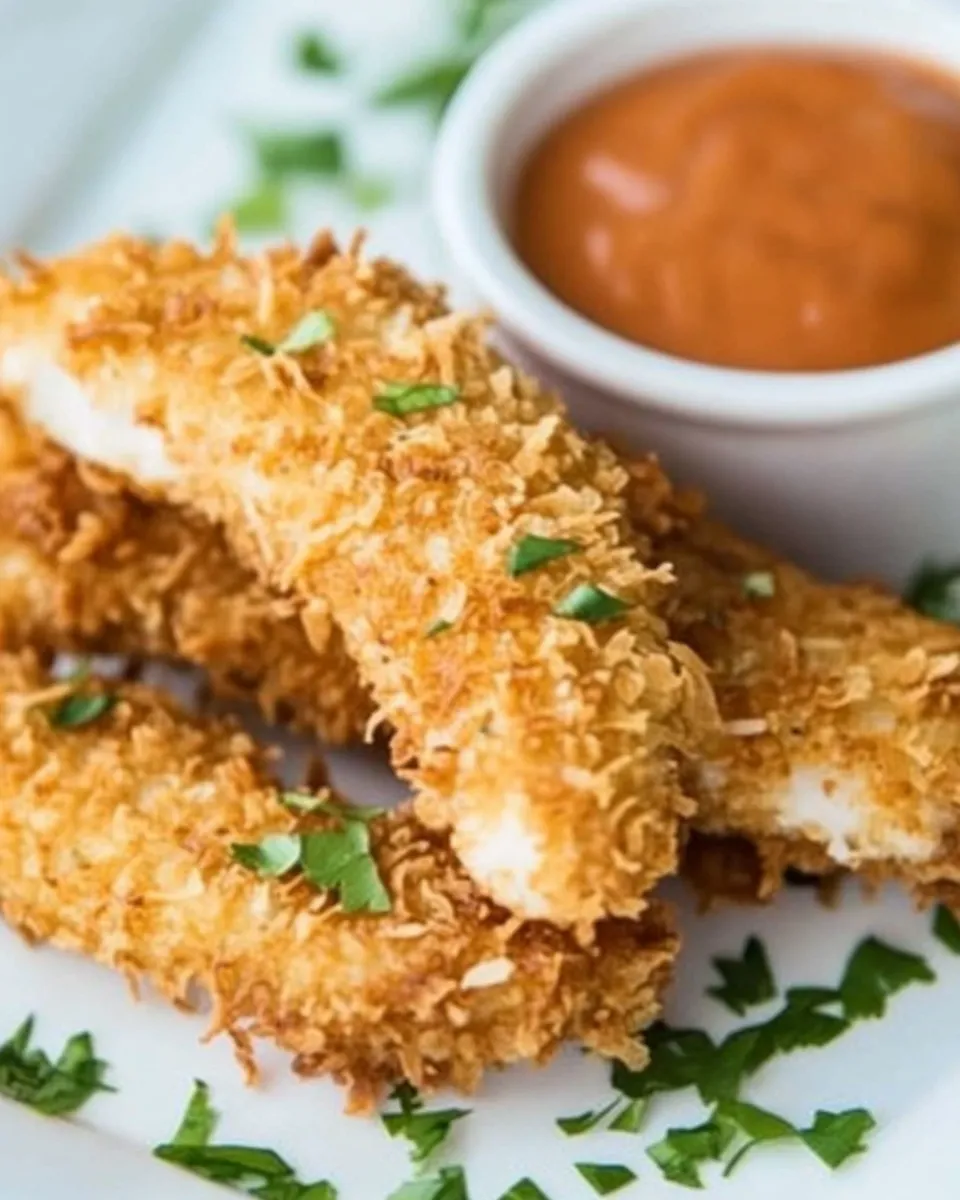
Step 1: Prepare the Sauce
In a small bowl, whisk together the mayonnaise, Sriracha sauce, honey, and rice vinegar until smooth. Set it aside as this will be your dipping sauce.
Step 2: Prepare the Chicken
Trim the chicken breasts and cut them into strips. Season with salt and pepper.
Step 3: Set Up Your Dredging Station
In three separate shallow bowls, set up your dredging station:
– In the first bowl, place the all-purpose flour.
– In the second bowl, whisk together the eggs, milk, and an additional tablespoon of Sriracha sauce.
– In the third bowl, combine the shredded coconut, Panko crumbs, salt, and pepper.
Step 4: Dredge the Chicken
Take each chicken strip and first coat it in flour, shaking off the excess.
Next, dip it into the egg mixture, ensuring it’s completely coated. Finally, roll it in the coconut-Panko mixture, pressing gently to adhere.
Step 5: Fry the Chicken Fingers
In a large frying pan, heat about 1/2 inch of vegetable oil over medium-high heat. Once hot, carefully add the chicken strips in batches, being sure not to overcrowd the pan. Fry for about 3-4 minutes on each side or until golden brown and cooked through. Use a meat thermometer to ensure the internal temperature reaches 165°F.
Step 6: Drain and Serve
Once cooked, transfer the chicken fingers to a plate lined with paper towels to drain excess oil. Serve warm with your prepared sauce on the side.
Texture-Safe Substitutions
- For a gluten-free option, replace all-purpose flour with a gluten-free flour blend and use gluten-free Panko.
- If you want a lighter version, try baking the chicken fingers instead of frying. Spray with oil and bake at 400°F for about 20-25 minutes, flipping halfway.
- For a dairy-free option, replace milk with almond milk or coconut milk.
- Try using different proteins like firm tofu or shrimp for a variation on this recipe.
Little Things that Matter
Make sure to keep the oil temperature consistent while frying to avoid soggy chicken fingers. If the oil is too cold, the coating will absorb too much oil. A thermometer is your best friend here!
- Letting the chicken rest for a few moments after frying allows the juices to redistribute, making for a juicier bite.
- Feel free to adjust the level of Sriracha in the dipping sauce according to your personal taste preference.
- Pair these Coconut Chicken Fingers with a side of fresh veggies or a light salad for a complete meal!
Best Ways to Store
If you have leftovers (though they’re unlikely!), store them in an airtight container in the refrigerator for up to 3 days. To reheat, place them in the oven at 375°F for about 10-15 minutes to regain their crispiness.
- For longer storage, freeze the uncooked, breaded chicken fingers on a baking sheet until solid, then transfer to a freezer bag for up to 2 months.
- Cook from frozen, adding a few extra minutes to the frying time.
Frequently Asked Questions
Can I bake Coconut Chicken Fingers instead of frying them?
Yes! For a healthier option, you can bake the coconut chicken fingers. Preheat your oven to 400°F, spray the coated chicken fingers with cooking spray, and bake for about 20-25 minutes, flipping halfway through.
What can I serve with Coconut Chicken Fingers?
These chicken fingers pair beautifully with a variety of sides. Consider serving them with a fresh green salad, sweet potato fries, or even alongside some Sheet Pan Honey Garlic Chicken Veggies for a wholesome meal.
Can I use different types of chicken?
Absolutely! You can use chicken thighs instead of breasts for a juicier texture. Just ensure they are boneless and skinless for the best results.
How do I know when the chicken is fully cooked?
The best way to check for doneness is by using a meat thermometer. The internal temperature should reach 165°F. If you don’t have a thermometer, ensure that the juices run clear and the meat is no longer pink inside.
Weekend Projects
- Slow Cooker Honey Garlic Chicken Thighs – A savory alternative to chicken fingers.
- Make a batch of Sheet Pan Honey Garlic Chicken Veggies for a complete dinner that’s easy to prepare.
- Try your hand at homemade sauces, like a spicy mango dipping sauce, to elevate your chicken fingers.
- Plan a family game night and serve these Coconut Chicken Fingers as the perfect finger food!
Final Thoughts
These Coconut Chicken Fingers are not just a meal; they’re a delightful experience that combines textures and flavors in every bite. Perfect for sharing or enjoying all on your own, they’re bound to become a new favorite in your household. Whether you’re hosting a gathering or simply indulging on a cozy night in, this recipe is sure to impress. Happy cooking!
Share on Pinterest

Coconut Chicken Fingers
Ingredients
Equipment
Method
- In a small bowl, whisk together the mayonnaise, Sriracha sauce, honey, and rice vinegar until smooth. Set it aside as this will be your dipping sauce.
- Trim the chicken breasts and cut them into strips. Season with salt and pepper.
- In three separate shallow bowls, set up your dredging station: In the first bowl, place the all-purpose flour. In the second bowl, whisk together the eggs, milk, and an additional tablespoon of Sriracha sauce. In the third bowl, combine the shredded coconut, Panko crumbs, salt, and pepper.
- Take each chicken strip and first coat it in flour, shaking off the excess. Next, dip it into the egg mixture, ensuring it’s completely coated. Finally, roll it in the coconut-Panko mixture, pressing gently to adhere.
- In a large frying pan, heat about 1/2 inch of vegetable oil over medium-high heat. Once hot, carefully add the chicken strips in batches, being sure not to overcrowd the pan. Fry for about 3-4 minutes on each side or until golden brown and cooked through. Use a meat thermometer to ensure the internal temperature reaches 165°F.
- Once cooked, transfer the chicken fingers to a plate lined with paper towels to drain excess oil. Serve warm with your prepared sauce on the side.
Notes
- Keep the oil temperature consistent while frying to avoid soggy chicken fingers.
- Let the chicken rest for a few moments after frying for juicier bites.
- Adjust the level of Sriracha in the dipping sauce to your taste.
- Pair with fresh veggies or a light salad for a complete meal!