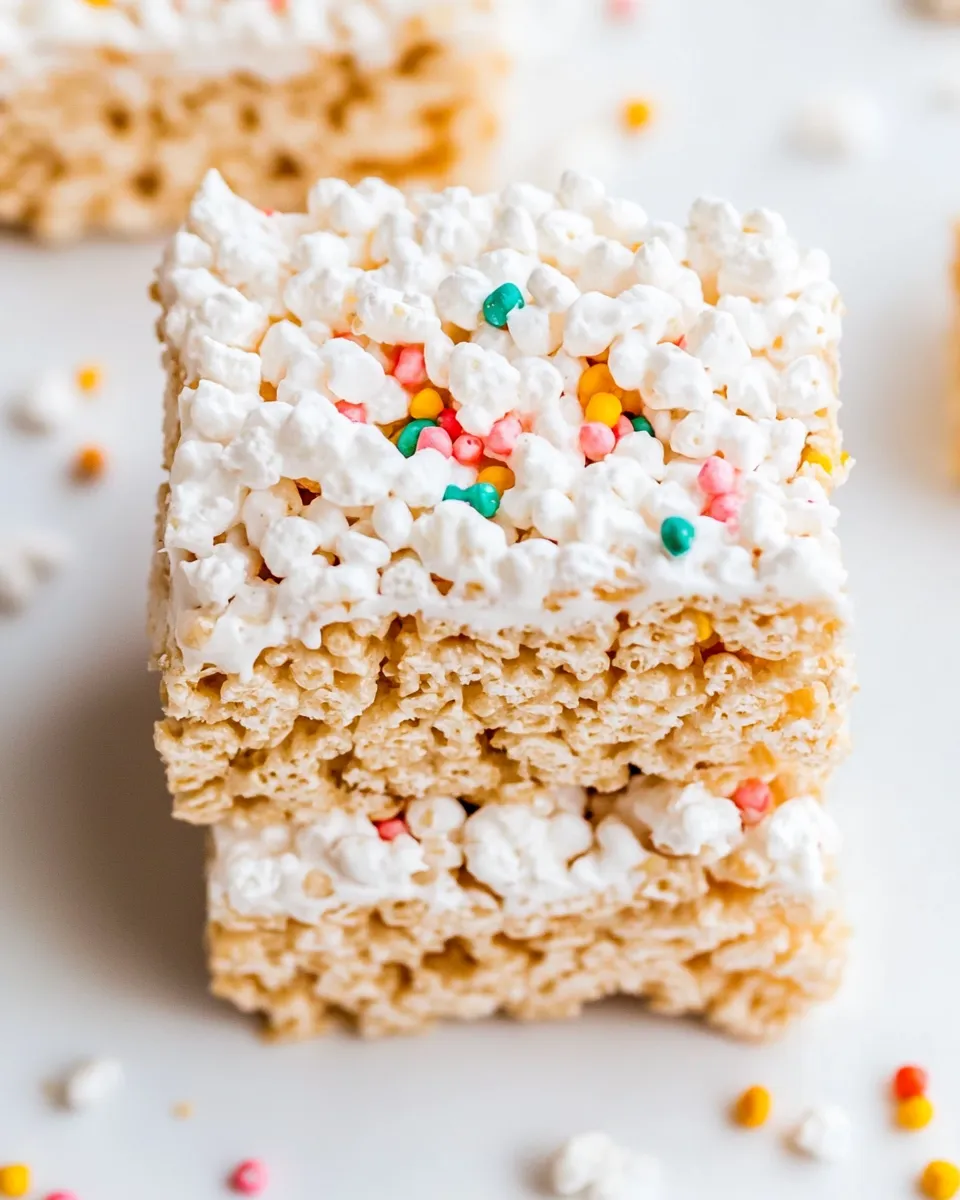
Rice Krispie Treats Recipe
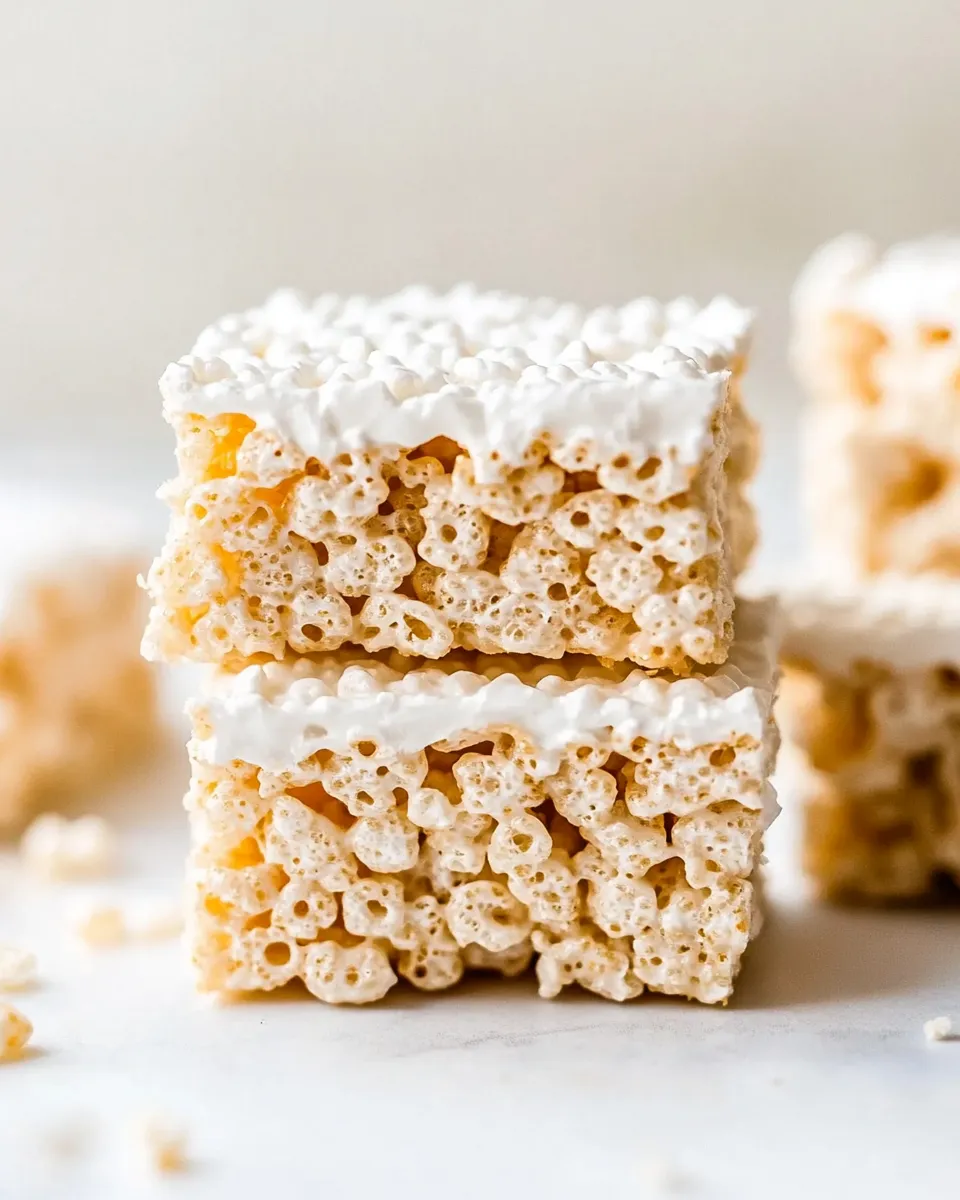
There’s something undeniably nostalgic about the classic Rice Krispie Treats recipe. It’s a treat that transcends generations, bringing smiles to faces both young and old. With just a handful of ingredients, this delectable dessert is not only easy to make but also incredibly customizable. Whether you’re making them for a birthday party, a family gathering, or just for a sweet snack at home, these treats never fail to impress. Let’s dive into the details of this delightful recipe that combines gooey marshmallows, crispy cereal, and a touch of sweetness.
What Sets This Recipe Apart
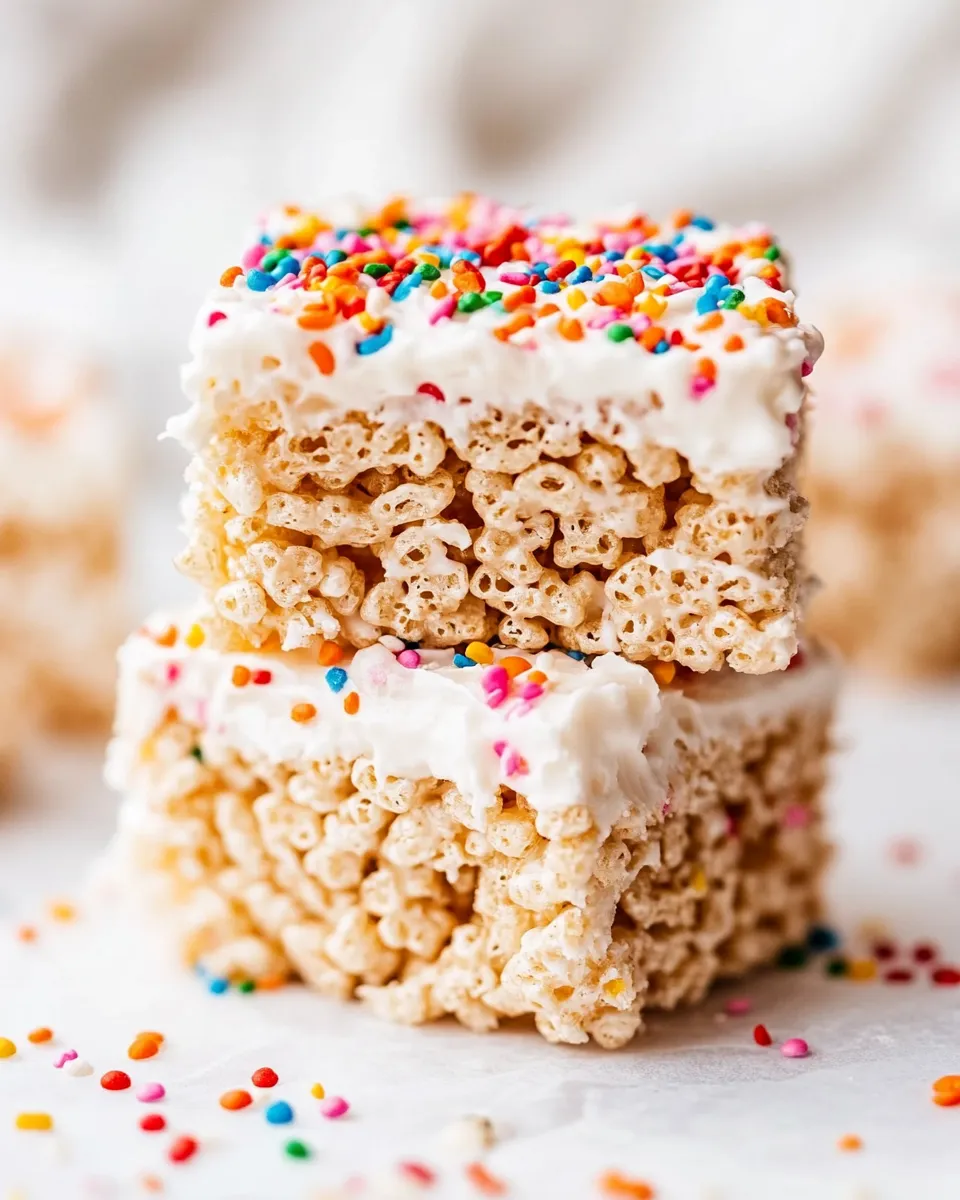
What makes this Rice Krispie Treats recipe stand out is its simplicity and versatility. While traditional recipes often stick to the basics, this version introduces a few special touches—like a hint of vanilla extract for depth of flavor, a sprinkle of salt to enhance sweetness, and the option to mix in white chocolate chips for an extra layer of indulgence. Plus, the addition of colorful sprinkles not only makes these treats visually appealing but also adds a festive flair. This Rice Krispie Treats recipe is perfect for any occasion!
Ingredients at a Glance
- 5 tablespoons unsalted butter
- 1 (16-ounce) bag miniature marshmallows, divided (see note 1)
- 6 cups Rice Krispies cereal or other crispy rice cereal
- 1/4 teaspoon salt
- 1 teaspoon vanilla extract
- 1/3 cup white chocolate chips or use milk, semi-sweet, or dark chocolate
- 1/4 teaspoon vegetable oil
- Sprinkles (optional)
Kitchen Gear Checklist
- Large saucepan: For melting the butter and marshmallows together.
- Wooden spoon or spatula: For mixing the ingredients thoroughly.
- 9×13-inch baking pan: To shape and set the Rice Krispie Treats.
- Parchment paper: Optional, for easy removal and cleanup.
- Measuring cups and spoons: To ensure accurate ingredient quantities.
Build Rice Krispie Treats Recipe Step by Step
Step 1: Melt the Butter
In a large saucepan over low heat, melt the 5 tablespoons of unsalted butter until it’s completely melted and bubbly. Keep an eye on it to ensure it doesn’t brown.
Step 2: Add the Marshmallows
Once the butter is melted, add 1 (16-ounce) bag of miniature marshmallows (reserve 1 cup for later). Stir continuously until the marshmallows are completely melted and smooth. This should take about 2-3 minutes.
Step 3: Incorporate Flavorings
Remove the saucepan from heat. Add 1 teaspoon of vanilla extract and 1/4 teaspoon of salt to the melted marshmallow mixture. Stir to combine, enhancing the flavor profile of your treats.
Step 4: Mix in the Cereal
Gradually add the 6 cups of Rice Krispies cereal to the marshmallow mixture. Stir gently but thoroughly to ensure all the cereal is coated with the marshmallow mixture.
Step 5: Fold in Additional Marshmallows and Chocolate
Once the cereal is well mixed, fold in the reserved 1 cup of miniature marshmallows and 1/3 cup of white chocolate chips. This will give your treats extra gooeyness and sweetness.
Step 6: Press into the Pan
Prepare your 9×13-inch baking pan by greasing it lightly with the 1/4 teaspoon of vegetable oil or lining it with parchment paper. Pour the mixture into the prepared pan and press it down firmly into an even layer. You can use a spatula or your hands (lightly greased) for this.
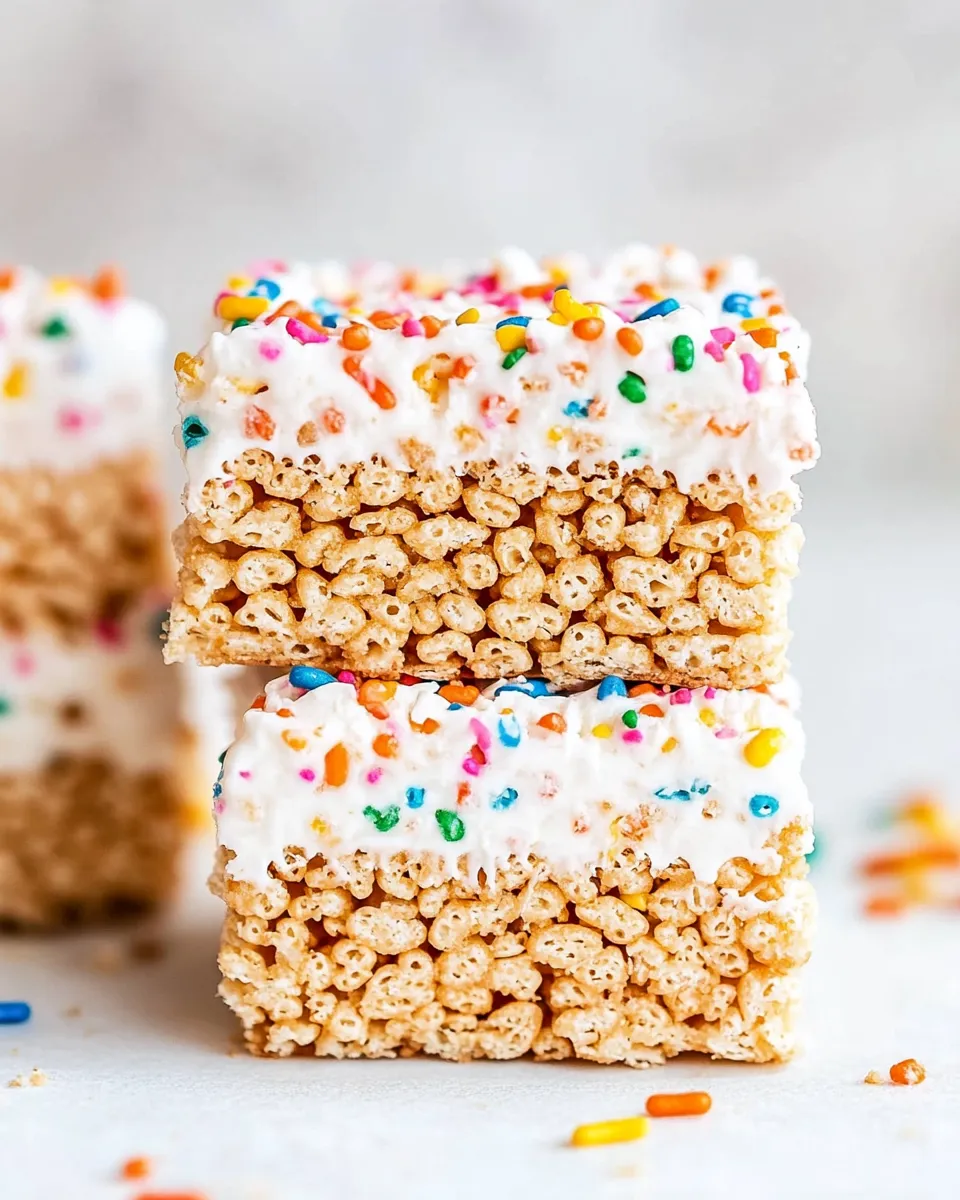
Step 7: Add Sprinkles (Optional)
If you’re feeling festive, now is the time to sprinkle on your choice of colorful sprinkles before the mixture sets. This adds a fun touch and makes the treats even more inviting.
Step 8: Set and Cut
Allow the Rice Krispie Treats to cool at room temperature for at least 30 minutes. Once set, cut them into squares or rectangles and serve!
Dairy-Free/Gluten-Free Swaps
- Butter: Substitute with vegan butter or coconut oil.
- Marshmallows: Use vegan marshmallows.
- Cereal: Make sure to use a gluten-free crispy rice cereal.
- Chocolate: Opt for dairy-free chocolate chips.
Behind the Recipe
The origins of Rice Krispie Treats can be traced back to the 1930s when they were first created as a way to promote Rice Krispies cereal. Over the decades, this simple yet satisfying recipe has become a staple for family gatherings, school events, and casual get-togethers. The combination of buttery marshmallows and crispy cereal is not only comforting but also allows for endless customization. Whether you choose to mix in chocolate, nuts, or even dried fruit, the basic recipe serves as a perfect foundation for creativity.
Refrigerate, Freeze, Reheat
- Refrigerate: Store in an airtight container at room temperature for up to 3 days.
- Freeze: Wrap the treats in plastic wrap and then place them in a freezer bag. They can last up to 3 months in the freezer.
- Reheat: For best results, reheat in the microwave for a few seconds to restore their gooey texture.
FAQ
Can I use different types of cereal for this recipe?
Absolutely! While Rice Krispies are traditional, you can experiment with other crispy cereals or even a combination of cereals for added flavor and texture.
Why are my Rice Krispie Treats hard?
If your Rice Krispie Treats are hard, it may be because they were overcooked or because there was not enough marshmallow mixture. Make sure to follow the melting times closely and mix thoroughly.
Can I add other mix-ins to the treats?
Yes! Feel free to add nuts, chocolate chips, dried fruit, or even peanut butter for a fun twist. Just be sure not to overload the mixture to maintain the treats’ balance.
How do I prevent them from sticking to the pan?
Greasing your pan or lining it with parchment paper will help prevent sticking. You can also lightly grease your hands when pressing the mixture into the pan.
One Pan, More Ideas
- Chocolate Rice Krispie Treats
- Peanut Butter Rice Krispie Treats
- Vegan Rice Krispie Treats
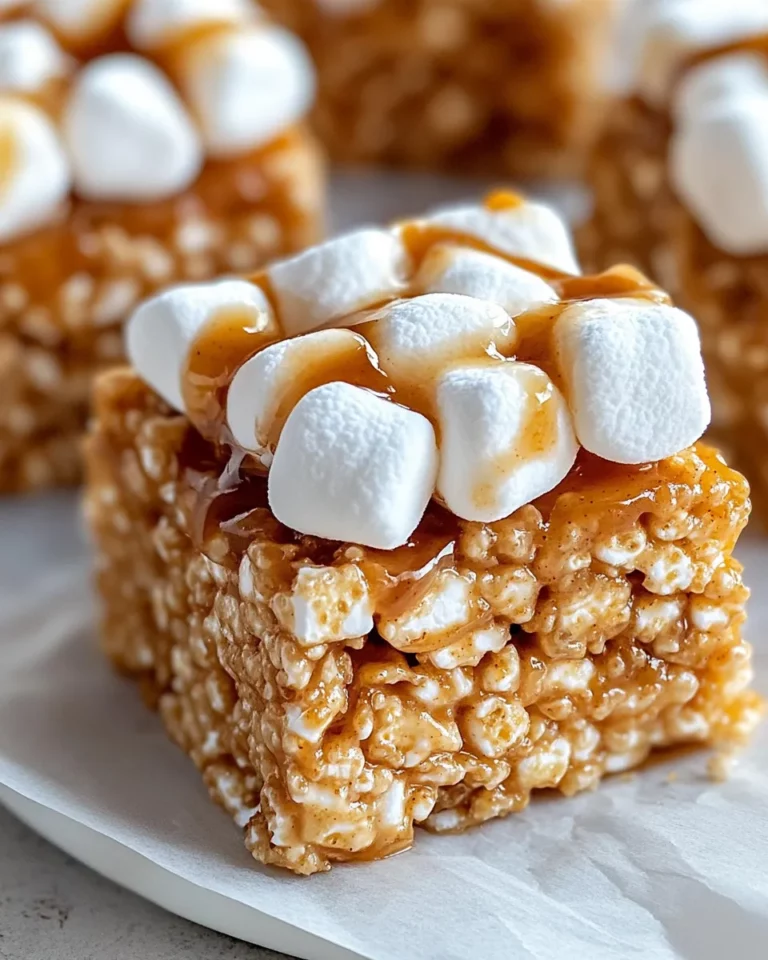
- Salted Caramel Rice Krispie Treats
Time to Try It
There’s no time like the present to whip up a batch of these Rice Krispie Treats! Whether you’re keeping them for yourself or sharing with friends and family, these treats are sure to bring joy to any occasion. So grab your ingredients, gather your kitchen gear, and let’s get to cooking! You’ll be rewarded with a chewy, crunchy, and oh-so-sweet indulgence that will have everyone asking for seconds.
As you savor each bite of your homemade Rice Krispie Treats, you’ll not only enjoy their delightful flavors but also the memories created in the kitchen. Happy snacking!
Rice Krispie Treats Recipe
Ingredients
Equipment
Method
- Melt the 5 tablespoons of unsalted butter in a large saucepan over low heat until completely melted and bubbly. Keep an eye on it to ensure it doesn’t brown.
- Add 1 (16-ounce) bag of miniature marshmallows (reserve 1 cup for later) to the melted butter. Stir continuously until the marshmallows are completely melted and smooth, about 2-3 minutes.
- Remove the saucepan from heat. Stir in 1 teaspoon of vanilla extract and 1/4 teaspoon of salt to the melted marshmallow mixture.
- Gradually add 6 cups of Rice Krispies cereal to the marshmallow mixture, stirring gently but thoroughly to coat the cereal.
- Fold in the reserved 1 cup of miniature marshmallows and 1/3 cup of white chocolate chips.
- Prepare your 9x13-inch baking pan by greasing it with 1/4 teaspoon of vegetable oil or lining it with parchment paper. Pour in the mixture and press it down firmly into an even layer.
- If desired, sprinkle colorful sprinkles on top before the mixture sets.
- Allow the Rice Krispie Treats to cool for at least 30 minutes at room temperature. Once set, cut into squares or rectangles and serve!
Notes
- For a chocolate twist, mix in chocolate chips.
- Store leftovers in an airtight container for up to 3 days.
- For longer storage, freeze wrapped treats for up to 3 months.