Chocolate Whipped Cream
Is there anything more delightful than a dollop of rich, creamy chocolate whipped cream atop your favorite dessert? Whether it’s a slice of cake, a bowl of fresh berries, or simply a spoonful enjoyed on its own, this Chocolate Whipped Cream elevates everything it touches. It’s an indulgent treat that’s surprisingly easy to whip up in your own kitchen, allowing you to enjoy the lusciousness of chocolate without any guilt. Ready to dive into this chocolatey goodness? Let’s get started!
Why This Recipe Belongs in Your Rotation
Chocolate Whipped Cream is not just a simple topping; it’s a versatile treat that can transform ordinary desserts into extraordinary delights. This recipe is perfect for those who crave a chocolate fix, and it makes a fantastic addition to birthday cakes, holiday pies, or even a cozy cup of hot cocoa. Plus, it’s made with just a handful of ingredients, making it an ideal choice for both novice bakers and seasoned pros. With this Chocolate Whipped Cream recipe, you’ll always have a rich and creamy accompaniment ready to go whenever the mood strikes.
Ingredient Breakdown
To create this delightful Chocolate Whipped Cream, you’ll need the following ingredients:
- 1 cup heavy cream – The base of our whipped cream, providing the richness and volume.
- 1 teaspoon vanilla extract (optional) – Adds a lovely depth of flavor.
- 2 tablespoons to ¼ cup (15-30g) powdered sugar* – Sweetens the whipped cream to your taste.
- 3 tablespoons (15g) unsweetened cocoa powder, sifted – The star ingredient that gives our whipped cream its chocolatey goodness.
- 2 tablespoons heavy cream – Used for making the extra chocolatey mixture.
- A couple drops vanilla extract (optional) – For additional flavor.
- 1 to 2 teaspoons (3-5g) powdered sugar* – For the chocolate mixture.
- 1 teaspoon (2g) unsweetened cocoa powder, sifted – For that extra chocolate kick!
Cook’s Kit
Before you begin, make sure you have the following tools at hand:
- Mixing bowl – A large bowl works best for whipping cream.
- Whisk or electric mixer – For achieving that perfect whipped consistency.
- Sifter – To ensure your cocoa powder is free of lumps.
- Spatula – For folding in ingredients gently.
- Measuring cups and spoons – For accurate measurements.
The Method for Chocolate Whipped Cream
Ready to whip up your Chocolate Whipped Cream? Follow these simple steps:
Step 1: Chill Your Mixing Bowl
To achieve the best results, place your mixing bowl in the refrigerator for about 15 minutes before you start. This helps the cream whip up faster and increases the volume.
Step 2: Combine the Ingredients
In your chilled mixing bowl, pour in the 1 cup of heavy cream. If you’re using vanilla extract, add 1 teaspoon at this time. Follow it up with 2 tablespoons of powdered sugar and 3 tablespoons of sifted cocoa powder.
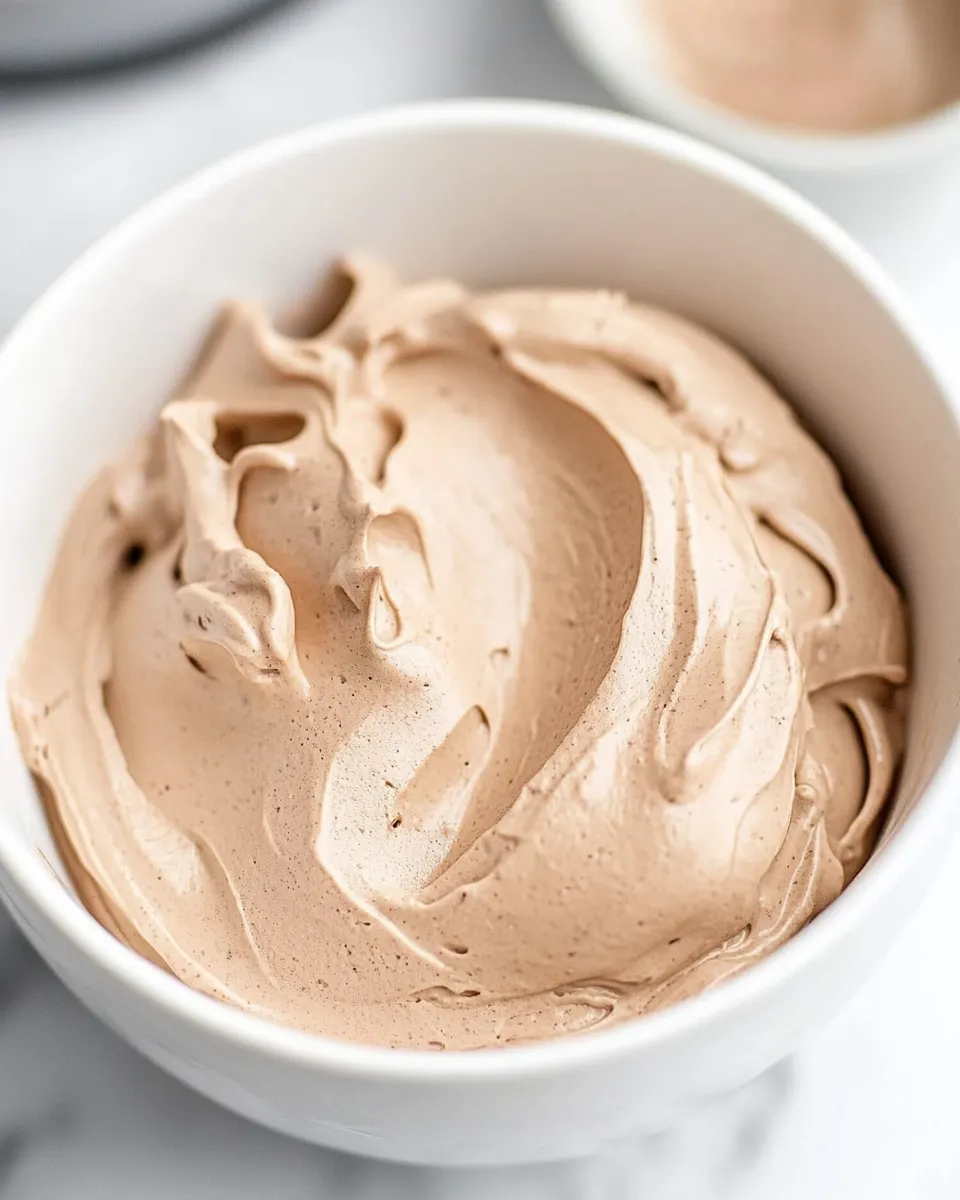
Step 3: Whip It Up!
Using your electric mixer or a whisk, start whipping the mixture on medium speed. Gradually increase to high speed as the cream begins to thicken. Keep an eye on it to avoid over-whipping, which can turn the cream into butter!
Step 4: Taste and Adjust
Once the cream has reached soft peaks, taste it! If you prefer it sweeter, add a little more powdered sugar, one tablespoon at a time, until you reach your desired level of sweetness.
Step 5: Prepare the Chocolate Mixture
In a separate small bowl, combine 2 tablespoons of heavy cream, a couple drops of vanilla extract (if using), 1 to 2 teaspoons of powdered sugar, and 1 teaspoon of sifted cocoa powder. Mix until smooth.
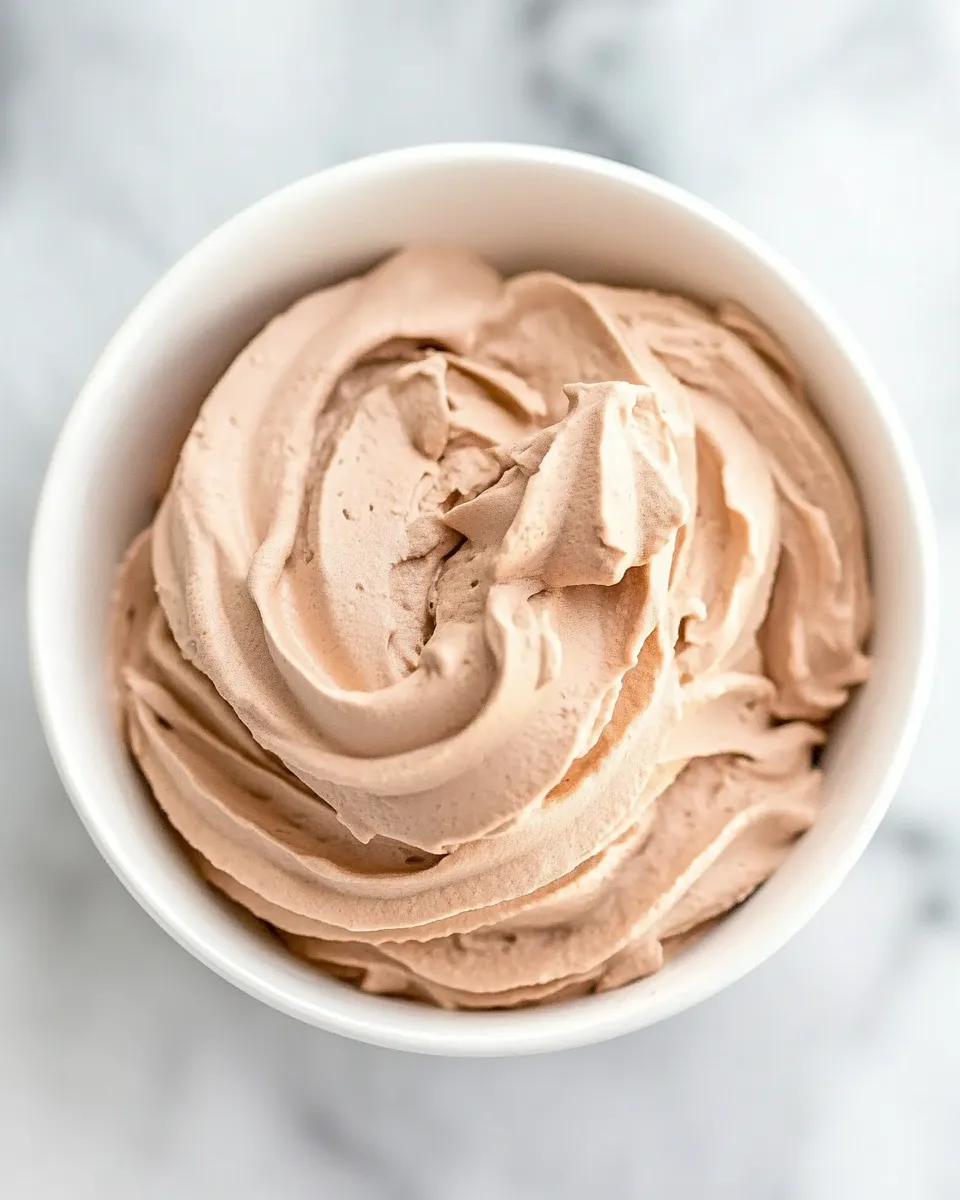
Step 6: Fold in the Chocolate Mixture
Gently fold the chocolate mixture into the whipped cream. Use a spatula to incorporate it slowly, ensuring you don’t deflate the whipped cream too much. You want to maintain that airy texture while adding the chocolate flavor.
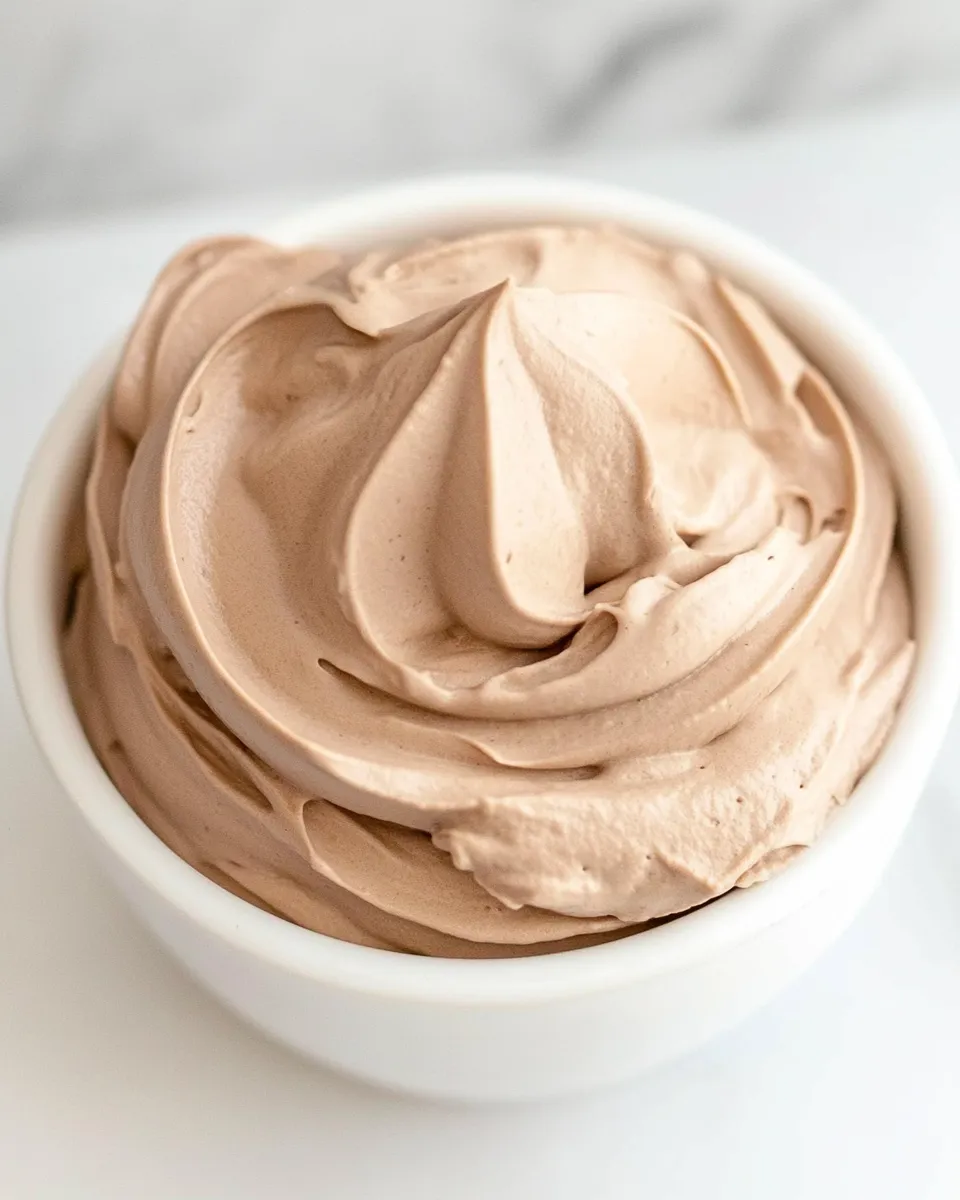
Step 7: Serve and Enjoy!
Your Chocolate Whipped Cream is now ready to serve! Use it as a topping for desserts, or enjoy it straight from the bowl—no judgment here!
Variations by Season
This Chocolate Whipped Cream can be adapted to suit the seasons and your cravings:
- Spring – Add a splash of orange zest for a vibrant citrus twist.
- Summer – Mix in fresh berries or a puree to create a delightful fruity chocolate whipped cream.
- Fall – Incorporate a sprinkle of pumpkin spice for a seasonal flavor that pairs beautifully with autumn desserts.
- Winter – Add a hint of peppermint extract for a festive touch, perfect for holiday treats.
Notes from the Test Kitchen
- Make sure to use high-quality cocoa powder for the best flavor.
- Adjust the sugar levels to your personal taste—some may prefer a sweeter whipped cream.
- Be careful not to over-whip; you want soft peaks, not stiff peaks, for the best texture.
- This whipped cream is best enjoyed fresh but can be refrigerated for a short time.
Storage & Reheat Guide
Chocolate Whipped Cream is best served fresh, but if you have leftovers, store them in an airtight container in the refrigerator for up to 2 days. The texture may change slightly upon refrigeration, but you can re-whip it gently to restore some volume. Avoid freezing, as this can lead to separation and a grainy texture.
Ask the Chef
Can I use dairy-free cream for this recipe?
Yes! You can use coconut cream or any dairy-free heavy cream alternative. Just ensure it can whip up properly.
How do I make this whipped cream sweeter?
If you prefer a sweeter Chocolate Whipped Cream, simply increase the amount of powdered sugar, adding it one tablespoon at a time until it reaches your desired level of sweetness.
Can I use chocolate syrup instead of cocoa powder?
While chocolate syrup can be used, it may change the consistency of the whipped cream. If you opt for syrup, reduce the amount of powdered sugar accordingly, and remember it may not whip up as thick.
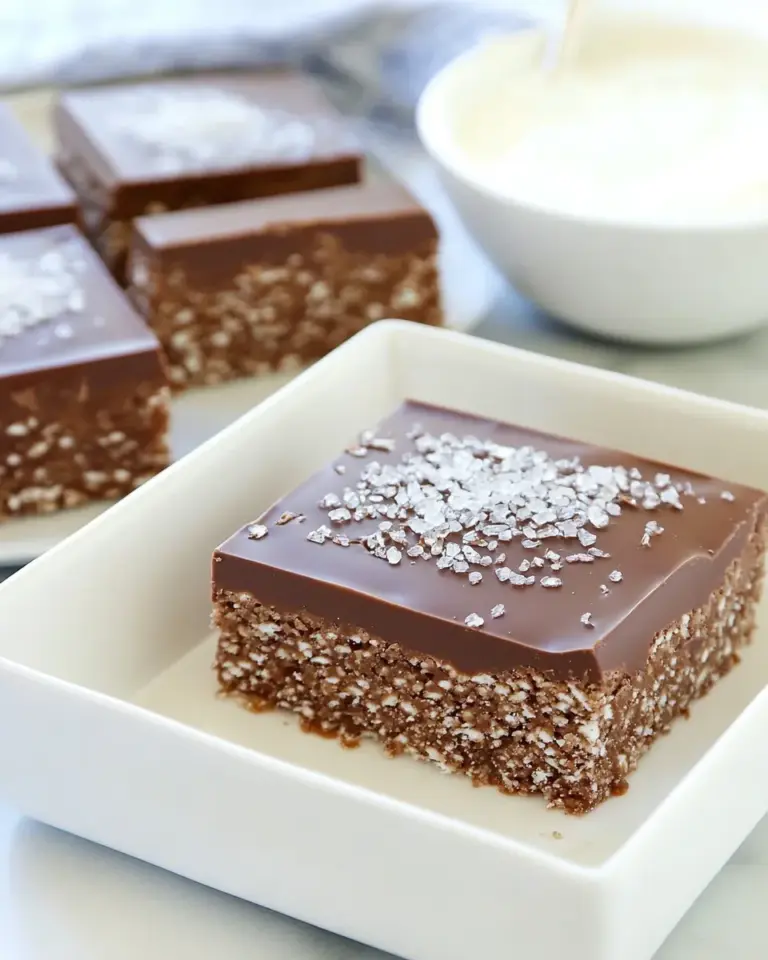
What desserts pair well with Chocolate Whipped Cream?
This whipped cream pairs beautifully with cakes, brownies, pies, pancakes, and even coffee drinks. It adds a rich, chocolatey touch to almost anything!
Desserts to Finish
If you’re looking for inspiration to pair with your Chocolate Whipped Cream, check out these delicious recipes:
See You at the Table
Creating a homemade Chocolate Whipped Cream is a simple yet rewarding endeavor that promises to delight your taste buds. With just a few ingredients and steps, you can whip up this luscious topping to accompany your favorite desserts. Whether you’re celebrating a special occasion or indulging in a quiet night in, this Chocolate Whipped Cream is sure to add a touch of sweetness to your experience. So gather your ingredients, unleash your inner chef, and enjoy the creamy, dreamy goodness that is Chocolate Whipped Cream!

Chocolate Whipped Cream
Ingredients
Equipment
Method
- Step 1: Chill Your Mixing BowlTo achieve the best results, place your mixing bowl in the refrigerator for about 15 minutes before you start. This helps the cream whip up faster and increases the volume.
- Step 2: Combine the IngredientsIn your chilled mixing bowl, pour in the heavy cream. If you’re using vanilla extract, add it at this time. Follow it up with the powdered sugar and sifted cocoa powder.
- Step 3: Whip It Up!Using your electric mixer or a whisk, start whipping the mixture on medium speed. Gradually increase to high speed as the cream begins to thicken. Keep an eye on it to avoid over-whipping!
- Step 4: Taste and AdjustOnce the cream has reached soft peaks, taste it! If you prefer it sweeter, add a little more powdered sugar until desired sweetness is reached.
- Step 5: Prepare the Chocolate MixtureIn a separate small bowl, combine the heavy cream, vanilla extract, powdered sugar, and cocoa powder. Mix until smooth.
- Step 6: Fold in the Chocolate MixtureGently fold the chocolate mixture into the whipped cream using a spatula, ensuring you don’t deflate the whipped cream too much.
- Step 7: Serve and Enjoy!Your Chocolate Whipped Cream is now ready to serve! Use it as a topping for desserts or enjoy it straight from the bowl!
Notes
- Use high-quality cocoa powder for the best flavor.
- Adjust sugar levels to personal taste.
- Be careful not to over-whip; aim for soft peaks.
- Best enjoyed fresh but can be refrigerated for up to 2 days.