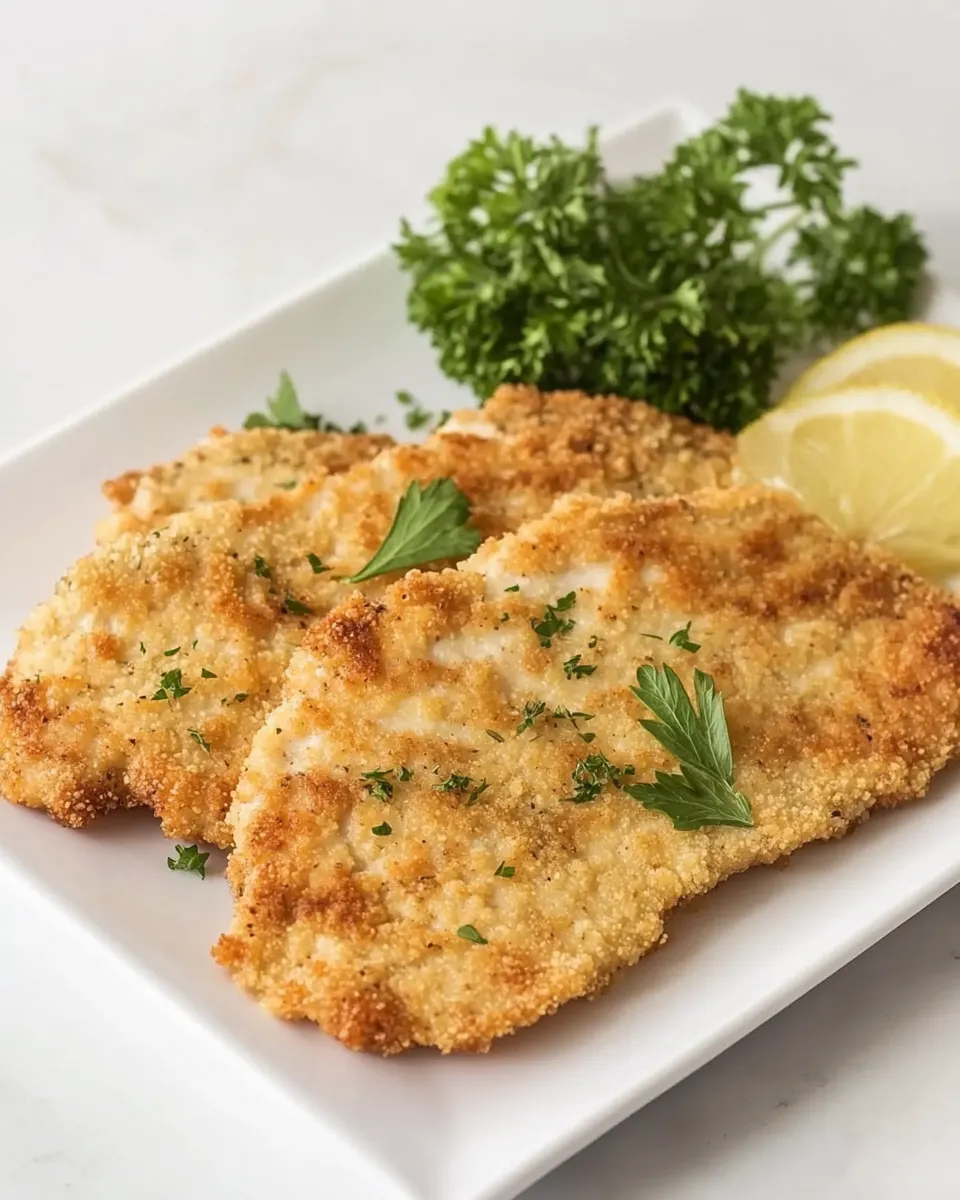
Italian Chicken Cutlets – Cotoletta di Pollo
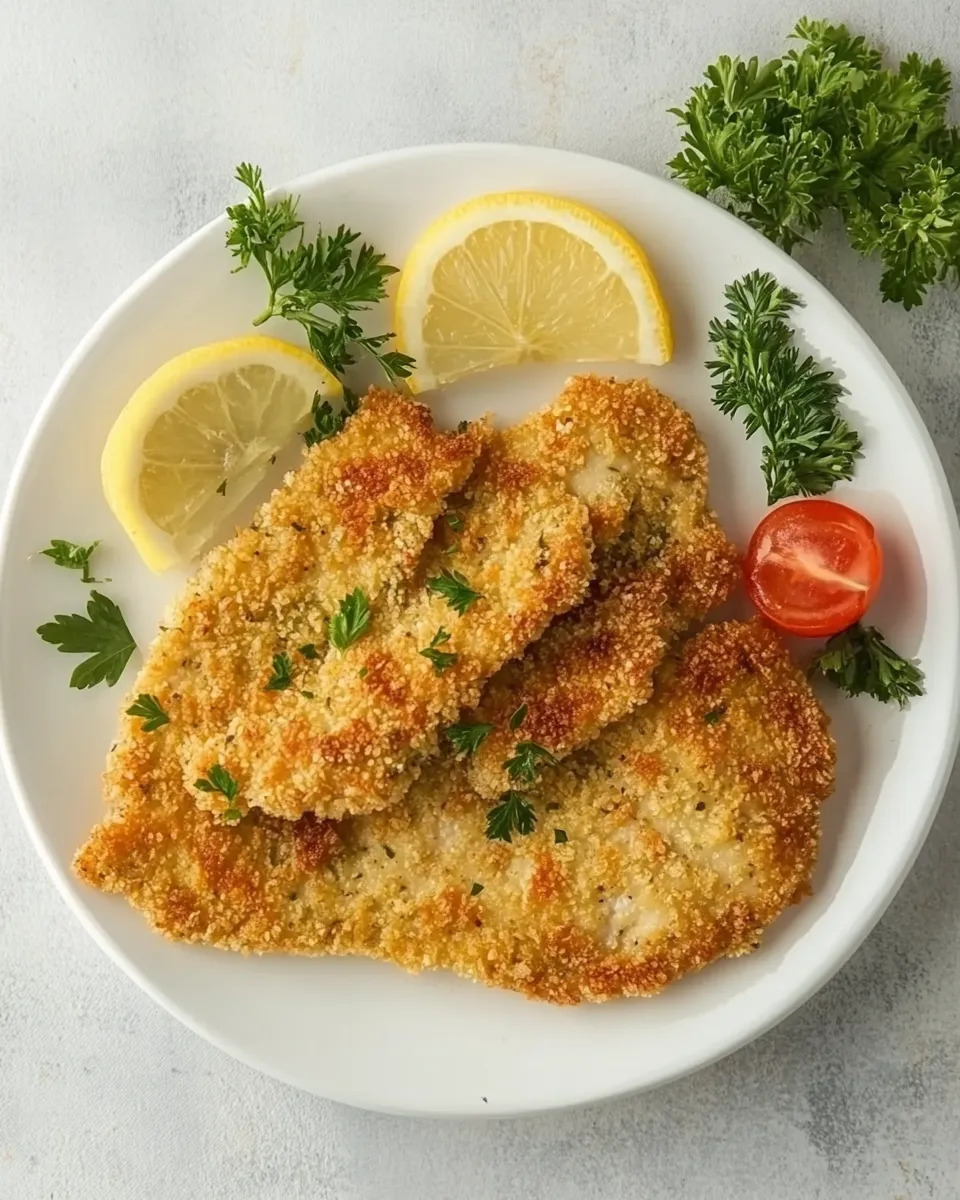
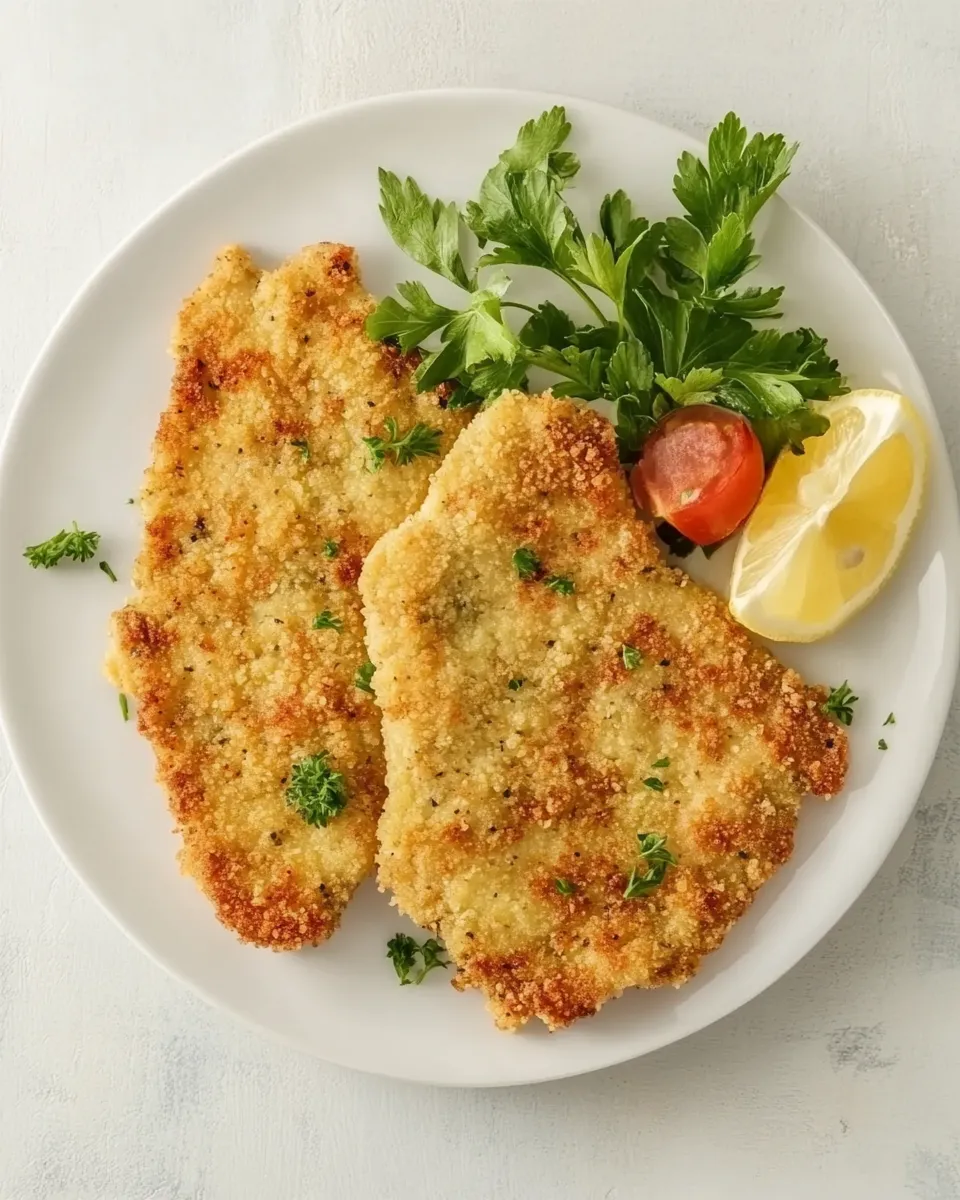
Italian Chicken Cutlets, or Cotoletta di Pollo, are a classic dish that embodies the heart and soul of Italian cooking. With their crispy exterior and juicy interior, these cutlets are not just a meal; they are a delightful experience that transports you straight to a rustic Italian kitchen. Whether you’re serving them up for a family dinner or a special occasion, these cutlets are sure to impress.
Why Italian Chicken Cutlets – Cotoletta di Pollo is Worth Your Time
The beauty of Italian Chicken Cutlets lies in their simplicity and versatility. They are quick to prepare, making them perfect for busy weeknights, yet elegant enough to serve at a dinner party. The combination of tender chicken, crispy breadcrumbs, and aromatic herbs creates a flavor profile that is both comforting and sophisticated. Furthermore, they pair beautifully with a variety of sides, from a fresh salad to creamy mashed potatoes, making them a staple in any home cook’s repertoire.
What We’re Using
- 4 slices chicken breast, 1-inch thick
- 2 large eggs
- 85g panko breadcrumbs
- 2 tablespoons Parmigiano Reggiano cheese, finely grated
- 1 tablespoon fresh parsley, finely minced
- 1 garlic clove, finely grated
- Sea salt and freshly-cracked black pepper to taste
- 6 tablespoons extra-virgin olive oil
- 1 lemon, cut into wedges
Setup & Equipment
- Large frying pan or skillet – for frying the cutlets
- Shallow bowls – for egg wash and breadcrumbs
- Meat mallet or rolling pin – for tenderizing the chicken
- Cooking tongs – for flipping the cutlets
- Paper towels – for draining excess oil
Method: Italian Chicken Cutlets – Cotoletta di Pollo
Step 1: Prepare the Chicken
Start by placing the chicken breast slices between two sheets of plastic wrap. Use a meat mallet or rolling pin to gently pound the chicken until it is about ½ inch thick. This step ensures that the chicken cooks evenly and remains tender.
Step 2: Set Up the Breading Station
In one shallow bowl, whisk together the eggs with a pinch of salt and pepper. In another bowl, combine the panko breadcrumbs, grated Parmigiano Reggiano, minced parsley, and grated garlic. Mix well to distribute the flavors throughout the breadcrumbs.
Step 3: Bread the Chicken
Take each piece of chicken and first dip it into the egg mixture, ensuring it is fully coated. Allow any excess egg to drip off before transferring it to the breadcrumb mixture. Press the breadcrumbs onto the chicken firmly, coating both sides thoroughly.
Step 4: Heat the Oil
In a large frying pan, heat the extra-virgin olive oil over medium-high heat. You want the oil to be hot but not smoking; this is crucial for achieving a golden-brown crust.
Step 5: Fry the Cutlets
Once the oil is ready, carefully place the breaded chicken cutlets in the pan. Fry them for about 4-5 minutes on each side or until they are golden brown and cooked through. You may need to do this in batches depending on the size of your pan, ensuring not to overcrowd the pan.
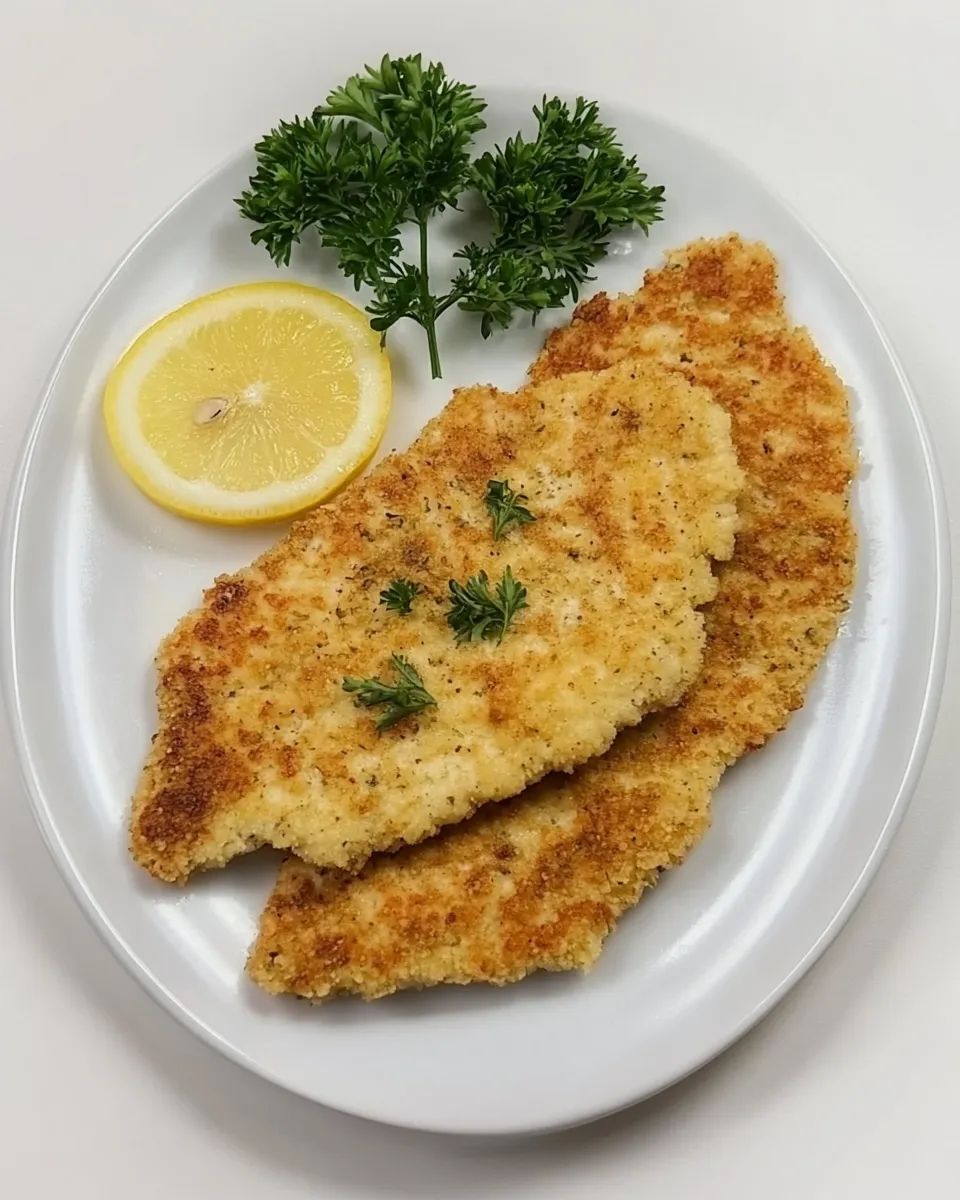
Step 6: Drain and Serve
Once cooked, transfer the cutlets to a plate lined with paper towels to absorb any excess oil. Serve immediately with lemon wedges on the side for a bright, zesty finish.
Allergy-Friendly Substitutes
- Use gluten-free breadcrumbs in place of panko for a gluten-free option.
- Replace Parmigiano Reggiano with nutritional yeast for a dairy-free alternative.
- Substitute chicken breast with turkey or tofu for a different protein source.
What I Learned Testing
Testing this recipe was a delightful journey. I discovered that the key to a perfectly crispy cutlet lies in the panko breadcrumbs; their texture creates that irresistible crunch. Additionally, allowing the chicken to rest after frying helps retain its juices. I also found that a squeeze of fresh lemon over the cutlet enhances the flavors, providing a refreshing contrast to the richness of the fried chicken.
Save for Later: Storage Tips
- Store leftover cutlets in an airtight container in the refrigerator for up to 3 days.
- To reheat, place the cutlets in a preheated oven at 375°F (190°C) for about 10-15 minutes to retain their crispiness.
- You can also freeze the breaded raw cutlets before frying them. Simply place them in a single layer on a baking sheet, freeze until solid, then transfer to a freezer bag. They can be cooked from frozen, adding a few extra minutes to the frying time.
Ask the Chef
Can I bake these instead of frying?
Yes! If you prefer a healthier option, you can bake the cutlets. Preheat your oven to 400°F (200°C), place the breaded cutlets on a baking sheet lined with parchment paper, and spray them lightly with olive oil. Bake for about 20-25 minutes, flipping halfway through, until golden and cooked through.
What can I serve with Cotoletta di Pollo?
Italian Chicken Cutlets pair wonderfully with a variety of sides. Consider serving them with a fresh arugula salad, roasted vegetables, or creamy polenta. Pasta with marinara sauce is also a classic combination.
Can I use chicken thighs instead of breasts?
Absolutely! Chicken thighs will yield a juicier cutlet. Just be sure to adjust the cooking time slightly, as they may take longer to cook through compared to chicken breasts.
How can I make these cutlets spicier?
If you’re looking to add a kick, try mixing some red pepper flakes into the breadcrumb mixture or seasoning the chicken with a pinch of cayenne pepper before breading.
Because You Liked This
- Classic Italian Meatballs
- Crispy Baked Eggplant Parmesan
- Lemon Herb Grilled Chicken
- Homemade Marinara Sauce
Bring It to the Table
Imagine gathering your loved ones around the table, the aroma of Italian Chicken Cutlets wafting through the air. As you serve these golden-brown cutlets, each bite brings warmth and satisfaction. The combination of flavors, textures, and the love poured into preparing this dish makes it a cherished meal that everyone will remember. Enjoy your culinary journey with Cotoletta di Pollo, and don’t forget to share the joy of cooking with those you love.
Italian Chicken Cutlets - Cotoletta di Pollo
Ingredients
Equipment
Method
- Start by placing the chicken breast slices between two sheets of plastic wrap. Use a meat mallet or rolling pin to gently pound the chicken until it is about ½ inch thick.
- In one shallow bowl, whisk together the eggs with a pinch of salt and pepper. In another bowl, combine the panko breadcrumbs, grated Parmigiano Reggiano, minced parsley, and grated garlic. Mix well.
- Take each piece of chicken and dip it into the egg mixture, ensuring it is fully coated. Allow any excess egg to drip off before transferring it to the breadcrumb mixture. Press the breadcrumbs onto the chicken firmly.
- In a large frying pan, heat the extra-virgin olive oil over medium-high heat until hot but not smoking.
- Carefully place the breaded chicken cutlets in the pan. Fry for about 4-5 minutes on each side or until golden brown and cooked through.
- Transfer the cutlets to a plate lined with paper towels to absorb any excess oil. Serve immediately with lemon wedges on the side.
Notes
- For a gluten-free option, use gluten-free breadcrumbs.
- Replace Parmigiano Reggiano with nutritional yeast for a dairy-free alternative.
- Store leftovers in an airtight container in the refrigerator for up to 3 days.