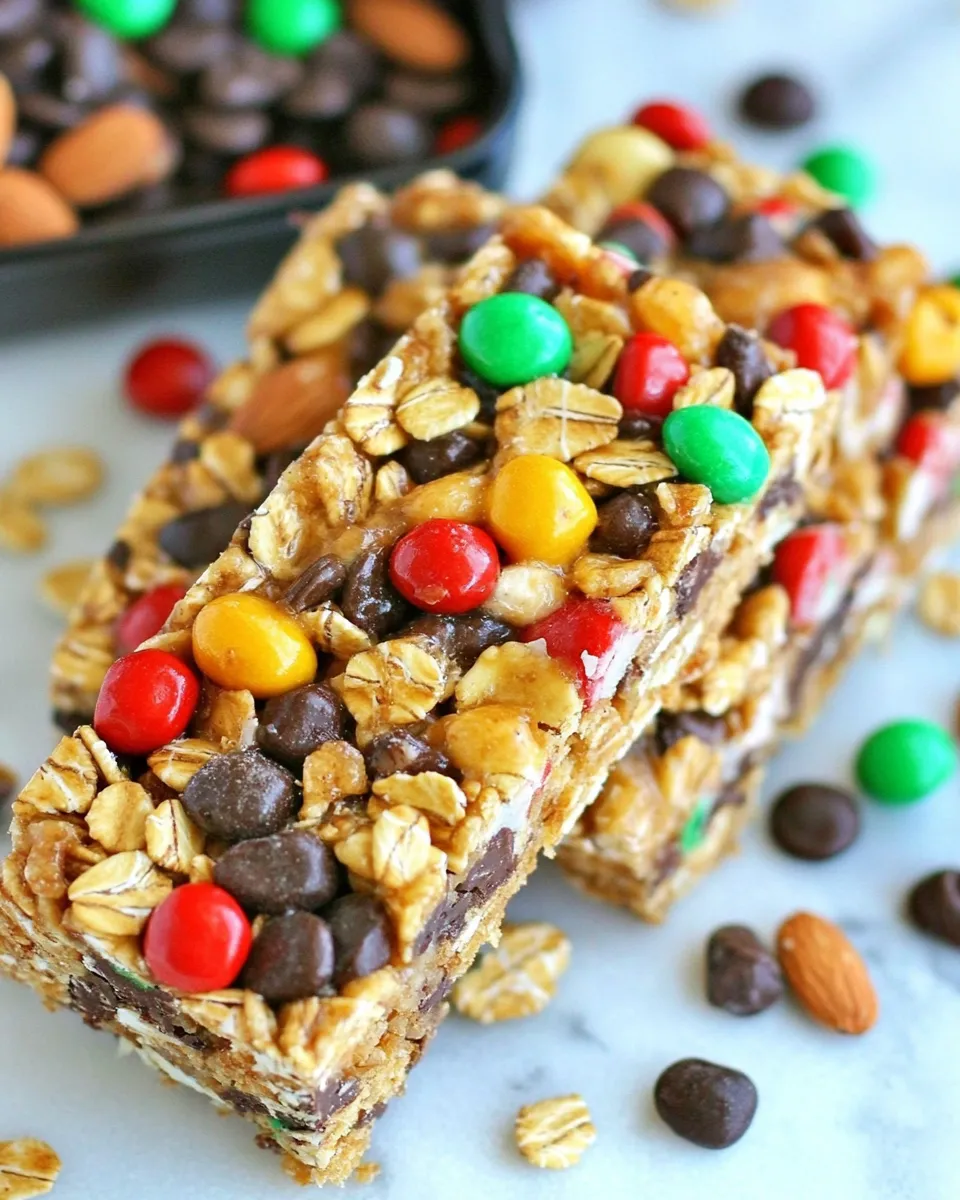
Monster Trail Mix Granola Bars (No-Bake)
Granola bars are the ultimate snack for any time of day. Whether you need a quick breakfast, a mid-afternoon pick-me-up, or a post-workout treat, these Monster Trail Mix Granola Bars (No-Bake) bring together a delightful medley of flavors and textures. Packed with wholesome ingredients, these bars are not only delicious but also incredibly easy to make. No oven required!
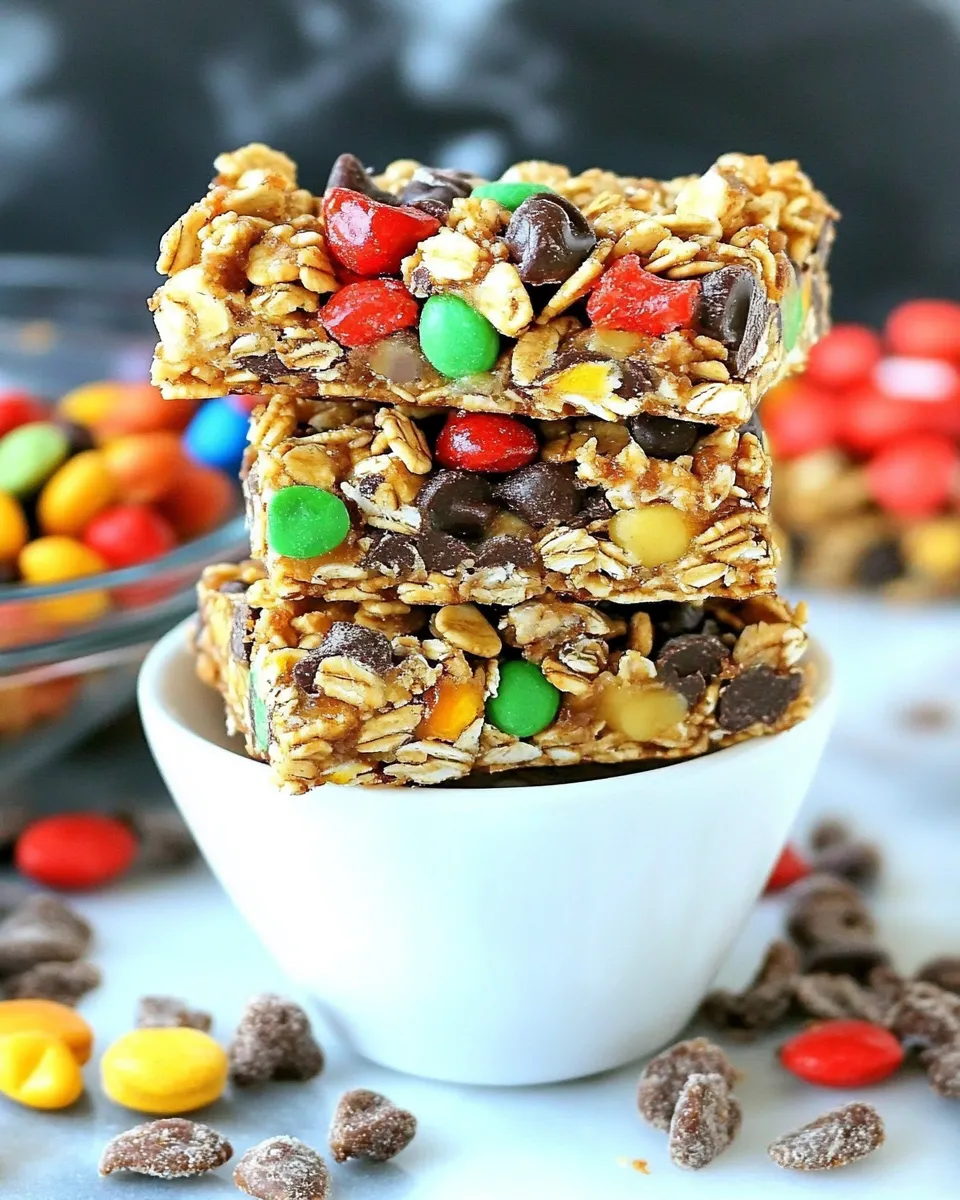
With a combination of chewy oats, crispy rice cereal, and the vibrant crunch of trail mix, these bars are sure to become a favorite in your kitchen. And let’s not forget about the sweet hint of chocolate that takes them to the next level. They are perfect for busy days, road trips, or just when you need something satisfying to nibble on.
Why This Recipe Belongs in Your Rotation
These Monster Trail Mix Granola Bars are a must-have for several reasons. First, they are incredibly versatile. You can customize the ingredients based on what you have on hand or your personal preferences. The bars are no-bake, which means you won’t heat up your kitchen, making them ideal for warm days. Plus, they come together in about 15 minutes, and they store well for days!
Not only are these bars nutritious, but they also pack a punch of energy, thanks to the combination of oats, nuts, and chocolate. They are perfect for kids and adults alike, providing a wholesome snack that satisfies sweet cravings without the guilt.
Ingredients at a Glance
- 1/3 cup light brown sugar, packed
- 1/4 cup creamy peanut butter
- 1/4 cup honey
- 4 tablespoons unsalted butter
- 2 cups quick oats
- 1/2 cup crispy rice cereal
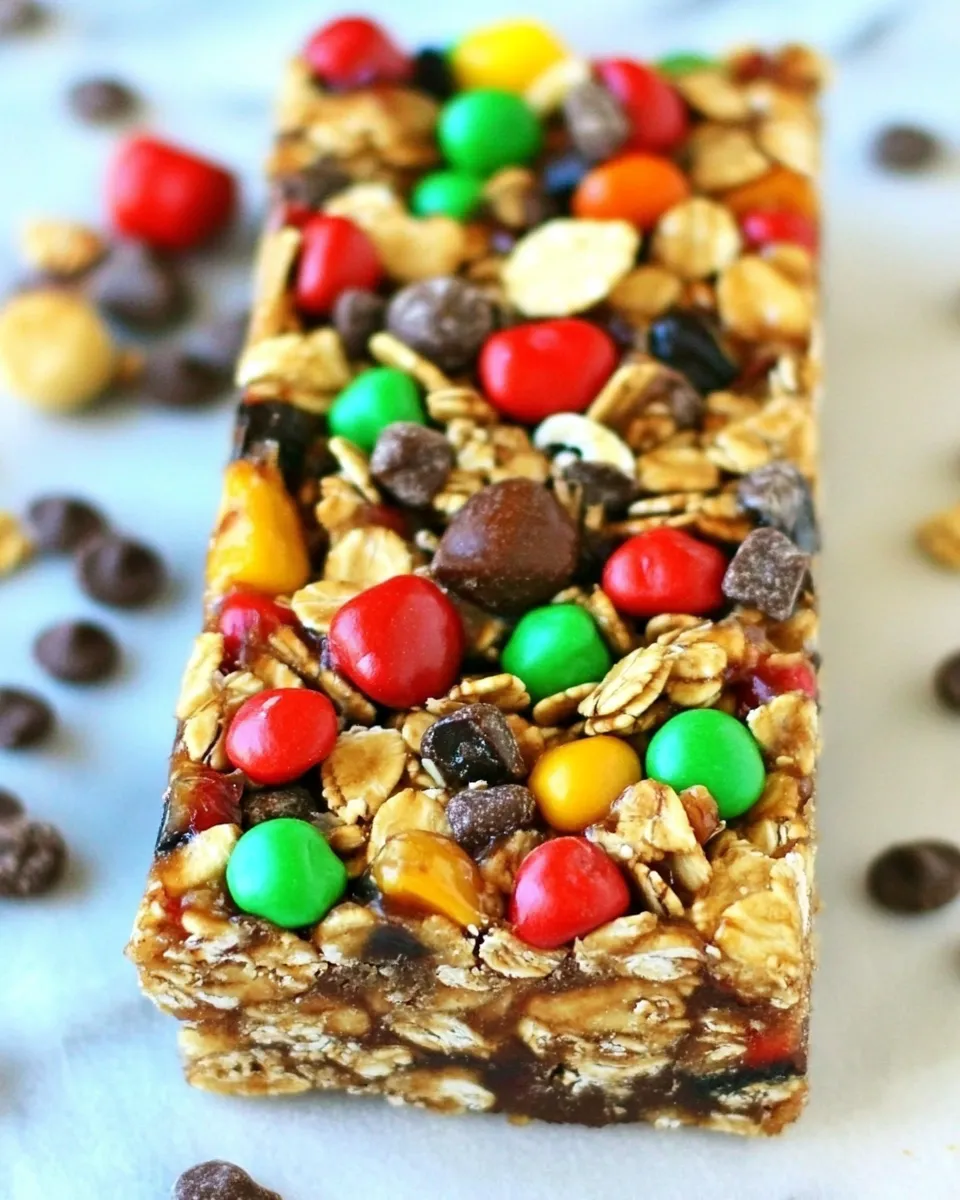
- 1 cup Monster trail mix
- 1/4 cup semisweet chocolate chips
Before You Start: Equipment
- Mixing Bowl: For combining your ingredients.
- Spatula: To help mix and spread your ingredients evenly.
- 9×9-inch Baking Pan: To shape your granola bars (you can line it with parchment paper for easier removal).
- Measuring Cups and Spoons: To accurately measure your ingredients.
Monster Trail Mix Granola Bars (No-Bake): From Prep to Plate
Step 1: Prepare Your Pan
Start by lining a 9×9-inch baking pan with parchment paper. This will make it easier to lift the granola bars out once they set. Leave some overhang on the sides for easy removal.
Step 2: Melt the Mixture
In a medium mixing bowl, combine the light brown sugar, creamy peanut butter, honey, and unsalted butter. Microwave this mixture in 30-second intervals, stirring in between until everything is melted and smooth. This should take about 1-2 minutes.
Step 3: Combine Dry Ingredients
In a separate large bowl, mix together the quick oats, crispy rice cereal, and Monster trail mix. Make sure the trail mix is evenly distributed throughout the oats and cereal.
Step 4: Mix Wet and Dry Ingredients
Pour the melted mixture over the dry ingredients. Use a spatula to fold everything together until all the dry ingredients are well-coated. The mixture should be sticky but manageable.
Step 5: Add Chocolate Chips
Once the mixture is well combined, gently fold in the semisweet chocolate chips. Be careful not to overmix, as you want to keep the chocolate chips intact.
Step 6: Press Into the Pan
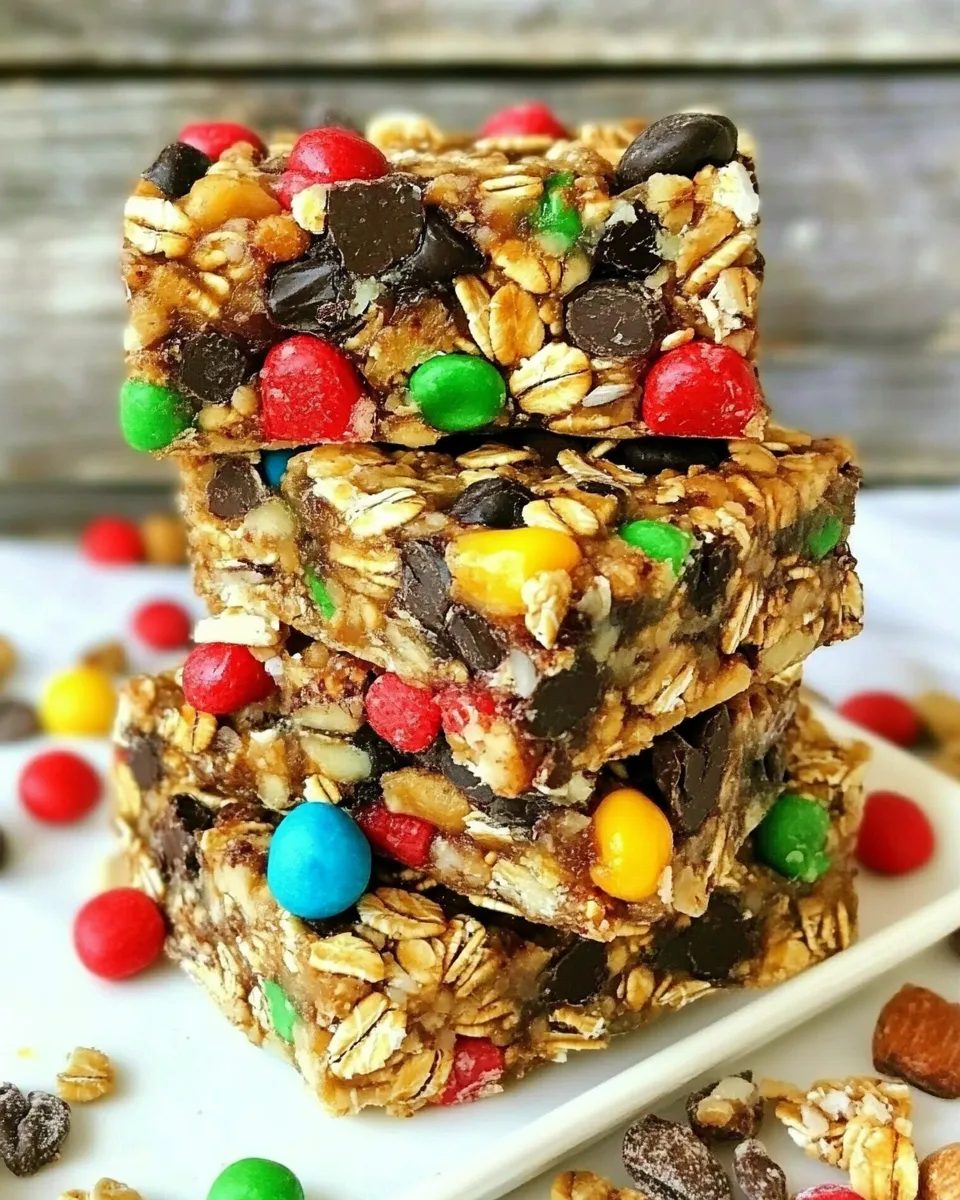
Transfer the granola mixture into the prepared pan. Using the spatula or your hands, press the mixture firmly into an even layer. The more you press, the better the bars will hold together once set.
Step 7: Chill and Set
Place the pan in the refrigerator for at least 1-2 hours to allow the granola bars to firm up. This step is crucial for achieving the perfect texture.
Step 8: Slice and Enjoy
Once set, lift the granola mixture out of the pan using the parchment overhang. Place it on a cutting board and slice it into bars. Enjoy them right away, or store them for later!
What to Use Instead
- Peanut Butter: Swap for almond butter or sunflower seed butter for a nut-free version.
- Honey: Agave syrup or maple syrup can be used as a vegan alternative.
- Crispy Rice Cereal: Substitute with granola or toasted oats for a different texture.
- Monster Trail Mix: Use your favorite mix of nuts, seeds, and dried fruits for a personalized touch.
Troubles You Can Avoid
To ensure your Monster Trail Mix Granola Bars come out perfectly, consider the following tips:
- Make sure to pack the granola mixture tightly in the pan; this helps the bars hold their shape.
- Let the bars chill for enough time to set. If they’re not chilled long enough, they may crumble when you cut them.
- Use a sharp knife to cut the bars for clean edges.
- Store the bars in an airtight container to keep them fresh for longer.
Save for Later: Storage Tips
Your Monster Trail Mix Granola Bars can be stored easily:
- Keep them in an airtight container at room temperature for up to a week.
- For longer storage, refrigerate the bars, where they can last for up to two weeks.
- For even longer shelf life, freeze the bars. Wrap each bar in plastic wrap and place them in a freezer-safe container. They can be frozen for up to three months.
Handy Q&A
Can I make these granola bars gluten-free?
Yes! Simply use gluten-free oats and ensure your crispy rice cereal is also gluten-free. This way, you can enjoy these bars without any gluten concerns.
What can I add to enhance the flavor?
You can mix in spices like cinnamon or vanilla extract for added flavor. Dried fruits like cranberries or raisins can also be a delicious addition!
Are these granola bars suitable for kids?
Absolutely! These bars are a great snack for kids. They are nutritious, easy to chew, and offer a tasty treat without artificial ingredients.
Can I use other sweeteners instead of honey?
Yes! Maple syrup, agave nectar, or brown rice syrup can all work as substitutes for honey in this recipe.
More from the Kitchen
- Ultimate Chocolate Chip Cookies
- Healthy Chocolate Chip Cookies
- 5-Ingredient Chocolate Chickpea Brownies
- Blueberry Banana Bread
Ready to Cook?
Now that you have the recipe for Monster Trail Mix Granola Bars (No-Bake), it’s time to gather your ingredients and get started! These bars make a wonderful snack that you can feel good about serving to your family and friends. They are easy to make and incredibly satisfying. Enjoy the crunchy, chewy goodness of these homemade granola bars that are perfect for any occasion.
Happy snacking!
Monster Trail Mix Granola Bars (No-Bake)
Ingredients
Equipment
Method
- Start by lining a 9x9-inch baking pan with parchment paper, leaving some overhang on the sides for easy removal.
- In a medium mixing bowl, combine the light brown sugar, creamy peanut butter, honey, and unsalted butter. Microwave this mixture in 30-second intervals, stirring until melted and smooth (1-2 minutes).
- In a separate large bowl, mix together the quick oats, crispy rice cereal, and Monster trail mix until evenly distributed.
- Pour the melted mixture over the dry ingredients and fold until well-coated. The mixture should be sticky.
- Gently fold in the semisweet chocolate chips, being careful not to overmix.
- Transfer the mixture into the prepared pan and press firmly into an even layer.
- Chill in the refrigerator for at least 1-2 hours to allow the bars to firm up.
- Once set, lift the granola mixture out using the parchment overhang, place on a cutting board, and slice into bars.
Notes
- Pack the granola mixture tightly in the pan for better shape.
- Chill long enough to set, or they may crumble when cut.
- Use a sharp knife for clean edges when slicing.
- Store in an airtight container to keep fresh.