
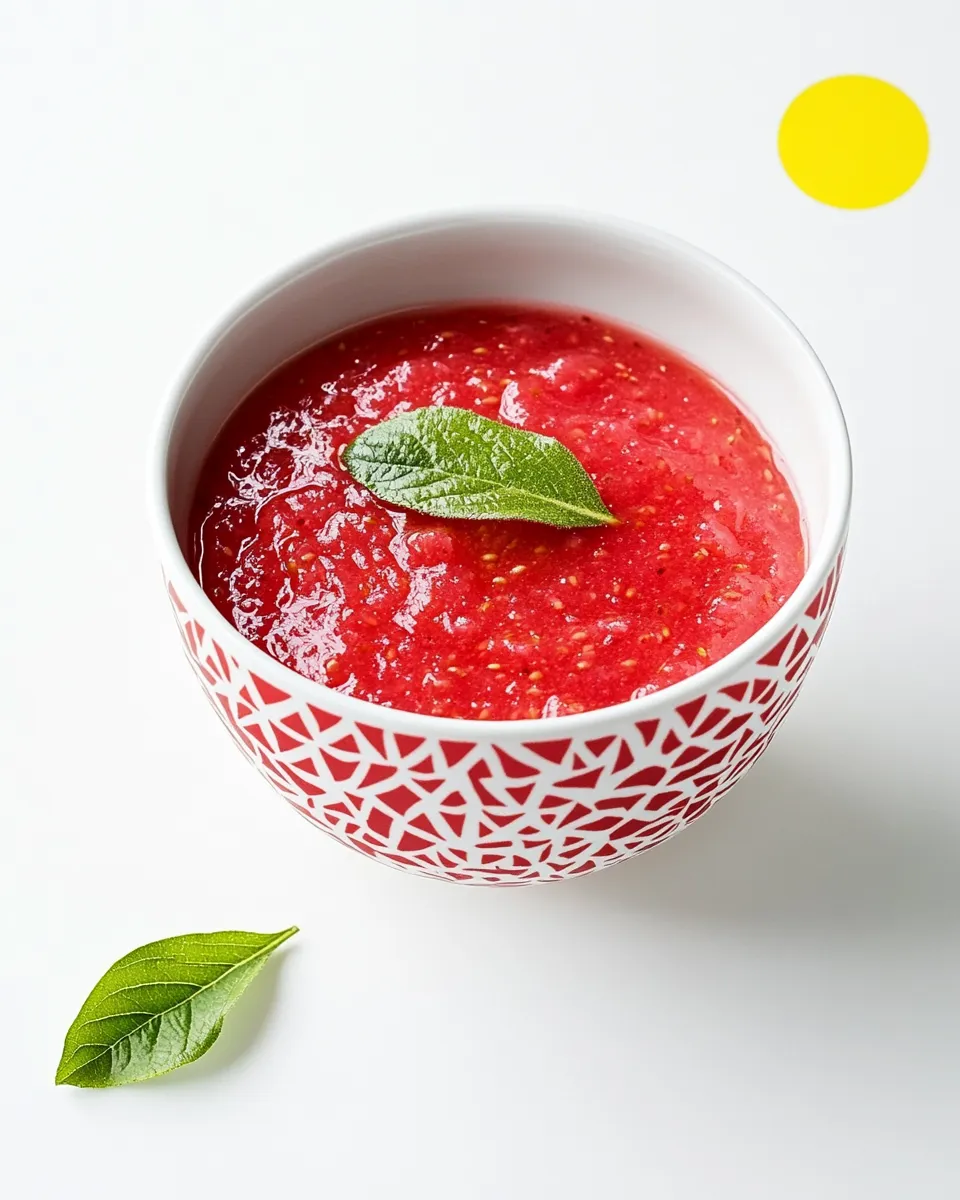
Guava Strawberry Jam
If you’re looking for a fruity spread that captures the essence of summer, look no further than this delightful Guava Strawberry Jam. Combining the sweet, tropical notes of pink guavas with the bright, tart flavor of strawberries, this jam is a perfect topping for toast, pancakes, or even as a filling for pastries. With its vibrant color and luscious texture, it’s not just a treat for your taste buds but also a feast for your eyes. Let’s dive into the world of jam-making!
Why It’s My Go-To
There’s something magical about homemade preserves. The process of transforming fresh fruit into a luscious spread is both rewarding and satisfying. Guava Strawberry Jam is particularly special to me because it highlights the unique sweetness of guavas while balancing it with the familiar flavor of strawberries. It’s an excellent way to use seasonal fruit and create a jar of sunshine that you can enjoy all year round. Perfect for breakfast or an afternoon snack, this jam is versatile and can elevate any dish it accompanies.
The Ingredient Lineup
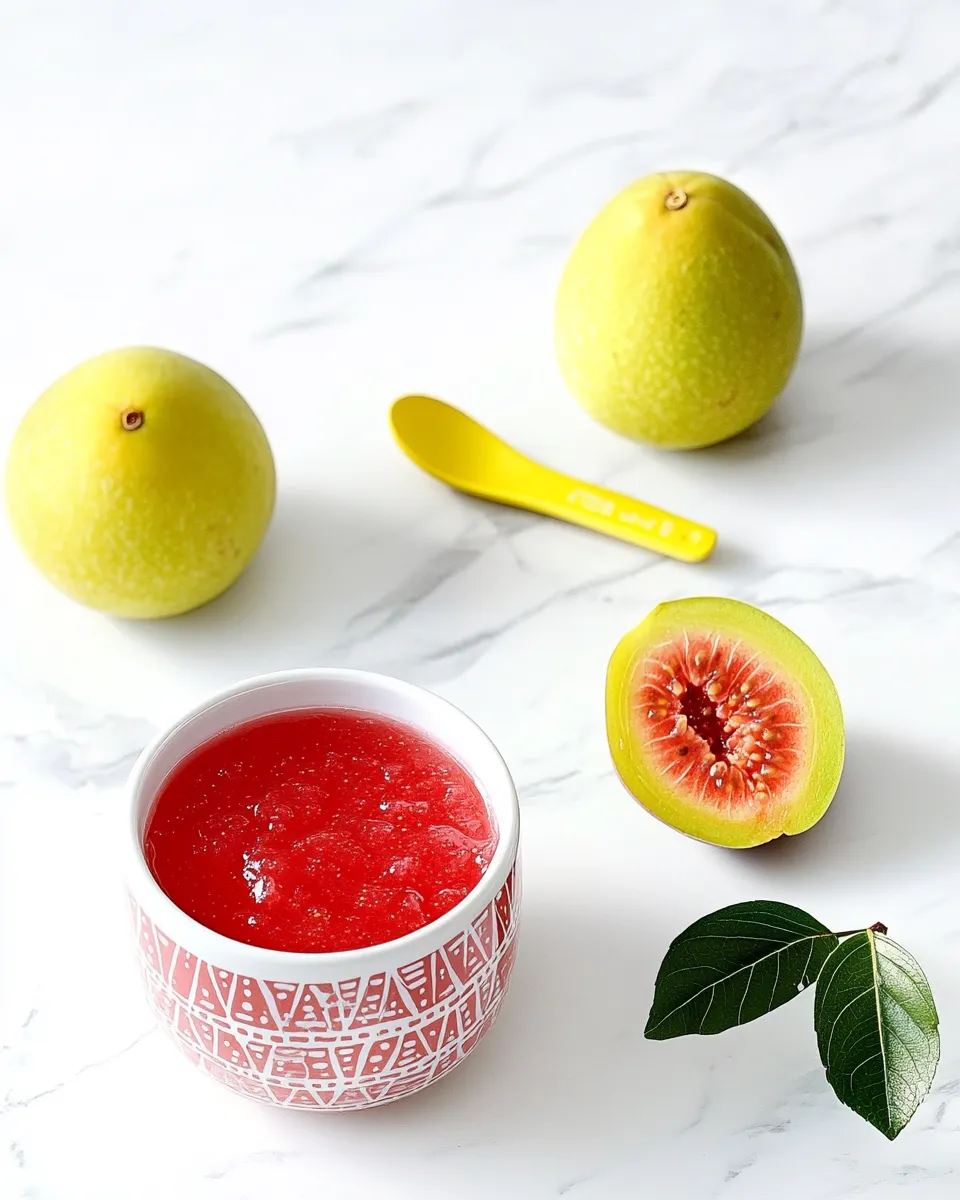
To make this delightful Guava Strawberry Jam, you’ll need a few simple, yet fresh ingredients:
- 1 pound (1 kg) pink guavas: Ripe and fragrant, these will provide the base for our jam.
- 1 tablespoon lemon juice: Adds brightness and balances the sweetness.
- 1 pound (280 g) strawberries: Hulled and coarsely chopped to mix with the guavas.
- 3 tablespoons lemon juice: Enhances flavor and helps in preserving the jam.
- 1 teaspoon citric acid: A natural preservative that helps maintain the color and flavor.
- 1½ cups (300 g) granulated sugar: Sweetens the jam and aids in the gelling process.
- 1 teaspoon Pomona’s Universal pectin: A low-sugar pectin that allows for a better gel without excess sugar.
- 2 teaspoons calcium water: An essential ingredient when using Pomona’s pectin.
- 1 teaspoon butter (optional): Helps to reduce foaming during cooking.
Before You Start: Equipment
Here’s what you’ll need to gather before diving into your jam-making adventure:
- Large pot: To cook the fruit mixture.
- Wooden spoon: For stirring the jam as it cooks.
- Measuring cups and spoons: For accurate ingredient measurements.
- Jars and lids: Sterilized jars for storing your finished jam.
- Jar lifter: To safely remove hot jars from boiling water.
- Food processor or blender: To puree the guavas if preferred.
How to Prepare Guava Strawberry Jam
Follow these steps to create your own delicious Guava Strawberry Jam:
Step 1: Prepare the Fruit
Start by washing the pink guavas thoroughly. Cut them in half and scoop out the flesh into a bowl. If you prefer a smoother texture, you can blend the guava flesh until smooth. Next, wash and hull the strawberries, then chop them coarsely.
Step 2: Cook the Guavas
In a large pot, combine the guava flesh and 1 tablespoon of lemon juice. Cook over medium heat, stirring occasionally, until the mixture bubbles and starts to soften, about 10-15 minutes.
Step 3: Add Strawberries and Additional Ingredients
Once the guavas are soft, add the chopped strawberries, 3 tablespoons of lemon juice, citric acid, and granulated sugar. Stir well to combine and continue cooking for another 10 minutes, allowing the flavors to meld.
Step 4: Prepare the Pectin
In a small bowl, mix together the Pomona’s Universal pectin and calcium water. Stir until fully combined. Once the fruit mixture reaches a rolling boil, add the pectin mixture and stir vigorously for about 1-2 minutes to ensure it is fully incorporated.
Step 5: Test for Doneness
To check if your jam is ready, use a spoon to drop a small amount onto a chilled plate. Let it sit for 1 minute, then run your finger through it. If it holds its shape and doesn’t run back together, it’s done. If not, continue to boil for another few minutes and test again.
Step 6: Jar It Up
Once your jam is ready, remove it from the heat and skim off any foam if desired. If using, stir in the butter to reduce foaming. Carefully ladle the hot jam into sterilized jars, leaving about ¼ inch of headspace. Wipe the rims of the jars with a clean cloth to ensure a good seal.
Step 7: Seal and Process
Place the lids on the jars and screw on the metal bands until they are fingertip-tight. Process the jars in a boiling water bath for 10 minutes to ensure they are sealed properly. Once done, remove the jars using a jar lifter and let them cool completely on a clean towel or cooling rack.
Seasonal Adaptations

This Guava Strawberry Jam can be adapted based on seasonal fruit availability. Here are a few ideas:
- Swap strawberries for raspberries or blueberries for a different flavor profile.
- In the fall, consider adding spices like cinnamon or nutmeg for a warm twist.
- Try incorporating herbs like basil or mint for a refreshing touch.
- Mix in citrus zest for added brightness and complexity.
Things That Go Wrong
Making jam can sometimes have its hiccups. Here are common issues and how to avoid them:
- Jam not thickening: This can happen if the mixture wasn’t boiled long enough or if the pectin wasn’t mixed in properly. Be sure to follow the instructions closely.
- Foaming: If your jam bubbles over, simply reduce the heat and stir constantly. Adding butter can also help reduce foam.
- Separation: If the fruit separates after cooling, it may not have been mixed thoroughly. Stir well before pouring into jars.
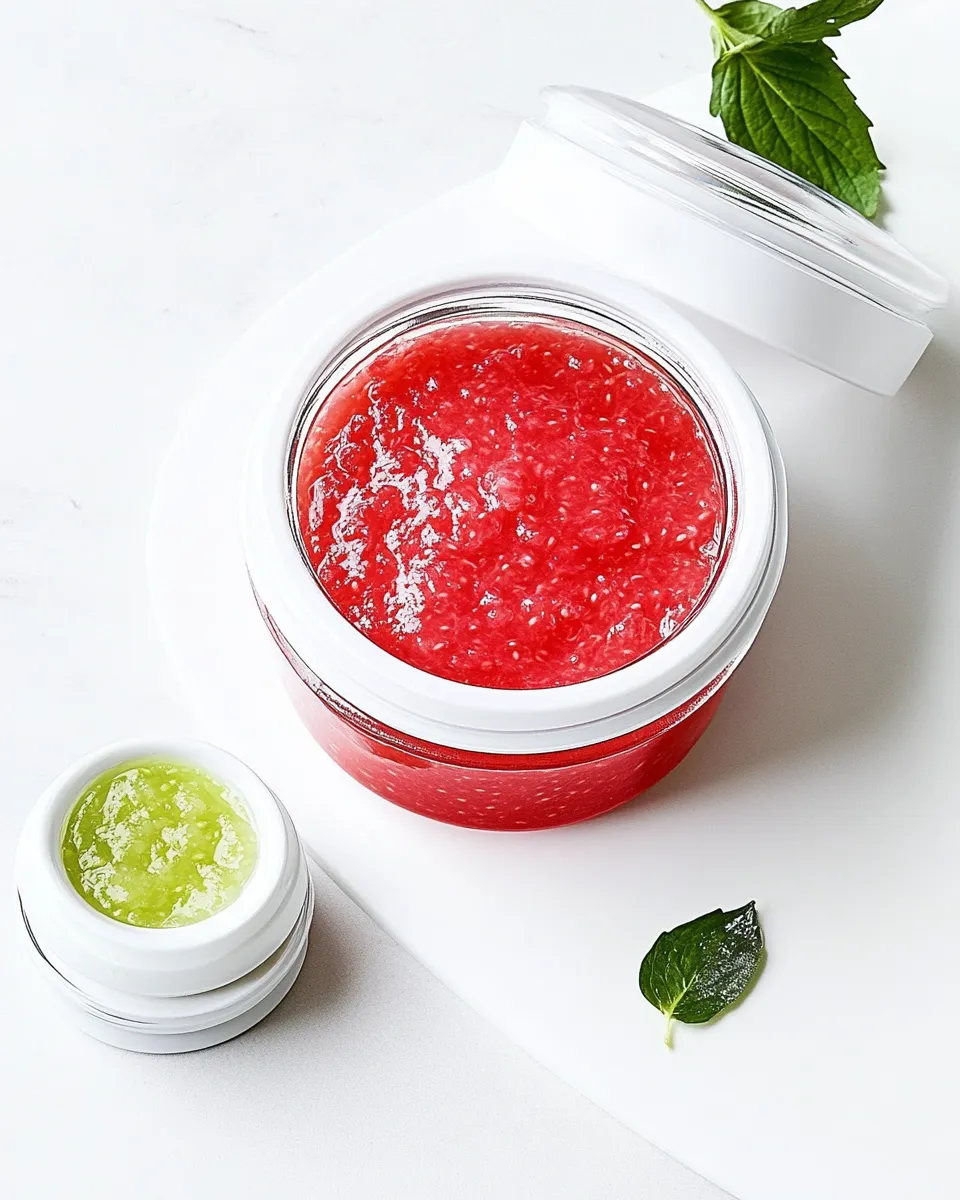
Meal Prep & Storage Notes
Once your Guava Strawberry Jam is ready, here are some tips for storing it:
- Store the sealed jars in a cool, dark place for up to one year.
- Once opened, refrigerate the jam and use within 2-3 weeks.
- For long-term storage, consider freezing the jam in freezer-safe containers for up to 6 months.
- Label jars with the date to keep track of freshness.
Reader Q&A
Can I use frozen fruit instead of fresh?
Yes! You can use frozen strawberries and guavas, but make sure to thaw and drain them first to avoid excess liquid in your jam.
What can I do if my jam is too sweet?
You can adjust the sweetness by adding a bit more lemon juice or citric acid. Remember that the sugar also helps with preservation, so be cautious with how much you reduce.
How do I know if my jam is safe to eat?
Ensure the jars have sealed properly by checking that the lids are concave and do not pop when pressed. If there’s any doubt, it’s best to refrigerate and use within a couple of weeks.
Can I add spices to my jam?
Absolutely! Spices like cinnamon or ginger can add a lovely depth of flavor to your jam. Just be sure to start with a small amount and adjust to taste.
Weekend Projects
If you enjoyed making Guava Strawberry Jam, consider trying these other delicious preserves and recipes:
- Peach Jam – A sweet and juicy treat perfect for summer.
- Mixed Berry Jam – A delightful blend of berries for a burst of flavor.
- Zucchini Bread – A moist and delicious way to use up garden zucchini.
- Fig Preserves – A rich and sophisticated spread that pairs well with cheese.
Bring It Home
This Guava Strawberry Jam is not just a recipe; it’s an invitation to savor the flavors of fruit at their peak and relish the satisfaction of making something with your own hands. Whether you spread it on toast, use it in desserts, or give it as a gift, this jam is sure to brighten anyone’s day. Embrace the process, enjoy the fruits of your labor, and share the love through a jar of homemade goodness. Happy jamming!
Guava Strawberry Jam
Ingredients
Equipment
Method
- Start by washing the pink guavas thoroughly. Cut them in half and scoop out the flesh into a bowl. If you prefer a smoother texture, blend the guava flesh until smooth. Wash and hull the strawberries, then chop them coarsely.
- In a large pot, combine the guava flesh and 1 tablespoon of lemon juice. Cook over medium heat, stirring occasionally, until the mixture bubbles and softens, about 10-15 minutes.
- Once the guavas are soft, add the chopped strawberries, 3 tablespoons of lemon juice, citric acid, and granulated sugar. Stir well and continue cooking for another 10 minutes.
- In a small bowl, mix together the Pomona's Universal pectin and calcium water. Stir until fully combined. Once the fruit mixture reaches a rolling boil, add the pectin mixture and stir vigorously for about 1-2 minutes.
- To check if your jam is ready, drop a small amount onto a chilled plate. If it holds its shape and doesn’t run, it’s done. If not, continue to boil and test again.
- Once ready, remove from heat and skim off any foam. If desired, stir in the butter. Ladle the hot jam into sterilized jars, leaving about ¼ inch of headspace. Wipe rims with a clean cloth.
- Place lids on jars and screw on metal bands until fingertip-tight. Process jars in a boiling water bath for 10 minutes. Remove jars using a jar lifter and let cool completely.
Notes
- Store sealed jars in a cool, dark place for up to one year.
- Refrigerate opened jam and use within 2-3 weeks.
- For long-term storage, freeze in containers for up to 6 months.