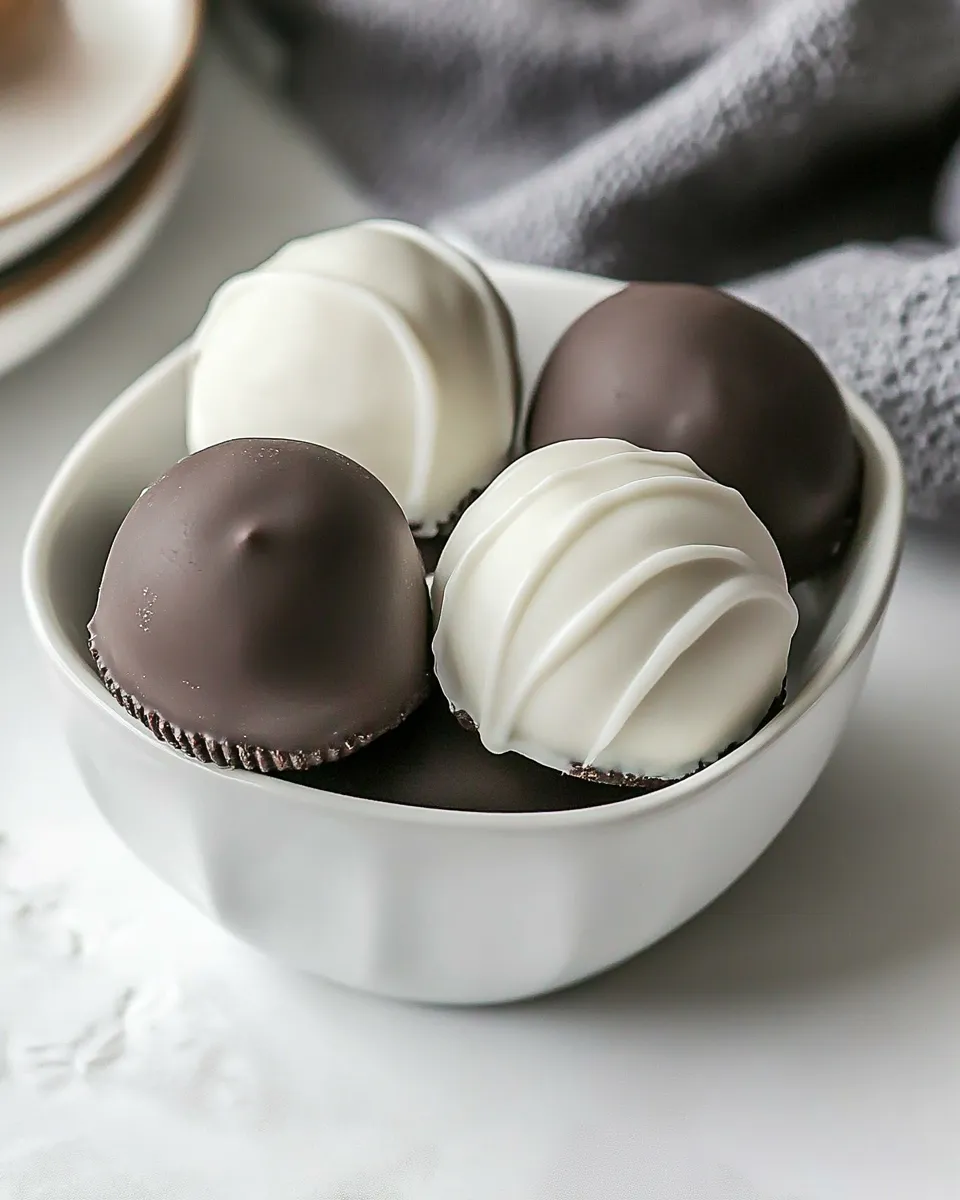
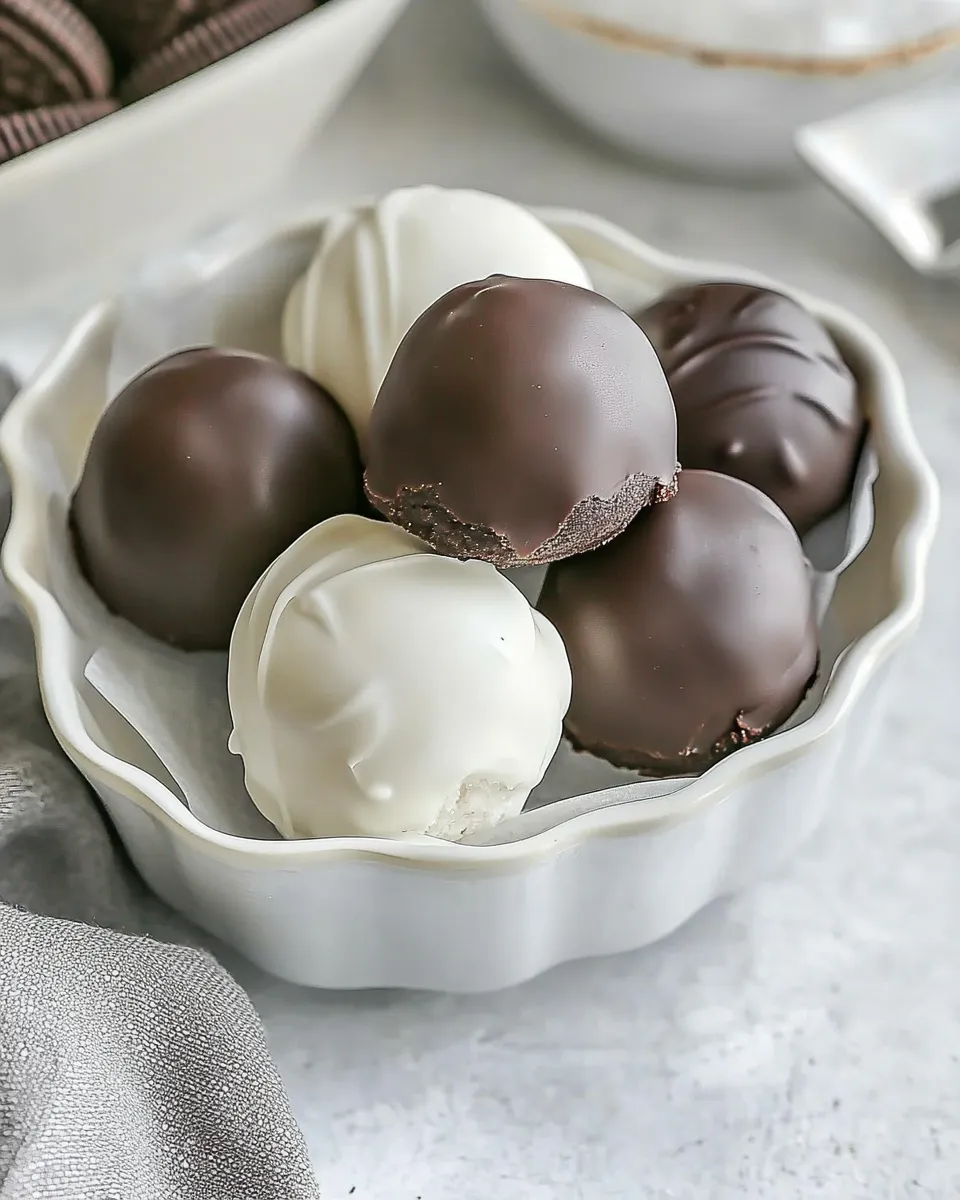
Easy Oreo Truffles
There’s something utterly delightful about the combination of Oreos and cream cheese, especially when transformed into bite-sized truffles. These Easy Oreo Truffles are not only simple to make, but they also deliver an explosion of flavor that will have everyone coming back for more. Whether you’re planning a party, looking for a fun dessert to make with your kids, or just craving something sweet, these truffles are the answer. With just a handful of ingredients and minimal effort, you can whip up a batch of these delectable treats that are perfect for any occasion. Let’s dive into why this recipe deserves a spot in your dessert rotation and how to make these irresistible bites.
Why This Recipe Belongs in Your Rotation
Easy Oreo Truffles are a crowd-pleaser, and it’s easy to see why. They combine the rich, chocolaty flavor of Oreos with the creamy texture of cream cheese, all coated in a luscious layer of melting wafers. Here are a few reasons to make these truffles often:
- Quick and Easy: With minimal ingredients and steps, these truffles come together in no time.
- Customizable: You can easily add your favorite toppings or flavors for a personal touch.
- Perfect for Any Occasion: Whether it’s a birthday party, holiday gathering, or just a treat for yourself, these truffles fit the bill.
- Make Ahead: They store well in the fridge, making them a convenient option for busy days.
What Goes Into Easy Oreo Truffles
Creating these delightful treats requires just a few ingredients you likely already have on hand. Here’s what you’ll need:
- 1 (15-ounce) package of original Oreos
- 8 ounces of cream cheese, at room temperature
- 1 (12-ounce) package of Ghirardelli white or dark melting wafers (you may need a backup bag)
- Sprinkles, optional, for garnish
Before You Start: Equipment
Before diving into the recipe, gather the necessary equipment to streamline the process:
- Food Processor: For crushing the Oreos into fine crumbs.
- Mixing Bowl: To combine the cream cheese and Oreo crumbs.
- Baking Sheet: Line it with parchment paper for easy truffle placement.
- Microwave-Safe Bowl: For melting the chocolate wafers.
- Fork or Toothpick: For dipping the truffles into the melted wafers.
From Start to Finish: Easy Oreo Truffles
Ready to get your hands a little messy? Follow these simple steps to create your Easy Oreo Truffles.
Step 1: Crush the Oreos
Start by placing the entire package of Oreos into a food processor. Pulse until they are finely crushed, resembling sand. If you don’t have a food processor, you can place the Oreos in a zip-top bag and crush them with a rolling pin.
Step 2: Mix with Cream Cheese
In a mixing bowl, combine the crushed Oreos with the room temperature cream cheese. Use a spatula or your hands to mix until fully incorporated. The mixture should be well combined and form a dough-like consistency.
Step 3: Form the Truffles
Scoop out small portions of the mixture, about one tablespoon each, and roll them into balls. Place each ball on the prepared baking sheet. Once all the mixture is formed into truffles, place the baking sheet in the freezer for about 30 minutes to firm up.
Step 4: Melt the Wafers
While the truffles are chilling, melt the Ghirardelli melting wafers according to the package instructions. This usually involves microwaving in short bursts, stirring between each interval until smooth.
Step 5: Dip the Truffles
Once the truffles are firm, use a fork or toothpick to dip each one into the melted wafers, ensuring they are fully coated. Allow any excess chocolate to drip off before placing them back on the baking sheet.
Step 6: Add Sprinkles
If desired, sprinkle some colorful sprinkles on top of the truffles while the coating is still wet. This adds a fun touch and makes them even more enticing.
Step 7: Set and Enjoy
Let the coated truffles sit at room temperature or refrigerate them until the chocolate is fully set. Once set, they’re ready to be enjoyed or stored for later!
Better Choices & Swaps
If you’re looking to make some adjustments or substitutions, here are a few options to consider:
- Oreos: Try using gluten-free Oreos for a gluten-free version.
- Cream Cheese: Neufchâtel cheese can be used for a lighter option.
- Melting Wafers: You can substitute with chocolate chips, but ensure they are made for melting.
- Toppings: Experiment with crushed nuts, coconut flakes, or mini chocolate chips instead of sprinkles.
Don’t Do This
To ensure your Easy Oreo Truffles turn out perfectly, keep the following tips in mind:
- Don’t skip the chilling step. This helps the truffles hold their shape when dipped in chocolate.
- Avoid over-melting the chocolate. If it becomes too hot, it may seize up and become unusable.
- Don’t rush the mixing. Ensure the cream cheese is fully incorporated with the Oreo crumbs for a smooth texture.
- Resist the temptation to eat too many during the dipping process—they’re addictive!
Make-Ahead & Storage
These Easy Oreo Truffles are fantastic for make-ahead treats. Here’s how to store them:
- Store truffles in an airtight container in the refrigerator for up to two weeks.
- If you want to make them ahead of time, you can freeze the uncoated truffles. Just roll them into balls and freeze, then dip them in chocolate when you’re ready to serve.
- For longer storage, consider freezing the finished truffles. Just ensure they are in a single layer to avoid sticking.
Quick Questions
Can I use different flavors of Oreos?
Absolutely! Feel free to experiment with different Oreo flavors like mint, peanut butter, or birthday cake to create unique truffles.
Do I have to use cream cheese?
While cream cheese gives the truffles a rich and creamy texture, you can try using mascarpone or a vegan cream cheese alternative for a different flavor profile.
How do I know if the melting wafers are ready?
The melting wafers should be smooth and fluid without any lumps. Stir after each interval in the microwave to ensure even melting.
Can I make these truffles vegan?
Yes! Use vegan Oreos and a vegan cream cheese alternative, along with dairy-free melting chocolate for a vegan version of these truffles.
One Pan, More Ideas
If you love these Easy Oreo Truffles, you might want to try these other delicious recipes:
Let’s Eat
Now that you have all the details to make these Easy Oreo Truffles, it’s time to get in the kitchen and start creating! These truffles will not only satisfy your sweet tooth but also impress anyone you share them with. The best part? You can customize them to your liking, making them a versatile treat for any occasion. So gather your ingredients, roll up your sleeves, and enjoy the process of making these delightful bites. Your taste buds will thank you!
Easy Oreo Truffles
Ingredients
Equipment
Method
- Start by placing the entire package of Oreos into a food processor. Pulse until they are finely crushed, resembling sand.
- In a mixing bowl, combine the crushed Oreos with the room temperature cream cheese. Mix until fully incorporated.
- Scoop out small portions of the mixture, about one tablespoon each, and roll them into balls. Place each ball on a prepared baking sheet.
- While the truffles are chilling, melt the Ghirardelli melting wafers according to the package instructions.
- Once the truffles are firm, dip each one into the melted wafers, ensuring they are fully coated.
- If desired, sprinkle some colorful sprinkles on top while the coating is still wet.
- Let the coated truffles sit at room temperature or refrigerate until the chocolate is fully set.
Notes
- Chill the truffles to help them hold their shape when dipped.
- Avoid over-melting the chocolate to prevent it from seizing up.
- Ensure cream cheese is fully incorporated for a smooth texture.