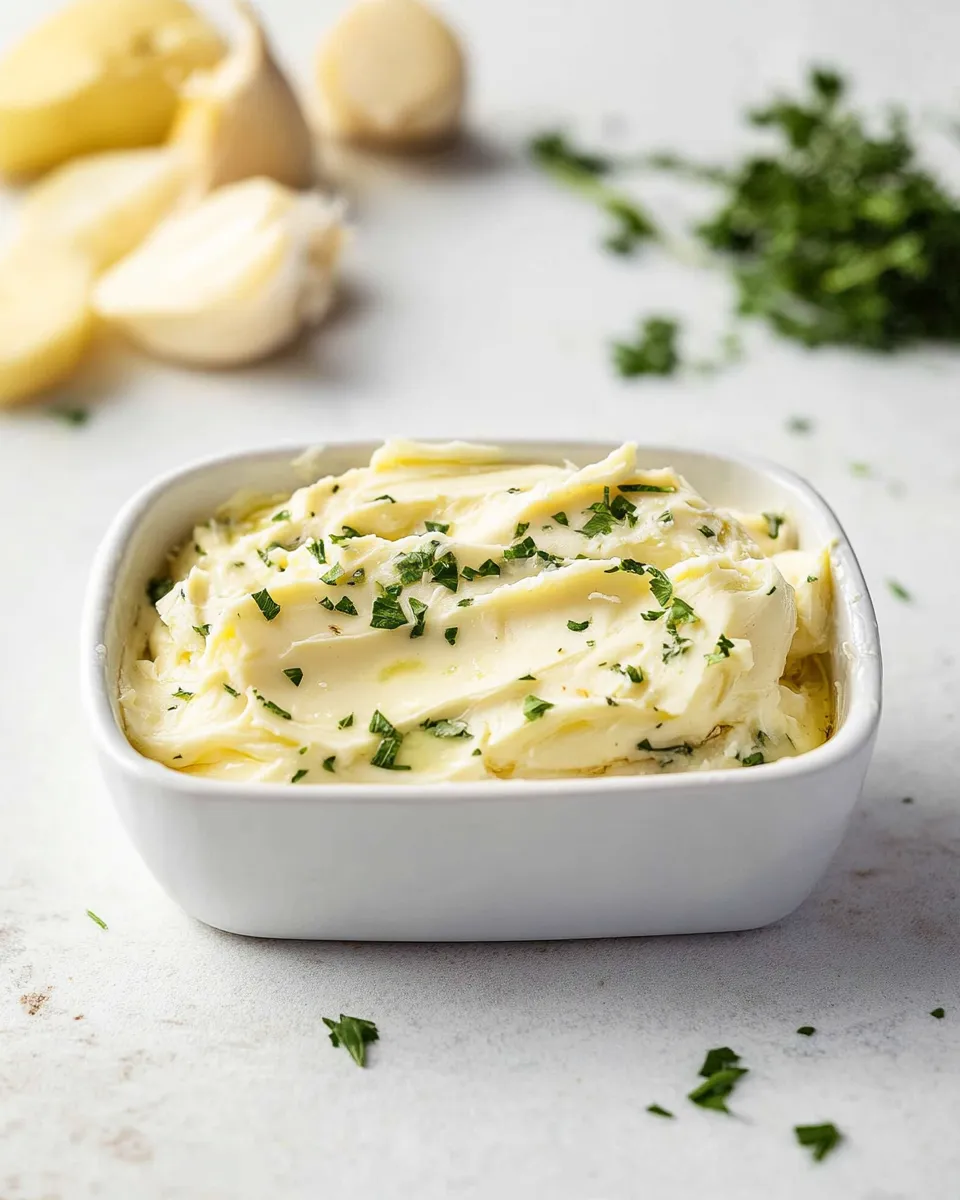
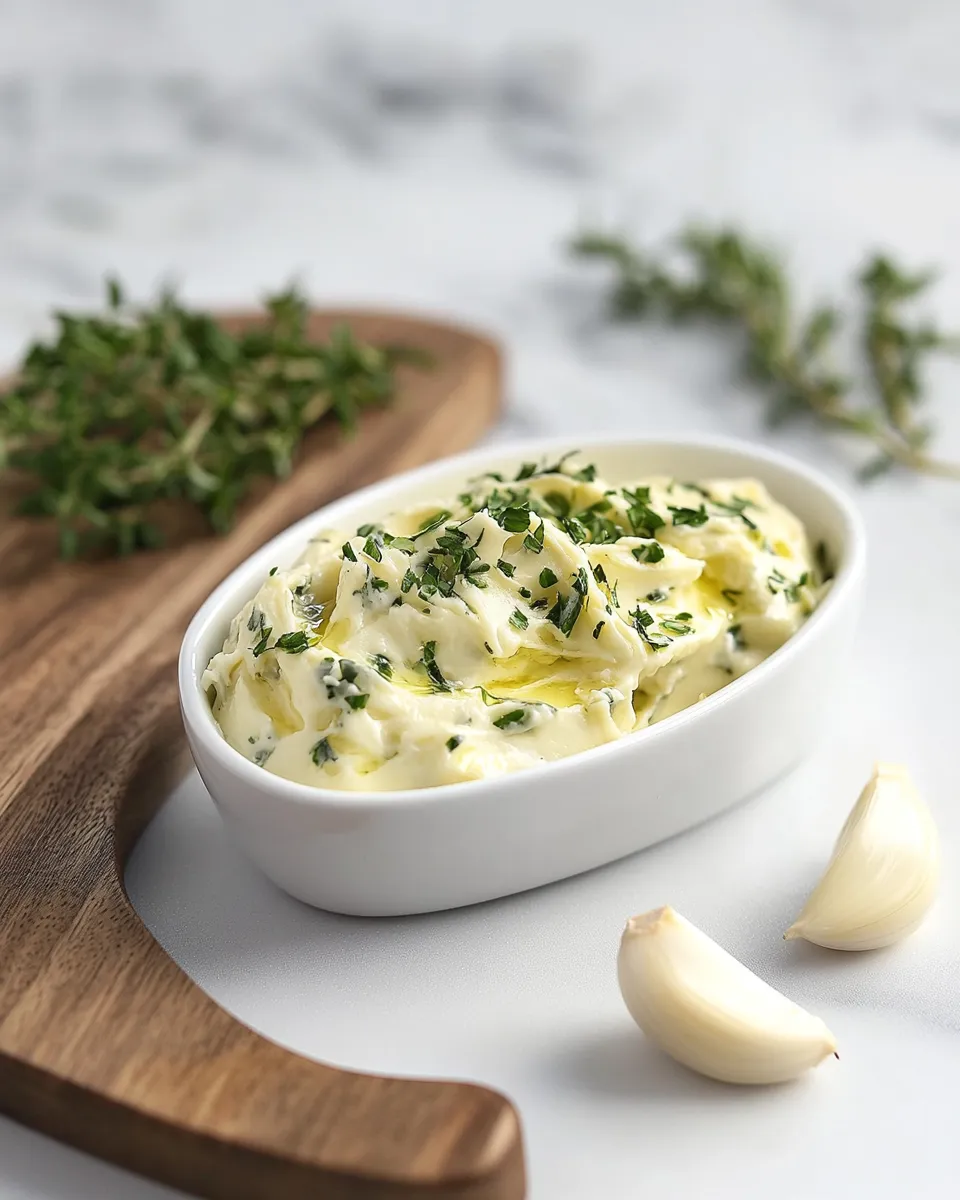
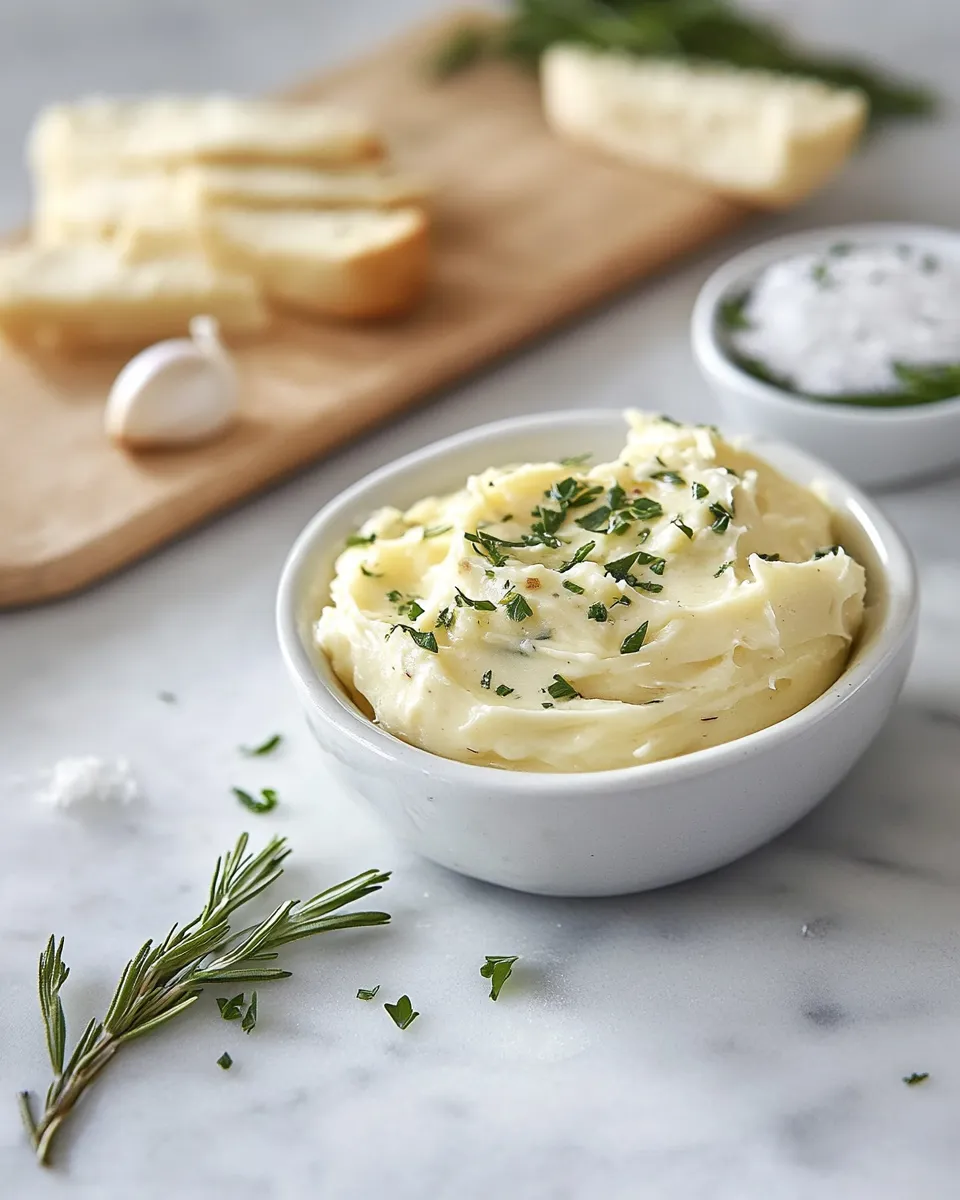
Roasted Garlic Butter
There’s something utterly irresistible about the combination of roasted garlic and butter. The transformation that occurs when you roast garlic is nothing short of magical. It becomes sweet, caramelized, and buttery, making it the perfect companion for countless dishes. Whether slathered on warm bread, used to enhance vegetables, or stirred into pasta, Roasted Garlic Butter elevates any meal to a new level of deliciousness. Today, we’ll delve into the world of this rich and flavorful spread that is sure to become a staple in your kitchen.
Why It Deserves a Spot
Roasted Garlic Butter is not just a condiment; it’s an experience. The sweet, nutty flavor of roasted garlic melds beautifully with creamy butter, creating a luxurious spread that enhances everything it touches. Here are a few reasons why it deserves a permanent spot in your fridge:
- Versatile: Use it on bread, vegetables, meats, or even in sauces.
- Easy to Make: With just a few simple ingredients, you can whip it up in no time.
- Impressive Flavor: The depth of flavor from roasted garlic is unparalleled.
- Homemade Goodness: Making your own means no preservatives or artificial ingredients.
Your Shopping Guide
To make the perfect batch of Roasted Garlic Butter, you’ll need to gather a few simple ingredients. Here’s what to look for:
- 1 head garlic: Look for firm, plump bulbs with no soft spots.
- 1 teaspoon olive oil: Extra virgin olive oil is best for flavor.
- 1 stick unsalted butter: Make sure it’s softened to room temperature for easy mixing.
- 1 teaspoon fresh parsley: Fresh is key for the best flavor and color.
- 1/2 teaspoon kosher salt: Enhances the overall taste without overpowering.
Equipment Breakdown
Gathering the right equipment will ensure your roasting and mixing go smoothly. Here’s what you’ll need:
- Oven: For roasting the garlic to perfection.
- Aluminum foil: To wrap the garlic while it roasts.
- Mixing bowl: For combining the ingredients.
- Fork or whisk: To thoroughly mix the butter and garlic.
- Storage container: An airtight container for keeping your Roasted Garlic Butter fresh.
Mastering Roasted Garlic Butter: How-To
Making Roasted Garlic Butter is a straightforward process that requires minimal effort for maximum flavor. Follow these simple steps:
Step 1: Roast the Garlic
Preheat your oven to 400°F (200°C). Take the head of garlic and slice off the top, exposing the individual cloves. Drizzle with olive oil and wrap it tightly in aluminum foil. Place it in the oven and roast for about 30-35 minutes, or until the cloves are soft and golden.
Step 2: Prepare the Butter
While the garlic is roasting, take your stick of unsalted butter out of the fridge to soften. This will make it easier to mix with the garlic later.
Step 3: Squeeze the Garlic
Once the garlic is roasted and cool enough to handle, carefully unwrap the foil. Squeeze the roasted cloves out of their skins into a mixing bowl. They should slide out easily.
Step 4: Mix It Up
Using a fork or whisk, mash the roasted garlic until it’s smooth. Add the softened butter, finely chopped parsley, and kosher salt. Mix until well combined and creamy.
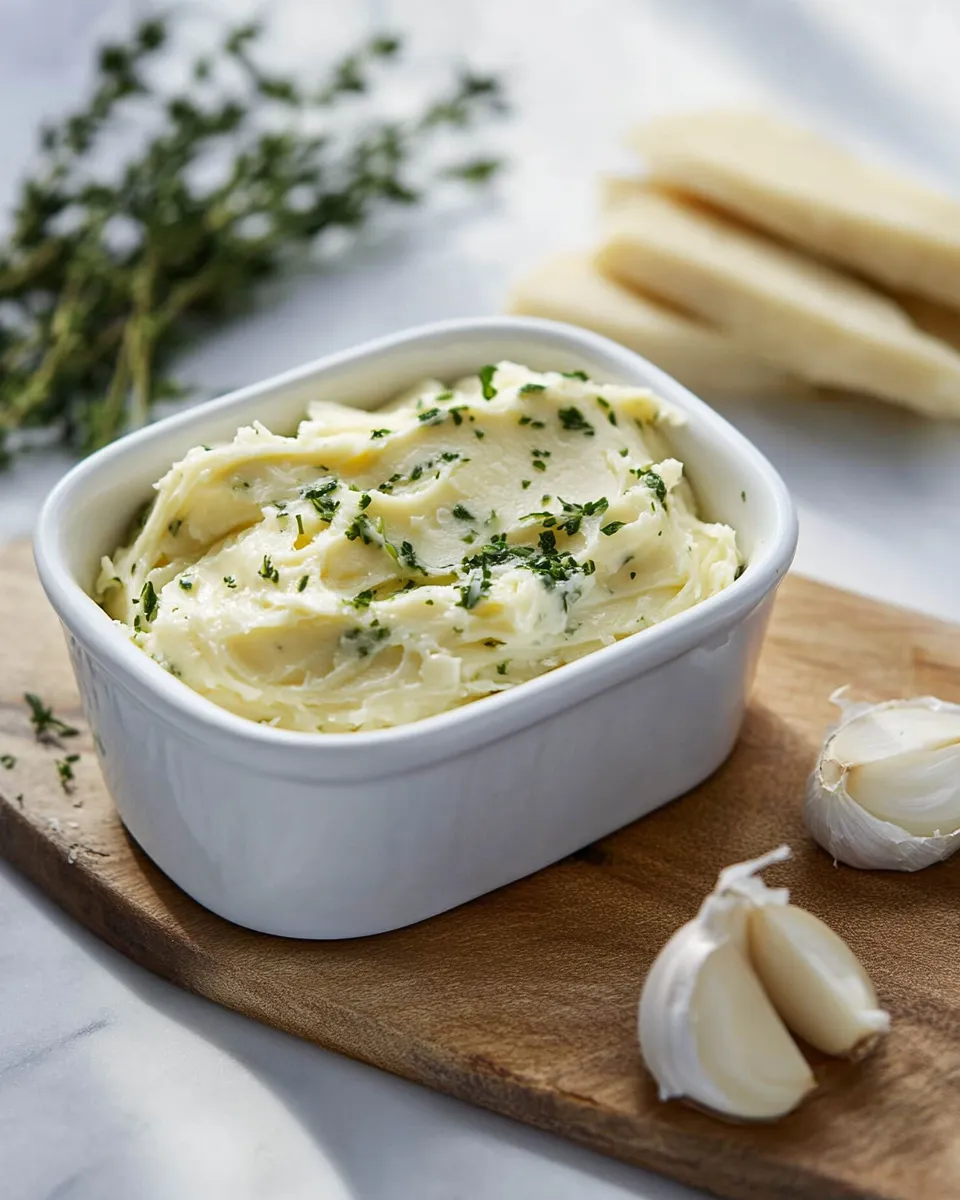
Step 5: Store Your Butter
Transfer the Roasted Garlic Butter to an airtight container. You can shape it into a log using plastic wrap if you prefer. Refrigerate for up to 2 weeks or freeze for longer storage.
Variations by Season
One of the beauties of Roasted Garlic Butter is its adaptability. Here are a few seasonal variations to keep things interesting:
- Spring: Add lemon zest and fresh chives for a bright flavor.
- Summer: Mix in some fresh basil or dill for a garden-fresh taste.
- Fall: Incorporate sage and a pinch of nutmeg for a warm, cozy flavor.
- Winter: Stir in some grated Parmesan cheese for a rich, savory twist.
Notes from the Test Kitchen
Here are a few tips from the test kitchen to ensure your Roasted Garlic Butter turns out perfectly every time:
- Don’t rush the roasting process; properly roasted garlic will yield the best flavor.
- Feel free to adjust the salt to your preference, especially if you’re using salted butter.
- For a spicier kick, add a pinch of red pepper flakes to the mixture.
- Experiment with different herbs like thyme or rosemary for unique flavor profiles.
Freezer-Friendly Notes
Your Roasted Garlic Butter can easily be frozen for later use. Here are some handy tips:
- Wrap the butter tightly in plastic wrap or place it in an airtight container.
- Label with the date and use within 3 months for the best flavor.
- To use, simply thaw in the refrigerator overnight or let it sit at room temperature for a few hours.
Your Questions, Answered
Can I use garlic powder instead of roasted garlic?
While you can use garlic powder, it won’t provide the same rich, sweet flavor that roasted garlic does. Roasting brings out the natural sugars in garlic, creating a depth of flavor that powder simply can’t match.
How do I know when the garlic is done roasting?
Garlic is done when it’s soft and lightly golden. You can test it by squeezing a clove; it should easily pop out of its skin and feel creamy.
What can I use Roasted Garlic Butter on?
The possibilities are endless! Use it on toasted bread, mixed into mashed potatoes, melted over grilled vegetables, or as a flavorful addition to pasta dishes.
Can I make Roasted Garlic Butter ahead of time?
Absolutely! You can prepare it a few days in advance and store it in the refrigerator, or freeze it for longer storage.
Weekend Projects
If you’re inspired to create even more delicious dishes this weekend, check out these projects:
- Soft Butter Cookies – A delightful treat that pairs perfectly with your homemade butter.
- Creamy Tomato Basil Pasta – Enhance this dish with a dollop of Roasted Garlic Butter.
- Easy Vegan Mashed Potatoes – Stir in some Roasted Garlic Butter for a creamy, garlicky twist.
Serve & Enjoy
Now that you’ve mastered the art of making Roasted Garlic Butter, it’s time to enjoy it! Spread it generously on warm, crusty bread, or use it to elevate your favorite dishes. Whether you’re cooking for yourself or entertaining guests, this simple yet flavorful butter will impress everyone at the table. The combination of roasted garlic and creamy butter is sure to become a beloved addition to your culinary repertoire.
There’s something so satisfying about creating something so delicious with just a few simple ingredients. With Roasted Garlic Butter, you can add a touch of gourmet flair to your everyday meals. So, gather your ingredients and get ready to experience the rich, savory goodness of homemade garlic butter that will have you coming back for more.
Roasted Garlic Butter
Ingredients
Equipment
Method
- Preheat your oven to 400°F (200°C). Slice off the top of the head of garlic, drizzle with olive oil, wrap in aluminum foil, and roast for 30-35 minutes until soft and golden.
- While the garlic roasts, let the stick of unsalted butter soften at room temperature.
- Once roasted and cool, unwrap the garlic and squeeze the cloves into a mixing bowl.
- Mash the roasted garlic until smooth, then mix in the softened butter, parsley, and salt until well combined and creamy.
- Transfer the butter to an airtight container. Refrigerate for up to 2 weeks or freeze for longer storage.
Notes
- Don’t rush the roasting process; properly roasted garlic yields the best flavor.
- Adjust salt according to your preference, especially with salted butter.
- Add a pinch of red pepper flakes for a spicy kick.