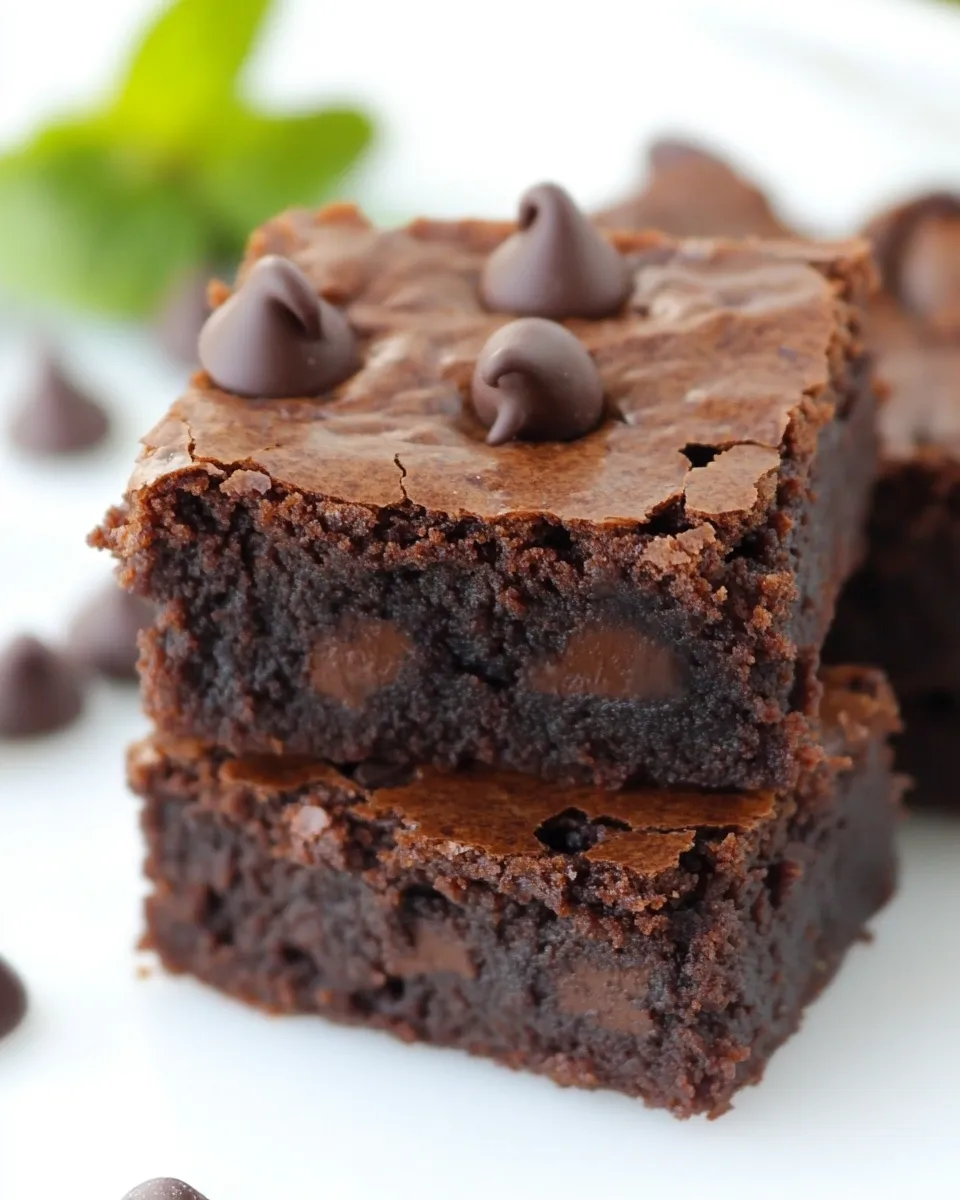
Gluten-Free Mint Chocolate Chip Brownies
Are you ready to indulge in a decadent treat that satisfies your sweet tooth while being gentle on your stomach? These Gluten-Free Mint Chocolate Chip Brownies are the perfect balance of rich chocolate flavor and refreshing mint. Made with nutritious buckwheat flour, they are not only gluten-free but also incredibly moist and fudgy. If you’ve been searching for a dessert that everyone will love, look no further. These brownies come together quickly and are bound to become a family favorite!
Why It Works Every Time
The secret to these brownies lies in the combination of quality ingredients and a simple method. Using buckwheat flour gives the brownies a unique, nutty flavor while ensuring they remain gluten-free. The melted butter or coconut oil adds richness, while the eggs bring moisture and structure. And let’s not forget the star of the show: the mint extract! It adds a refreshing kick that pairs beautifully with the deep chocolate notes. This recipe is foolproof, making it a go-to for any occasion.
Ingredient List
- 1 cup buckwheat flour (for gluten-free) or whole wheat flour (for non-GF version)
- 1 cup Dutch-process cocoa powder, sifted if lumpy
- 1 teaspoon salt
- 1 cup + 1 tablespoon unsalted butter or coconut oil, melted and cooled slightly
- 1 cup granulated sugar
- 1 teaspoon pure vanilla extract
- 2 teaspoons peppermint extract
- 3 large eggs, room temperature
- 1 cup semi-sweet chocolate chips or other add-ins
Tools of the Trade
- Mixing bowls – for combining ingredients.
- Whisk – to beat the eggs and mix the wet ingredients.
- Rubber spatula – for folding in the flour and chocolate chips.
- 9×9 inch baking pan – for baking the brownies.
- Parchment paper – for easy removal of the brownies.
- Oven – to bake those delicious brownies to perfection.
Make Gluten-Free Mint Chocolate Chip Brownies: A Simple Method
Step 1: Preheat the Oven
Preheat your oven to 350°F (175°C). Line a 9×9 inch baking pan with parchment paper, leaving some overhang for easy removal later.
Step 2: Combine Dry Ingredients
In a large mixing bowl, whisk together the buckwheat flour, cocoa powder, and salt until well combined.
Step 3: Melt the Butter or Coconut Oil
In another bowl, melt the unsalted butter or coconut oil in the microwave or on the stovetop. Allow it to cool slightly before adding it to the mixture.
Step 4: Mix in the Sugars and Extracts
Add the granulated sugar, vanilla extract, and peppermint extract to the melted butter or coconut oil. Mix until well combined.
Step 5: Incorporate the Eggs
Add the eggs one at a time to the wet mixture, whisking well after each addition. This will help create a smooth batter.
Step 6: Combine Wet and Dry Ingredients
Gently fold the dry ingredients into the wet mixture using a rubber spatula. Be careful not to overmix; you want the batter to be just combined.
Step 7: Add Chocolate Chips
Fold in the semi-sweet chocolate chips or any other add-ins that you prefer, such as nuts or dried fruit.
Step 8: Bake
Pour the brownie batter into the prepared baking pan and spread it evenly. Bake in the preheated oven for 25-30 minutes, or until a toothpick inserted into the center comes out with a few moist crumbs.
Step 9: Cool and Serve
Allow the brownies to cool in the pan for about 10 minutes. Use the parchment overhang to lift them out of the pan and onto a wire rack to cool completely. Cut into squares and enjoy!
Dairy-Free/Gluten-Free Swaps
- Use coconut oil instead of butter for a dairy-free option.
- Substitute dairy-free chocolate chips for semi-sweet chocolate chips.
- For a nut-free version, ensure that your chocolate chips are nut-free as well.
Cook’s Notes
- For best results, use room temperature eggs to help the batter come together smoothly.
- Make sure to sift the cocoa powder if it’s lumpy to achieve a smooth brownie texture.
- Store brownies in an airtight container at room temperature for up to 3 days or in the refrigerator for up to a week.
- Feel free to experiment with different extracts, such as almond or orange, to create unique flavor profiles!
Leftovers & Meal Prep
These Gluten-Free Mint Chocolate Chip Brownies are perfect for meal prep! You can make a batch ahead of time and store them in the fridge or freezer. To freeze, cut the brownies into squares and wrap each piece individually in plastic wrap, then place them in a freezer-safe bag. They will keep well for up to three months. Simply thaw at room temperature before enjoying!
Your Top Questions
Can I use a different flour instead of buckwheat flour?
Absolutely! If you’re not following a gluten-free diet, you can substitute with whole wheat flour or all-purpose flour for a delicious result.
How do I know when the brownies are done baking?
The brownies are done when a toothpick inserted into the center comes out with a few moist crumbs. They may look slightly underbaked, but they will continue to set as they cool.
Can I add nuts to the brownies?
Yes! Feel free to fold in your favorite nuts, such as walnuts or pecans, along with the chocolate chips for added texture and flavor.
How should I store the brownies?
Store the brownies in an airtight container at room temperature for up to 3 days, or refrigerate them for up to a week. They also freeze well for longer storage.
Cook This Next
Next Steps
Now that you’ve mastered these Gluten-Free Mint Chocolate Chip Brownies, it’s time to gather your ingredients and get baking! Whether it’s a cozy night in or a gathering with friends, these brownies are sure to impress. Don’t forget to share your creations on social media and tag your favorite food bloggers. Happy baking!
Gluten-Free Mint Chocolate Chip Brownies
Ingredients
Equipment
Method
- Preheat your oven to 350°F (175°C). Line a 9x9 inch baking pan with parchment paper, leaving some overhang for easy removal later.
- In a large mixing bowl, whisk together the buckwheat flour, cocoa powder, and salt until well combined.
- In another bowl, melt the unsalted butter or coconut oil in the microwave or on the stovetop. Allow it to cool slightly before adding it to the mixture.
- Add the granulated sugar, vanilla extract, and peppermint extract to the melted butter or coconut oil. Mix until well combined.
- Add the eggs one at a time to the wet mixture, whisking well after each addition. This will help create a smooth batter.
- Gently fold the dry ingredients into the wet mixture using a rubber spatula. Be careful not to overmix; you want the batter to be just combined.
- Fold in the semi-sweet chocolate chips or any other add-ins that you prefer, such as nuts or dried fruit.
- Pour the brownie batter into the prepared baking pan and spread it evenly. Bake in the preheated oven for 25-30 minutes, or until a toothpick inserted into the center comes out with a few moist crumbs.
- Allow the brownies to cool in the pan for about 10 minutes. Use the parchment overhang to lift them out of the pan and onto a wire rack to cool completely. Cut into squares and enjoy!
Notes
- For best results, use room temperature eggs to help the batter come together smoothly.
- Make sure to sift the cocoa powder if it's lumpy to achieve a smooth brownie texture.
- Store brownies in an airtight container at room temperature for up to 3 days or in the refrigerator for up to a week.
- Feel free to experiment with different extracts, such as almond or orange, to create unique flavor profiles!