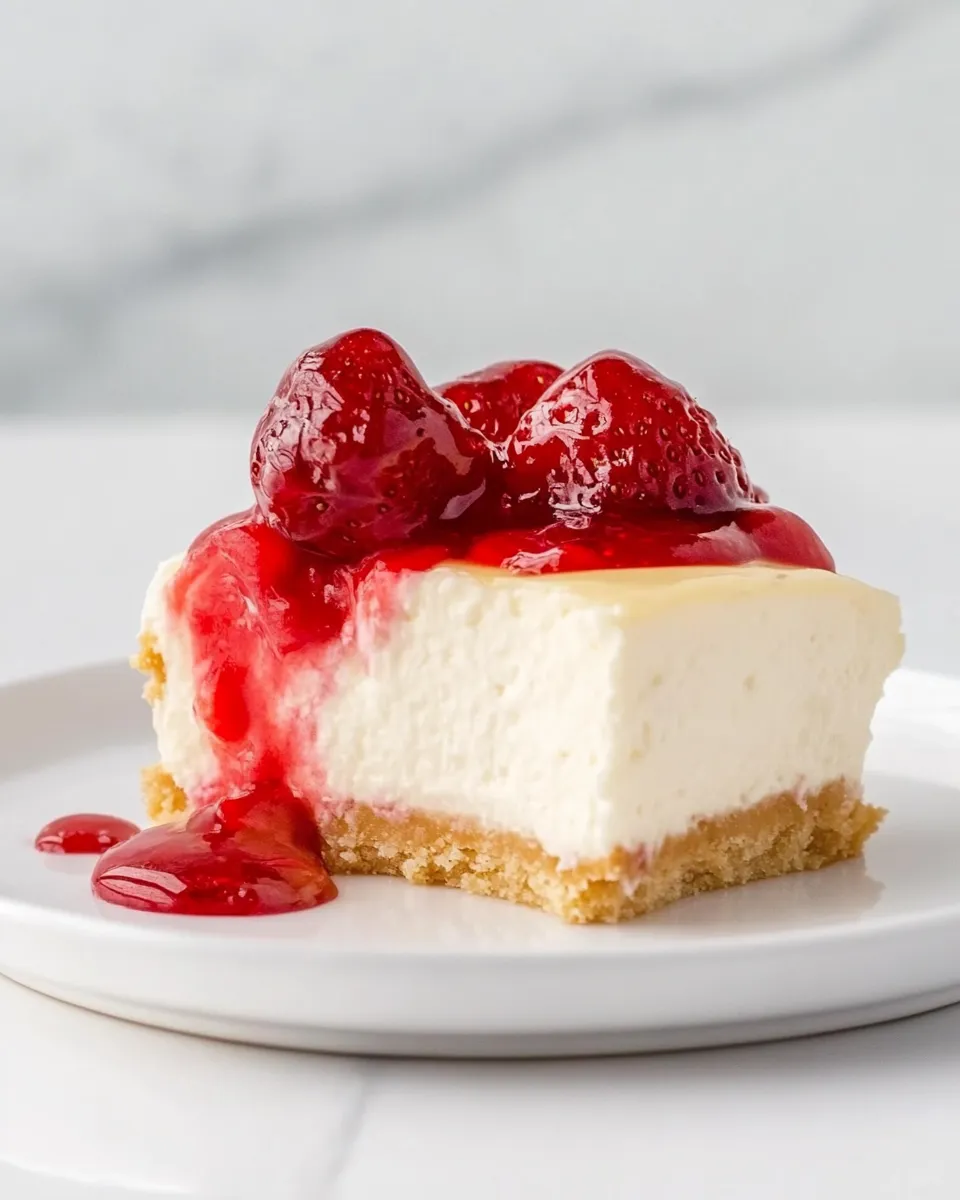
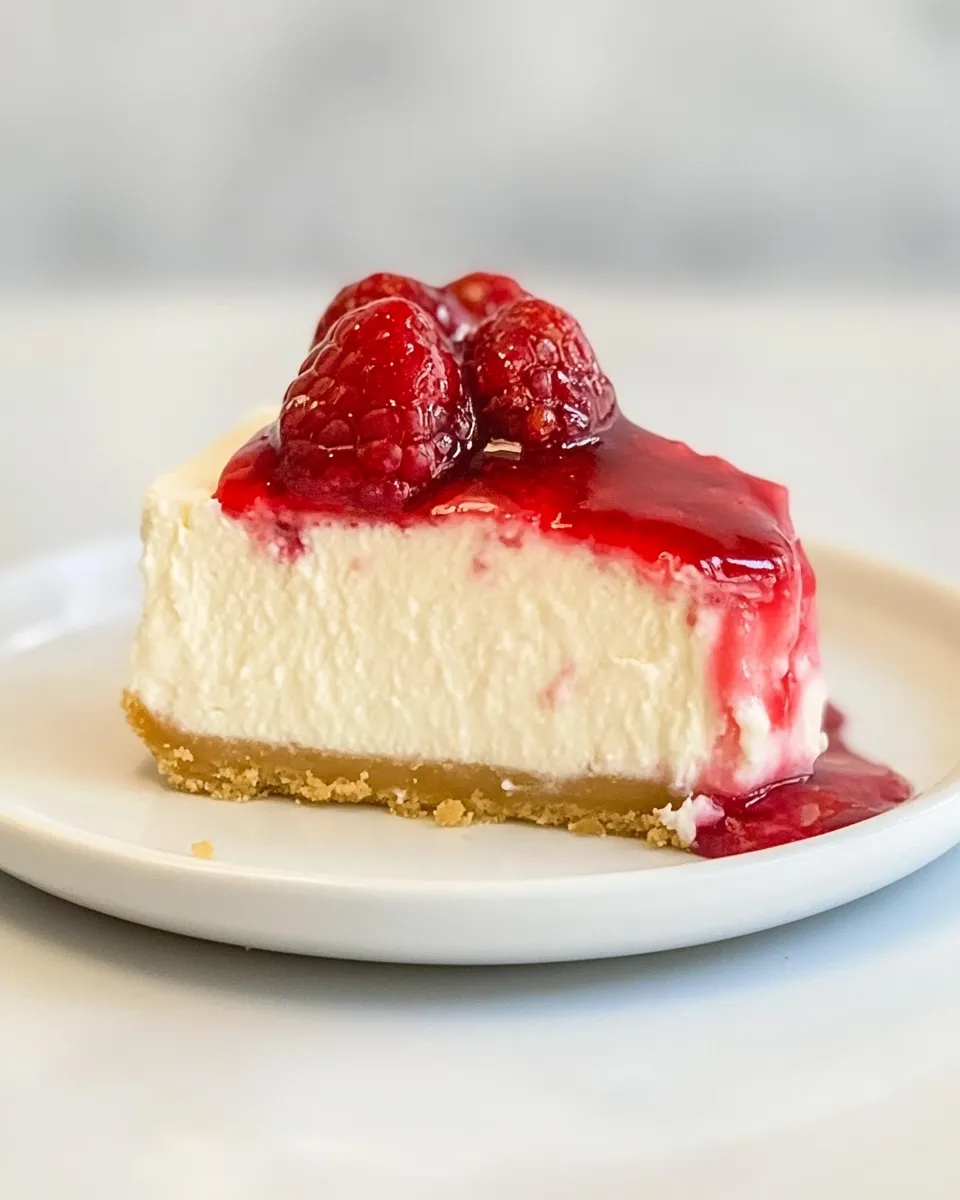
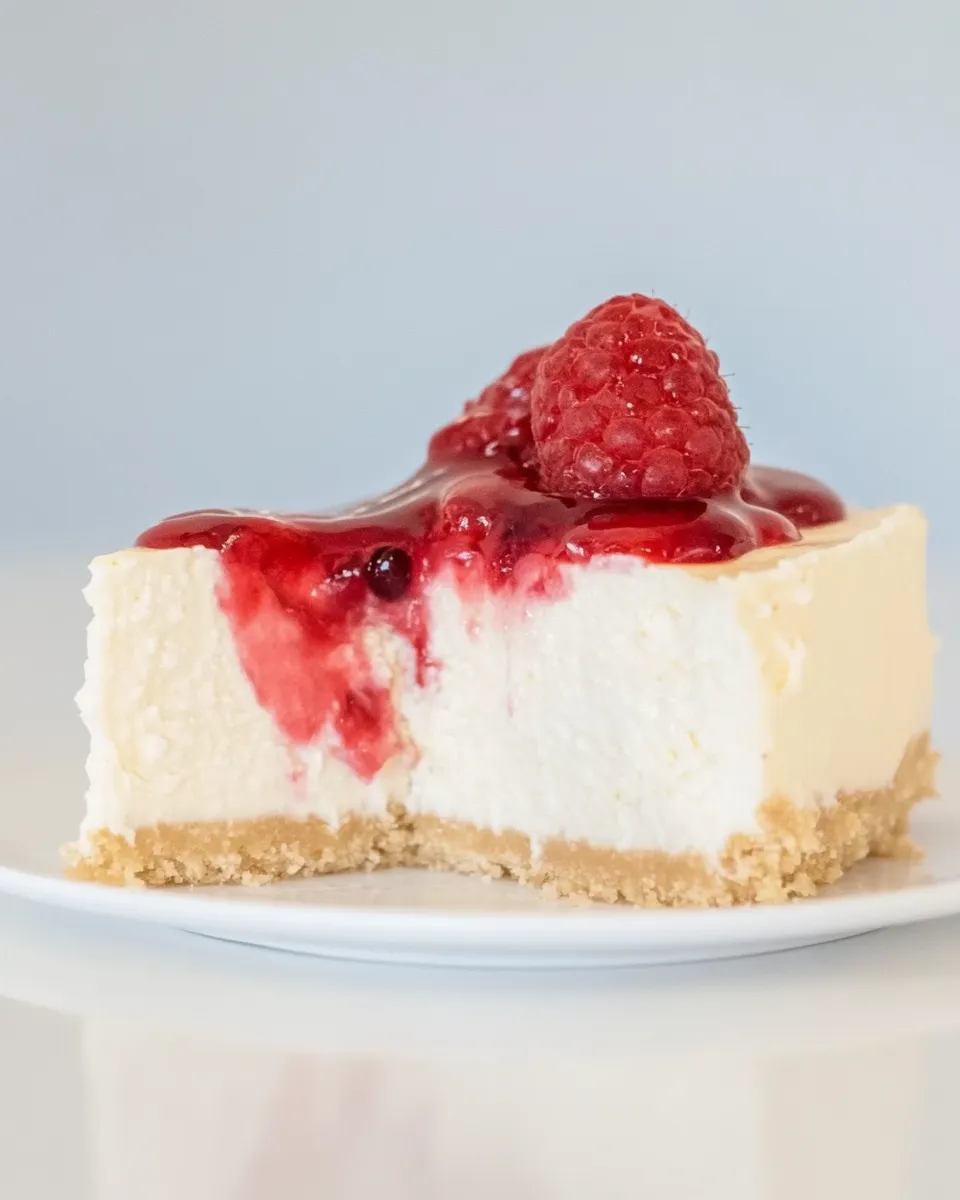
Raspberry Cheesecake
Raspberry Cheesecake is a delightful dessert that combines the creamy richness of cheesecake with the tart sweetness of fresh raspberries. This dessert is perfect for any occasion, whether you’re celebrating a birthday, hosting a dinner party, or simply indulging in a sweet treat at home. The vibrant color and luscious flavor make it an instant showstopper on any dessert table. With its smooth texture and the tangy burst of raspberries, this Raspberry Cheesecake is sure to become a favorite among your family and friends.
Why It’s My Go-To
There’s something magical about the combination of raspberries and cheesecake. The subtle tartness of the berries perfectly complements the creamy, rich filling, creating a balanced flavor profile that is simply irresistible. Not only is this Raspberry Cheesecake a crowd-pleaser, but it’s also surprisingly easy to make! The no-fuss graham cracker crust is a breeze to whip up, and the cheesecake filling comes together in one bowl. Plus, it’s a versatile dessert that can be enjoyed year-round, making it my go-to choice for gatherings and special occasions.
Ingredient Checklist
To create this delectable Raspberry Cheesecake, you will need the following ingredients:
- 1 Graham cracker pie crust – store-bought or homemade
- 4 cups cream cheese – softened to room temperature
- 1 cup sour cream – adds creaminess and tang
- 1 1/3 cups sugar – for sweetness
- 1 teaspoon vanilla extract – for flavor
- 4 large eggs – whisked
- 22 ounces raspberries – divided, with some for topping
- 2 tablespoons cornstarch – helps set the cheesecake
- 1 cup sugar – for the raspberry topping
What’s in the Gear List
Before diving into the recipe, gather your kitchen essentials:
- 9-inch springform pan – perfect for cheesecakes, allowing easy removal.
- Mixing bowls – for combining ingredients.
- Electric mixer – for smooth and creamy cheesecake filling.
- Rubber spatula – to scrape down sides and mix well.
- Measuring cups and spoons – for precise ingredient measurements.
- Food processor – optional, for crushing graham crackers if making the crust from scratch.
From Start to Finish: Raspberry Cheesecake
Creating your Raspberry Cheesecake is a straightforward process. Follow these steps for a perfect result:
Step 1: Prepare the Crust
If you are making a homemade graham cracker pie crust, crush 1 ½ cups of graham crackers, mix with ½ cup melted butter and ¼ cup sugar, and press the mixture into the bottom of a 9-inch springform pan. Bake at 350°F (175°C) for 10 minutes, then let cool.
Step 2: Make the Cheesecake Filling
In a large mixing bowl, combine the softened cream cheese, sour cream, 1 ⅓ cups of sugar, and vanilla extract. Using an electric mixer, beat until the mixture is smooth and creamy, ensuring there are no lumps.
Step 3: Add the Eggs
Slowly add the whisked eggs to the cream cheese mixture, one at a time, mixing on low speed until just combined. Be careful not to overmix, as this can incorporate too much air into the cheesecake.
Step 4: Incorporate the Raspberries
Gently fold in 16 ounces of the raspberries, reserving 6 ounces for topping later. Mix until the raspberries are evenly distributed throughout the filling.
Step 5: Prepare for Baking
Sprinkle the cornstarch over the cheesecake mixture and fold gently to combine. This will help the cheesecake set perfectly.
Step 6: Bake the Cheesecake
Pour the cheesecake filling into the prepared crust. Bake in a preheated oven at 325°F (160°C) for about 60-70 minutes or until the center is set and only slightly jiggly. The edges should be firm, while the center remains slightly soft.
Step 7: Cool and Chill
Turn off the oven, crack the door open, and let the cheesecake cool in the oven for an hour. This gradual cooling helps prevent cracks. Once cooled, refrigerate for at least 4 hours, preferably overnight.
Step 8: Prepare the Raspberry Topping
In a small saucepan, combine the reserved raspberries and 1 cup of sugar. Cook over medium heat until the raspberries break down and the mixture thickens, about 10 minutes. Allow to cool.
Step 9: Serve
Once the cheesecake is chilled and the raspberry topping has cooled, pour the raspberry sauce over the cheesecake. Slice, serve, and enjoy the delightful combination of flavors!
Warm & Cool Weather Spins
This Raspberry Cheesecake is versatile and can be enjoyed in various ways depending on the season:
- Summer: Serve chilled with extra fresh raspberries on top for a refreshing dessert.
- Winter: Add a hint of cinnamon or nutmeg to the cheesecake filling for a cozy, spiced flavor.
- Spring: Pair with a lemon zest in the filling for a bright, citrusy twist.
- Fall: Top with a drizzle of caramel sauce for a sweet, indulgent treat.
Avoid These Traps
Even the best bakers can run into troubles while making Raspberry Cheesecake. Here are some common pitfalls to avoid:
- Overmixing the batter – This can lead to a dense cheesecake. Mix just until combined.
- Baking at too high a temperature – This can cause the cheesecake to crack. Stick to a low and slow baking method.
- Skipping the cooling step – Letting the cheesecake cool slowly in the oven helps prevent cracks.
- Not chilling long enough – For the best flavor and texture, refrigerate the cheesecake for at least 4 hours or overnight.
Keep It Fresh: Storage Guide
To keep your Raspberry Cheesecake fresh and delicious, follow these storage tips:
- Store in the refrigerator – Cover the cheesecake with plastic wrap or foil to keep it from absorbing other odors.
- Consume within 5-7 days – For optimal taste and texture, enjoy your cheesecake within a week.
- Freeze for longer storage – If you want to keep it longer, wrap slices in plastic wrap and store in an airtight container in the freezer for up to 2 months.
- Thaw in the refrigerator – When you’re ready to enjoy, thaw your cheesecake overnight in the refrigerator.
Ask the Chef
Can I use other fruits instead of raspberries?
Absolutely! This cheesecake pairs well with various fruits such as strawberries, blueberries, or even peaches. Just adjust the sugar in the topping based on the sweetness of the fruit you choose.
What if my cheesecake cracks during baking?
Don’t worry, cracks can happen! If it does crack, you can cover it with the raspberry topping to hide any imperfections. It will still taste delicious!
Can I make this cheesecake ahead of time?
Yes! Raspberry Cheesecake can be made a day or two in advance. Just be sure to cover it well and store it in the refrigerator until you’re ready to serve.
Is there a way to make this recipe dairy-free?
For a dairy-free version, use vegan cream cheese and a dairy-free sour cream alternative. The result may vary slightly in taste and texture but can still be delicious!
Our Most-Loved Recipes
If you enjoyed this Raspberry Cheesecake, you might also love these popular recipes:
- Lemon Bars – A refreshing citrus treat.
- Creamy Mushroom Pasta – A comforting dish for any night.
- Vegan Chocolate Cake – A rich, decadent dessert for chocolate lovers.
- Chocolate Chip Cookies – A classic favorite that never disappoints.
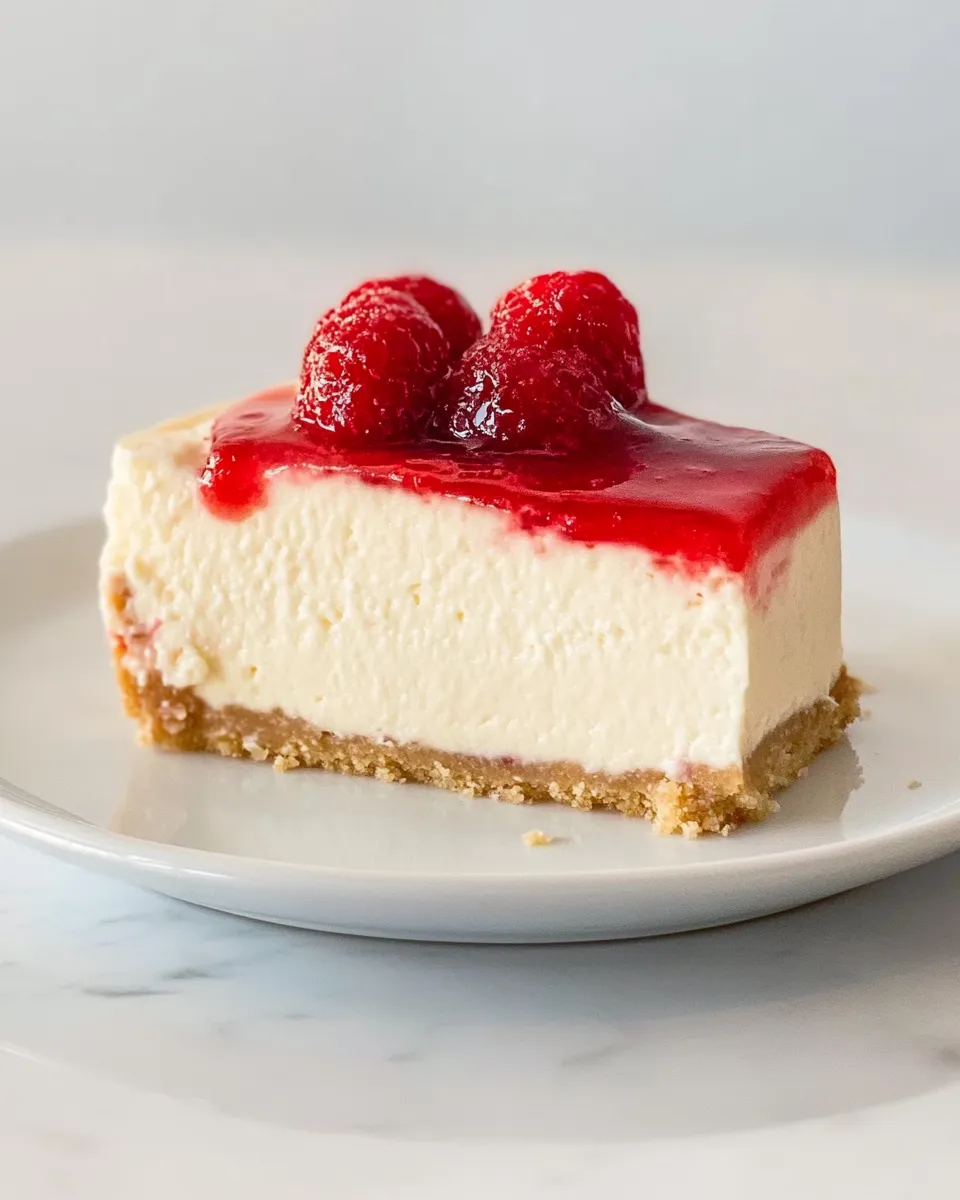
Before You Go
This Raspberry Cheesecake is a true testament to the beauty of simple ingredients coming together to create something extraordinary. With its creamy filling, sweet-tart raspberry topping, and buttery graham cracker crust, it’s a dessert that can be enjoyed by all. Perfect for gatherings or just a quiet night in, this cheesecake will leave a lasting impression on anyone who takes a bite. So gather your ingredients, follow the steps, and get ready to treat yourself to a slice of heaven! Enjoy the delightful blend of flavors and the smiles that come with sharing this delicious Raspberry Cheesecake.
Raspberry Cheesecake
Ingredients
Equipment
Method
- Step 1: Prepare the Crust: If making a homemade graham cracker pie crust, crush 1 ½ cups of graham crackers, mix with ½ cup melted butter and ¼ cup sugar, and press into a 9-inch springform pan. Bake at 350°F (175°C) for 10 minutes, then let cool.
- Step 2: Make the Cheesecake Filling: In a large mixing bowl, combine the softened cream cheese, sour cream, 1 ⅓ cups of sugar, and vanilla extract. Beat until smooth and creamy.
- Step 3: Add the Eggs: Slowly add the whisked eggs to the mixture, one at a time, mixing on low speed until just combined.
- Step 4: Incorporate the Raspberries: Gently fold in 16 ounces of raspberries, reserving 6 ounces for topping.
- Step 5: Prepare for Baking: Sprinkle cornstarch over the mixture and fold gently to combine.
- Step 6: Bake the Cheesecake: Pour the filling into the crust. Bake at 325°F (160°C) for about 60-70 minutes or until the center is set.
- Step 7: Cool and Chill: Turn off the oven, crack the door, and let the cheesecake cool for an hour in the oven. Refrigerate for at least 4 hours, preferably overnight.
- Step 8: Prepare the Raspberry Topping: In a saucepan, combine reserved raspberries and 1 cup sugar. Cook until thickened, about 10 minutes. Allow to cool.
- Step 9: Serve: Pour the raspberry sauce over the cheesecake, slice, and enjoy!
Notes
- Store in the refrigerator covered with plastic wrap to keep fresh.
- Enjoy within 5-7 days for the best flavor and texture.
- For longer storage, freeze slices wrapped in plastic wrap for up to 2 months.