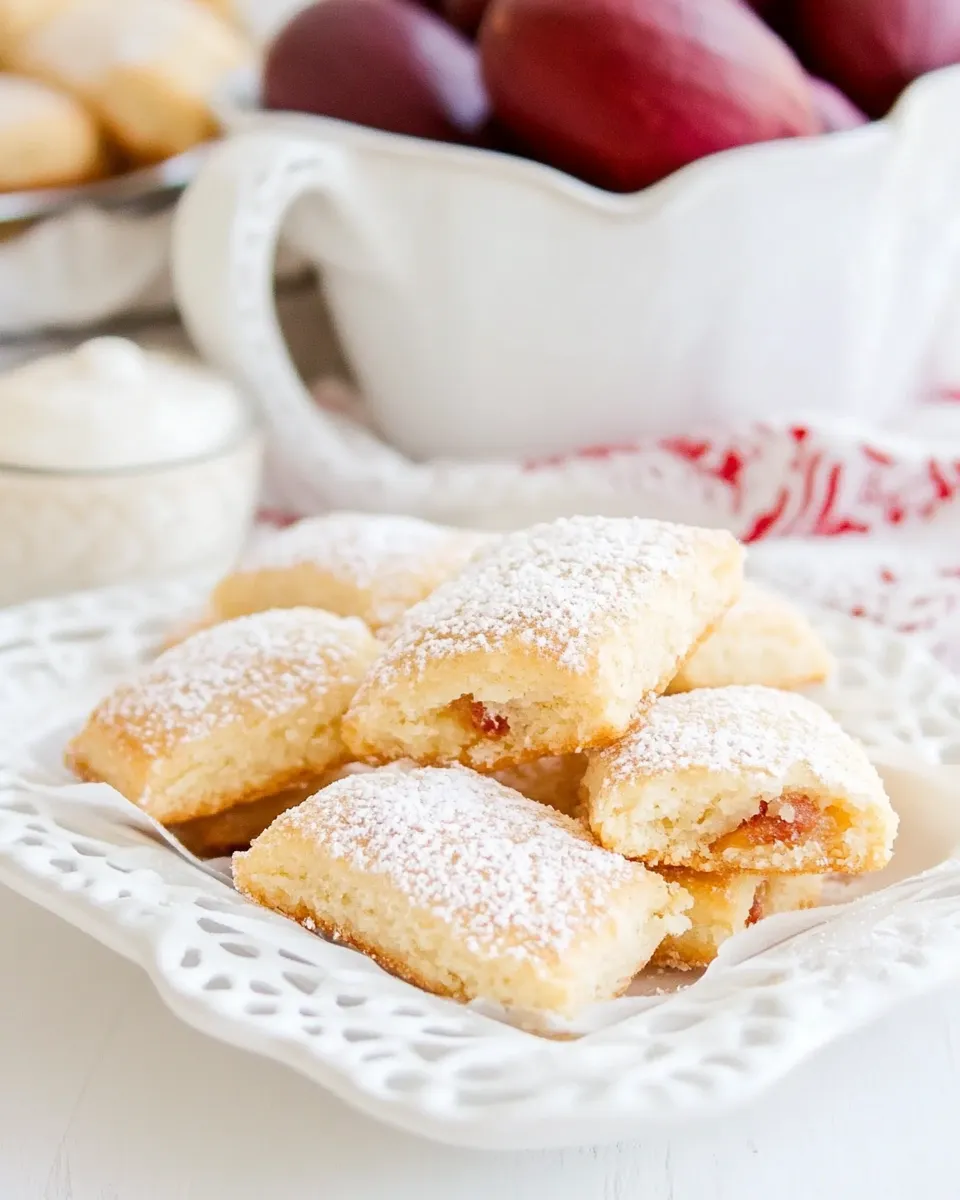
Deditos de Novia (Sugar-Coated Guava Biscuits)
Deditos de Novia, which translates to “bride’s fingers,” are delightful sugar-coated guava biscuits that evoke the warmth of home and the sweetness of celebration. These charming treats are perfect for any occasion, be it a family gathering, a cozy tea time, or simply a sweet indulgence after a long day. The combination of buttery biscuit dough and rich guava paste creates a mouthwatering experience that is both unique and utterly delicious. Let’s dive into the world of Deditos de Novia and discover how to make these lovely biscuits from scratch.
The Upside of Deditos de Novia (Sugar-Coated Guava Biscuits)

These sugar-coated guava biscuits are not only a feast for the eyes but also a treat for the taste buds. The contrasting textures of the crisp outer layer and the soft, sweet guava filling make each bite a delightful experience. Made with simple ingredients that you likely have in your pantry, Deditos de Novia are incredibly easy to prepare. Plus, they bring a touch of exotic flair to your dessert table, making them a conversation starter among friends and family.
What We’re Using
- 2 cups all-purpose flour, plus extra for dusting your work surface – This is the base of our biscuit dough.
- 2 teaspoons baking powder – This helps the biscuits rise and become light and fluffy.
- 1 cup milk (whole or skim) – Adds moisture to the dough.
- 1 teaspoon vanilla extract or almond extract – Enhances the flavor of the biscuits.
- 1 cup salted butter, at room temperature – Provides richness and helps create a tender biscuit.
- 3 tablespoons brown sugar – Adds a hint of caramel flavor.
- 1 cup guava paste – The star ingredient that gives these biscuits their signature sweet and fruity flavor.
- 1 cup powdered white sugar – For the sweet coating that makes these biscuits irresistible.
Gear Up: What to Grab
- Baking sheet – To bake your biscuits evenly.
- Parchment paper – To line the baking sheet for easy cleanup.
- Mixing bowls – For combining your ingredients.
- Rolling pin – To roll out the biscuit dough.
- Cookie cutter – To shape your biscuits into perfect forms.
- Cooling rack – For letting your biscuits cool after baking.
Deditos de Novia (Sugar-Coated Guava Biscuits): How It’s Done

Step 1: Preheat the Oven
Preheat your oven to 350°F (175°C). This ensures that your biscuits bake evenly.
Step 2: Prepare Your Baking Sheet
Line a baking sheet with parchment paper. This will prevent the biscuits from sticking and make cleanup a breeze.
Step 3: Mix Dry Ingredients
In a large mixing bowl, whisk together the all-purpose flour and baking powder until well combined.
Step 4: Cream Butter and Sugar
In another bowl, cream together the salted butter and brown sugar until light and fluffy. This process incorporates air into the mixture, creating a lighter biscuit.
Step 5: Add Wet Ingredients
Pour in the milk and vanilla (or almond) extract into the butter-sugar mixture. Mix until fully combined.
Step 6: Combine Mixtures
Gradually add the dry ingredients to the wet ingredients, mixing until just combined. Be careful not to overmix, as this can lead to tough biscuits.
Step 7: Roll Out the Dough
On a lightly floured surface, turn out your dough. Using a rolling pin, roll it out to about ¼-inch thickness.
Step 8: Cut the Biscuits
Using a cookie cutter, cut out shapes from the rolled dough. Place them on the prepared baking sheet, leaving some space between each biscuit.
Step 9: Add Guava Paste
Take a small amount of guava paste and place it on the center of half of the biscuit shapes. Top each with another biscuit shape, sealing the edges by pressing them down gently.
Step 10: Bake
Bake in the preheated oven for 15-20 minutes, or until the tops are lightly golden.
Step 11: Cool and Coat
Allow the biscuits to cool for a few minutes on the baking sheet before transferring them to a cooling rack. Once cooled, roll the biscuits in powdered sugar until well coated.
Ingredient Swaps & Substitutions

- Gluten-free flour – For a gluten-free version, substitute all-purpose flour with a 1:1 gluten-free baking blend.
- Vegan butter – Use this instead of salted butter for a dairy-free option.
- Fruit preserves – If guava paste is hard to find, you can use other fruit preserves like mango or passion fruit.
- Non-dairy milk – Substitute regular milk with almond milk or oat milk for a dairy-free option.
Steer Clear of These
- Do not overwork the dough, as this can lead to tough biscuits.
- Avoid using cold butter; room temperature butter is key for proper creaming.
- Don’t skip the chilling step if you decide to refrigerate the dough before rolling it out; this helps the biscuits maintain their shape.
- Be careful not to burn the biscuits; keep an eye on them towards the end of the baking time.
Make Ahead Like a Pro
Deditos de Novia can easily be made ahead of time. Here’s how:
- Prepare the dough: You can prepare the dough a day in advance. Wrap it tightly in plastic wrap and refrigerate until ready to use.
- Bake and freeze: Once baked, these biscuits freeze beautifully. Place them in an airtight container or freezer bag for up to three months.
- Roll in sugar later: If you want to keep the powdered sugar coating fresh, roll the biscuits in powdered sugar just before serving.
Helpful Q&A
Can I use different fillings for Deditos de Novia?
Absolutely! While guava is traditional, feel free to experiment with other fruit pastes or jams, such as mango, raspberry, or even nut butter for a unique twist.
How can I store leftover biscuits?
Store your Deditos de Novia in an airtight container at room temperature for up to a week. If you want them to last longer, consider freezing them.
Can I make these biscuits without baking powder?
Yes, you can substitute baking powder with baking soda and an acid like vinegar or lemon juice. Just use half the amount of baking soda and add a tablespoon of vinegar or lemon juice to the wet ingredients.
What can I serve with Deditos de Novia?
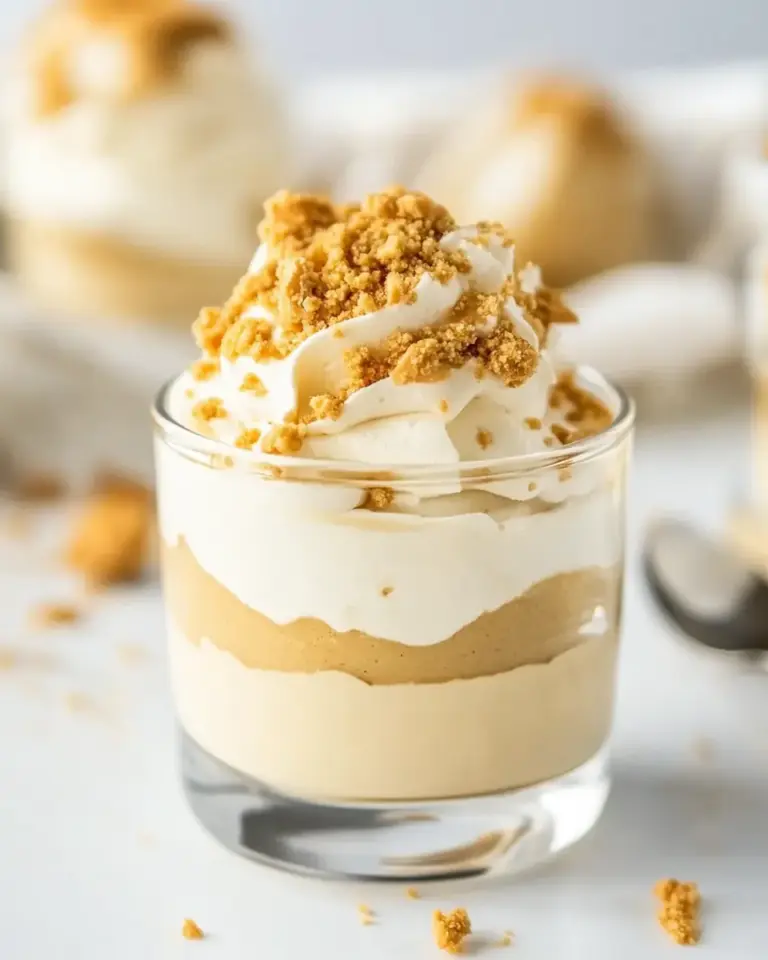
These biscuits pair wonderfully with tea or coffee. You can also serve them with whipped cream or a scoop of vanilla ice cream for a delightful dessert.
Explore More
- Sally’s Baking Addiction – Inspiring baking recipes.
- Pinch of Yum – Delicious and approachable recipes.
- Minimalist Baker – Simple, quick recipes with minimal ingredients.
- Taste of Home – Classic recipes from home cooks.
Final Bite
Deditos de Novia (Sugar-Coated Guava Biscuits) are a delightful treat that can bring joy to any gathering or simply serve as a sweet indulgence during your day. With their rich flavor profile and charming appearance, these biscuits are sure to become a favorite in your household. Whether you’re enjoying them with a cup of tea or sharing them with loved ones, they embody the essence of warmth and sweetness that every home deserves. So roll up your sleeves, gather your ingredients, and get ready to create a batch of these irresistible biscuits that will have everyone asking for seconds!
Deditos de Novia (Sugar-Coated Guava Biscuits)
Ingredients
Equipment
Method
- Step 1: Preheat your oven to 350°F (175°C).
- Step 2: Line a baking sheet with parchment paper.
- Step 3: In a large mixing bowl, whisk together the all-purpose flour and baking powder.
- Step 4: Cream together the salted butter and brown sugar until light and fluffy.
- Step 5: Pour in the milk and vanilla (or almond) extract into the butter-sugar mixture. Mix until fully combined.
- Step 6: Gradually add the dry ingredients to the wet ingredients, mixing until just combined.
- Step 7: On a lightly floured surface, roll out your dough to about ¼-inch thickness.
- Step 8: Cut out shapes using a cookie cutter and place on the prepared baking sheet.
- Step 9: Place guava paste on the center of half of the biscuit shapes, then top with another biscuit shape and seal the edges.
- Step 10: Bake for 15-20 minutes or until tops are lightly golden.
- Step 11: Allow to cool for a few minutes, then roll in powdered sugar until well coated.
Notes
- For a gluten-free version, use a 1:1 gluten-free baking blend.
- Store in an airtight container at room temperature for up to a week.
- Freeze baked biscuits in an airtight container for up to three months.