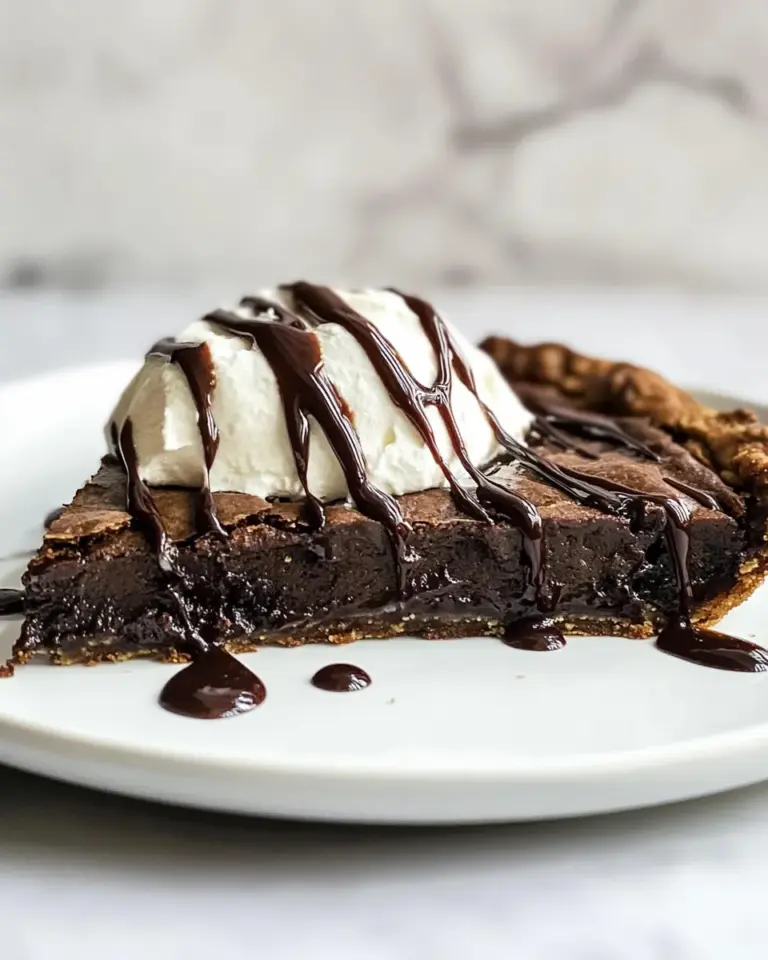
Brownie Sundae Pie
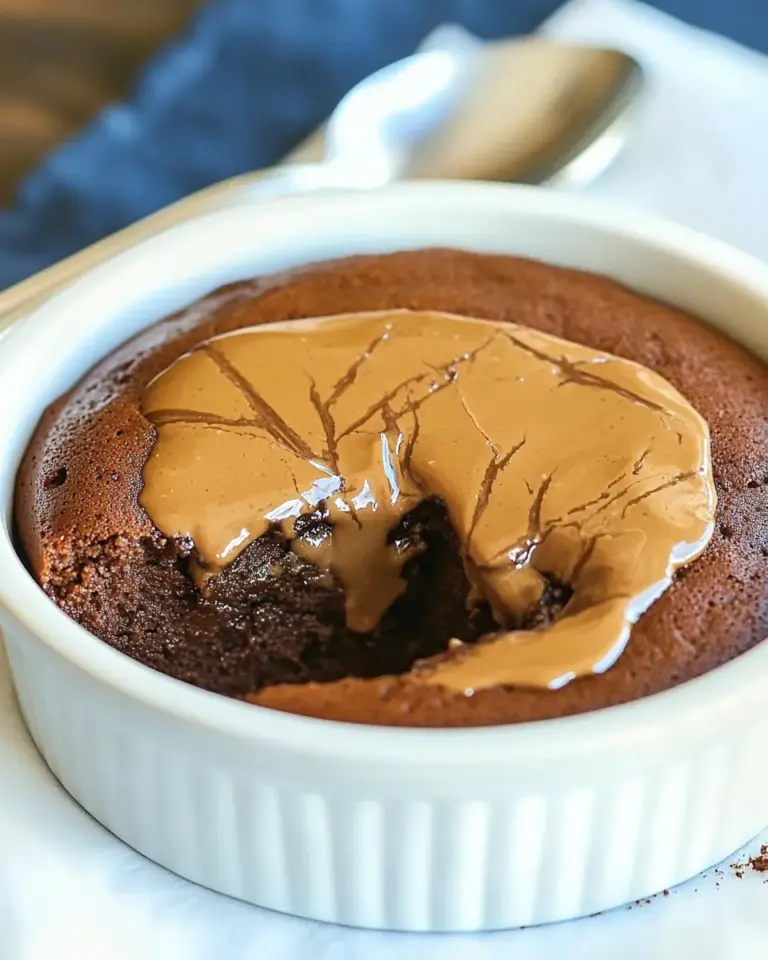
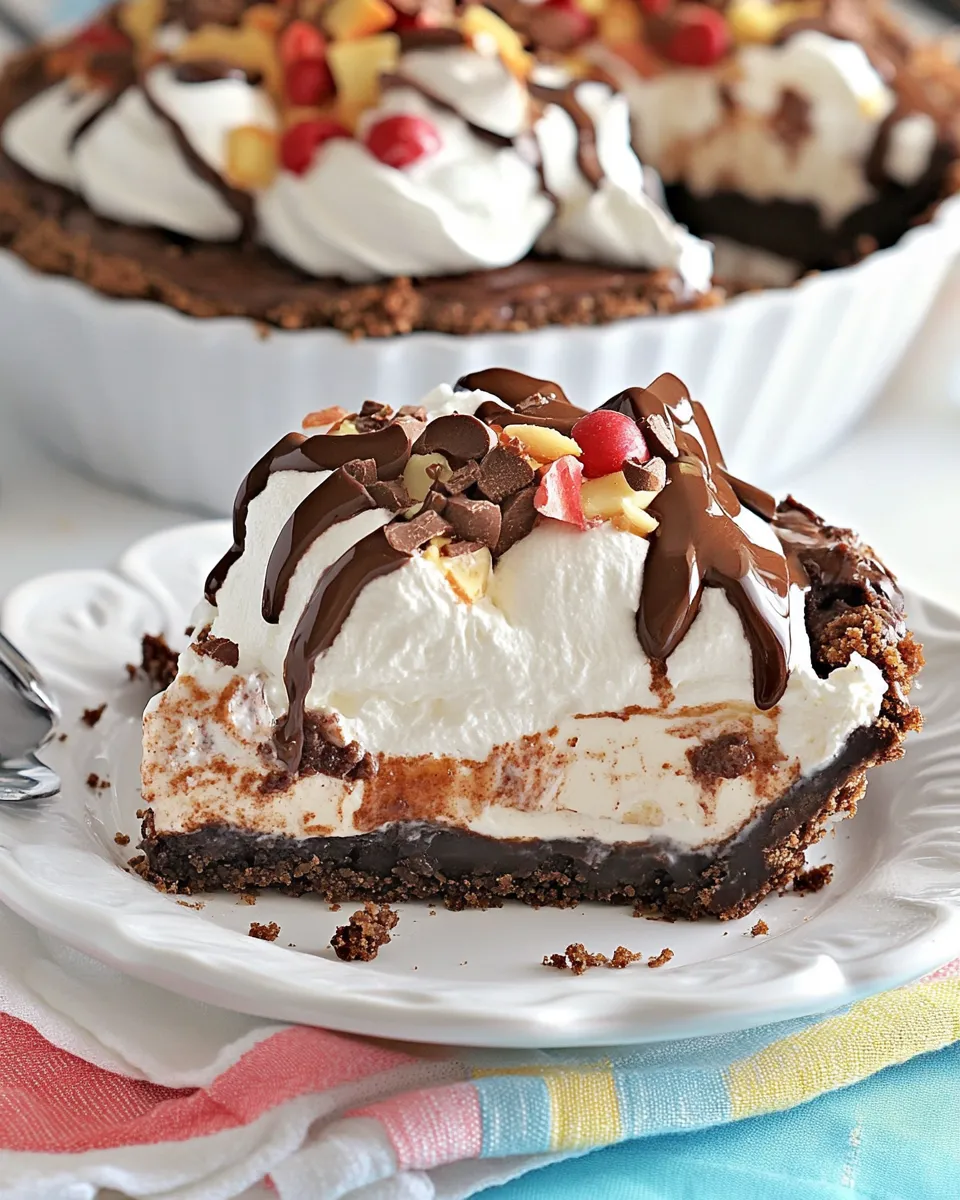
When it comes to indulgent desserts, few can compete with the heavenly combination of brownies and ice cream. The Brownie Sundae Pie is a decadent treat that brings together rich chocolate brownies, creamy pudding, and a delightful mix of toppings. Perfect for any occasion, this pie is sure to impress your guests or satisfy your late-night cravings. Let’s dive into why this dessert has become my go-to choice for entertaining and how you can whip it up in no time.
Why It’s My Go-To
This Brownie Sundae Pie is the epitome of comfort food. It’s incredibly easy to make, requires minimal cooking skills, and the flavor is absolutely divine. The layers of fudgy brownies, chocolate pudding, and whipped topping create a luscious dessert that appeals to both kids and adults alike. Whether I’m hosting a birthday party or simply wanting to treat my family, this pie never fails to deliver smiles and happy taste buds.
What Goes In
To create this delightful Brownie Sundae Pie, you’ll need the following ingredients:
- Brownies: 1 batch of your favorite homemade or store-bought brownies
- Caramel Ice Cream Topping: 1/2 cup (the thicker, the better)
- Chopped Pecans: 1/2 cup, optional but highly recommended for added crunch
- Jell-O Chocolate Instant Pudding: 3 oz (2 packages)
- Cool Whip: 8 oz (1 tub)
- Milk: 1 cup
- International Delight Cold Stone Creamery Founder’s Favorite Creamer: 3/4 cup
Each ingredient plays a role in creating the ultimate flavor and texture combination that will leave you wanting more.
Setup & Equipment
Before you begin, gather the following items:
- Mixing bowls: For combining pudding and cream
- 9-inch pie dish: To hold your Brownie Sundae Pie
- Whisk: For mixing the pudding
- Spatula: To spread layers evenly
- Refrigerator: To chill the pie
Having everything ready will streamline your process and make your baking experience enjoyable.
Step-by-Step: Brownie Sundae Pie
Step 1: Prepare the Brownies
Start by baking a batch of your favorite brownies according to the package instructions or your homemade recipe. Allow them to cool completely in the pan before transferring them to your pie dish.
Step 2: Make the Chocolate Pudding
In a mixing bowl, combine the Jell-O Chocolate Instant Pudding with 1 cup of milk. Whisk together until smooth and thickened, about 2 minutes.
Step 3: Combine the Pudding and Cool Whip
Gently fold in the Cool Whip into the chocolate pudding mixture until fully incorporated. This will create a light and fluffy layer that balances the density of the brownies.
Step 4: Assemble the Pie
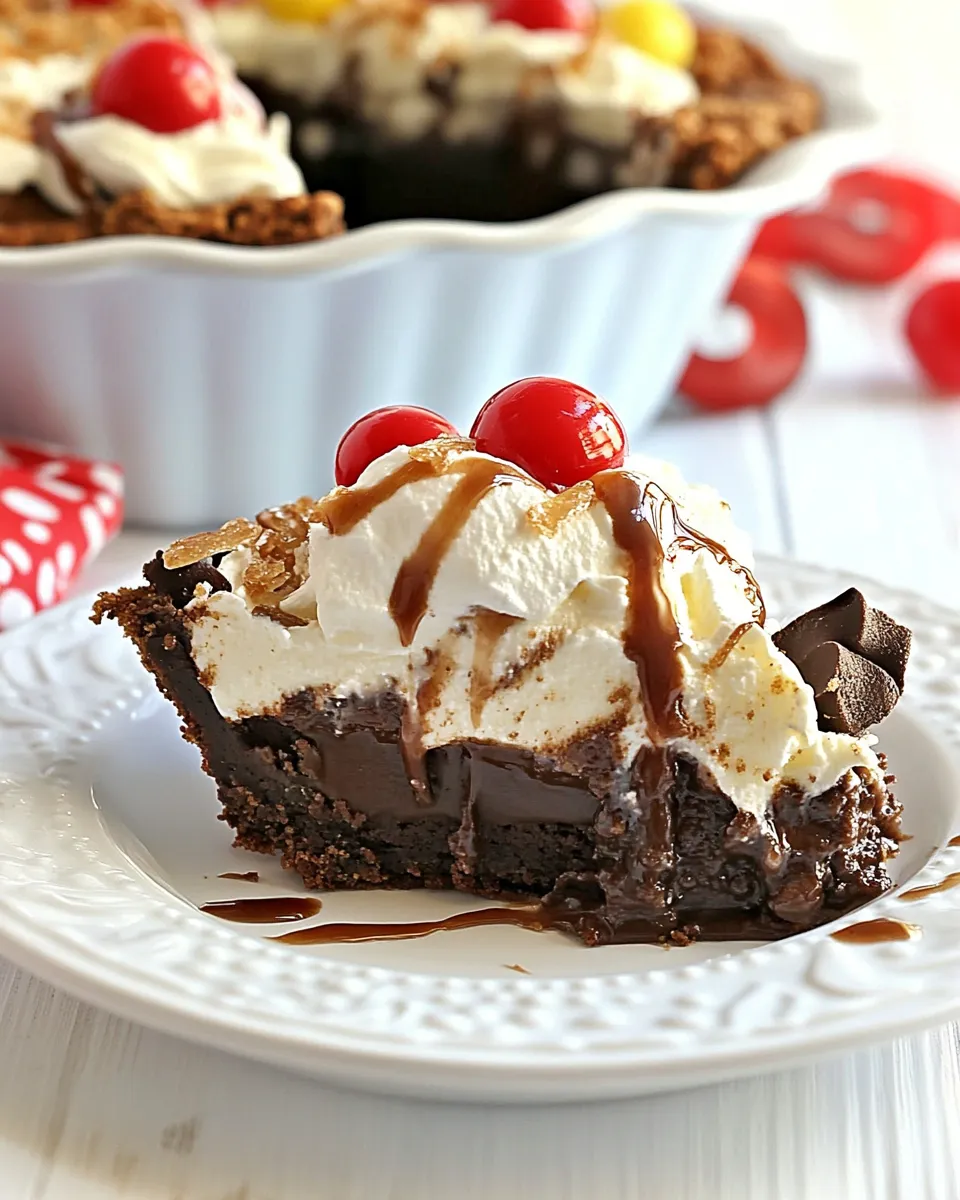
Once the brownies are cooled, break them into pieces and layer them at the bottom of the pie dish. Drizzle half of the caramel ice cream topping over the brownies, then pour the chocolate pudding mixture on top, spreading it evenly with a spatula.
Step 5: Layer on the Toppings
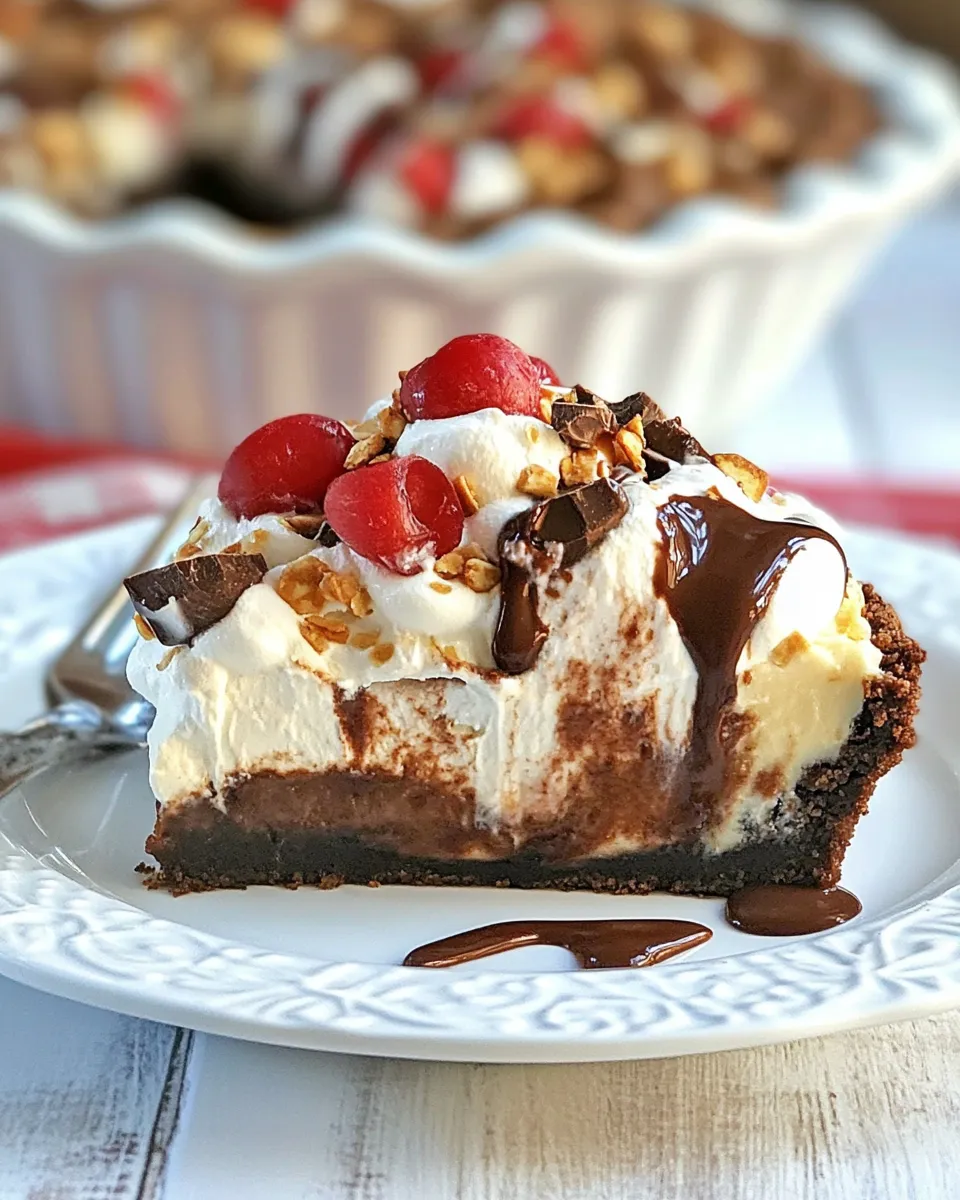
If you’re using chopped pecans, sprinkle them over the pudding layer for added texture. Finish with the remaining Cool Whip spread on top.
Step 6: Chill the Pie
Cover the pie with plastic wrap and refrigerate it for at least 2 hours, or until it’s set. This step is crucial for the flavors to meld together and for the pie to achieve the right consistency.
Step 7: Serve and Enjoy!
Once chilled, slice your Brownie Sundae Pie into generous pieces. Drizzle with additional caramel topping if desired, and serve with extra Cool Whip or a scoop of ice cream on the side.
Health-Conscious Tweaks
If you’re looking to make some modifications to lighten up this Brownie Sundae Pie, consider the following options:
- Brownies: Use a low-fat brownie mix or make a healthier homemade version with applesauce instead of oil.
- Cool Whip: Substitute with a light whipped topping or a homemade whipped cream made with less sugar.
- Milk: Use almond milk or skim milk for a lower-calorie option.
- Pudding: Opt for sugar-free pudding mix to reduce sugar content.
Making these tweaks can help you enjoy this delicious dessert without compromising your health goals.
Chef’s Rationale
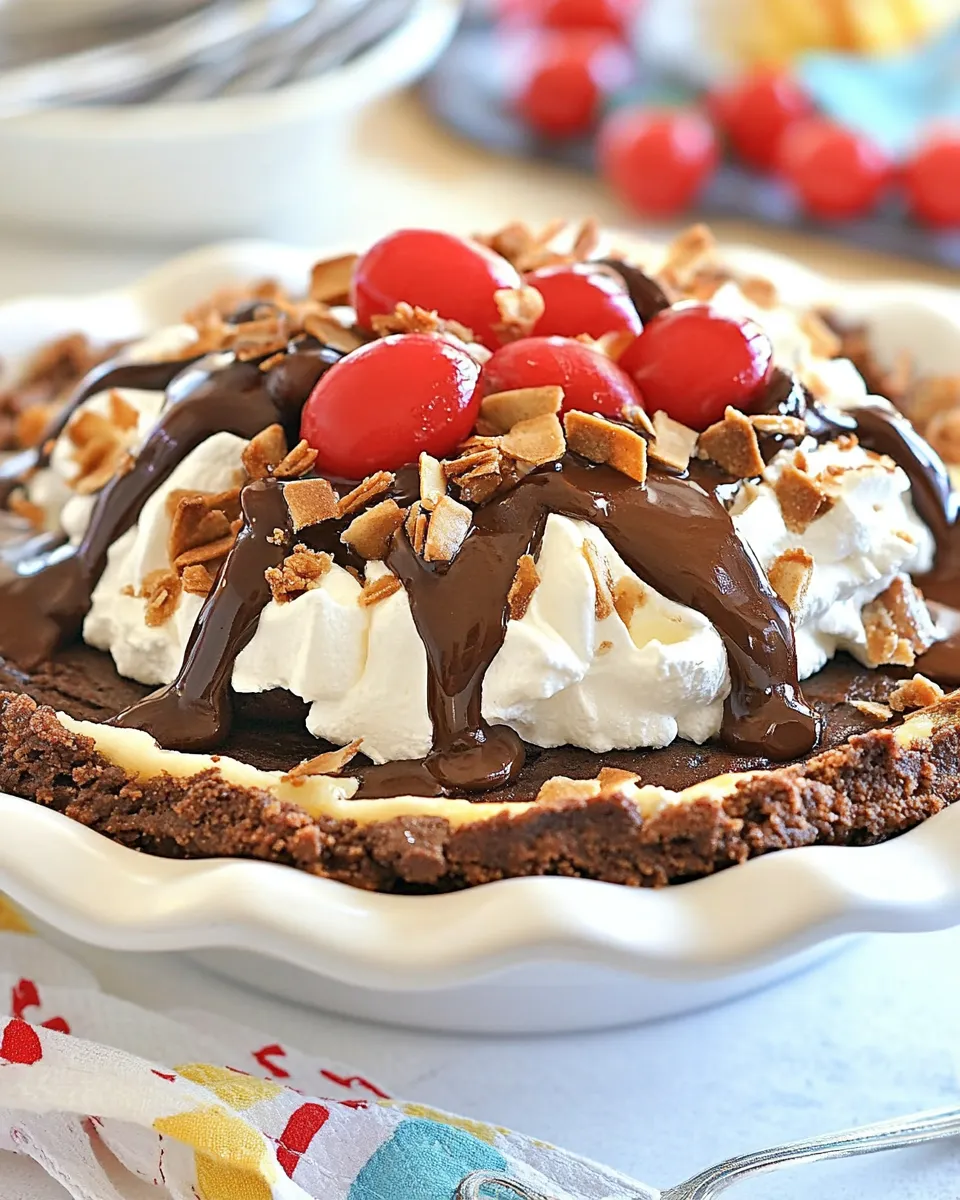
The genius of this Brownie Sundae Pie lies in its layers and contrasting textures. The dense brownies provide a fudgy base that pairs perfectly with the light, airy pudding layer. The Cool Whip adds a creamy element, while the optional pecans introduce a delightful crunch. It’s a dessert that excites the palate and fulfills that sweet tooth craving without overwhelming it. Plus, the flexibility of the recipe allows for personal touches, ensuring every bite feels unique and tailored to your liking.
Store, Freeze & Reheat
If you happen to have leftovers, here are some tips for storing your Brownie Sundae Pie:
Cover the pie tightly with plastic wrap and keep it in the refrigerator for up to 3 days. The flavors will continue to meld, making each slice even more delicious. If you want to freeze the pie, slice it into individual portions and wrap them tightly in plastic wrap, then place them in an airtight container. The pie can be frozen for up to 2 months; just be sure to let it thaw in the refrigerator before serving. Reheating is not necessary, as this dessert is best served cold.
Reader Questions
Can I use gluten-free brownies for this recipe?
Absolutely! You can substitute regular brownies with gluten-free brownies to accommodate dietary restrictions. Just ensure that the pudding mix and any other ingredients are also gluten-free.
How can I make this recipe dairy-free?
You can make this dessert dairy-free by using dairy-free brownies, almond milk for the pudding, and a non-dairy whipped topping. There are many great alternatives available that will keep the dessert delicious.
What can I substitute for the pecans if I have a nut allergy?
If you have a nut allergy, you can omit the pecans altogether or substitute them with crushed cookies or even granola for a different crunch.
Can I make this pie ahead of time?
Yes! This Brownie Sundae Pie is perfect for making ahead of time. You can prepare it a day in advance and keep it in the refrigerator until you’re ready to serve it.
More from the Kitchen
If you enjoyed this Brownie Sundae Pie, here are some more delicious recipes you might love:
- Classic Chocolate Chip Cookies
- Decadent Chocolate Lava Cake
- Rich and Creamy Cheesecake
- Funfetti Birthday Cake
Save & Share
If you love this Brownie Sundae Pie as much as I do, make sure to save this recipe and share it with friends and family. It’s the kind of dessert that brings people together and creates lasting memories. Whether it’s a special occasion or just a sweet treat for yourself, this pie is bound to be a hit. So grab your ingredients, get baking, and enjoy every delicious bite!
There’s something truly special about creating a dessert that not only satisfies your sweet tooth but also brings joy to those around you. The Brownie Sundae Pie is that dessert—a delightful combination of flavors and textures that will leave everyone asking for seconds.
Brownie Sundae Pie
Ingredients
Equipment
Method
- Start by baking a batch of your favorite brownies according to the package instructions or your homemade recipe. Allow them to cool completely in the pan before transferring them to your pie dish.
- In a mixing bowl, combine the Jell-O Chocolate Instant Pudding with 1 cup of milk. Whisk together until smooth and thickened, about 2 minutes.
- Gently fold in the Cool Whip into the chocolate pudding mixture until fully incorporated. This will create a light and fluffy layer that balances the density of the brownies.
- Once the brownies are cooled, break them into pieces and layer them at the bottom of the pie dish. Drizzle half of the caramel ice cream topping over the brownies, then pour the chocolate pudding mixture on top, spreading it evenly with a spatula.
- If you're using chopped pecans, sprinkle them over the pudding layer for added texture. Finish with the remaining Cool Whip spread on top.
- Cover the pie with plastic wrap and refrigerate it for at least 2 hours, or until it's set. This step is crucial for the flavors to meld together and for the pie to achieve the right consistency.
- Once chilled, slice your Brownie Sundae Pie into generous pieces. Drizzle with additional caramel topping if desired, and serve with extra Cool Whip or a scoop of ice cream on the side.
Notes
- Cover the pie tightly with plastic wrap and keep it in the refrigerator for up to 3 days.
- For freezing, slice into individual portions and wrap tightly in plastic wrap.
- Let frozen pie thaw in the refrigerator before serving.