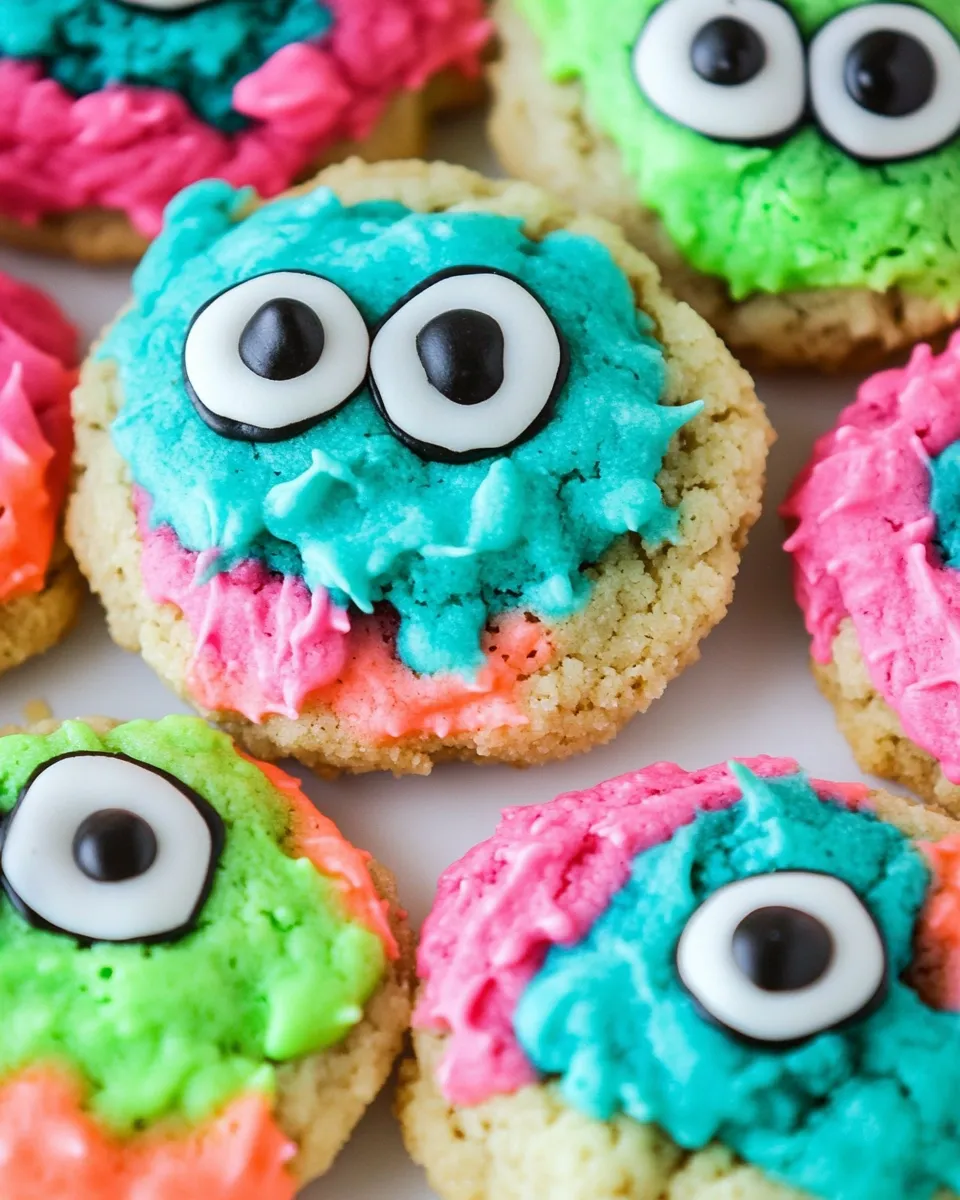
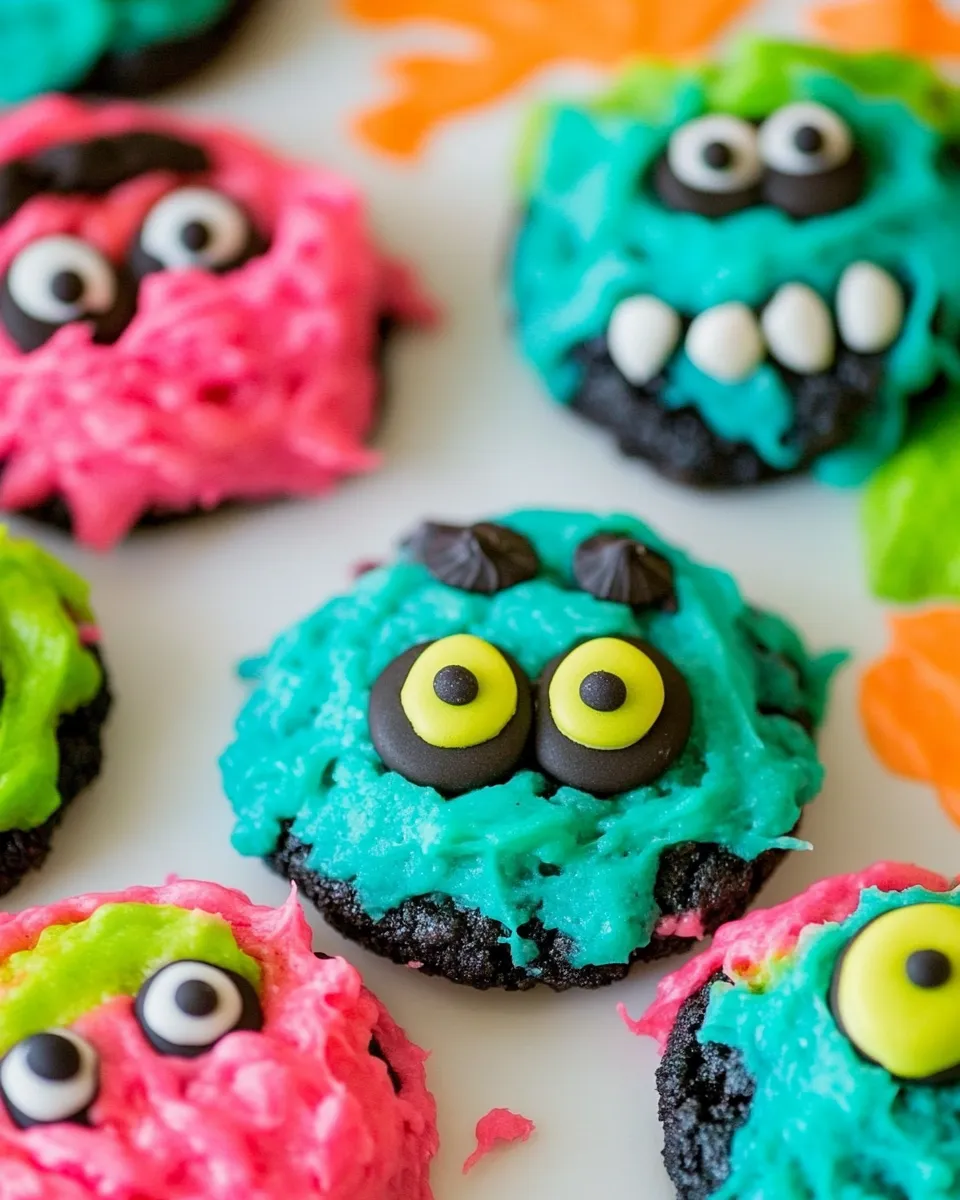
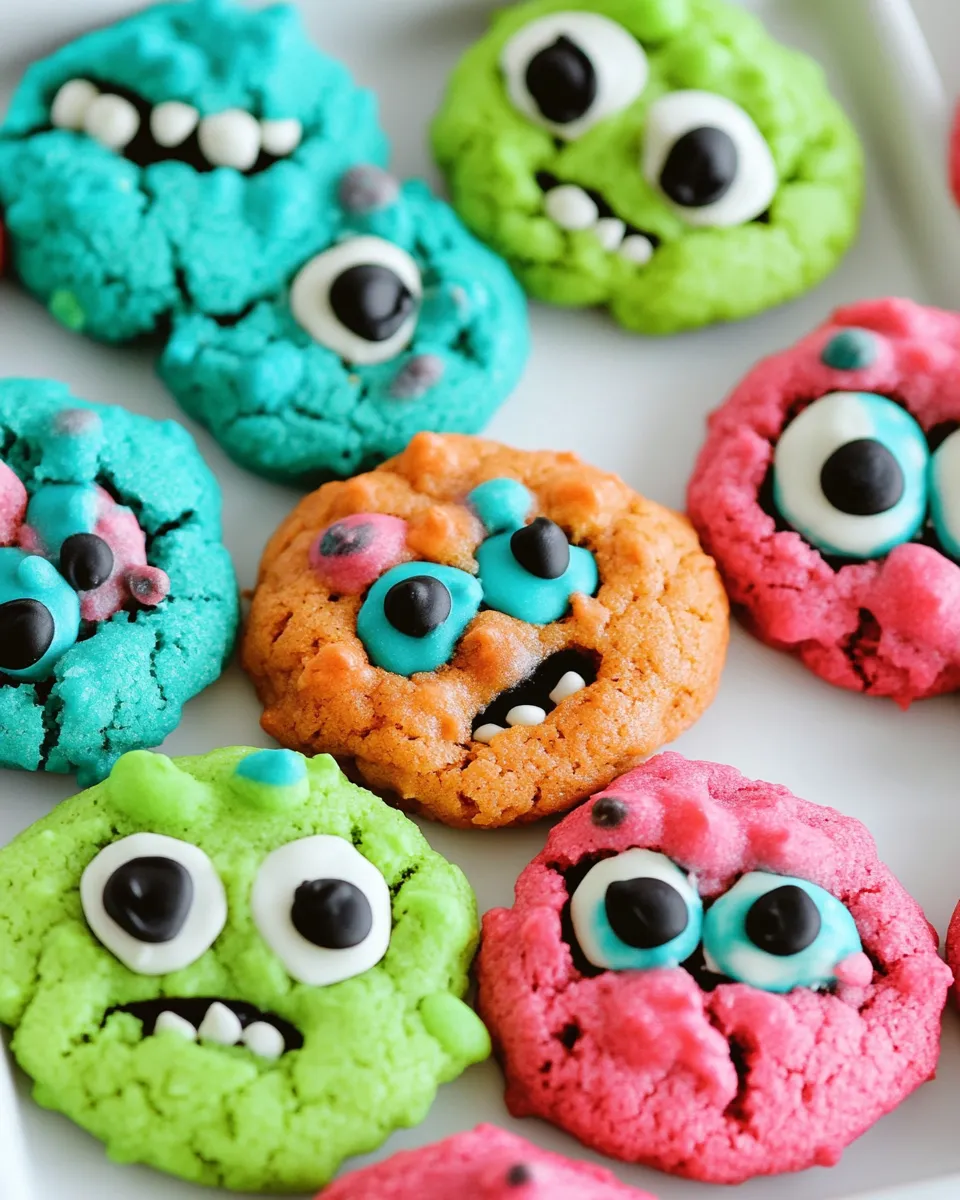
Gooey Monster Cookies
There’s something magical about a cookie that combines the soft, gooey texture of a classic cookie with the whimsical charm of vibrant colors and candy eyes. Enter Gooey Monster Cookies! These delightful treats are not only a feast for the eyes but also a celebration of flavors that will leave you and your loved ones craving more. Perfect for parties, Halloween, or just because, these cookies are sure to bring a smile to anyone’s face. Let’s dive into the deliciousness of Gooey Monster Cookies!
Why It’s My Go-To
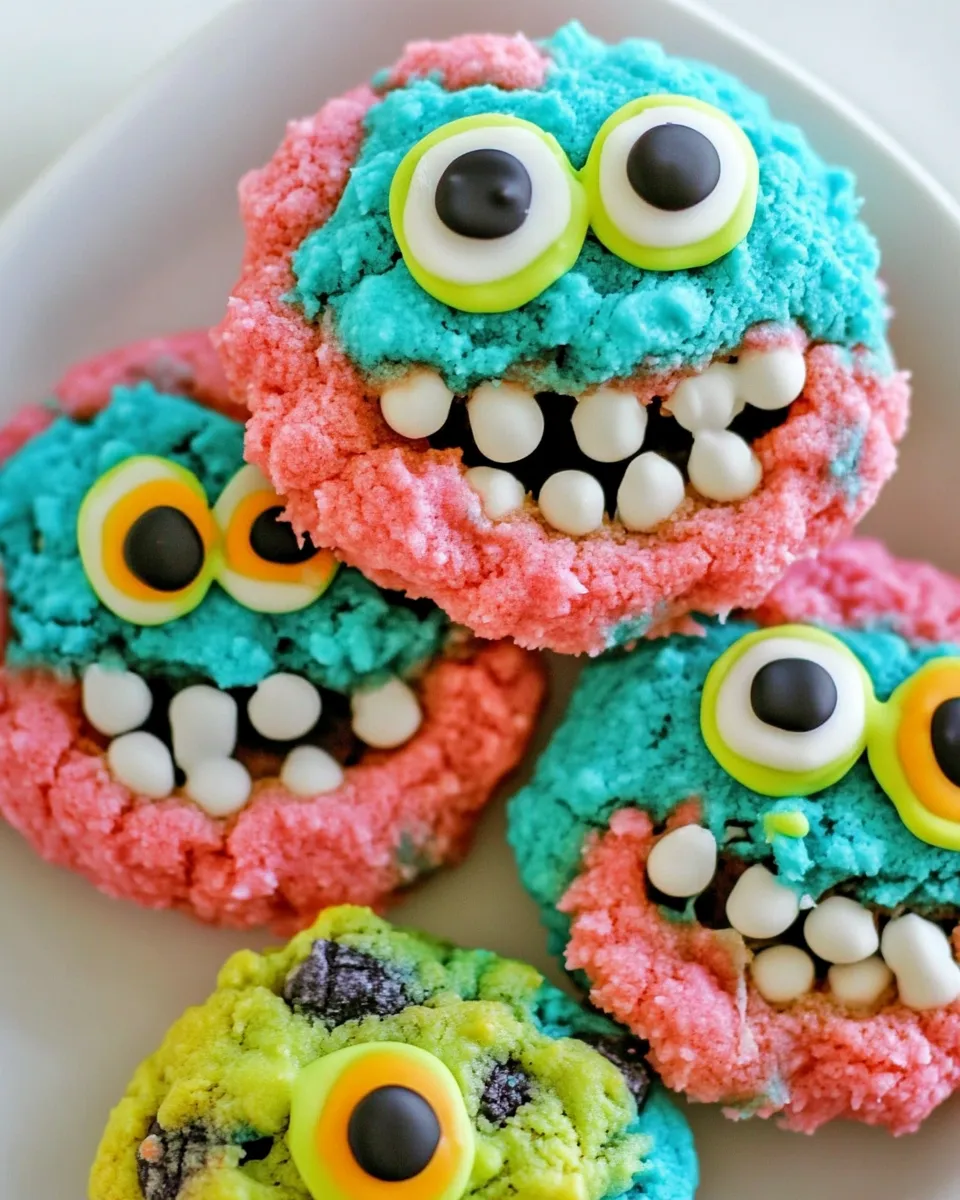
Gooey Monster Cookies hold a special place in my heart (and stomach). They are incredibly easy to whip up, making them an ideal choice for a last-minute dessert or a baking project with kids. The combination of cream cheese and cake mix results in an ultra-soft and gooey center, while the vibrant colors and quirky candy eyeballs make them irresistibly fun and festive. Whether it’s a cozy family gathering or a Halloween bash, these cookies are always a hit!
Ingredient Rundown
Let’s take a closer look at what you’ll need to create these magical cookies:
- 1 box white cake mix: The base of our cookies, providing a light and fluffy texture.
- 1/2 cup butter, softened: Adds richness and helps to create that gooey center.
- 1/2 tsp vanilla extract: A splash of flavor that enhances the overall taste.
- 8 oz cream cheese, softened: The secret ingredient for a delightfully gooey texture.
- 1 egg: Helps bind the ingredients together for the perfect cookie dough.
- Powdered sugar: Used for sweetness and to give the cookies a lovely finish.
- Food coloring: I used NEON food coloring to make them more vibrant and fun!
- Candy eyeballs: The finishing touch that brings these cookies to life.
Prep & Cook Tools
Before you get started, make sure you have the following tools on hand:
- Mixing bowls: For combining all your ingredients.
- Electric mixer: To make mixing easy, especially with the cream cheese.
- Baking sheet: For baking your cookies to perfection.
- Parchment paper: To line the baking sheet for easy cleanup.
- Cookie scoop or spoon: For portioning out your cookie dough.
- Cooling rack: To let your cookies cool down and maintain their texture.
Build Gooey Monster Cookies Step by Step
Ready to bring these gooey delights to life? Follow these simple steps:
Step 1: Preheat the Oven
Begin by preheating your oven to 350°F (175°C). This ensures that your cookies bake evenly.
Step 2: Mix the Wet Ingredients
In a large mixing bowl, combine the softened butter, cream cheese, and sugar. Use an electric mixer to beat them together until the mixture is creamy and smooth. Add in the egg and vanilla extract, mixing until well combined.
Step 3: Incorporate the Cake Mix
Gradually add the box of white cake mix to your wet ingredients. Mix until just combined. Be careful not to overmix.
Step 4: Color the Dough
Divide your cookie dough into smaller bowls if you want a variety of colors. Add a few drops of NEON food coloring to each bowl and mix until you achieve your desired vibrancy.
Step 5: Scoop the Dough
Using a cookie scoop or spoon, portion out the dough onto a parchment-lined baking sheet. Leave enough space between each scoop, as they will spread while baking.
Step 6: Add the Eyeballs
Before baking, gently press a few candy eyeballs into the top of each cookie dough scoop. This will give them their monster-like appearance.
Step 7: Bake!
Place the baking sheet in the preheated oven and bake for 10-12 minutes or until the edges are lightly golden but the center remains soft and gooey.
Step 8: Cool and Serve
Once baked, remove the cookies from the oven and let them cool on the baking sheet for a few minutes before transferring them to a cooling rack. Enjoy your Gooey Monster Cookies warm or allow them to cool completely before storing!
Season-by-Season Upgrades
You can take these Gooey Monster Cookies to the next level with a few seasonal tweaks:
- Fall: Add pumpkin spice to the dough for a seasonal twist.
- Winter: Incorporate crushed peppermint candies for a festive touch.
- Spring: Use pastel food coloring and add mini chocolate eggs for Easter.
- Summer: Mix in colorful sprinkles to celebrate summer parties.
Recipe Notes & Chef’s Commentary
- For a more intense flavor, consider adding a pinch of salt to balance the sweetness.
- If you don’t have candy eyeballs, feel free to use chocolate chips or other fun toppings!
- These cookies are best enjoyed fresh but can be stored in an airtight container for up to a week.
- Experiment with different food coloring combinations to create your unique monster designs!
Storage Pro Tips
To keep your Gooey Monster Cookies fresh and delicious, follow these simple storage tips:
- Store cookies in an airtight container at room temperature.
- If you prefer them chewier, add a slice of bread to the container to maintain moisture.
- You can freeze the cookie dough before baking. Just scoop the dough onto a baking sheet, freeze until solid, and then transfer to a freezer-safe bag. Bake from frozen, adding a couple of minutes to the baking time.
Handy Q&A
Can I use a different cake mix flavor?
Absolutely! While white cake mix creates a classic cookie, you can experiment with other flavors like chocolate or funfetti for a unique twist!
What can I substitute for cream cheese?
If you’re looking for a dairy-free option, you can try using a vegan cream cheese alternative. It won’t have the exact same flavor, but it will still work well in the recipe.
How do I make these cookies gluten-free?
To make Gooey Monster Cookies gluten-free, simply use a gluten-free cake mix. The rest of the ingredients should be gluten-free as well, so check labels to ensure they meet your dietary needs.
Can I make these cookies ahead of time?
Yes! You can prepare the cookie dough in advance and refrigerate it for up to 3 days before baking. Just make sure to bring it to room temperature before baking for best results.
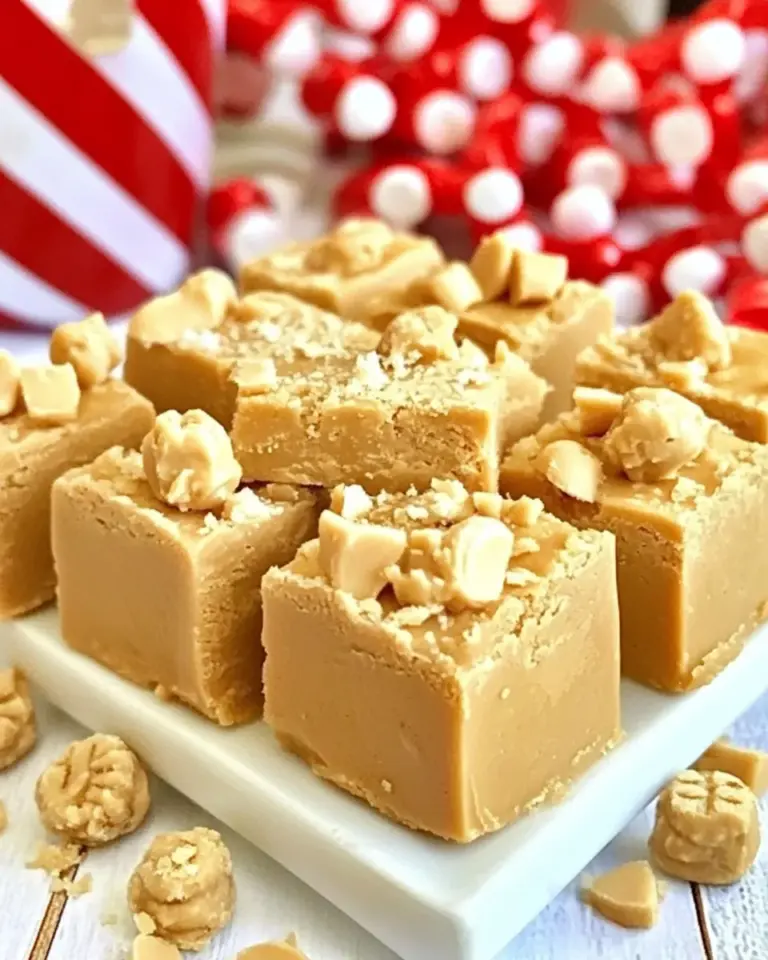
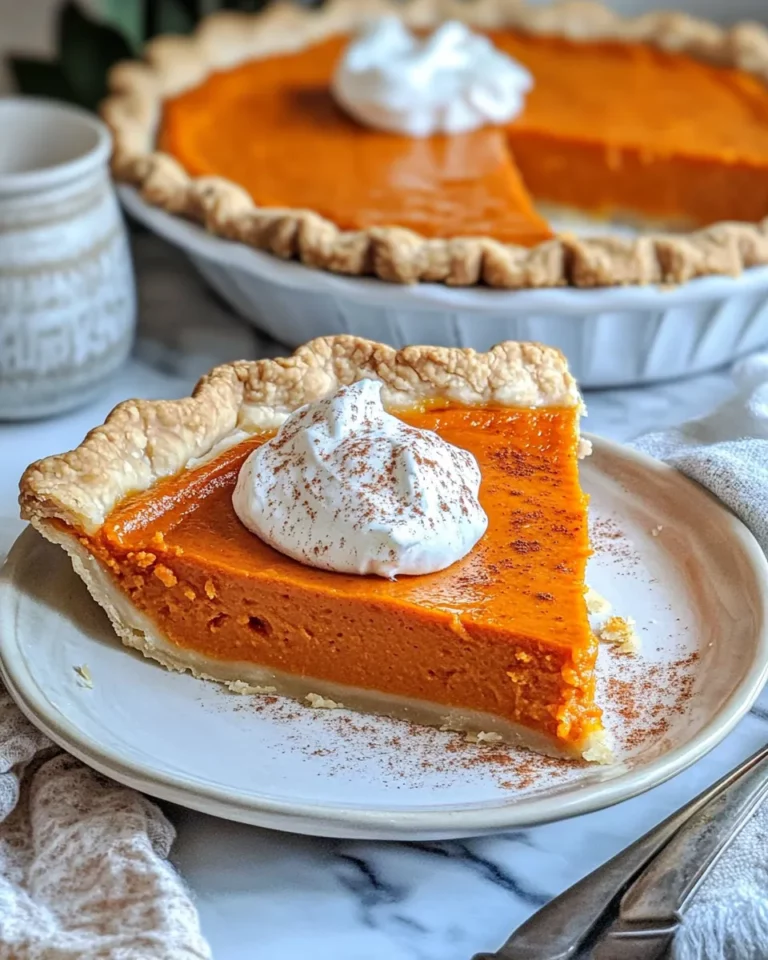
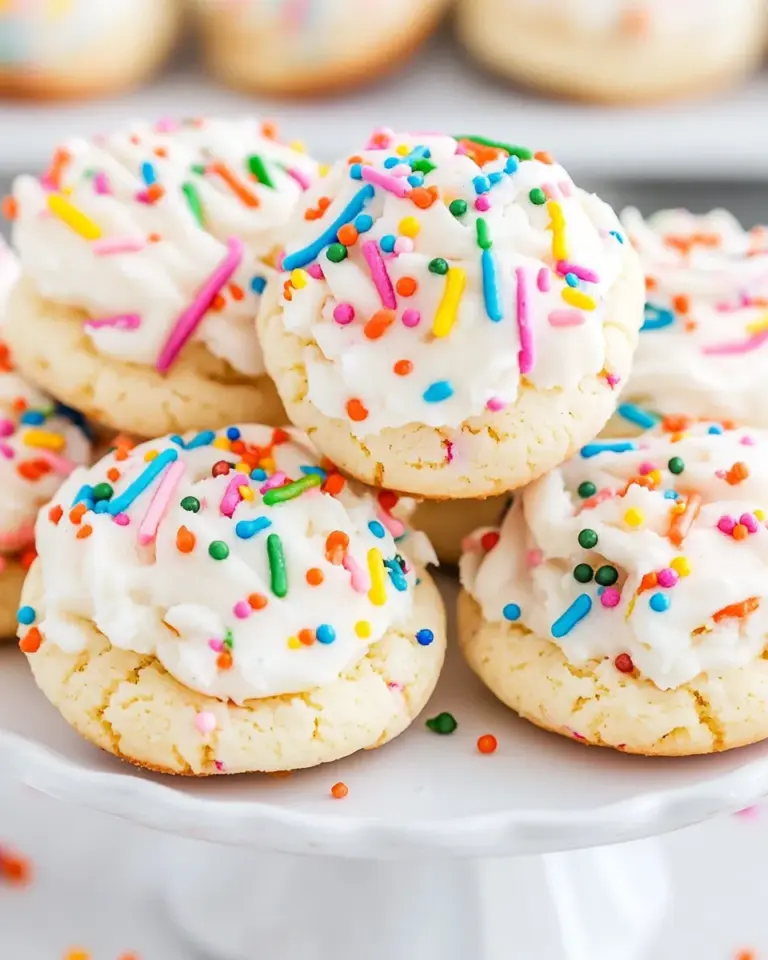
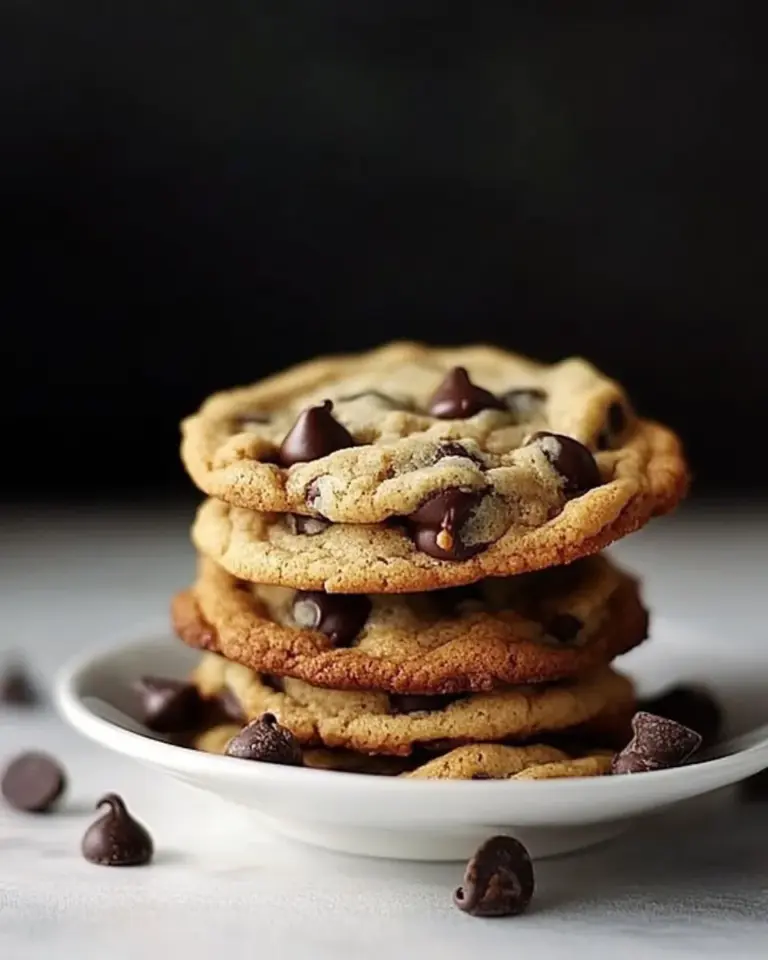
Desserts to Finish
If you’re looking for more sweet treats to satisfy your cravings, be sure to check out these delightful recipes:
Let’s Eat
Now that you’ve gathered all the tools and ingredients, it’s time to indulge in the whimsical world of Gooey Monster Cookies! These vibrant, gooey delights are more than just a treat; they are a fun-filled experience that can be enjoyed by everyone. Whether you’re baking for a special occasion or just to brighten up your day, these cookies are sure to deliver smiles and satisfaction. Happy baking!
Gooey Monster Cookies
Ingredients
Equipment
Method
- Step 1: Preheat the Oven - Begin by preheating your oven to 350°F (175°C). This ensures that your cookies bake evenly.
- Step 2: Mix the Wet Ingredients - In a large mixing bowl, combine the softened butter, cream cheese, and sugar. Use an electric mixer to beat them together until creamy. Add in the egg and vanilla extract.
- Step 3: Incorporate the Cake Mix - Gradually add the box of white cake mix to your wet ingredients and mix until just combined. Be careful not to overmix.
- Step 4: Color the Dough - Divide the cookie dough into smaller bowls and add NEON food coloring to each bowl, mixing until desired vibrancy is achieved.
- Step 5: Scoop the Dough - Using a cookie scoop or spoon, portion out the dough onto a parchment-lined baking sheet, leaving space between each scoop.
- Step 6: Add the Eyeballs - Gently press a few candy eyeballs into the top of each cookie dough scoop before baking.
- Step 7: Bake! - Place the baking sheet in the preheated oven and bake for 10-12 minutes or until the edges are lightly golden but the center remains soft.
- Step 8: Cool and Serve - Once baked, let the cookies cool on the baking sheet for a few minutes before transferring them to a cooling rack.
Notes
- For a more intense flavor, consider adding a pinch of salt to balance the sweetness.
- You can use chocolate chips or other fun toppings instead of candy eyeballs!
- These cookies are best enjoyed fresh but can be stored in an airtight container for up to a week.
- Experiment with different food coloring combinations for unique monster designs!