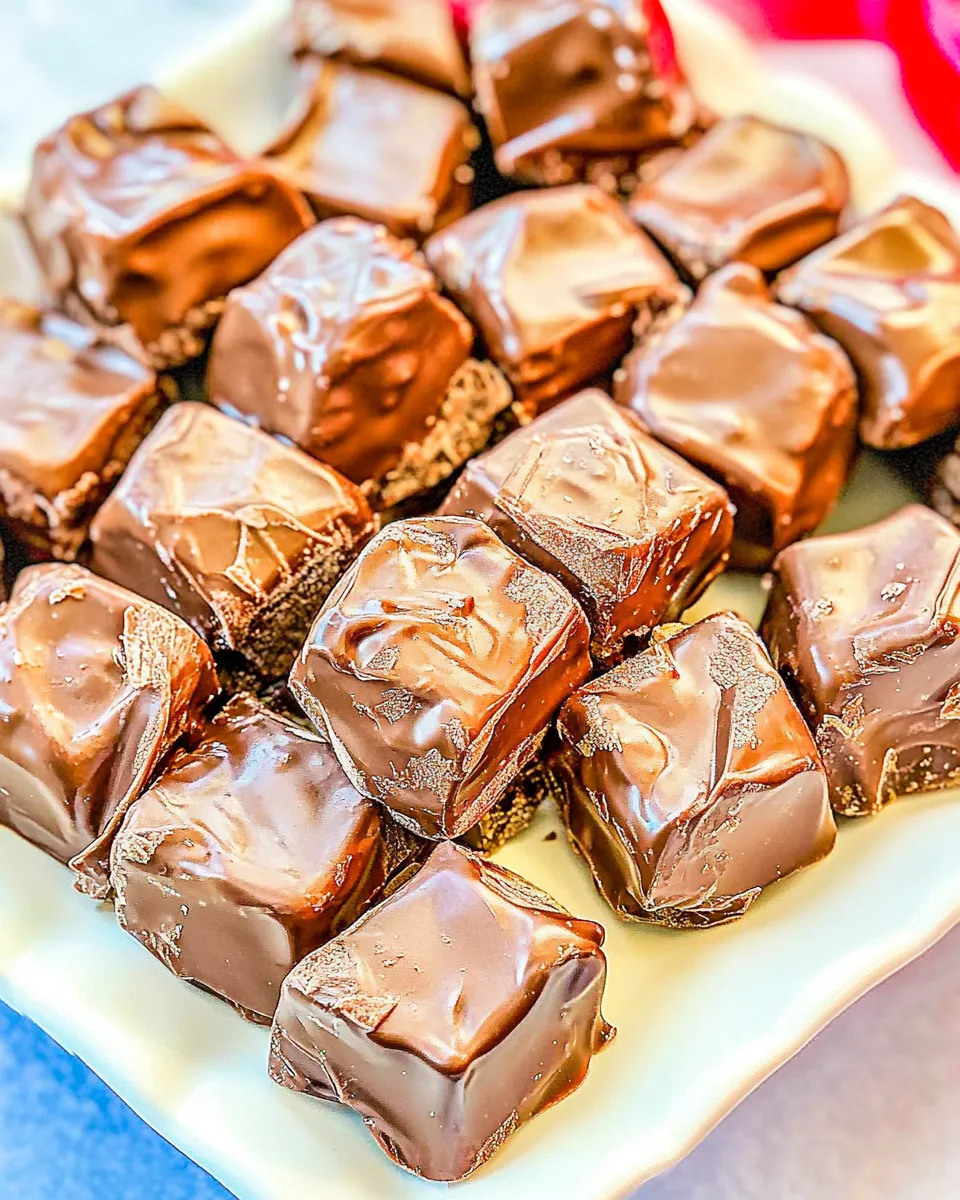
Chocolate-Covered Sponge Candy
If you’re looking for a delightful treat that combines a light, airy texture with a rich chocolate coating, then Chocolate-Covered Sponge Candy is your answer. This classic confectionery is not only a feast for the taste buds but also a fun project that you can create right in your own kitchen. With just a few simple ingredients, you can transform everyday pantry staples into a mouthwatering dessert that’s perfect for sharing or indulging in all by yourself.
The key to sponge candy is its unique texture, which is achieved through the gentle combination of sugar, corn syrup, and baking soda. When you bite into this candy, you’ll experience a delightful crunch followed by a melt-in-your-mouth sensation. Let’s dive into the details of this delicious treat!
Why It Works Every Time
The magic of Chocolate-Covered Sponge Candy lies in the chemistry of its ingredients. Granulated sugar, when heated, melts and caramelizes, forming the perfect base. The addition of dark corn syrup helps to prevent crystallization, ensuring that the candy has the desired chewy yet crisp texture. Baking soda creates air bubbles during cooking, resulting in that light, porous structure that’s so characteristic of sponge candy. When coated in rich milk chocolate, the result is simply irresistible.
Ingredient Notes
- 1 cup granulated sugar: This is the primary sweetener and gives structure to the candy.
- 1 cup dark corn syrup: This helps to maintain moisture and prevents crystallization of the sugar.
- 1 cup honey: Adds natural sweetness and a unique flavor that enhances the candy.
- 1 tablespoon water: Aids in dissolving the sugar during cooking.
- 2 teaspoons baking soda, sifted: This is the magic ingredient that creates the sponge-like texture.
- 2 cups milk chocolate melting wafers: A smooth and creamy coating that complements the candy perfectly. Brands like Ghirardelli work wonderfully.
Equipment Breakdown
- Heavy-bottomed saucepan: Essential for evenly heating the sugar mixture.
- Candy thermometer: Helpful for ensuring that the sugar reaches the right temperature for the perfect texture.
- Whisk: Useful for mixing the ingredients thoroughly.
- Baking sheet: Line this with parchment paper to prevent sticking.
- Rubber spatula: Ideal for scraping the sides of the pan and transferring the candy.
Method: Chocolate-Covered Sponge Candy
Step 1: Prepare Your Workspace
Begin by lining a baking sheet with parchment paper. This will be where you pour your sponge candy mixture, so make sure it’s ready to go.
Step 2: Combine Ingredients
In a heavy-bottomed saucepan, combine the granulated sugar, dark corn syrup, honey, and water. Stir gently to combine.
Step 3: Heat the Mixture
Place the saucepan over medium heat and allow the mixture to come to a boil without stirring. Use a candy thermometer to monitor the temperature.
Step 4: Reach the Right Temperature
Continue to cook the mixture until it reaches 300°F (hard crack stage). This is crucial for achieving the perfect texture.
Step 5: Add Baking Soda
Once the mixture reaches the correct temperature, remove it from the heat and quickly whisk in the sifted baking soda. Be cautious, as it will bubble up dramatically.
Step 6: Pour and Cool
Immediately pour the mixture onto your prepared baking sheet, spreading it out evenly. Allow it to cool completely, which may take about 30 minutes.
Step 7: Break into Pieces
Once cooled, break the sponge candy into bite-sized pieces.
Step 8: Melt the Chocolate
In a microwave-safe bowl, melt the milk chocolate melting wafers according to the package instructions until smooth.
Step 9: Coat the Candy
Dip each piece of sponge candy into the melted chocolate, ensuring it is fully coated. Use a fork to lift the candy out, allowing any excess chocolate to drip off.
Step 10: Set the Coating
Place the chocolate-covered sponge candy back onto the parchment-lined baking sheet. Repeat the process until all pieces are coated.
Step 11: Allow to Set
Let the chocolate coating set completely at room temperature or in the refrigerator for faster results.
Allergy-Friendly Substitutes
- Granulated sugar: You can use coconut sugar for a more natural sweetener.
- Dark corn syrup: Light corn syrup or agave syrup may work as alternatives.
- Honey: Maple syrup can be used for a vegan version.
- Milk chocolate melting wafers: Use dark chocolate or dairy-free chocolate to accommodate dietary restrictions.
If You’re Curious
Sponge candy is a nostalgic treat for many, often found in local candy shops or as a holiday favorite. It’s also known as “honeycomb candy” or “cinder toffee” in various parts of the world. The fascinating texture is created by the reaction of baking soda with the hot sugar mixture, which produces carbon dioxide bubbles that create the airy structure. This candy is versatile and can be customized by adding flavors or even dipping in different types of chocolate.
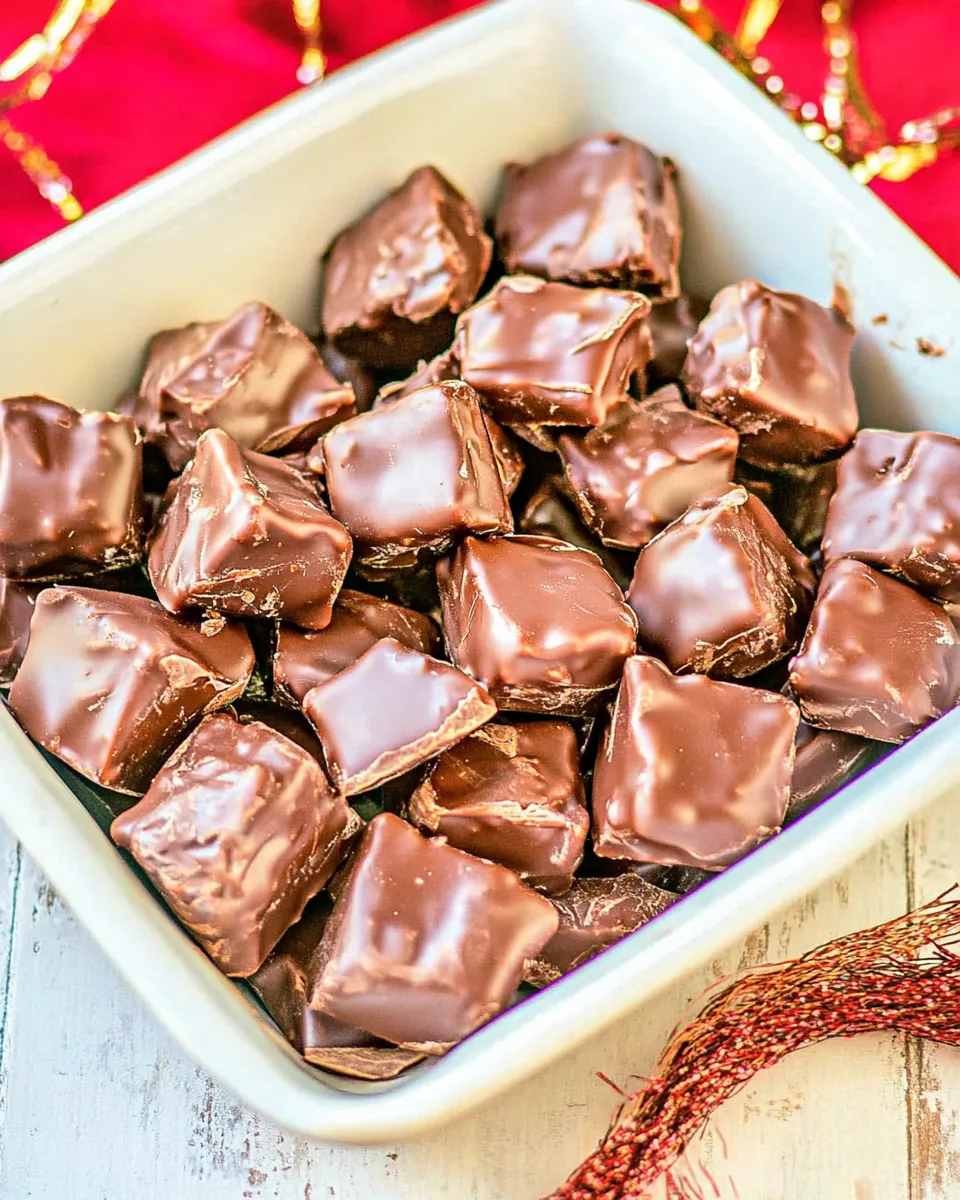
Shelf Life & Storage
Chocolate-Covered Sponge Candy can be stored in an airtight container at room temperature for up to 2 weeks. For longer storage, you may refrigerate it, but be aware that refrigeration can affect the texture slightly. Always ensure that the candy is well-wrapped to keep it fresh and free from moisture.
FAQ
Can I use a different type of chocolate for coating?
Absolutely! You can use dark chocolate, white chocolate, or even flavored chocolate melting wafers to create a unique spin on this classic candy.
What if my sponge candy doesn’t rise properly?
If the sponge candy does not rise as expected, it may be due to not reaching the hard crack stage or not mixing in the baking soda quickly enough. Make sure to follow the temperature guidelines closely.
Can I add flavors to the sponge candy?
Yes! You can infuse the sugar mixture with extracts like vanilla or almond for added flavor. Just be sure to add them after removing the mixture from heat.
Is sponge candy gluten-free?
Yes, the ingredients used in this recipe are naturally gluten-free, making it a suitable treat for those with gluten sensitivities.
Healthy-ish Favorites
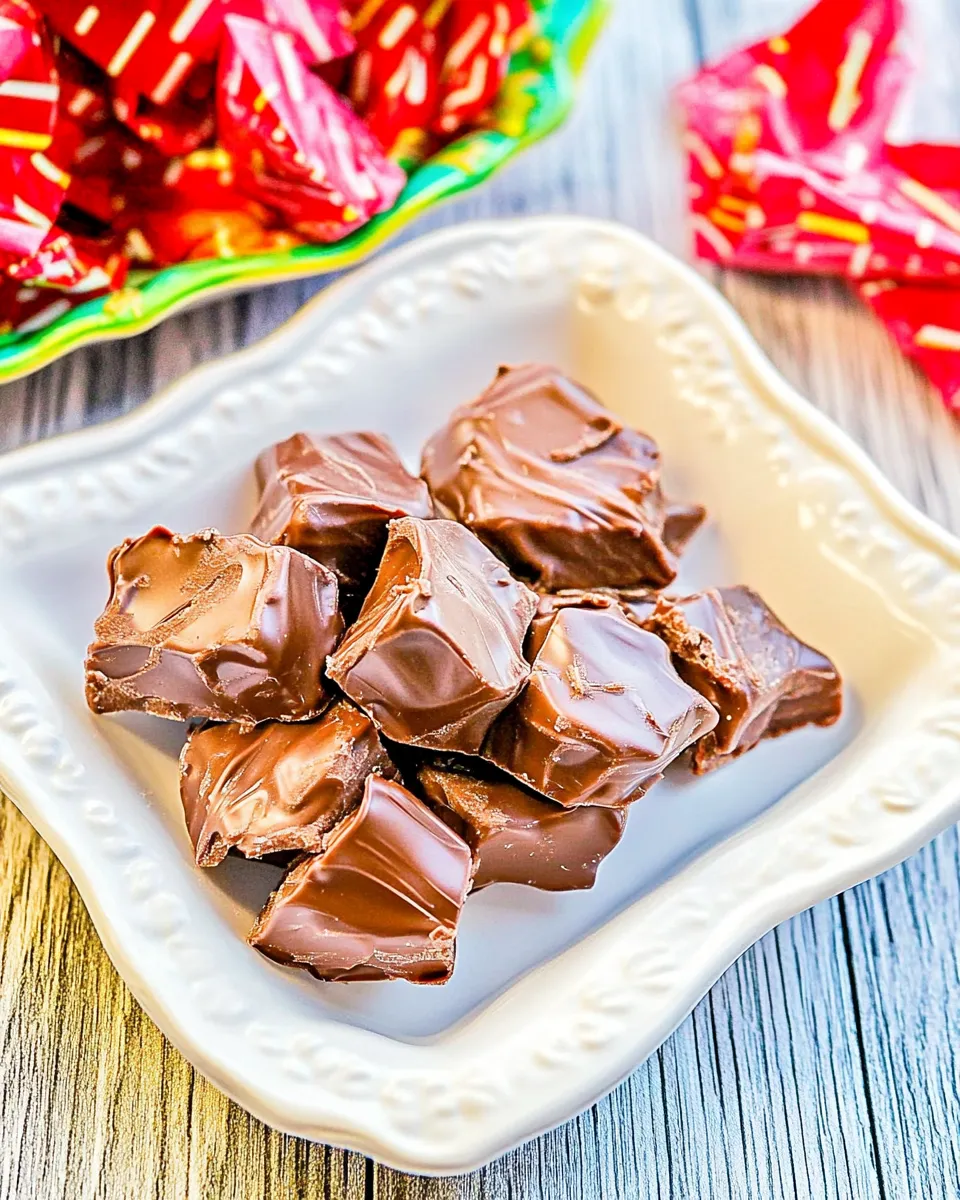
Serve & Enjoy
Now that you’ve mastered the art of Chocolate-Covered Sponge Candy, it’s time to share your creation with friends and family—or perhaps keep it all to yourself! These delightful candies make for perfect gifts, party favors, or simply a sweet treat to enjoy during movie night. The crunchy texture paired with the smooth chocolate coating is sure to impress anyone who tries them.
As you indulge in this homemade confection, take a moment to appreciate the simple joy of creating something delicious from scratch. Happy candy-making!

Chocolate-Covered Sponge Candy
Ingredients
Equipment
Method
- Step 1: Prepare Your Workspace: Begin by lining a baking sheet with parchment paper. This will be where you pour your sponge candy mixture, so make sure it’s ready to go.
- Step 2: Combine Ingredients: In a heavy-bottomed saucepan, combine the granulated sugar, dark corn syrup, honey, and water. Stir gently to combine.
- Step 3: Heat the Mixture: Place the saucepan over medium heat and allow the mixture to come to a boil without stirring. Use a candy thermometer to monitor the temperature.
- Step 4: Reach the Right Temperature: Continue to cook the mixture until it reaches 300°F (hard crack stage). This is crucial for achieving the perfect texture.
- Step 5: Add Baking Soda: Once the mixture reaches the correct temperature, remove it from the heat and quickly whisk in the sifted baking soda. Be cautious, as it will bubble up dramatically.
- Step 6: Pour and Cool: Immediately pour the mixture onto your prepared baking sheet, spreading it out evenly. Allow it to cool completely, which may take about 30 minutes.
- Step 7: Break into Pieces: Once cooled, break the sponge candy into bite-sized pieces.
- Step 8: Melt the Chocolate: In a microwave-safe bowl, melt the milk chocolate melting wafers according to the package instructions until smooth.
- Step 9: Coat the Candy: Dip each piece of sponge candy into the melted chocolate, ensuring it is fully coated. Use a fork to lift the candy out, allowing any excess chocolate to drip off.
- Step 10: Set the Coating: Place the chocolate-covered sponge candy back onto the parchment-lined baking sheet. Repeat the process until all pieces are coated.
- Step 11: Allow to Set: Let the chocolate coating set completely at room temperature or in the refrigerator for faster results.
Notes
- For a vegan version, substitute honey with maple syrup.
- Store the sponge candy in an airtight container at room temperature for up to 2 weeks.
- Experiment with different types of chocolate for coating to customize the flavor.