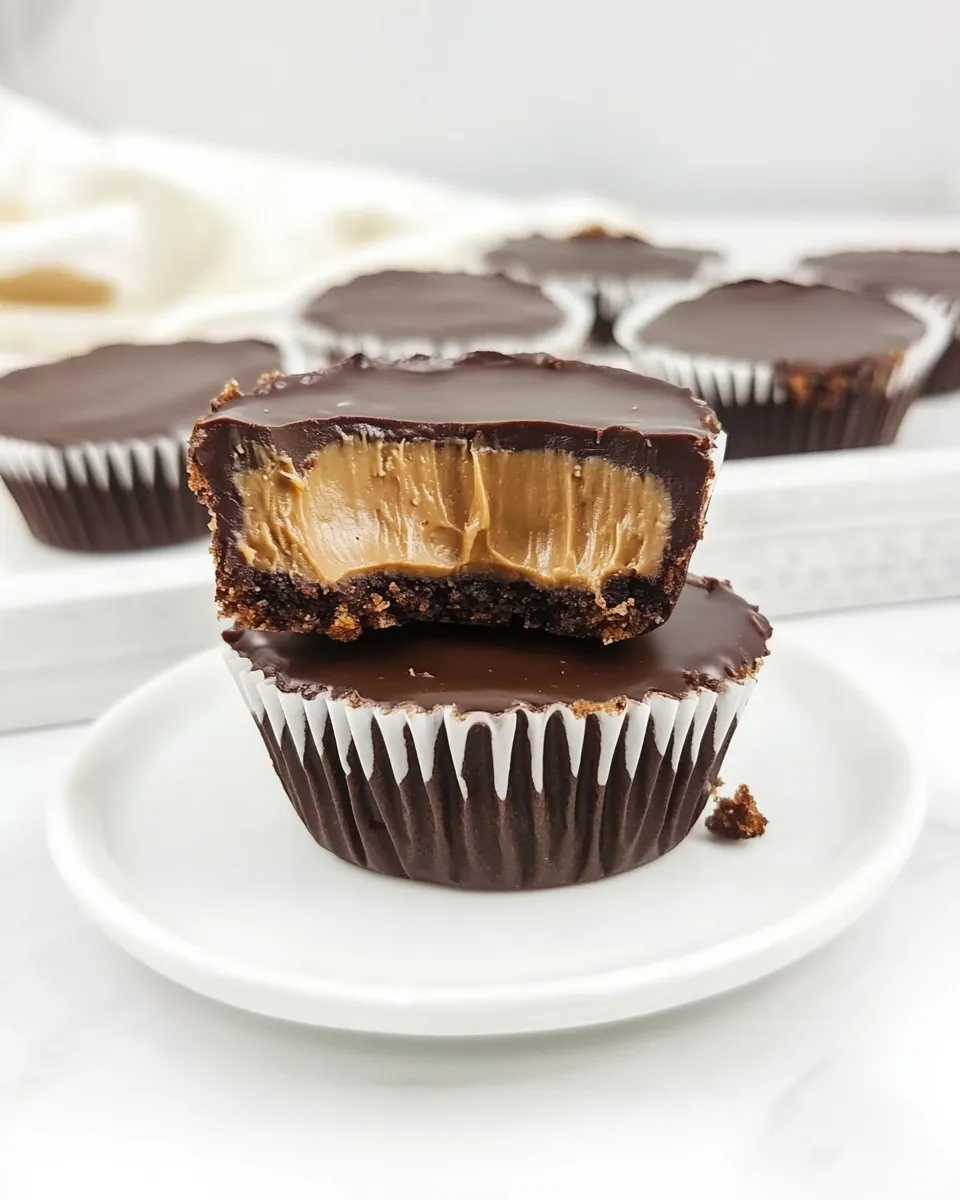
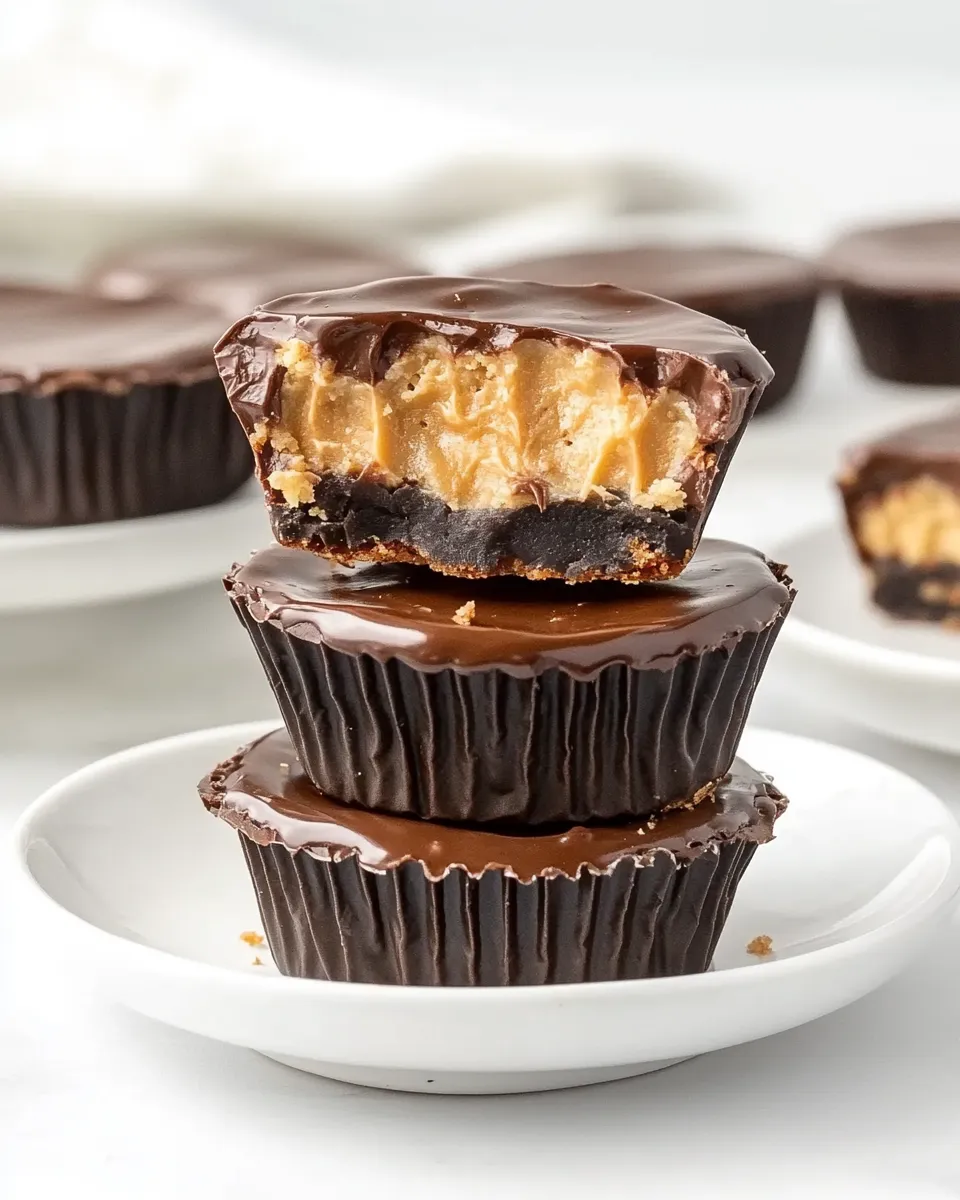
Snickers Cups
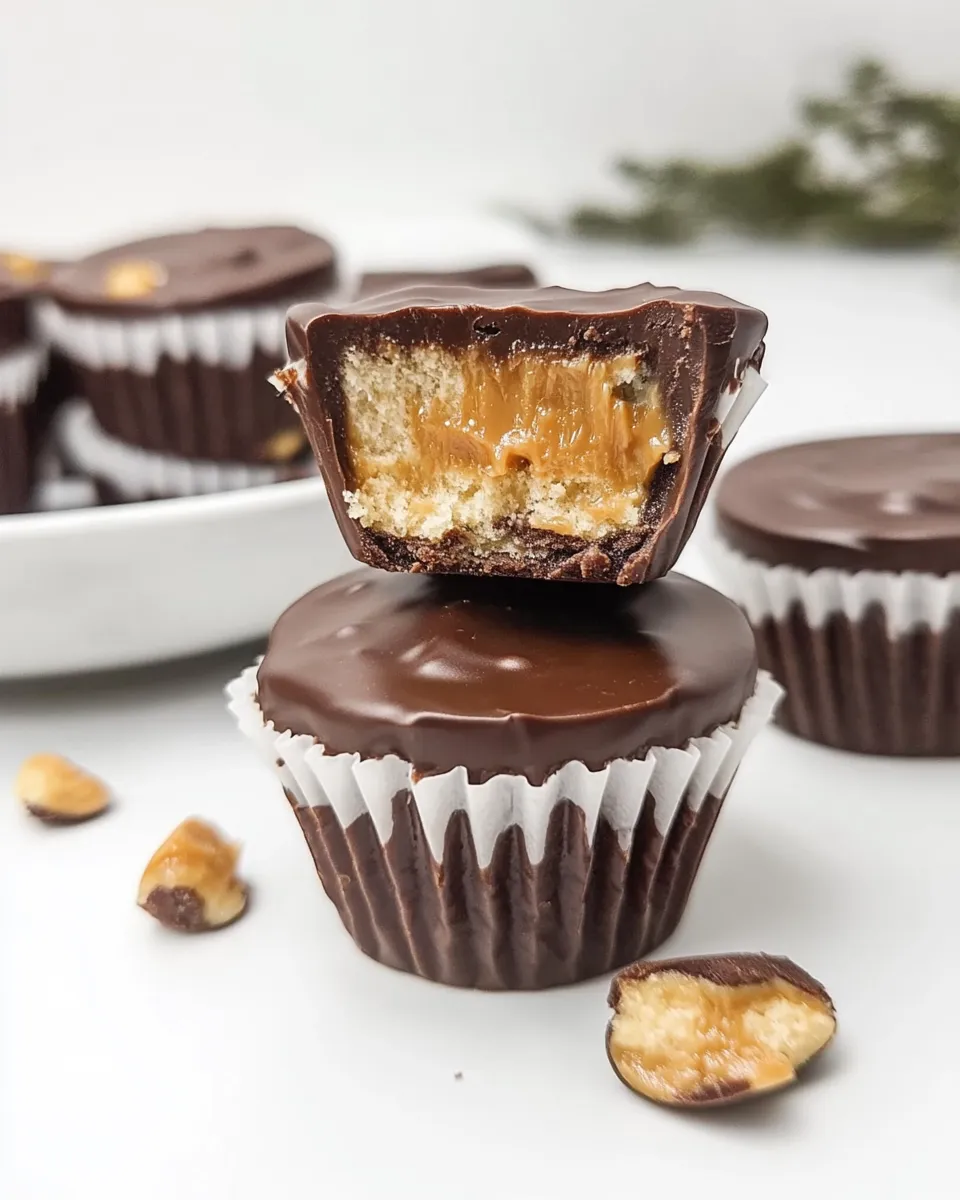
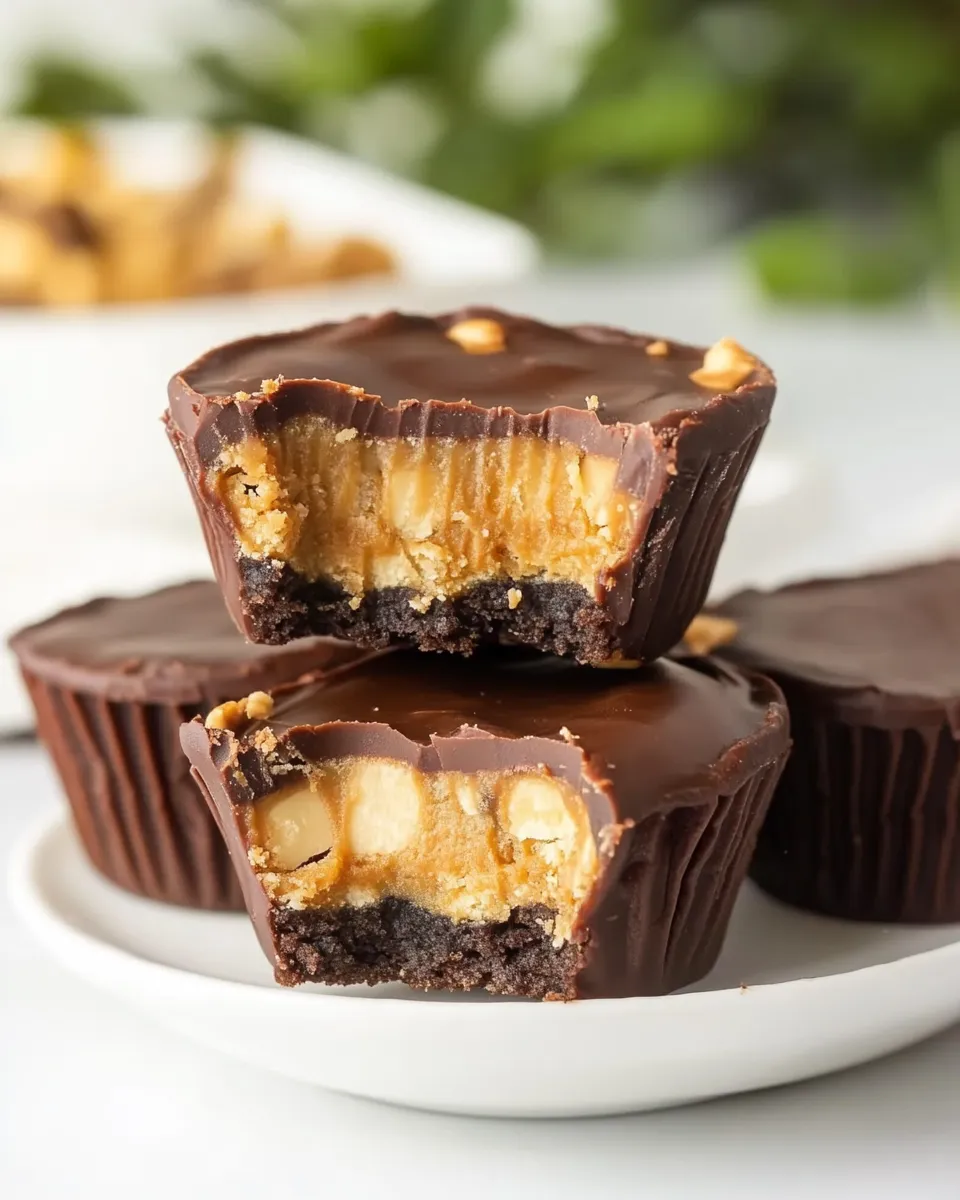
If you’re a fan of sweet, chocolatey treats that bring a delightful crunch and a hint of nostalgia, then these Snickers Cups are bound to become your new favorite indulgence. Imagine biting into a creamy layer of peanut butter, followed by a gooey caramel center, all enveloped in luscious chocolate. These homemade Snickers Cups are an easy-to-make treat that captures the essence of the beloved candy bar with a personal touch. Whether for a party, a special occasion, or just because, these cups are guaranteed to impress!
Why You’ll Keep Making It
Once you take your first bite of these Snickers Cups, it’s hard not to fall in love. They are rich, satisfying, and wonderfully easy to prepare. The combination of creamy peanut butter, crunchy peanuts, and sweet caramel is a match made in dessert heaven. Plus, with simple ingredients and straightforward steps, you can whip up a batch in no time. Once you share them with friends and family, they’ll be begging for more, ensuring that this recipe will be a staple in your kitchen for years to come.
Shopping List
- 12 ounces milk chocolate chips – for that sweet, smooth coating.
- 1 cup caramel bits – the gooey center that makes these cups irresistible.
- 2 tablespoons water – to help melt the caramel bits smoothly.
- 1 cup rough chopped peanuts – adds the perfect crunch.
- 1 cup creamy peanut butter – for that rich, nutty flavor.
- 1 cup powdered sugar – sweetens the peanut butter layer.
Recommended Tools
- Microwave-safe bowl – for melting the chocolate and caramel.
- Muffin tin – to shape your Snickers Cups.
- Parchment paper – helps with easy removal of the cups.
- Mixing bowl – for combining the peanut butter and powdered sugar.
- Spoon or spatula – for spreading the layers evenly.
Stepwise Method: Snickers Cups
Step 1: Prepare the Muffin Tin
Start by lining a muffin tin with cupcake liners. This will keep your Snickers Cups from sticking and make removal a breeze.
Step 2: Melt the Chocolate
In a microwave-safe bowl, combine the milk chocolate chips and heat in 30-second intervals, stirring in between, until smooth and fully melted. Be careful not to overheat the chocolate.
Step 3: Create the Chocolate Layer
Spoon a small amount of melted chocolate into the bottom of each cupcake liner, just enough to cover the base. Use the back of the spoon to smooth it out evenly. Place the tray in the refrigerator for about 10 minutes until the chocolate is set.
Step 4: Make the Caramel Filling
In another microwave-safe bowl, combine the caramel bits and water. Microwave in 30-second intervals, stirring until fully melted and smooth.
Step 5: Add the Caramel Layer
Once the chocolate layer has set, spoon a generous amount of the melted caramel on top of the chocolate in each cup. Be sure to leave some space at the top for the remaining layers.
Step 6: Prepare the Peanut Butter Mixture
In a mixing bowl, combine the creamy peanut butter and powdered sugar. Mix until well combined and it forms a thick, spreadable consistency.
Step 7: Layer the Peanut Butter
Spoon the peanut butter mixture over the caramel layer in each cup, spreading it out evenly. Press down gently to ensure it adheres well.
Step 8: Add the Peanuts
Sprinkle the rough chopped peanuts over the peanut butter layer, ensuring even distribution for that delightful crunch.
Step 9: Finish with Chocolate
Finally, pour the remaining melted chocolate over the peanut butter and peanuts, covering everything completely. Use the spoon to smooth out the chocolate layer.
Step 10: Chill and Set
Place the muffin tin back in the refrigerator for at least 30 minutes, or until the chocolate is fully set. Once set, carefully remove the cups from the liners.
Seasonal Adaptations
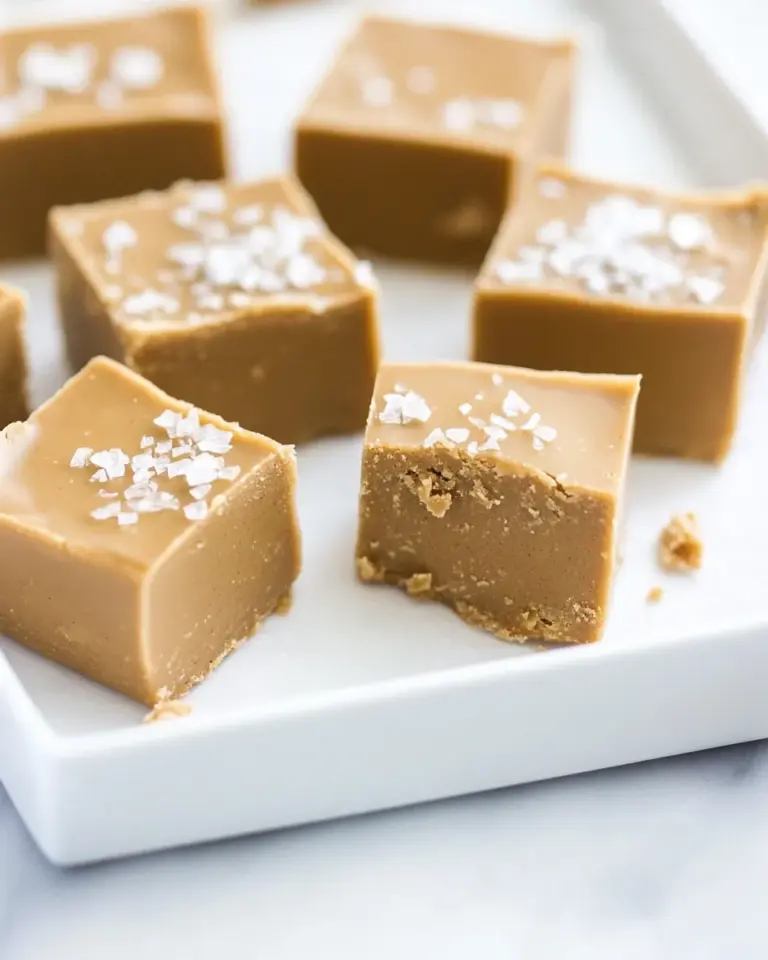
- Add a sprinkle of sea salt on top for a salted caramel twist.
- For a festive touch, use colored cupcake liners during holidays.
- Incorporate crushed pretzels for a sweet and salty flavor combination.
- Swap out milk chocolate for dark chocolate for a richer taste.
Things That Go Wrong
- If the chocolate hardens too quickly, try warming it slightly in the microwave to make it easier to work with.
- Overheating the caramel can cause it to seize; be sure to monitor it closely while melting.
- If the cups stick to the liners, try using a non-stick spray before adding the chocolate.
- For a smoother peanut butter layer, ensure your peanut butter is at room temperature before mixing.
Leftovers & Meal Prep
These Snickers Cups can be stored in an airtight container in the refrigerator for up to a week. For longer storage, you can freeze them. Just make sure to wrap each cup individually in plastic wrap and place them in a freezer-safe container. They can last for up to three months in the freezer. Simply thaw them in the refrigerator before enjoying!
FAQ
Can I use dark chocolate instead of milk chocolate?
Absolutely! Dark chocolate will give your Snickers Cups a richer flavor and pair beautifully with the sweetness of the caramel and peanut butter.
What can I use instead of caramel bits?
If you can’t find caramel bits, you can use soft caramels cut into small pieces. Just melt them with a little bit of water to achieve a similar consistency.
Can I make these vegan?
Yes! Use dairy-free chocolate chips and a vegan peanut butter to create a delicious vegan version of Snickers Cups.
How do I prevent the chocolate from cracking when I remove the cups from the liners?
Make sure to allow the chocolate to fully set in the refrigerator, and gently peel away the liner from the sides to prevent cracking. If you experience issues, warming the chocolate slightly may help.
Healthy-ish Favorites
- Healthy Peanut Butter Cups
- Avocado Chocolate Mousse
- Healthy Chocolate Chip Cookies
- Easy Gluten-Free Brownies
The Takeaway
These Snickers Cups are not just a treat; they are an experience that brings together the rich, creamy, and crunchy elements we all love. Whether you’re making them for yourself, to share with friends, or to impress at a gathering, this recipe is sure to be a hit. With a few simple ingredients and steps, you can create a delightful dessert that rivals any store-bought candy. So, gather your ingredients, roll up your sleeves, and indulge in the delicious world of homemade Snickers Cups!
Snickers Cups
Ingredients
Equipment
Method
- Start by lining a muffin tin with cupcake liners.
- In a microwave-safe bowl, combine the milk chocolate chips and heat in 30-second intervals, stirring until smooth.
- Spoon a small amount of melted chocolate into the bottom of each cupcake liner and smooth it out. Refrigerate for about 10 minutes until set.
- In another microwave-safe bowl, combine the caramel bits and water. Microwave in 30-second intervals, stirring until fully melted.
- Spoon a generous amount of melted caramel on top of the chocolate layer in each cup.
- In a mixing bowl, combine the creamy peanut butter and powdered sugar. Mix until thick and spreadable.
- Spoon the peanut butter mixture over the caramel layer in each cup, smoothing it out evenly.
- Sprinkle the rough chopped peanuts over the peanut butter layer.
- Pour the remaining melted chocolate over the peanut butter and peanuts, smoothing it out.
- Chill in the refrigerator for at least 30 minutes until set. Carefully remove cups from the liners.
Notes
- Store in an airtight container in the refrigerator for up to a week.
- For longer storage, freeze individually wrapped cups for up to three months.
- Use dark chocolate for a richer flavor.