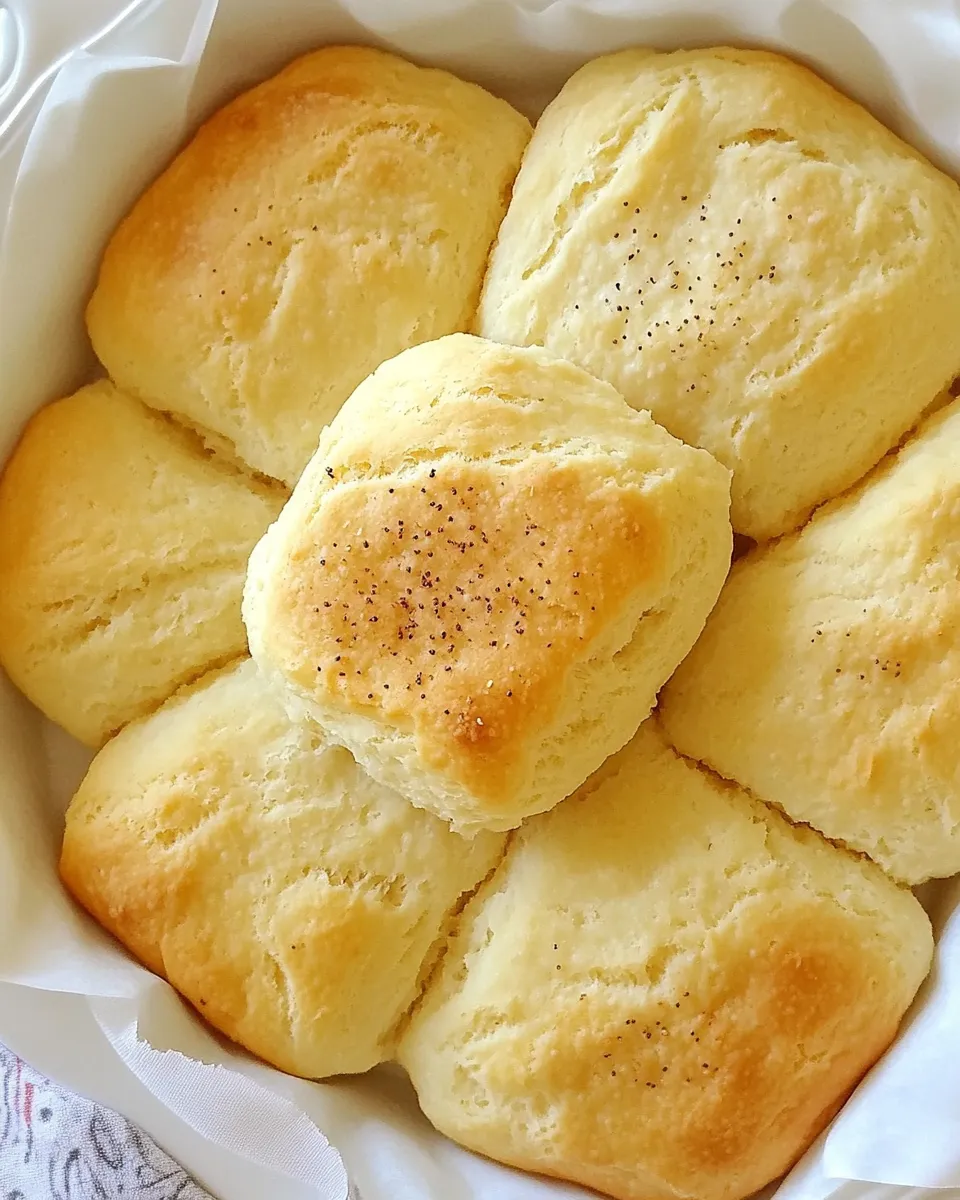
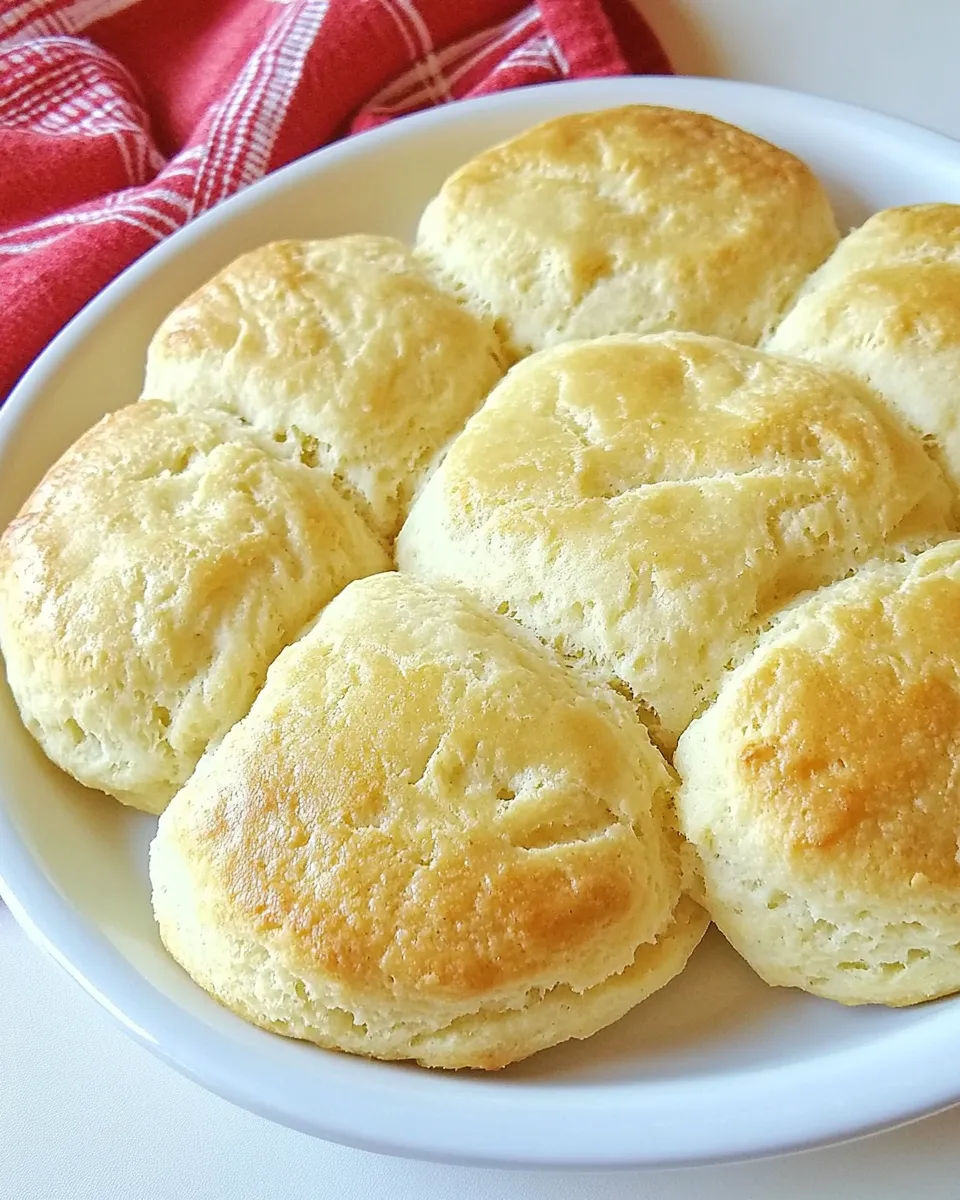
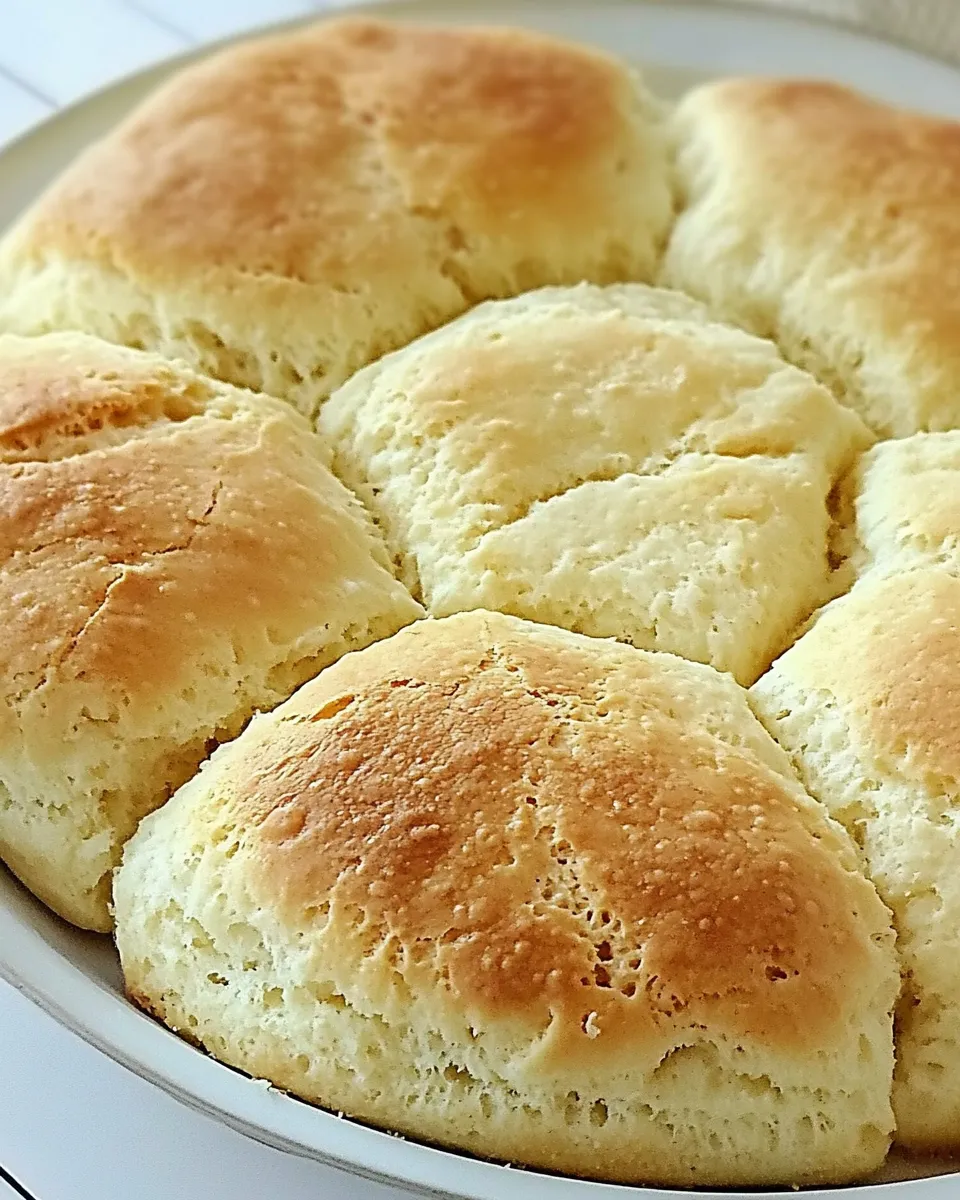
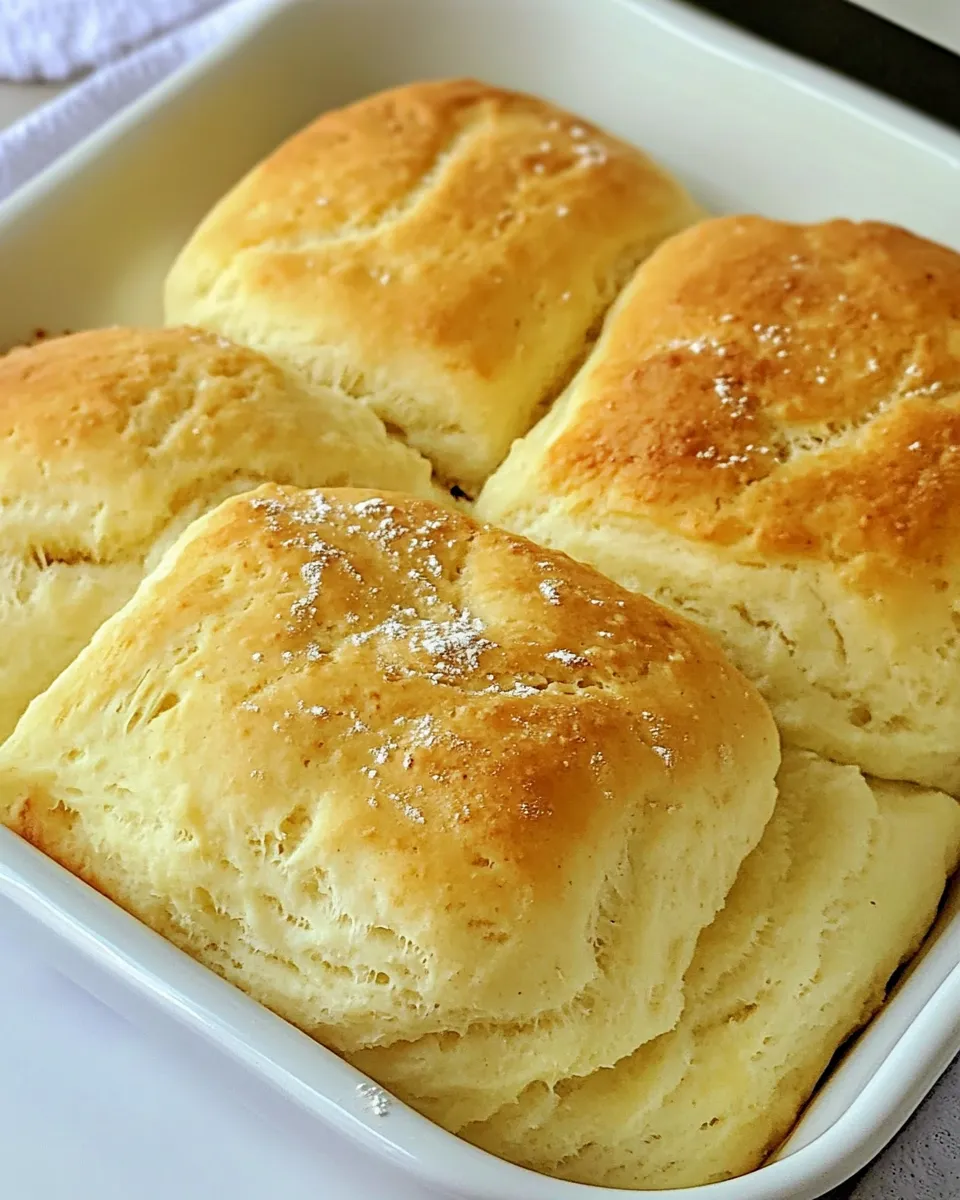
7-UP Biscuits
There’s something truly magical about biscuits that rise to fluffy perfection, and when you introduce a can of 7-Up, the result is nothing short of extraordinary. These 7-UP Biscuits are not just any ordinary biscuits; they are airy, buttery, and have a hint of sweetness that makes them versatile enough to accompany any meal. Whether you serve them alongside a hearty stew or enjoy them simply with butter and jam, they are bound to become a staple in your kitchen. The beauty of this recipe lies in its simplicity, calling for just a handful of ingredients that you probably already have in your pantry.
Baking these biscuits is a delightful experience, as the carbonation from the 7-Up helps them rise beautifully, creating that perfect flaky texture. So, preheat your oven and get ready to whip up a batch of these scrumptious 7-UP Biscuits that will have everyone asking for seconds!
Why Cooks Rave About It
7-UP Biscuits are a crowd-pleaser for many reasons. First and foremost, they are incredibly easy to make, requiring minimal ingredients and time. The combination of sour cream and 7-Up creates a uniquely tender biscuit that is fluffy and light. Moreover, these biscuits are versatile; they can be enjoyed for breakfast, as a side for dinner, or even as a base for biscuits and gravy. The flavor profile is subtly sweet, allowing them to pair effortlessly with both savory and sweet dishes. Once you try making 7-UP Biscuits, you’ll see why they have earned a special place in the hearts of home cooks everywhere.
What to Buy
To make the perfect 7-UP Biscuits, you will need the following ingredients:
- 1 stick of melted butter – This adds richness and flavor to the biscuits.
- 4 cups of Baking Mix – You can use Bisquick or Jiffy Baking Mix for convenience.
- 1 cup of sour cream – This ingredient contributes to the biscuit’s tenderness.
- 1 cup of 7-Up soda – The carbonation is key for that fluffy texture.
- All-purpose flour – Just a pinch to help with the sticky dough; Bisquick can also be used.
Setup & Equipment
Before you start baking, gather the necessary equipment to make the process smooth and enjoyable:
- Mixing bowl – A large bowl for combining your ingredients.
- Measuring cups – For accurate measurements of the ingredients.
- Whisk – To mix the ingredients thoroughly.
- Baking sheet – A flat surface to bake your biscuits on.
- Parchment paper (optional) – For easy cleanup and to prevent sticking.
- Oven mitts – Safety first! Always use mitts when handling hot trays.
Mastering 7-UP Biscuits: How-To
Now, let’s dive into the step-by-step process of creating these delightful 7-UP Biscuits.
Step 1: Preheat Your Oven
Start by preheating your oven to 450°F (230°C). This high temperature is essential for achieving that perfect rise.
Step 2: Melt the Butter
In a small saucepan or microwave, melt your stick of butter. Set it aside to cool slightly while you prepare the other ingredients.
Step 3: Mix the Dry Ingredients
In a large mixing bowl, combine the 4 cups of baking mix. If you’re using all-purpose flour for dusting, set it aside for later.
Step 4: Combine the Wet Ingredients
In a separate bowl, whisk together the sour cream and 7-Up until well combined. This bubbly mixture is what will give your biscuits their lift.
Step 5: Combine Everything
Pour the sour cream and 7-Up mixture into the bowl with the baking mix. Gently stir until just combined. Be careful not to overmix; a few lumps are perfectly fine.
Step 6: Add the Butter
Drizzle in the melted butter and fold it into the mixture until no dry spots remain. The dough will be sticky, which is normal for this recipe.
Step 7: Shape the Biscuits
On a floured surface (or a surface dusted with Bisquick), turn out the dough. Lightly flour your hands to prevent sticking, then pat the dough into a rectangle about 1-inch thick. Cut into squares or use a biscuit cutter for round shapes.
Step 8: Bake
Place the biscuits on a baking sheet lined with parchment paper. Bake for 10-12 minutes or until golden brown on top.
Step 9: Serve and Enjoy
Once baked, remove from the oven and brush the tops with any remaining melted butter for added flavor. Serve warm and enjoy the fluffy goodness of your 7-UP Biscuits!
In-Season Swaps
If you want to switch things up or use seasonal ingredients, consider these options:
- Buttermilk – Substitute sour cream with buttermilk for a tangy twist.
- Herbs – Add fresh herbs like rosemary or chives for a savory flavor.
- Cheese – Mix in shredded cheese for cheesy 7-UP Biscuits.
- Seasonal fruits – Fold in blueberries or cranberries for a fruity version.
Steer Clear of These
To ensure your 7-UP Biscuits turn out perfectly, avoid these common pitfalls:
- Overmixing the dough – This can lead to tough biscuits instead of tender ones.
- Substituting the baking mix – Stick to Bisquick or Jiffy for best results; other flours may not yield the same texture.
- Skipping the melted butter – It adds moisture and flavor that are crucial for delicious biscuits.
- Using flat soda – Make sure your 7-Up is fresh and bubbly for the best rise.
Storage & Reheat Guide
To keep your 7-UP Biscuits fresh and delicious, follow these storage tips:
- Room Temperature – Store leftovers in an airtight container at room temperature for up to 2 days.
- Refrigerator – For longer storage, keep them in the fridge for up to a week.
- Freezing – Freeze biscuits in a sealed bag for up to 3 months. Thaw before reheating.
- Reheating – Warm in a 350°F (175°C) oven for about 5-7 minutes or until heated through.
Questions People Ask
Can I make these biscuits ahead of time?
Yes! You can prepare the dough and refrigerate it for up to 24 hours before baking. Just let it come to room temperature before baking.
Can I use a different soda?
While 7-Up is the classic choice, other lemon-lime sodas or even ginger ale can work as substitutes, providing a similar texture.
Why are my biscuits not rising?
If your biscuits don’t rise, check the freshness of your baking mix and the carbonation in your soda. Both are crucial for a good rise.
Can I add herbs or spices to the dough?
Absolutely! Feel free to add dried herbs or spices to the dough for an extra flavor kick. Just be mindful of the quantities.
Reader Favorites
Here are some reader favorites that pair well with 7-UP Biscuits:
Time to Try It
Now that you’re equipped with all the knowledge to make these delightful 7-UP Biscuits, it’s time to get in the kitchen and create a batch! The process is straightforward, and the results are nothing short of spectacular. Whether you’re serving them for a family gathering or enjoying them as a quiet breakfast treat, these biscuits are sure to impress.
Embrace the magic of baking and treat your loved ones (or yourself) to a delightful experience with these 7-UP Biscuits. With their light, fluffy texture and buttery flavor, they are bound to become a favorite in your household. Happy baking!
7-UP Biscuits
Ingredients
Equipment
Method
- Preheat your oven to 450°F (230°C).
- Melt your stick of butter and set it aside to cool slightly.
- In a large mixing bowl, combine the 4 cups of baking mix.
- In a separate bowl, whisk together the sour cream and 7-Up until well combined.
- Pour the sour cream and 7-Up mixture into the bowl with the baking mix, and gently stir until just combined.
- Drizzle in the melted butter and fold it into the mixture until no dry spots remain.
- On a floured surface, turn out the dough and pat it into a rectangle about 1-inch thick. Cut into squares or use a biscuit cutter.
- Place the biscuits on a baking sheet lined with parchment paper and bake for 10-12 minutes or until golden brown on top.
- Remove from the oven and brush the tops with any remaining melted butter. Serve warm.
Notes
- Store leftovers in an airtight container at room temperature for up to 2 days.
- For longer storage, keep them in the fridge for up to a week.
- Freeze biscuits in a sealed bag for up to 3 months; thaw before reheating.