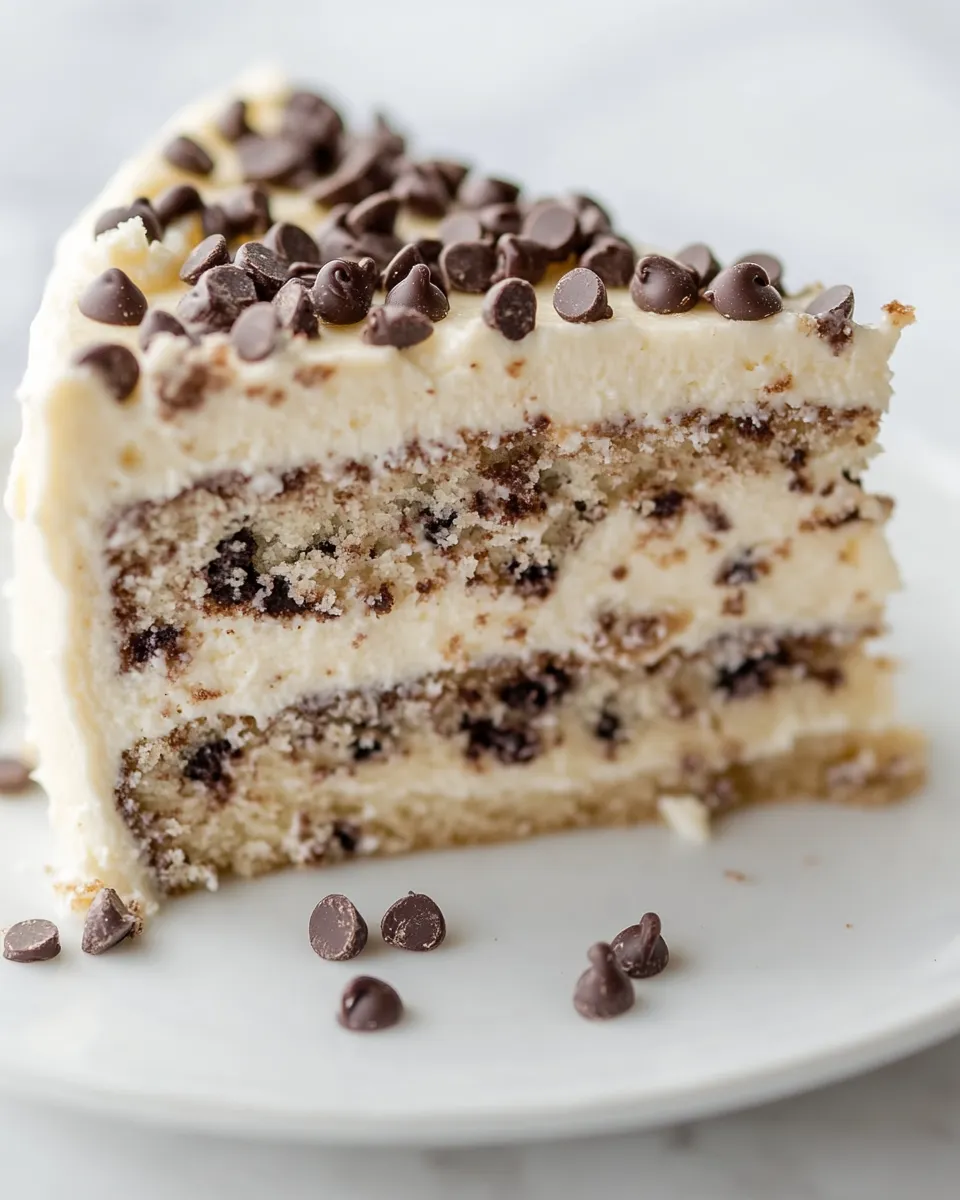
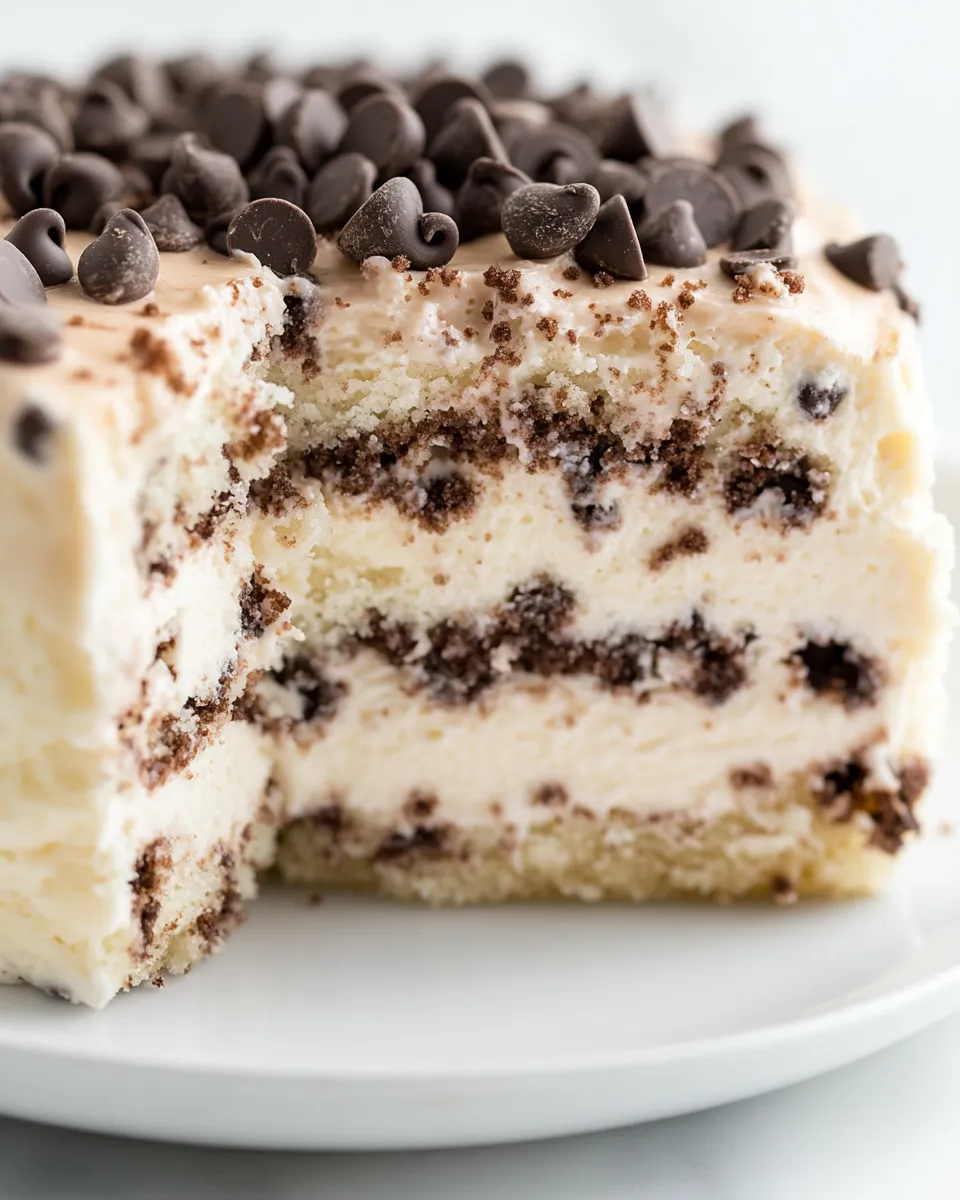
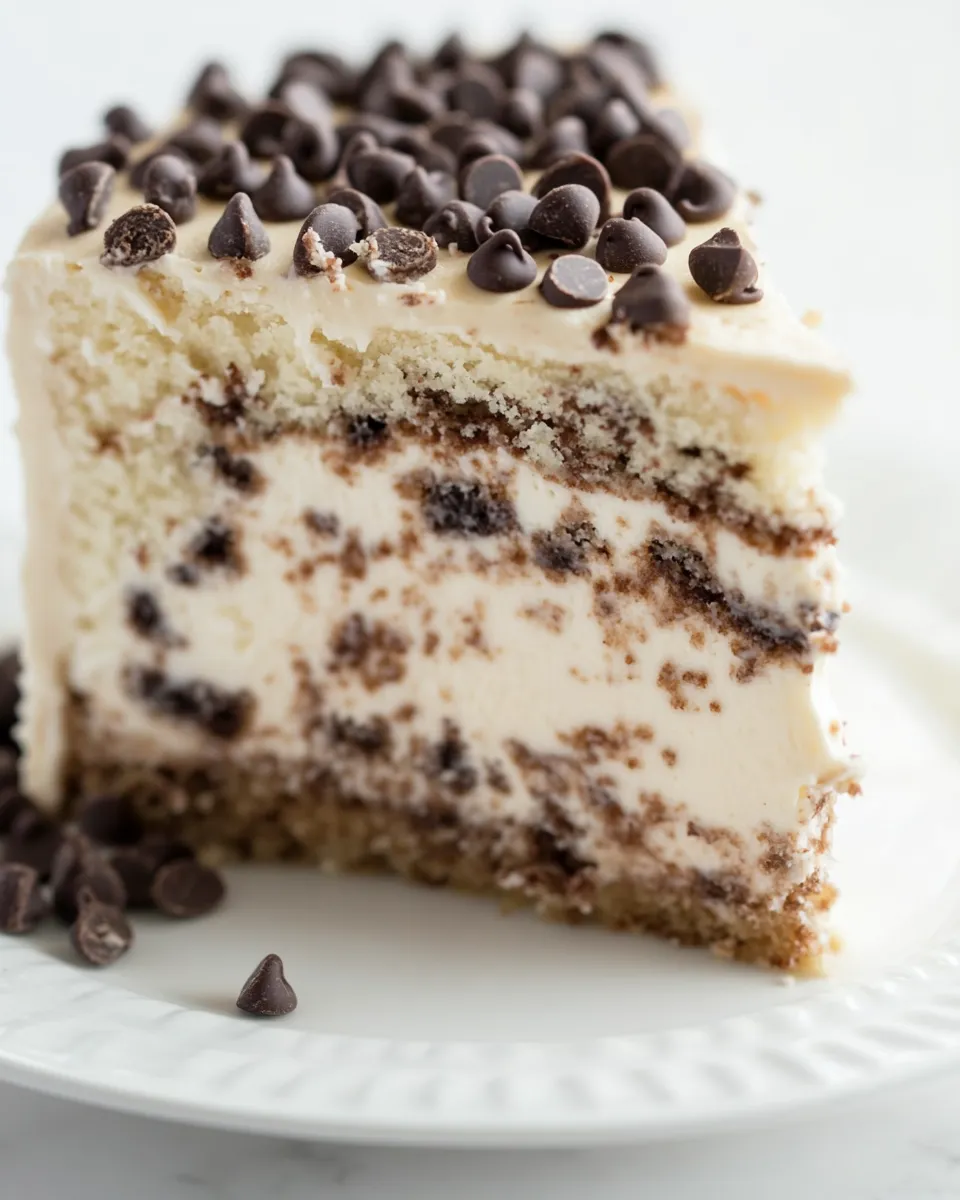
Chocolate Chip Cheesecake Cake
If you’re looking for a dessert that will have everyone raving, you’ve just stumbled upon the ultimate treat: Chocolate Chip Cheesecake Cake. This delightfully decadent dessert brings together the rich, creamy goodness of cheesecake and the light, fluffy texture of cake, all while studded with miniature chocolate chips. It’s perfect for birthdays, celebrations, or just a sweet indulgence on a Tuesday night. Let’s dive into the wonderful world of baking this masterpiece.
Why It Deserves a Spot
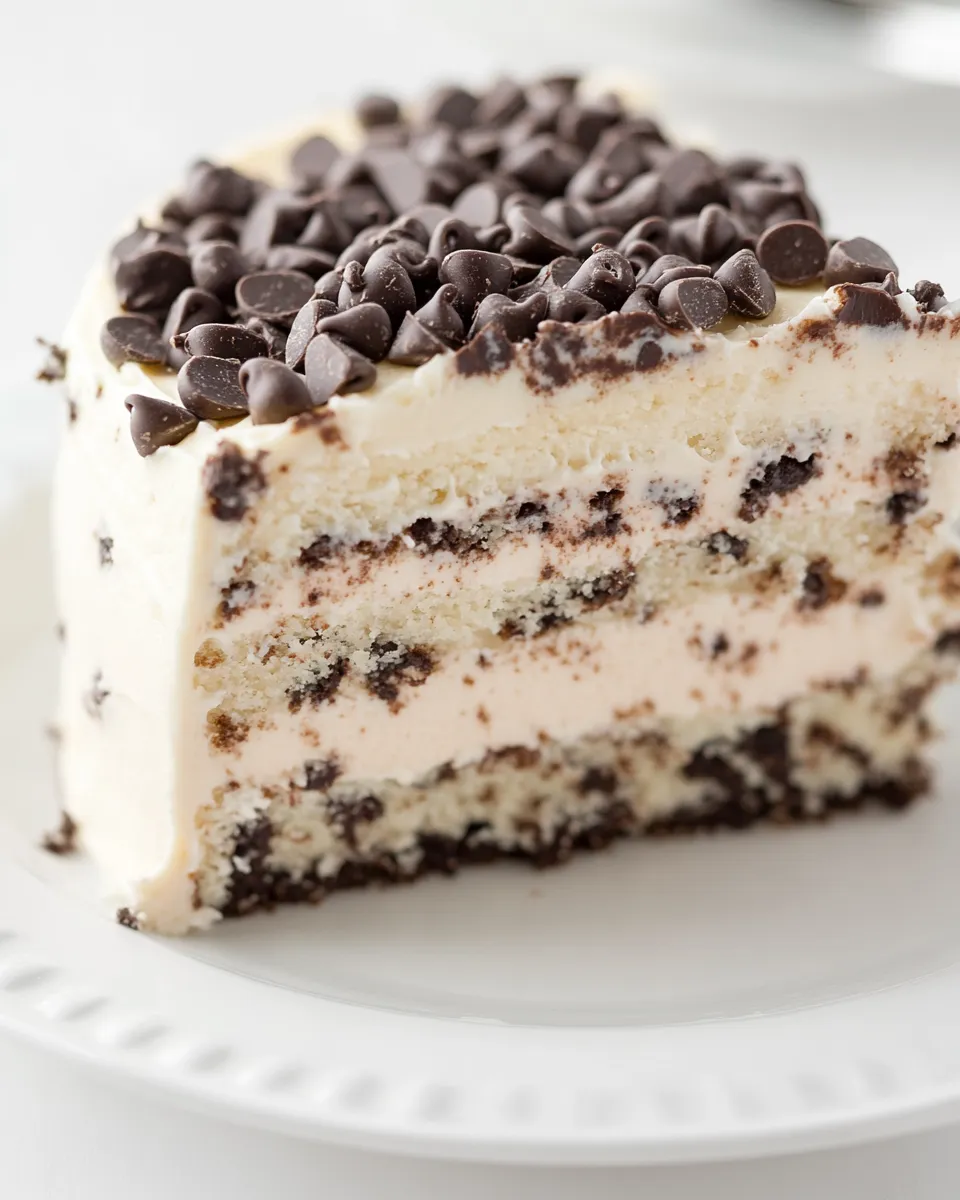
Chocolate Chip Cheesecake Cake is not just another dessert; it’s a celebration of flavors and textures. The marriage of creamy cheesecake and moist cake creates an unforgettable experience. Each bite is a symphony of sweetness, with the chocolate chips providing delightful bursts of flavor. This cake is versatile enough to serve at gatherings or to simply enjoy with a cup of coffee at home. Plus, it’s visually stunning, making it a showstopper for any occasion.
What You’ll Gather
- Two 8-ounce packages cream cheese, at room temperature
- 1 cup granulated white sugar
- 1 teaspoon salt
- 2 large eggs
- 1 cup sour cream
- 1 cup heavy whipping cream
- 1 teaspoon vanilla extract
- 1 cup miniature chocolate chips
- One 15.25-ounce box white cake mix
- 1 cup water
- 1 cup canola or vegetable oil
- 3 large egg whites
- 1 cup miniature chocolate chips
- 2 cups powdered sugar, sifted to remove lumps
- 1 stick (1/2 cup) salted butter, at room temperature
- 1 tablespoon vanilla extract
- Extra miniature chocolate chips, for garnish
Setup & Equipment
- 9-inch round cake pans (2)
- Mixing bowls (large and medium)
- Electric mixer or whisk
- Rubber spatula
- Parchment paper
- Cooling rack
- Measuring cups and spoons
- Wire whisk
Cooking Chocolate Chip Cheesecake Cake: The Process
Step 1: Preheat and Prepare
Start by preheating your oven to 350°F (175°C). Grease the bottom and sides of your cake pans and line them with parchment paper to ensure your cakes release easily after baking.
Step 2: Make the Cheesecake Filling
In a mixing bowl, beat together the cream cheese, granulated sugar, and salt until smooth. Add the eggs, sour cream, heavy whipping cream, and vanilla extract. Blend until fully combined. Fold in 1 cup of miniature chocolate chips gently. This rich filling is the heart of your cake!
Step 3: Prepare the Cake Batter
In another bowl, combine the white cake mix, water, canola oil, and egg whites. Mix until the batter is smooth and thoroughly combined. The cake mix will provide a light and fluffy texture to complement the dense cheesecake.
Step 4: Assemble the Layers
Divide the cake batter evenly between the two prepared pans, filling them about halfway. Then, carefully spoon the cheesecake filling on top of the batter in each pan. It might look like a lot, but it will settle into the cake as it bakes.
Step 5: Bake to Perfection
Bake the cakes in the preheated oven for about 40-45 minutes, or until a toothpick inserted into the cake layers comes out clean. The cheesecake will puff up, and the edges will be lightly golden. Allow the cakes to cool in the pans for 10 minutes before transferring them to a cooling rack.
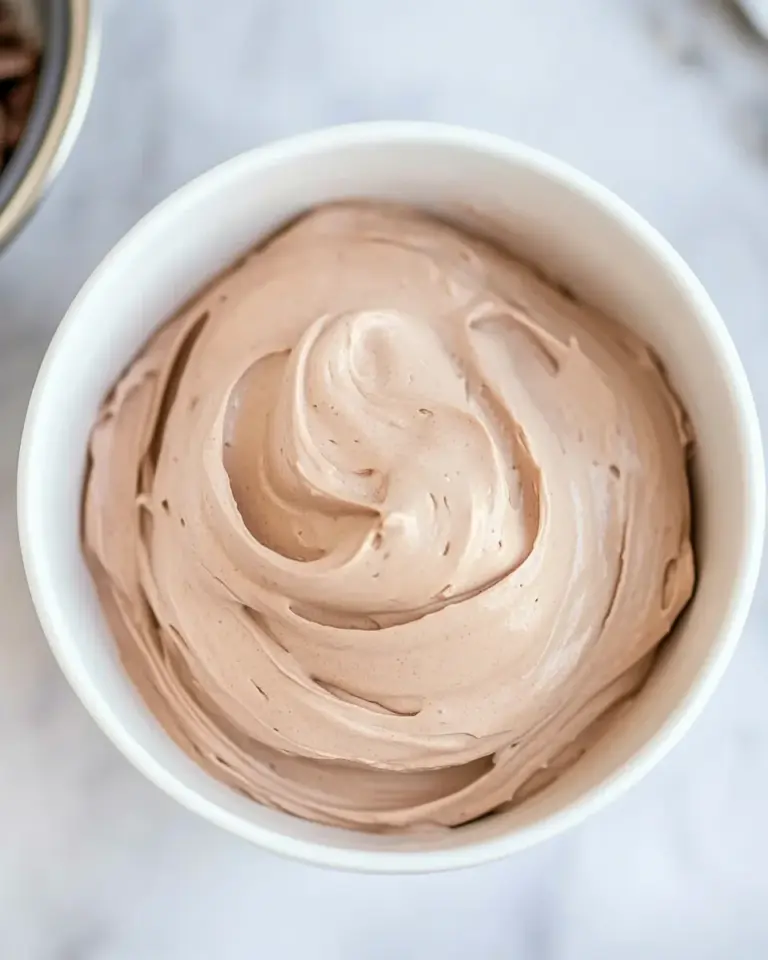
Step 6: Prepare the Frosting
While the cakes are cooling, prepare the frosting. In a large mixing bowl, beat the room temperature butter and cream cheese until smooth. Gradually add the sifted powdered sugar and vanilla extract, mixing until fluffy and well combined.
Step 7: Assemble the Cake
Once the cakes are completely cool, place one layer on a serving plate. Spread a generous layer of frosting on top, then carefully place the second cake layer on top of the frosting. Frost the top and sides of the entire cake, smoothing it out with a spatula.
Step 8: Garnish with Chocolate Chips
To finish, sprinkle extra miniature chocolate chips on top of the frosted cake for an extra touch of sweetness and decoration.
Nutrition-Minded Tweaks
- For a lighter version, consider using reduced-fat cream cheese.
- Substitute Greek yogurt for sour cream for added protein.
- Use a sugar substitute for the granulated sugar if desired.
- Experiment with whole wheat flour in place of white cake mix for added fiber.
Flavor Logic
The combination of chocolate and cream cheese is a classic that never fails to please. The sweetness of the chocolate chips contrasts beautifully with the tangy notes of the cream cheese, creating an indulgent balance. This Chocolate Chip Cheesecake Cake is perfect for those who love a rich dessert but also crave a little something light and fluffy. The layers work together to provide a delightful experience in every bite.
Storage Pro Tips
To keep your Chocolate Chip Cheesecake Cake fresh:
- Store in an airtight container in the fridge for up to 5 days.
- For longer storage, freeze the cake slices wrapped in plastic wrap and aluminum foil for up to 3 months. Thaw in the refrigerator before serving.
- To maintain the texture, it’s best to frost the cake just before serving, especially if you plan to store it.
Chocolate Chip Cheesecake Cake FAQs
Can I use a different flavor of cake mix?
Absolutely! Vanilla, chocolate, or even lemon cake mixes can be used for a unique twist on this recipe. Just make sure the flavors complement the cheesecake filling.
How do I know when the cake is done baking?
The cake is done when the edges are lightly golden and a toothpick inserted into the cake layers comes out clean. The cheesecake should be set but still slightly jiggly in the center.
Can I make this cake ahead of time?
Yes! You can bake the cake and prepare the frosting up to two days in advance. Store the cake layers separately in the fridge, and frost just before serving for the best texture.
What can I use instead of chocolate chips?
If you’re not a fan of chocolate chips, consider adding fruit such as raspberries or strawberries for a fresh flavor, or try nuts for added crunch.
Healthy-ish Favorites
- Healthy Chocolate Chip Cookies
- Healthy Chocolate Cake
- Vegan Chocolate Chip Cookies
- Healthy Banana Bread
Bring It Home
Now that you’ve got the recipe for Chocolate Chip Cheesecake Cake, it’s time to take the plunge into the delightful world of baking. This cake is sure to impress anyone who takes a bite, and you’ll have the satisfaction of knowing you created something truly special. Don’t be surprised if you find yourself making it again and again!
Whether you’re celebrating a special occasion or simply treating yourself, this cake strikes the perfect balance between sweet and rich, creamy and fluffy. It’s a dessert that not only satisfies but also brings joy. So gather your ingredients, roll up your sleeves, and get ready to whip up a delicious Chocolate Chip Cheesecake Cake that will have everyone asking for seconds!
Chocolate Chip Cheesecake Cake
Ingredients
Equipment
Method
- Step 1: Preheat your oven to 350°F (175°C). Grease the bottom and sides of your cake pans and line them with parchment paper.
- Step 2: In a mixing bowl, beat together the cream cheese, granulated sugar, and salt until smooth. Add the eggs, sour cream, heavy whipping cream, and vanilla extract. Blend until fully combined. Fold in 1 cup of miniature chocolate chips.
- Step 3: In another bowl, combine the white cake mix, water, canola oil, and egg whites. Mix until the batter is smooth and thoroughly combined.
- Step 4: Divide the cake batter evenly between the two prepared pans, filling them about halfway. Spoon the cheesecake filling on top of the batter in each pan.
- Step 5: Bake for about 40-45 minutes, or until a toothpick comes out clean. Allow the cakes to cool in the pans for 10 minutes before transferring to a cooling rack.
- Step 6: In a large mixing bowl, beat the room temperature butter and cream cheese until smooth. Gradually add sifted powdered sugar and vanilla extract, mixing until fluffy.
- Step 7: Once the cakes are cool, place one layer on a serving plate, spread frosting on top, then place the second layer on top and frost the entire cake.
- Step 8: Garnish with extra miniature chocolate chips on top of the frosted cake.
Notes
- Store in an airtight container in the fridge for up to 5 days.
- Freeze cake slices wrapped for up to 3 months; thaw in the fridge before serving.
- Frost the cake just before serving for best texture.