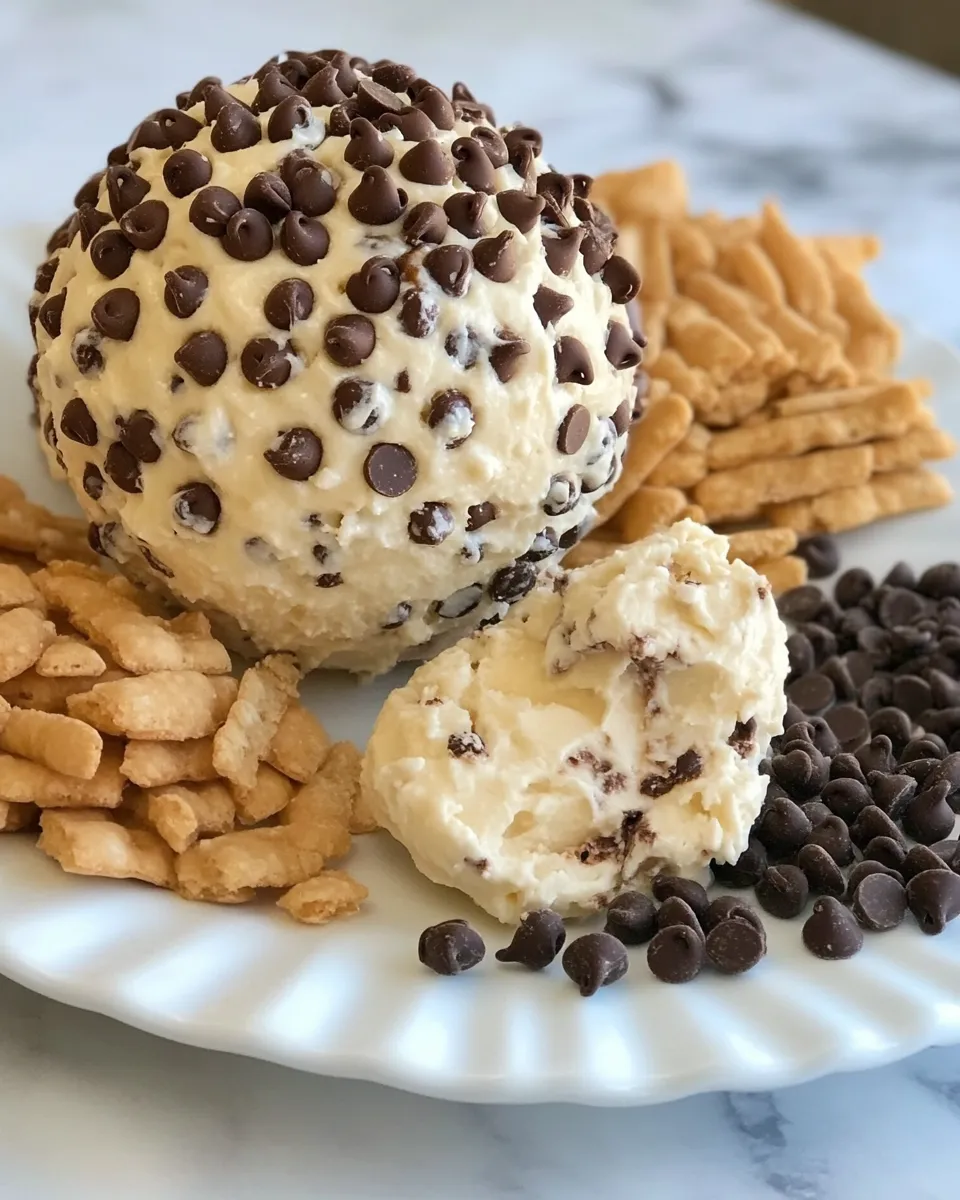
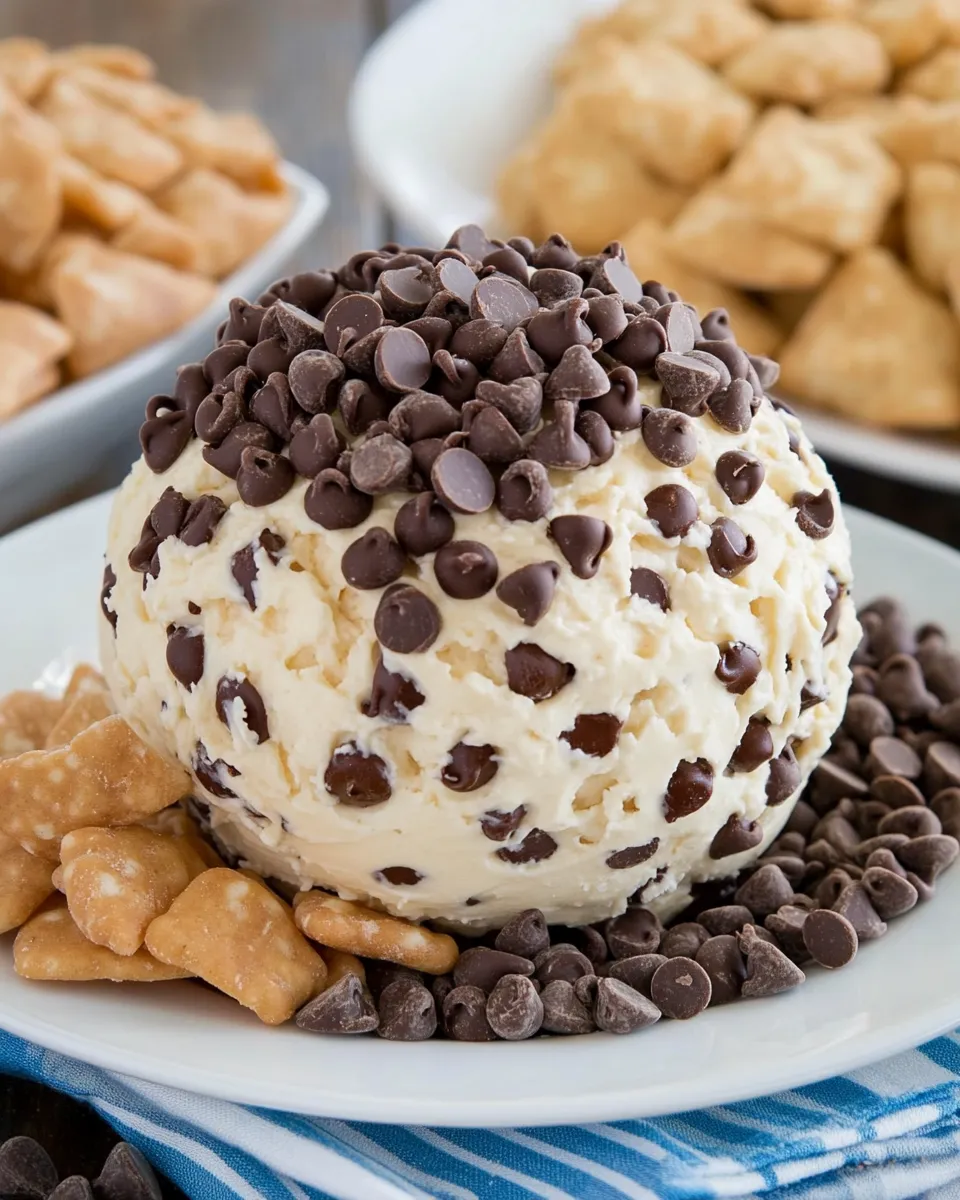
Chocolate Chip Cheese Ball
If you’re looking for a delightful treat that combines the creaminess of cheese with the sweetness of chocolate, then look no further! This Chocolate Chip Cheese Ball is not only easy to whip up, but it also serves as a show-stopping dessert or snack for any gathering. Imagine a luscious cheese ball, perfect for spreading on graham crackers or fruit, all while being enveloped in chocolate chips. Whether you’re hosting a party or enjoying a cozy night in, this recipe will become a favorite in your repertoire.
Why This Recipe Belongs in Your Rotation
The Chocolate Chip Cheese Ball is versatile and can easily fit into various occasions. Its creamy texture and sweet flavor appeal to both adults and kids alike. It’s perfect for holiday gatherings, potlucks, or even as a sweet surprise for game night. The simplicity of the ingredients makes it accessible, while the presentation is impressive enough to hold its own among more complex desserts. Once you master this recipe, you can experiment with different mix-ins and toppings to suit your taste.
The Ingredient Lineup
- 8 oz cream cheese or vegan cream cheese: This is the base of your cheese ball. Use regular or vegan cream cheese depending on your dietary preferences.
- 1/4 cup peanut butter (or regular butter or almond butter): This adds a rich, nutty flavor that beautifully complements the cream cheese.
- 2 cups powdered sugar (or sugar-free alternative): This sweetens the cheese ball and gives it a delightful texture.
- 3/4 tsp pure vanilla extract: A splash of vanilla elevates the flavor profile, making it even more delicious.
- 1/2 cup mini chocolate chips or sprinkles: These add the final touch, providing a sweet crunch and visual appeal.
Essential Tools for Success
- Mixing bowl: A large bowl to combine all the ingredients smoothly.
- Electric mixer: Saves time and ensures everything is well combined, but a spatula or wooden spoon works too!
- Plastic wrap: To shape and chill the cheese ball.
- Serving platter: For presenting your beautiful cheese ball.
- Spreader or knife: To serve the cheese ball with your desired dippers.
From Start to Finish: Chocolate Chip Cheese Ball
Step 1: Prepare the Cream Cheese Mixture
Start by placing the 8 oz of cream cheese (or vegan cream cheese) and 1/4 cup of peanut butter in a large mixing bowl. Using an electric mixer, beat the mixture until it’s smooth and creamy. This should take about 1-2 minutes.
Step 2: Sweeten It Up
Gradually add in the 2 cups of powdered sugar, mixing on low speed to avoid a cloud of sugar. Once incorporated, increase the speed to medium and mix until fully combined. The mixture should be thick and fluffy.
Step 3: Add Flavor
Pour in the 3/4 tsp of pure vanilla extract and mix again until everything is well blended.
Step 4: Fold in the Chocolate Chips
Gently fold in the 1/2 cup of mini chocolate chips (or sprinkles) using a spatula. This will ensure the chocolate chips are evenly distributed throughout.
Step 5: Shape the Cheese Ball
Lay a large piece of plastic wrap on your countertop. Spoon the mixture onto the center of the plastic wrap and use the wrap to help shape the mixture into a ball. Twist the ends tightly to secure the shape.
Step 6: Chill
Place the wrapped cheese ball in the refrigerator for at least 2 hours or until firm. This chilling step is crucial as it helps the cheese ball hold its shape.
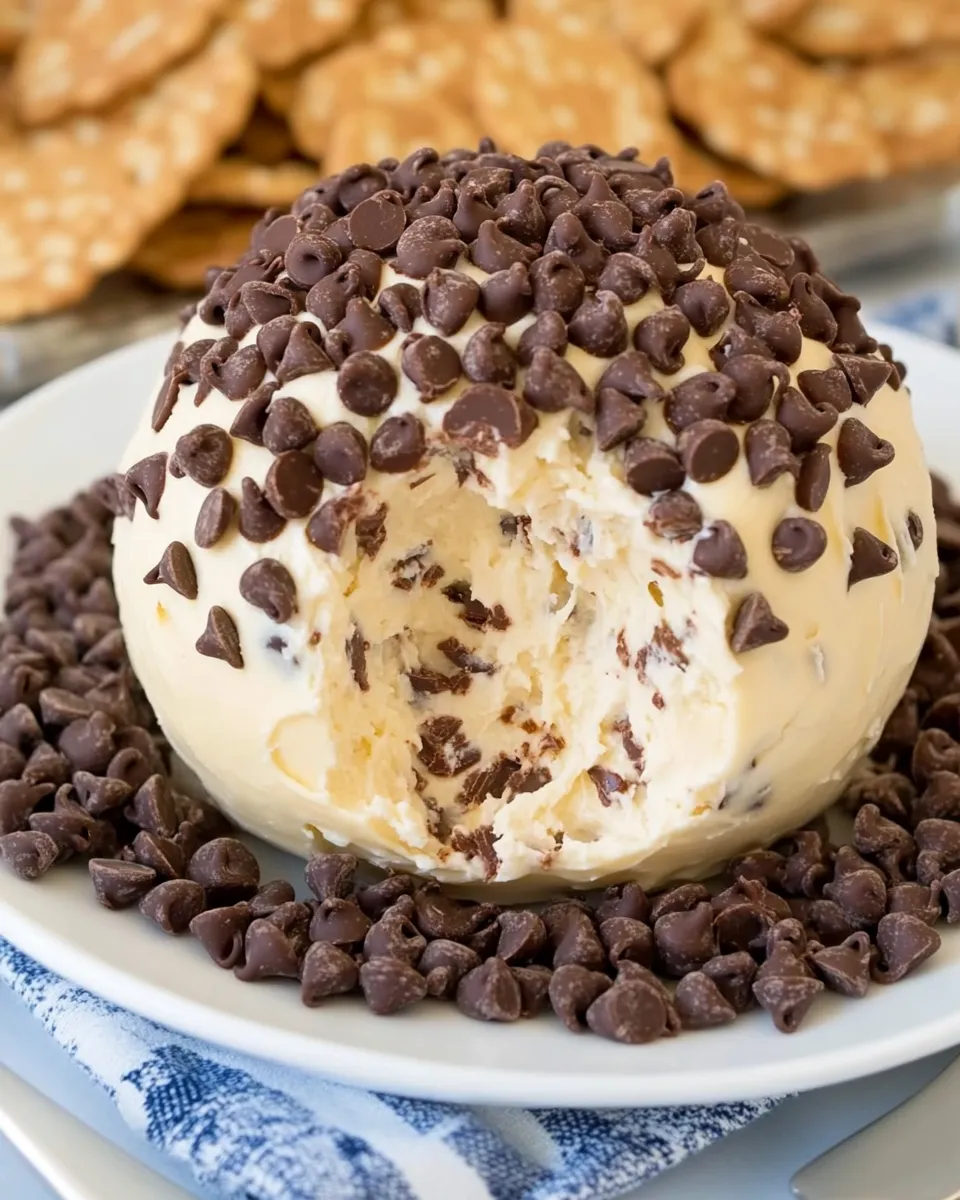
Step 7: Unwrap and Serve
Once chilled, unwrap the cheese ball and place it on a serving platter. You can roll it in additional chocolate chips or sprinkles for extra flair. Serve with graham crackers, fruit, or pretzels for a delightful pairing.
International Equivalents
- Cream Cheese: In some countries, you might find it as “Philadelphia cheese.” Vegan alternatives may include cashew cheese or tofu-based spreads.
- Powdered Sugar: Also known as icing sugar or confectioner’s sugar in many regions.
- Peanut Butter: Known globally, but in some regions, you may find variations like “nut butter” or “ground peanuts.”
- Chocolate Chips: In Europe, they may be referred to as “chocolate drops,” and can often be found in various sizes.
Author’s Commentary
Creating the Chocolate Chip Cheese Ball is a simple and rewarding process. I love how it brings people together. The sweet and creamy flavors combined with the crunch of chocolate chips make it a hit every time. The best part is how adaptable it is; feel free to swap out different nut butters or add in your favorite mix-ins. Each variation gives it a new twist, keeping it fresh and exciting!
Make-Ahead & Storage
This Chocolate Chip Cheese Ball is perfect for making ahead of time! It can be prepared up to 2 days in advance and stored in the refrigerator. Just remember to wrap it tightly in plastic wrap to keep it fresh. If you have any leftovers, store them in an airtight container in the refrigerator for up to 5 days. Just keep in mind that the texture might change slightly as it sits, but it will still be delicious!
Common Qs About Chocolate Chip Cheese Ball
Can I make this recipe sugar-free?
Absolutely! Simply substitute the powdered sugar with your favorite sugar-free alternative. Just be sure to check that it measures similarly to regular powdered sugar for the best results.
Can I use a different nut butter?
Yes! Feel free to swap out peanut butter for almond butter, cashew butter, or even sunflower seed butter for a nut-free version. Each will impart a unique flavor to your cheese ball.
How do I serve it?
Serve your Chocolate Chip Cheese Ball with a variety of dippers such as graham crackers, pretzels, fruits like apple slices or strawberries, or even vanilla wafers. It’s a fun way to enjoy the creamy goodness!
Can I freeze the Chocolate Chip Cheese Ball?
Yes! You can freeze it before or after chilling. Just wrap it tightly in plastic wrap and then in foil. When you’re ready to enjoy it, let it thaw in the refrigerator overnight before serving.
Cook This Next
- Peanut Butter Cookies
- Healthy Chocolate Chip Cookies
- Vegan Chocolate Chip Cookies
- Chocolate Chip Banana Bread
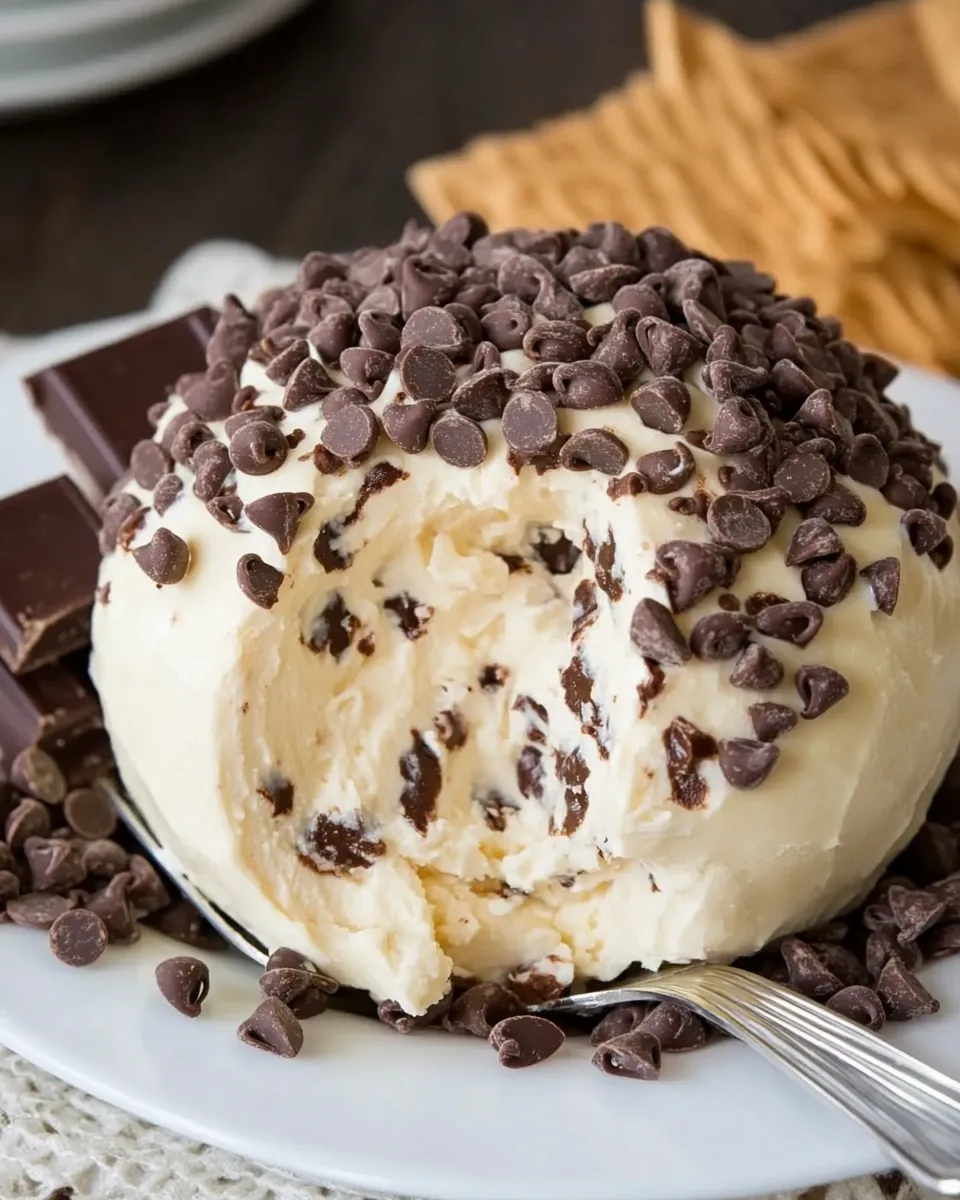
Serve & Enjoy
When it comes time to serve your Chocolate Chip Cheese Ball, don’t forget to add a little extra flair! Arrange colorful fruit or crunchy snacks around it on the platter for a vibrant presentation. Your guests will be buzzing with excitement as they dig in, and you’ll love watching them enjoy every creamy, chocolatey bite.
In a world full of complicated desserts, the Chocolate Chip Cheese Ball shines bright with its simplicity and flavor. It’s a recipe that invites creativity, so don’t hesitate to make it your own. Whether you’re hosting a big event or just treating yourself, this delicious treat is sure to satisfy. Enjoy every moment of making, sharing, and indulging in this delightful creation!
Chocolate Chip Cheese Ball
Ingredients
Equipment
Method
- Start by placing the 8 oz of cream cheese (or vegan cream cheese) and 1/4 cup of peanut butter in a large mixing bowl. Using an electric mixer, beat the mixture until it’s smooth and creamy. This should take about 1-2 minutes.
- Gradually add in the 2 cups of powdered sugar, mixing on low speed to avoid a cloud of sugar. Once incorporated, increase the speed to medium and mix until fully combined. The mixture should be thick and fluffy.
- Pour in the 3/4 tsp of pure vanilla extract and mix again until everything is well blended.
- Gently fold in the 1/2 cup of mini chocolate chips (or sprinkles) using a spatula. This will ensure the chocolate chips are evenly distributed throughout.
- Lay a large piece of plastic wrap on your countertop. Spoon the mixture onto the center of the plastic wrap and use the wrap to help shape the mixture into a ball. Twist the ends tightly to secure the shape.
- Place the wrapped cheese ball in the refrigerator for at least 2 hours or until firm. This chilling step is crucial as it helps the cheese ball hold its shape.
- Once chilled, unwrap the cheese ball and place it on a serving platter. You can roll it in additional chocolate chips or sprinkles for extra flair. Serve with graham crackers, fruit, or pretzels for a delightful pairing.
Notes
- Make ahead: Prepare up to 2 days in advance and store in the refrigerator.
- Wrap tightly in plastic wrap to keep fresh.
- Store leftovers in an airtight container for up to 5 days.