
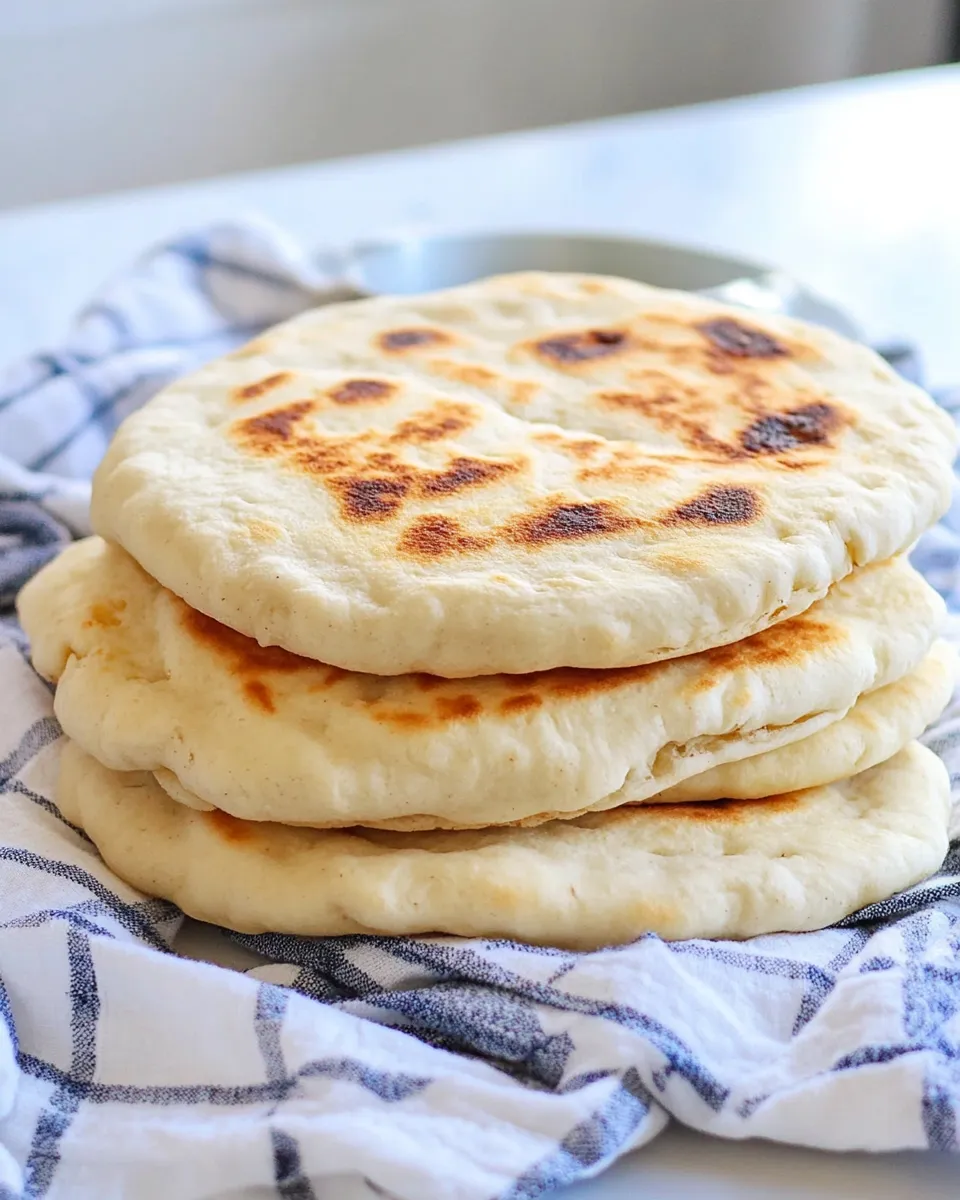
Gyro Bread
If you’ve ever enjoyed a gyro, you know that the secret to an unforgettable experience lies not just in the meat or toppings, but also in the bread that cradles it all together. Gyro bread, with its soft, pillowy texture and slight chewiness, is an essential component of this Mediterranean delight. Whether you’re making gyros for a family dinner or prepping for a summer barbecue, mastering this bread recipe will elevate your dish from good to great. This recipe is simple yet rewarding, perfect for both novice bakers and seasoned pros. Let’s get started!
What Sets This Recipe Apart
What makes this gyro bread recipe truly special is its straightforward approach and the use of minimal ingredients. The combination of warm water, sugar, yeast, flour, salt, and olive oil creates a soft dough that rises beautifully, resulting in bread that is not only delicious but also easy to handle. Unlike some recipes that may require hours of rising time, this one allows you to enjoy fresh gyro bread in a shorter timeframe, making it perfect for weeknight dinners or spontaneous get-togethers.
Shopping List
- 1 1/2 cups warm water (about 105°F)
- 1 1/2 teaspoons sugar
- 1 1/2 teaspoons active dry yeast
- 3 cups all-purpose flour
- 1 1/2 teaspoons salt
- 1 tablespoon olive oil (plus extra for brushing)
Essential Tools for Success
- Mixing Bowl: A large bowl for combining and kneading the dough.
- Measuring Cups and Spoons: Accurate measurements are key to perfect bread.
- Kitchen Towel: To cover the dough while it rises.
- Rolling Pin: To roll out the dough into flat circles.
- Skillet or Griddle: For cooking the bread to perfection.
- Spatula: To flip the bread easily in the skillet.
Gyro Bread Cooking Guide
Step 1: Activate the Yeast
In a mixing bowl, combine the warm water, sugar, and active dry yeast. Stir gently and let it sit for about 5 to 10 minutes until it becomes frothy. This means your yeast is active and ready to go!
Step 2: Mix the Dry Ingredients
In another large bowl, whisk together the all-purpose flour and salt. This step ensures that the salt is evenly distributed, which is crucial for the flavor of your gyro bread.
Step 3: Combine Ingredients
Once the yeast mixture is frothy, pour it into the bowl with the flour mixture along with the olive oil. Stir with a wooden spoon until the dough begins to come together.
Step 4: Knead the Dough
Transfer the dough onto a floured surface and knead it for about 8 to 10 minutes, or until it becomes smooth and elastic. If the dough is too sticky, you can sprinkle a little more flour as needed.
Step 5: Let It Rise
Place the kneaded dough into a lightly oiled bowl, cover it with a kitchen towel, and let it rise in a warm place for about 1 hour or until it has doubled in size.
Step 6: Shape the Dough
Once the dough has risen, punch it down to release the air. Divide it into equal portions, about 8 pieces, and shape each piece into a ball. Let them rest for an additional 10 minutes.
Step 7: Roll Out the Dough
On a floured surface, take one ball of dough and roll it out into a circle about 1/4 inch thick. Repeat this step until all the dough balls are rolled out.
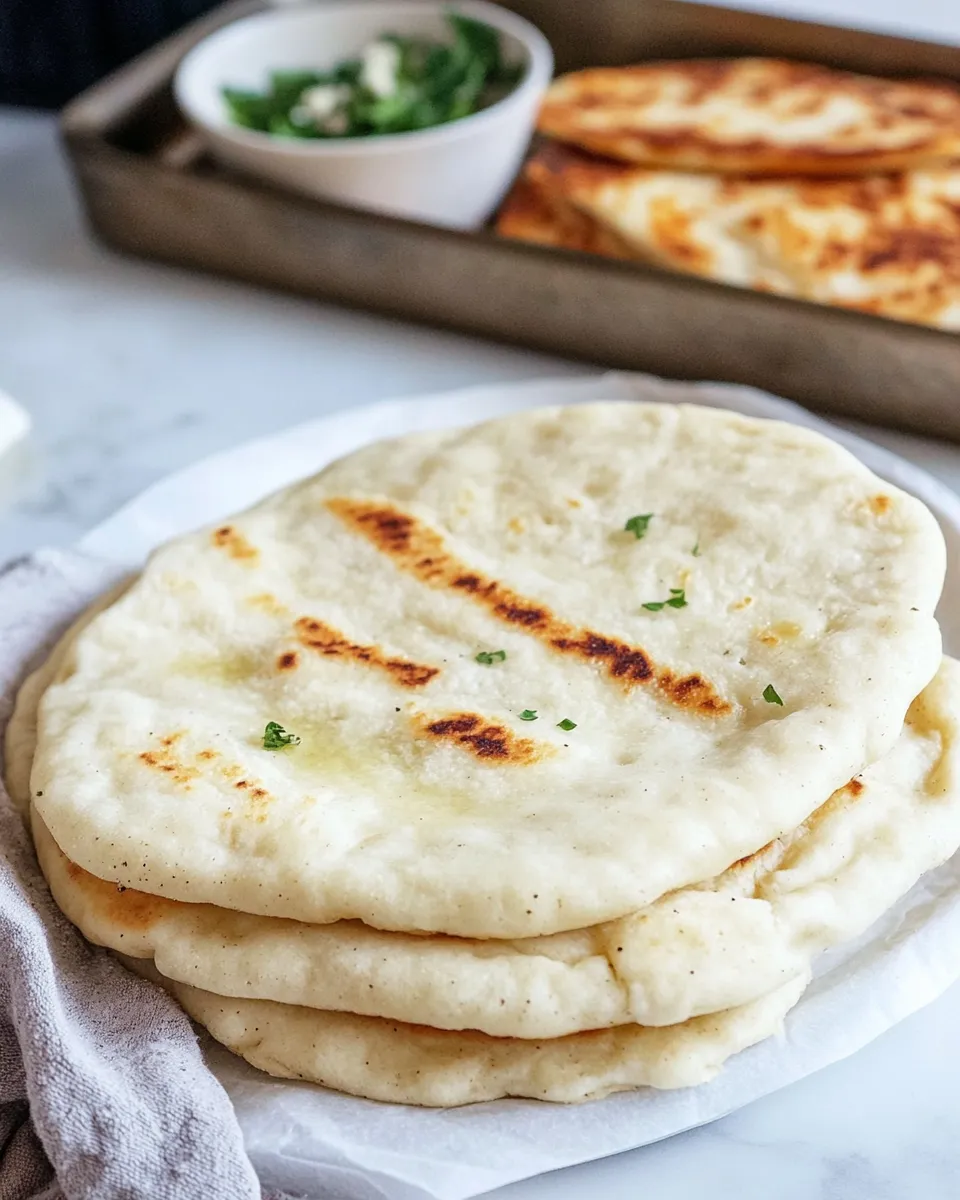
Step 8: Cook the Gyro Bread
Heat a skillet or griddle over medium-high heat. Once hot, place the rolled-out dough onto the skillet. Cook for about 1-2 minutes on each side, or until you see bubbles forming and the bread has golden spots. Brush with a little olive oil after cooking for added flavor.
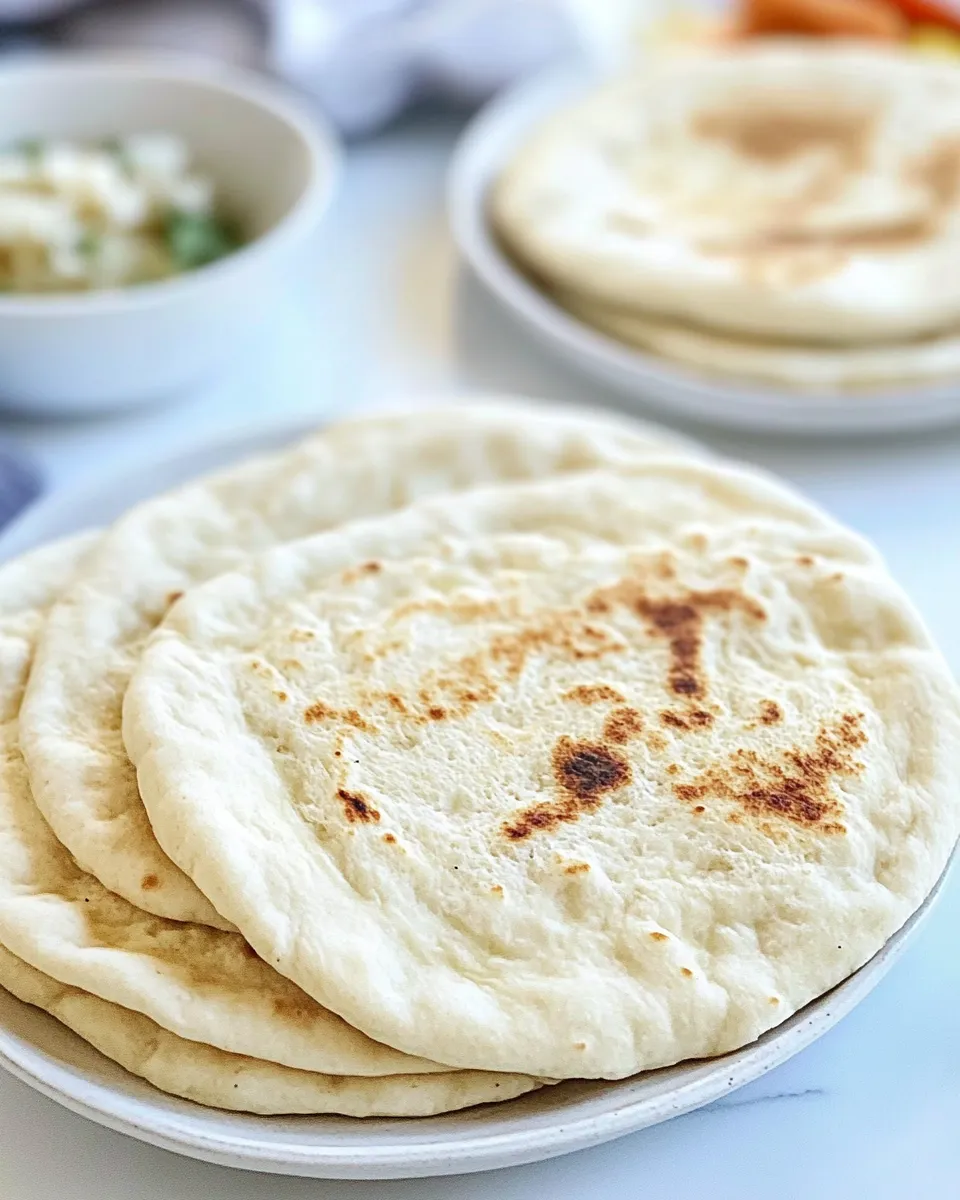
Step 9: Serve and Enjoy
Once all the gyro bread is cooked, stack them on a plate and cover them with a kitchen towel to keep them warm and soft. Serve with your favorite gyro fillings, and enjoy the delightful combination of flavors!
International Equivalents
- 1 1/2 cups warm water = 375 ml
- 1 1/2 teaspoons sugar = 7 g
- 1 1/2 teaspoons active dry yeast = 5 g
- 3 cups all-purpose flour = 360 g
- 1 1/2 teaspoons salt = 8 g
- 1 tablespoon olive oil = 15 ml
Pro Tips & Notes
- Make sure your water is at the right temperature (about 105°F) to properly activate the yeast.
- Feel free to add herbs or spices to the dough for a unique flavor twist.
- These gyro breads can be stored in an airtight container for up to 3 days or frozen for longer storage.
- If you’re short on time, consider using a store-bought pita bread as a quick alternative.
Save It for Later
If you love this recipe but want to come back to it later, save it in your favorite recipe app or bookmark this page. You’ll want to make this gyro bread again and again!
Gyro Bread Q&A
Can I use whole wheat flour instead of all-purpose flour?
Absolutely! Whole wheat flour will give your gyro bread a nuttier flavor and denser texture. You may need to adjust the water based on the flour’s absorbency.
What can I use if I don’t have active dry yeast?
You can substitute with instant yeast. Use the same amount, and there’s no need to activate it beforehand; just mix it directly with the dry ingredients.
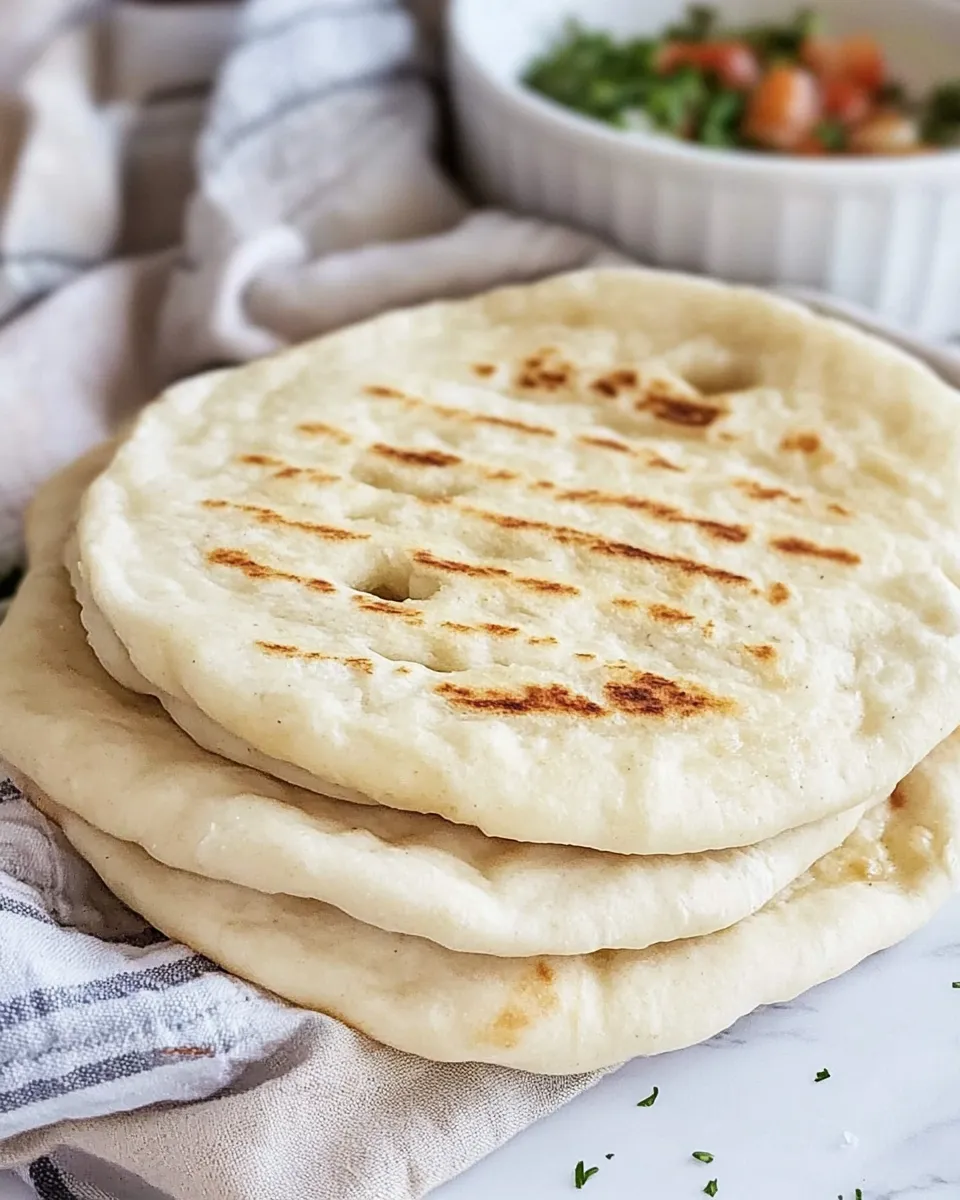
How do I know when the bread is done cooking?
The bread is ready when it puffs up and has golden brown spots on both sides. If you tap the bread, it should sound hollow.
Can I make this dough in advance?
Yes! You can prepare the dough ahead of time, let it rise, and then refrigerate it. Just allow it to come to room temperature before rolling and cooking.
Keep Cooking
- Sally’s Baking Addiction for more baking inspiration.
- Pinch of Yum for delicious meal ideas.
- Minimalist Baker for easy and healthy recipes.
Next Steps
Now that you’ve mastered the art of making gyro bread, consider pairing it with traditional toppings such as marinated meats, fresh vegetables, and tangy sauces. You could also explore making homemade tzatziki sauce or a vibrant Greek salad to complement your gyros. The possibilities are endless, and with each batch of gyro bread, you’ll be one step closer to becoming a culinary expert in Mediterranean cuisine.
There’s nothing quite like the satisfaction of creating your own gyro bread from scratch. Enjoy the process, and most importantly, savor the delicious results. Happy cooking!
Gyro Bread
Ingredients
Equipment
Method
- In a mixing bowl, combine the warm water, sugar, and active dry yeast. Stir gently and let it sit for about 5 to 10 minutes until it becomes frothy.
- In another large bowl, whisk together the all-purpose flour and salt.
- Once the yeast mixture is frothy, pour it into the bowl with the flour mixture along with the olive oil. Stir with a wooden spoon until the dough begins to come together.
- Transfer the dough onto a floured surface and knead it for about 8 to 10 minutes, or until it becomes smooth and elastic.
- Place the kneaded dough into a lightly oiled bowl, cover it with a kitchen towel, and let it rise in a warm place for about 1 hour or until it has doubled in size.
- Once the dough has risen, punch it down to release the air. Divide it into equal portions, about 8 pieces, and shape each piece into a ball. Let them rest for an additional 10 minutes.
- On a floured surface, take one ball of dough and roll it out into a circle about 1/4 inch thick. Repeat this step until all the dough balls are rolled out.
- Heat a skillet or griddle over medium-high heat. Once hot, place the rolled-out dough onto the skillet. Cook for about 1-2 minutes on each side, or until you see bubbles forming and the bread has golden spots.
- Once all the gyro bread is cooked, stack them on a plate and cover them with a kitchen towel to keep them warm and soft. Serve with your favorite gyro fillings.
Notes
- Ensure your water is at the right temperature (about 105°F) to activate the yeast.
- Add herbs or spices to the dough for a unique flavor twist.
- Store gyro breads in an airtight container for up to 3 days or freeze for longer storage.