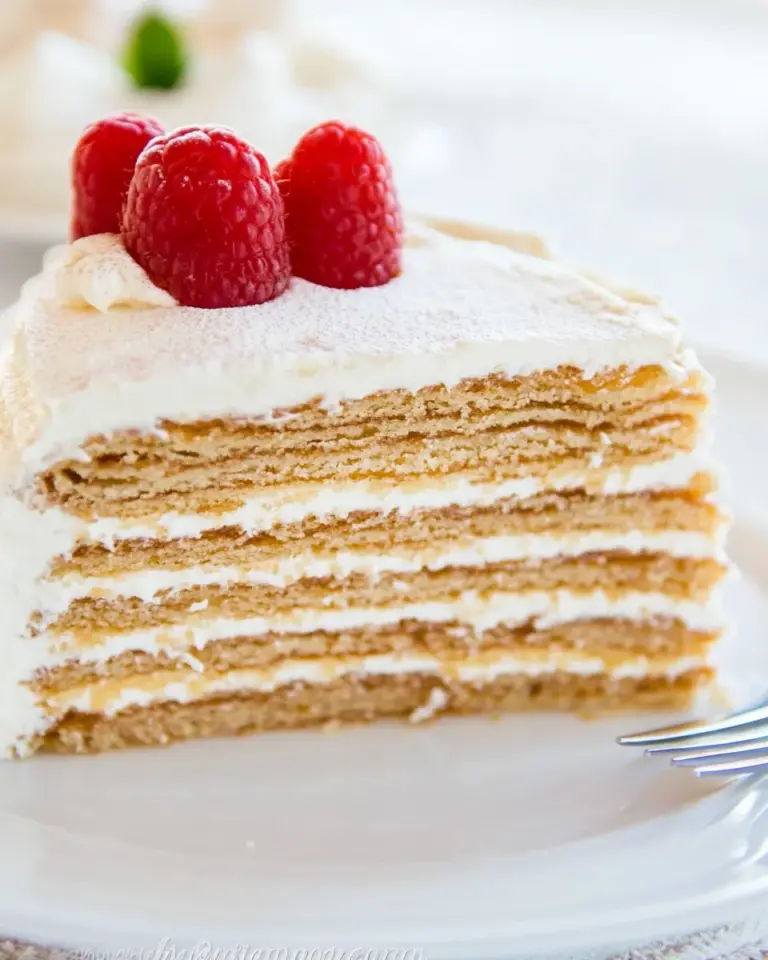
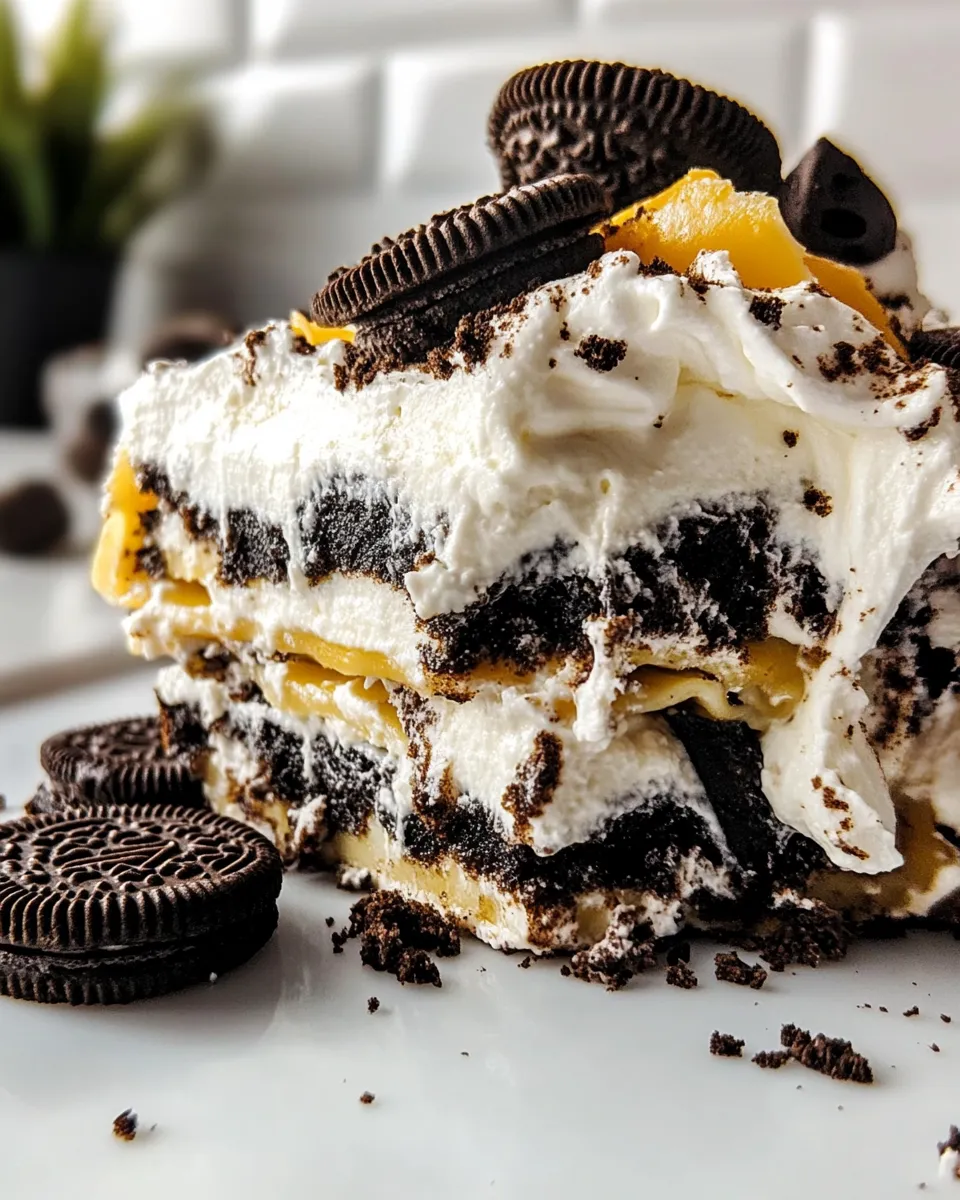
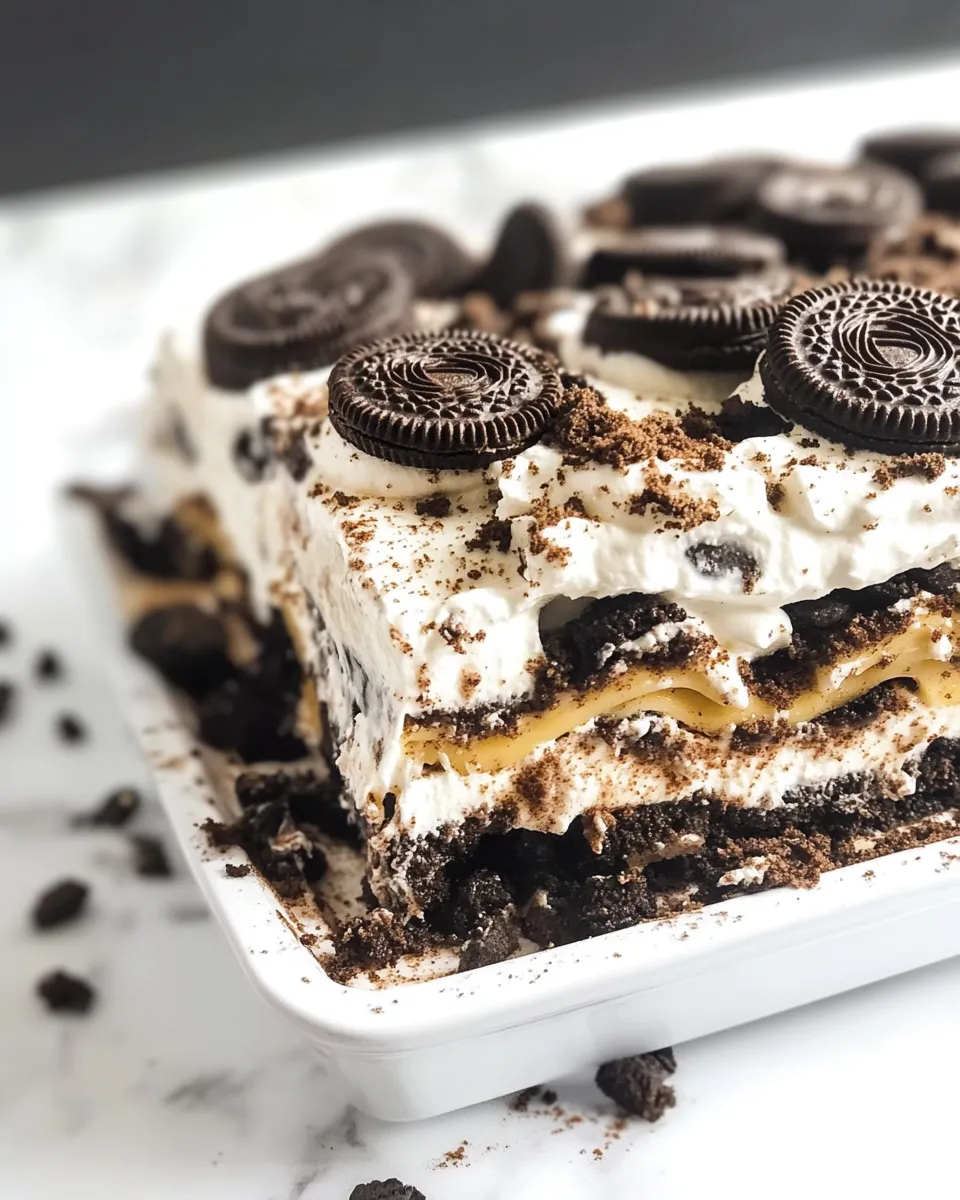
Oreo Lasagna Dessert
When it comes to decadent desserts, few things can compete with the rich, creamy layers of an Oreo Lasagna Dessert. This no-bake treat is perfect for any occasion, whether you’re hosting a summer barbecue or celebrating a birthday. With its layers of crushed Oreo cookies, velvety vanilla pudding, and fluffy whipped topping, this dessert is sure to impress your friends and family. Not only is it easy to make, but it also offers a delightful balance of textures and flavors that will leave everyone asking for seconds.
Why This Recipe is a Keeper
This recipe is a keeper for several reasons. First and foremost, it’s incredibly simple to prepare. With minimal cooking involved and just a handful of ingredients, you can whip up this show-stopping dessert in no time. The Oreo Lasagna Dessert is also endlessly customizable. Want to switch up the flavors? Use chocolate pudding instead of vanilla, or try adding fresh fruit between the layers. The possibilities are endless! Finally, it’s a crowd-pleaser. Whether you’re serving kids or adults, everyone loves the combination of Oreos and creamy layers. It’s a guaranteed hit at any gathering.
Ingredients at a Glance
To make this irresistible Oreo Lasagna Dessert, you will need the following ingredients:
- 1 (13.4 ounce) box instant vanilla pudding
- 2 cups nonfat milk, divided
- 36 Oreos (any flavor)
- 1 (18 ounce) container whipped topping
These simple ingredients come together to create a dessert that’s as delightful to eat as it is to look at.
Setup & Equipment
Before you start assembling your Oreo Lasagna Dessert, gather the following equipment:
- 9×13 inch baking dish: Perfect for layering and serving.
- Mixing bowls: For preparing the pudding and combining the whipped topping.
- Electric mixer: To beat the pudding and whipped topping together until smooth.
- Measuring cups: For accurate ingredient measurements.
- Spatula: For spreading out the layers evenly.
With everything set up, you’re ready to create your delicious dessert!
Oreo Lasagna Dessert in Steps

Step 1: Prepare the Pudding
In a mixing bowl, combine the instant vanilla pudding mix with 2 cups of nonfat milk. Using an electric mixer, beat the mixture on medium speed for about 2 minutes until it thickens. Set aside to let it firm up while you prepare the other layers.
Step 2: Crush the Oreos
Take your Oreos and crush them into small pieces. You can do this by placing them in a zip-top bag and using a rolling pin or by pulsing them in a food processor until you achieve fine crumbs. Reserve a small amount of the crushed Oreos for topping later.
Step 3: Layer the Ingredients
In your 9×13 inch baking dish, spread half of the crushed Oreos evenly across the bottom. This will form the base layer of your dessert.
Step 4: Add the Pudding Layer
Pour half of the prepared vanilla pudding over the crushed Oreos, spreading it gently with a spatula to ensure an even layer.
Step 5: Add Whipped Topping
Spread half of the whipped topping over the pudding layer. Use a spatula to create a smooth, even surface.
Step 6: Repeat the Layers
Repeat the layering process with the remaining crushed Oreos, followed by the remaining pudding and whipped topping. This will create a beautiful, multi-layered effect.
Step 7: Chill and Serve
Cover the dish with plastic wrap and refrigerate for at least 4 hours, or overnight if possible. Chilling allows the flavors to meld together and the dessert to set properly. When ready to serve, sprinkle the reserved crushed Oreos on top for added crunch and garnish.
Make It Year-Round

Oreo Lasagna Dessert is incredibly versatile and can be made year-round by incorporating seasonal flavors and ingredients. Here are some ideas:
- Summer: Add layers of fresh strawberries or blueberries for a refreshing twist.
- Fall: Use pumpkin spice pudding and top with crushed graham crackers for a seasonal flavor.
- Winter: Drizzle melted chocolate or caramel sauce between the layers for a warm, cozy touch.
- Spring: Incorporate lemon pudding and fresh fruit for a light and zesty dessert.
Feel free to experiment and make this dessert your own!
Missteps & Fixes
Even the best bakers can have mishaps in the kitchen. Here are some common missteps when making Oreo Lasagna Dessert and how to fix them:
- Too runny pudding: If your pudding isn’t thickening, make sure you’re using instant pudding and not cook-and-serve. It should set up nicely when mixed with milk.
- Crushed Oreos too chunky: If you have large pieces, the layers may not hold together well. Aim for fine crumbs for better layering.
- Whipped topping not fluffy: If your whipped topping is too soft, make sure it’s been stored properly and is chilled before using.
- Layers mixing together: Allow each layer to set before adding the next. Chilling between layers can help maintain distinct layers.
With these tips, you can troubleshoot any issues that arise while making your Oreo Lasagna Dessert.
Make Ahead Like a Pro
One of the best features of Oreo Lasagna Dessert is that it can be made ahead of time. Here are some tips for preparing it in advance:
1. Prepare the dessert up to 24 hours in advance and keep it covered in the refrigerator. This allows the flavors to deepen and the layers to set perfectly.
2. If you’re making it for a special occasion, consider adding the crushed Oreos on top just before serving to keep them crunchy.
3. Store any leftovers in the refrigerator, and enjoy them within 3-4 days. The dessert may become softer over time, but it will still taste delicious!
By preparing ahead, you can reduce stress on the day of your event and enjoy the time with your guests.
Oreo Lasagna Dessert FAQs
Can I use different flavors of pudding for this recipe?
Absolutely! While vanilla is a classic choice, you can experiment with chocolate, butterscotch, or even cheesecake pudding for a fun twist on the original recipe.
How long does the Oreo Lasagna Dessert need to chill?
For the best results, chill the dessert for at least 4 hours, but overnight is ideal. This allows the layers to set and the flavors to meld beautifully.
Can I make this dessert gluten-free?
Yes! You can use gluten-free Oreos or any gluten-free cookie of your choice. Just be sure to check the labels to ensure all ingredients meet your dietary needs.
Can I freeze Oreo Lasagna Dessert?
While it’s best enjoyed fresh, you can freeze the dessert for up to 2 months. Just be aware that the texture may change once thawed. To thaw, place it in the refrigerator overnight before serving.
Desserts to Finish
If you loved making Oreo Lasagna Dessert, you might want to try these other delightful recipes:
- Chocolate Chip Cookie Dough Brownies
- Healthy Chocolate Mousse
- No-Bake Vegan Cheesecake
- Classic Red Velvet Cake
These desserts will add a variety of flavors and textures to your dessert table!
Next Steps
Now that you have the perfect recipe for Oreo Lasagna Dessert, it’s time to gather your ingredients and get started. Whether you’re making it for a special occasion or just because, this dessert will surely satisfy your sweet tooth. Don’t forget to share your creation with friends and family, and watch as they indulge in the creamy, chocolatey goodness. Happy baking!
Oreo Lasagna Dessert
Ingredients
Equipment
Method
- In a mixing bowl, combine the instant vanilla pudding mix with 2 cups of nonfat milk. Using an electric mixer, beat the mixture on medium speed for about 2 minutes until it thickens. Set aside to let it firm up.
- Crush the Oreos into small pieces. You can do this by placing them in a zip-top bag and using a rolling pin or by pulsing them in a food processor until you achieve fine crumbs. Reserve a small amount for topping.
- In the baking dish, spread half of the crushed Oreos evenly across the bottom.
- Pour half of the prepared vanilla pudding over the crushed Oreos, spreading it gently to ensure an even layer.
- Spread half of the whipped topping over the pudding layer, smoothing the surface with a spatula.
- Repeat the layering with the remaining crushed Oreos, followed by the remaining pudding and whipped topping.
- Cover the dish with plastic wrap and refrigerate for at least 4 hours, or overnight if possible.
- When ready to serve, sprinkle the reserved crushed Oreos on top for added crunch and garnish.
Notes
- For a chocolatey twist, substitute vanilla pudding with chocolate pudding.
- Make it gluten-free using gluten-free Oreos.
- Store leftovers in the refrigerator and enjoy within 3-4 days.