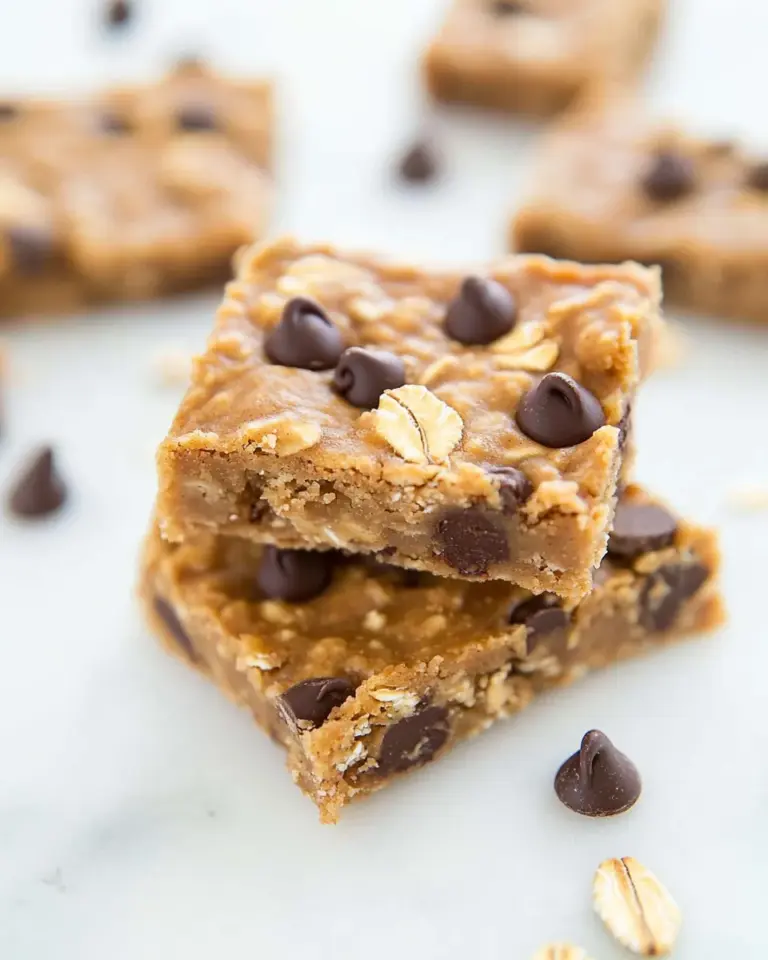
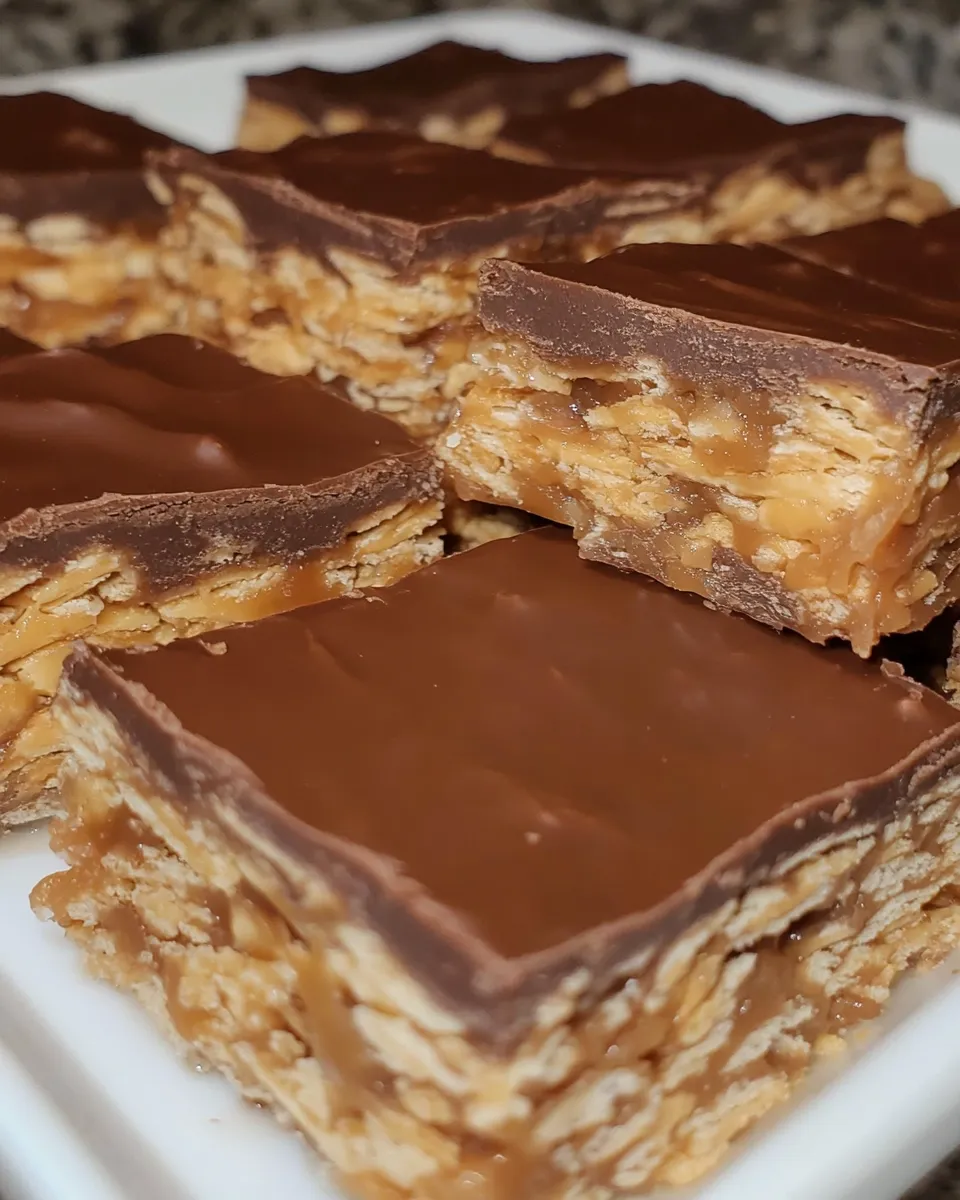
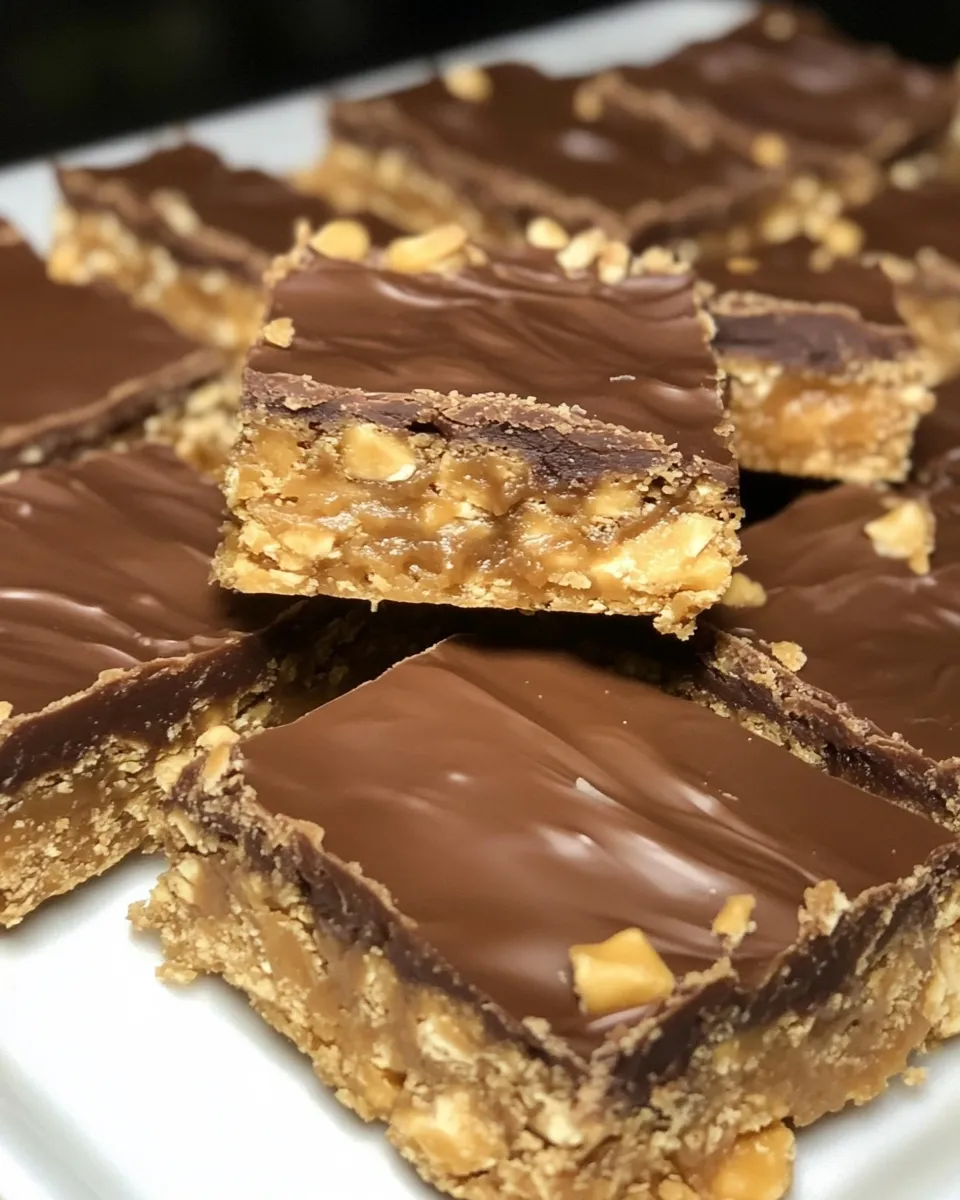
Special K Bars
If you’re on the hunt for a quick and delicious treat that brings together the delightful crunch of cereal and the creamy goodness of peanut butter, look no further than these irresistible Special K Bars. These bars are perfect for an after-school snack, a midday pick-me-up, or even a light dessert. With their chewy texture and rich chocolate flavor, they are sure to please both kids and adults alike. Plus, they’re incredibly easy to make, requiring just a few simple ingredients and minimal prep time. Let’s dive into the magic of Special K Bars!
Why It Works Every Time
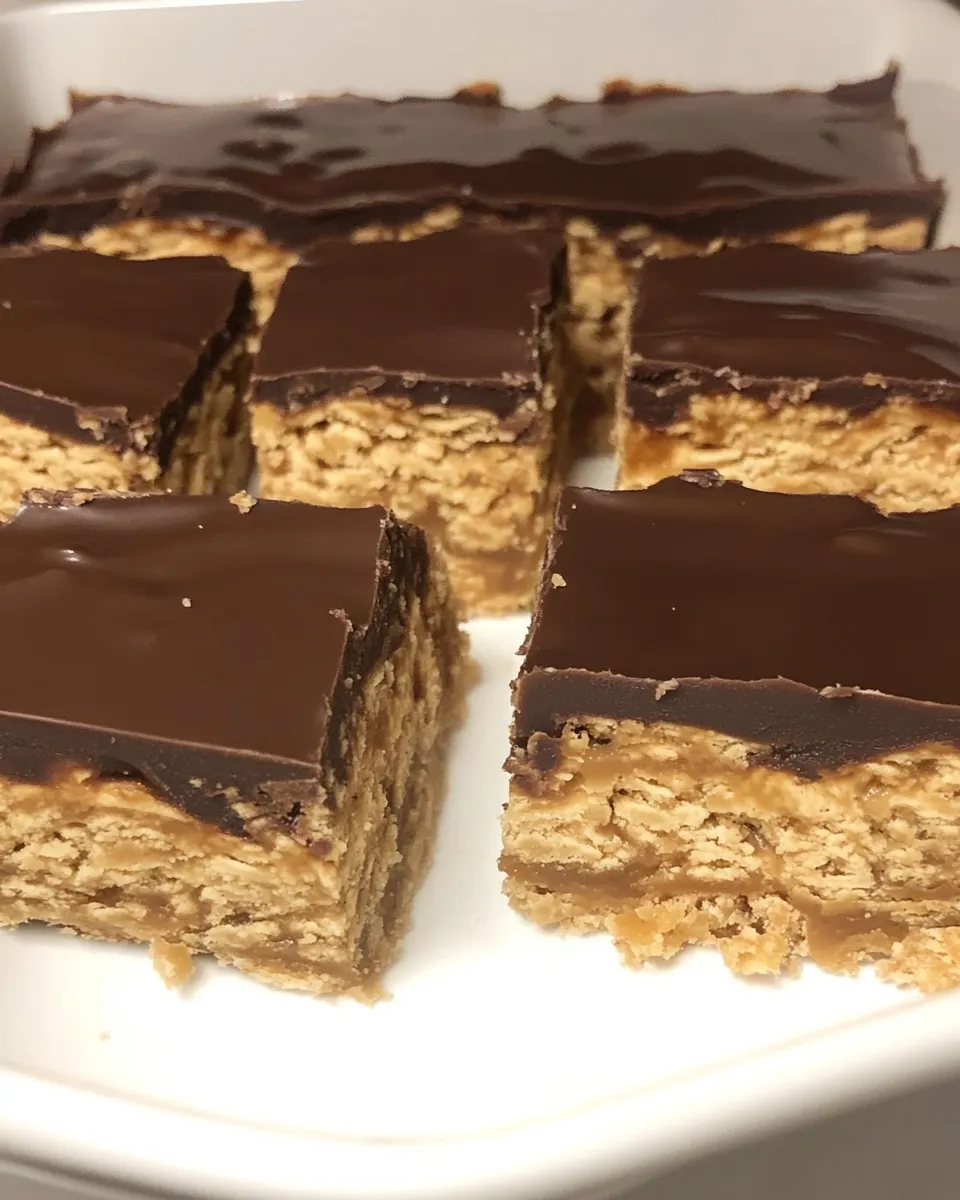
The beauty of Special K Bars lies in their simplicity. The combination of Corn Flakes, peanut butter, and Karo syrup creates a deliciously chewy base that holds everything together. The sugar sweetens the mix perfectly, while the semi-sweet chocolate chips add a rich, indulgent layer. This recipe has stood the test of time, making it a reliable choice for anyone looking to whip up a sweet treat in no time.
Ingredients at a Glance
- 4 1/2 cups Corn Flakes: This is the base of our bars, providing that satisfying crunch.
- 1 cup Karo Syrup: This adds sweetness and acts as a binding agent.
- 1 cup peanut butter: Use a creamy, non-oily variety for the best texture.
- 1 cup sugar: For extra sweetness that balances the flavors.
- 3 cups Nestle semi-sweet chocolate chips: These add a decadent layer of chocolate goodness.
Toolbox for This Recipe
- 4 cup Pyrex measuring cup: Perfect for measuring your Corn Flakes accurately.
- Large mixing bowl: To combine all your ingredients seamlessly.
- 9×13 inch baking dish: Ideal for setting your mixture and forming the bars.
- Spatula or wooden spoon: To mix and spread the ingredients evenly.
- Microwave-safe bowl: For melting the chocolate chips.
Make Special K Bars: A Simple Method
Step 1: Prepare Your Dish
Start by greasing a 9×13 inch baking dish with a light coating of butter or cooking spray. This will help prevent the bars from sticking once they’re set.
Step 2: Mix the Wet Ingredients
In a large mixing bowl, combine the Karo syrup, peanut butter, and sugar. Mix well until everything is thoroughly combined. If your peanut butter is a bit thick, you may want to microwave it for 20-30 seconds to make it easier to mix.
Step 3: Add the Corn Flakes
Gently fold in the Corn Flakes, ensuring they are evenly coated with the peanut butter mixture. Be careful not to crush the Corn Flakes too much; you want to maintain that delightful crunch.
Step 4: Press into the Dish
Transfer the mixture into the prepared baking dish. Use a spatula or your hands to press it down firmly and evenly, making sure it’s packed tightly for the best texture.
Step 5: Melt the Chocolate
In a microwave-safe bowl, heat the chocolate chips in 30-second intervals, stirring in between, until fully melted and smooth. Be cautious not to overheat, as this can cause the chocolate to seize.
Step 6: Spread the Chocolate
Once melted, pour the chocolate over the pressed Corn Flake mixture. Use a spatula to spread it evenly across the top, covering all the corners.
Step 7: Chill and Set
Place the dish in the refrigerator for about 1-2 hours, or until the chocolate has fully set. Once set, remove from the fridge and cut into bars or squares as desired.
Dietary Swaps & Alternatives
- Nut Butter Alternative: Substitute peanut butter with almond butter or sunflower seed butter for a nut-free version.
- Sweetener Swap: Use honey or agave syrup instead of Karo syrup for a natural alternative.
- Vegan Option: Choose vegan chocolate chips and a plant-based nut butter for a vegan-friendly treat.
- Gluten-Free Option: Ensure your Corn Flakes are certified gluten-free.
Don’t Do This
- Don’t skip the refrigeration step. Allowing the bars to chill is crucial for them to set properly.
- Avoid using overly oily peanut butter, as it can affect the texture of your bars.
- Don’t rush the melting process for the chocolate; take your time to avoid burning it.
- Don’t overmix the Corn Flakes when adding them to the wet ingredients; you want to keep some of that crunch!
Cooling, Storing & Rewarming
Once your Special K Bars are set, store them in an airtight container at room temperature for up to a week. If you live in a warmer climate, you may want to keep them in the refrigerator to prevent the chocolate from melting. For a quick rewarm, pop them in the microwave for about 10 seconds to soften the chocolate slightly before enjoying.
Popular Questions
Can I use different types of cereal?
Absolutely! Feel free to experiment with other cereals like Rice Krispies or Cheerios for a fun twist on the classic Special K Bars.
Are these bars suitable for kids?
Yes, Special K Bars are a fantastic treat for kids! They’re easy to make and can be stored for snacks or lunches.
How do I prevent the bars from being too sticky?
Make sure to use a non-oily peanut butter and pack the mixture tightly in the baking dish. A light greasing of the dish can also help.
Can I freeze Special K Bars?
Yes! You can freeze them for up to three months. Just make sure to wrap them tightly in plastic wrap and store them in an airtight container.
More from the Kitchen
- Sally’s Baking Addiction – Discover more delicious baking recipes.
- Pinch of Yum – Explore a variety of wholesome and tasty meal ideas.
- Minimalist Baker – Find simple, quick recipes that require 10 ingredients or less.
- Bakerella – Dive into creative cake pop and dessert ideas.
Before You Go
Making Special K Bars is not only a delightful cooking adventure but also an opportunity to create sweet memories with family and friends. These bars are perfect for sharing at gatherings or simply enjoying at home. So gather your ingredients, follow the simple steps, and indulge in the joy of homemade treats. Whether you’re a seasoned baker or a beginner in the kitchen, these bars are sure to become a staple in your recipe collection. Happy baking!

Special K Bars
Ingredients
Equipment
Method
- Start by greasing a 9x13 inch baking dish with a light coating of butter or cooking spray.
- In a large mixing bowl, combine the Karo syrup, peanut butter, and sugar. Mix well until everything is thoroughly combined.
- Gently fold in the Corn Flakes, ensuring they are evenly coated with the peanut butter mixture.
- Transfer the mixture into the prepared baking dish. Use a spatula or your hands to press it down firmly and evenly.
- In a microwave-safe bowl, heat the chocolate chips in 30-second intervals, stirring in between, until fully melted and smooth.
- Once melted, pour the chocolate over the pressed Corn Flake mixture. Use a spatula to spread it evenly across the top.
- Place the dish in the refrigerator for about 1-2 hours, or until the chocolate has fully set. Once set, remove from the fridge and cut into bars or squares as desired.
Notes
- Store bars in an airtight container at room temperature for up to a week.
- For warmer climates, refrigerate to prevent melting.
- These bars can be frozen for up to three months—just wrap tightly.