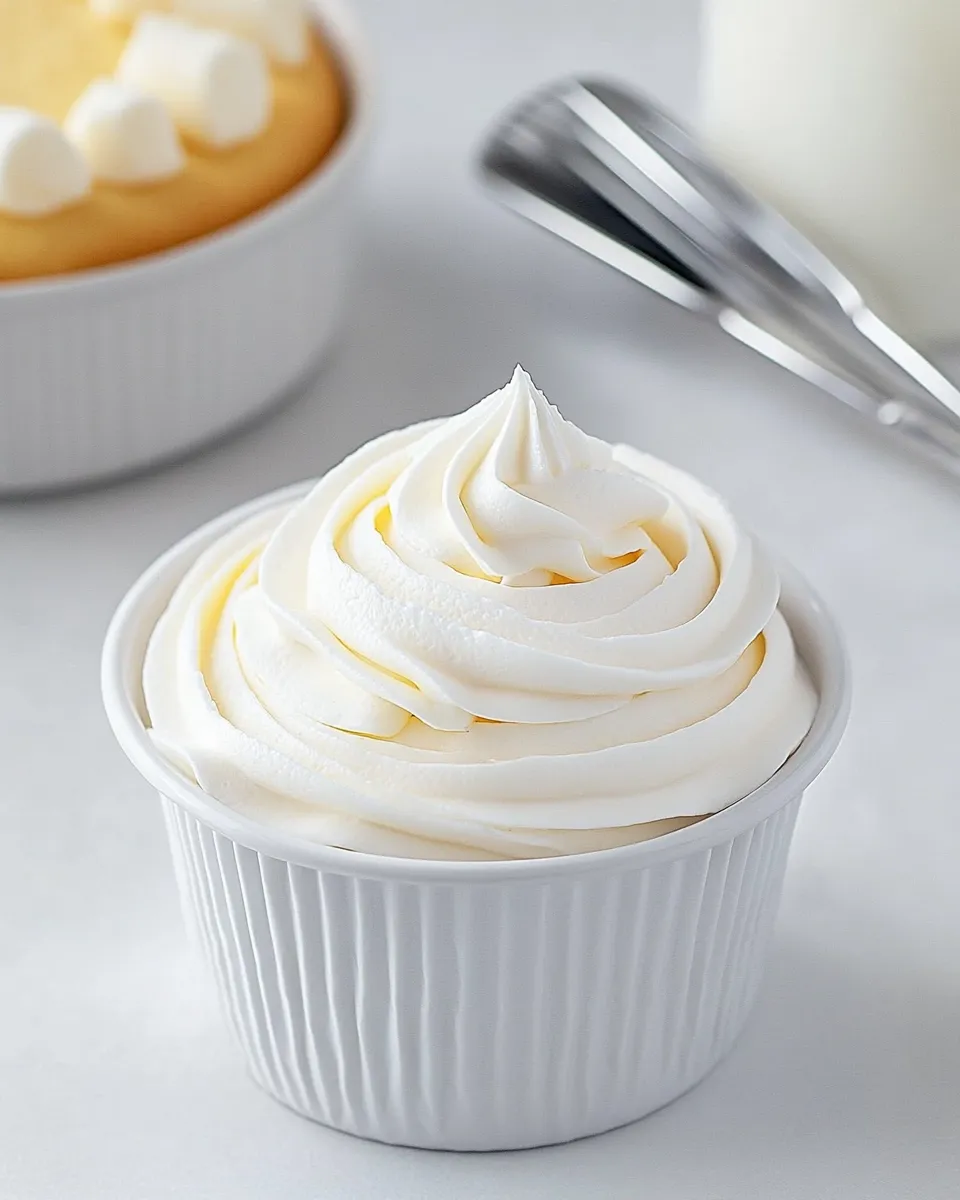
Marshmallow Frosting
If you’re looking to elevate your desserts to the next level, then look no further than this heavenly Marshmallow Frosting. Light, fluffy, and reminiscent of your favorite childhood treats, this frosting is perfect for cakes, cupcakes, and even as a dip for fruits. It’s a delightful addition that not only tastes amazing but also brings a nostalgic charm to your baking adventures. With just a few simple ingredients, you can whip up a batch of this delicious frosting that will leave your taste buds dancing. Let’s dive into why this Marshmallow Frosting deserves a special place in your recipe collection.
Why It Deserves a Spot
Marshmallow Frosting is not just any ordinary frosting; it’s a magical blend of sweetness and texture. Its light and airy consistency make it the perfect partner for rich chocolate cakes or even a simple vanilla cupcake. The gentle sweetness complements a variety of flavors, making it versatile enough for any occasion. Plus, the glossy finish adds a professional touch to your desserts, making them look as fabulous as they taste. Whether you’re celebrating a birthday, hosting a tea party, or just indulging in a sweet treat, this frosting is sure to impress.
What You’ll Gather
- 1 cup sugar: The key player that sweetens our frosting to perfection.
- 1 tablespoon light corn syrup: This helps to stabilize the frosting and give it that luscious texture.
- 1/4 teaspoon salt: A pinch to balance the sweetness and enhance flavors.
- 1/2 cup water: Necessary for dissolving the sugar and creating a syrup.
- 2 egg whites: These are the secret to the light and fluffy texture.
- 2 teaspoons clear vanilla extract: Adds a lovely vanilla flavor without altering the color.
What’s in the Gear List
- Stand mixer or hand mixer: Essential for whipping the egg whites to stiff peaks.
- Medium saucepan: Used for cooking the sugar mixture to the right temperature.
- Candy thermometer: A must-have to ensure you reach the right temperature for the syrup.
- Rubber spatula: Helps in mixing and scraping down the sides of your bowl.
- Mixing bowl: For combining your ingredients before whipping.
Marshmallow Frosting: From Prep to Plate

Step 1: Prepare Your Ingredients
Begin by measuring out all your ingredients. Having everything ready makes the process smoother and more enjoyable.
Step 2: Make the Sugar Syrup
In a medium saucepan, combine the sugar, light corn syrup, salt, and water. Stir gently until the sugar is dissolved, then bring the mixture to a boil over medium heat. Use a candy thermometer to monitor the temperature, aiming for about 240°F (soft-ball stage).
Step 3: Whip the Egg Whites
While the syrup is cooking, place the egg whites in the bowl of your stand mixer (or a mixing bowl if you’re using a hand mixer). Beat on medium speed until soft peaks form. This usually takes about 3-5 minutes.
Step 4: Combine Syrup and Egg Whites
Once the syrup reaches the desired temperature, carefully pour it in a thin stream into the whipped egg whites while the mixer is running on medium speed. Be sure to avoid the whisk to prevent splattering.
Step 5: Beat Until Stiff Peaks Form
Continue beating the mixture on high speed until it cools down and forms stiff peaks. This process typically takes about 5-7 minutes. Add the clear vanilla extract and beat for an additional minute to incorporate.
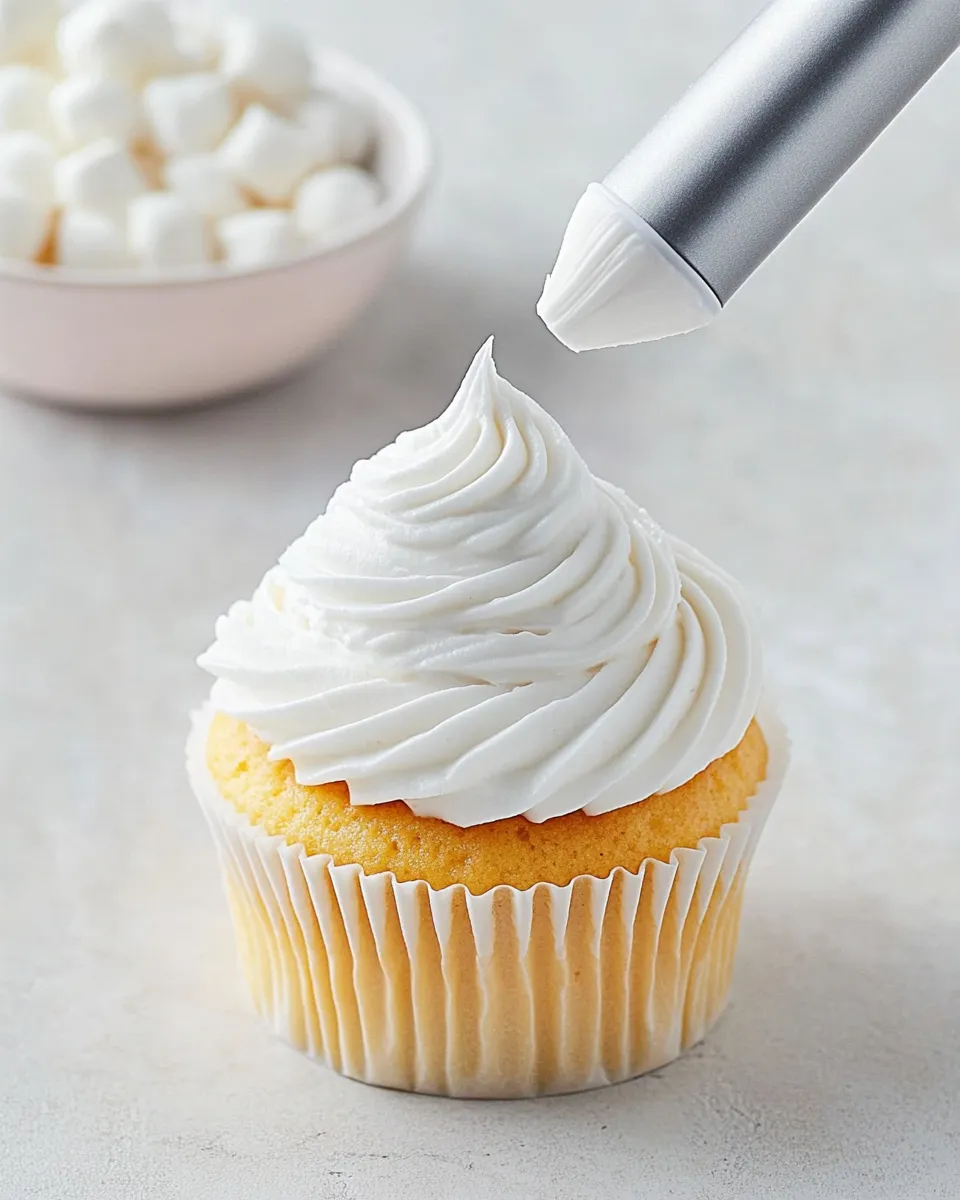
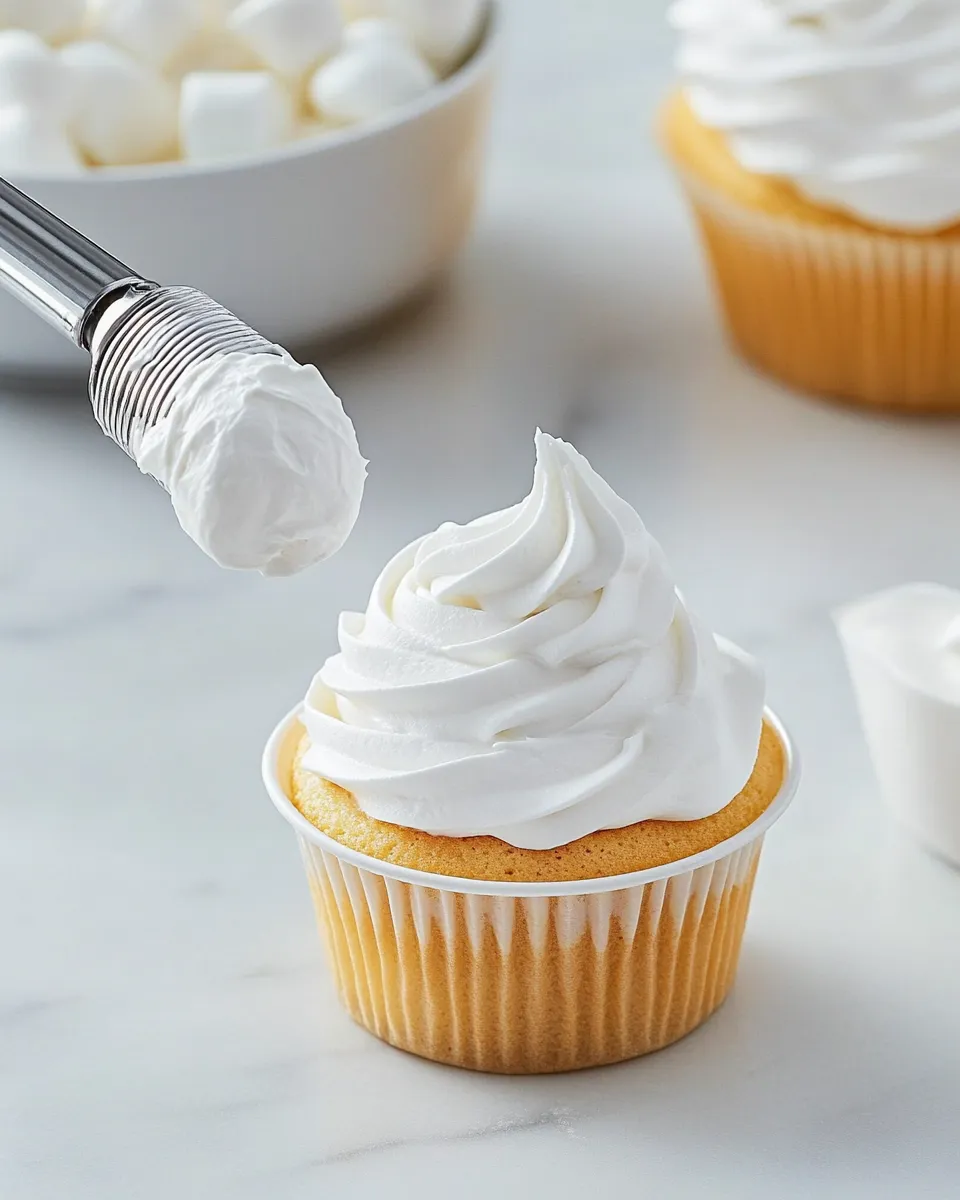
Step 6: Frost Your Desserts
Once your Marshmallow Frosting is ready, use a spatula or piping bag to decorate your cakes or cupcakes. The glossy finish will make your treats look absolutely stunning!
Better-for-You Options
- Use alternative sweeteners: If you’re looking to reduce sugar, consider using a sugar substitute designed for baking.
- Egg whites: You can use pasteurized egg whites from a carton if you prefer to avoid raw eggs.
- Flavor variations: Experiment with different extracts like almond or coconut for a unique twist.
Troubleshooting Tips
If your frosting isn’t turning out as expected, don’t worry! Here are some common issues and their solutions:
- Frosting is too runny: Ensure that the syrup reached the right temperature. If not, it won’t whip up properly.
- Frosting is grainy: This can happen if the sugar didn’t dissolve completely. Try heating it gently to dissolve any crystals.
- Frosting is too thick: You can add a teaspoon of warm water to loosen it up a bit.
Freezer-Friendly Notes
Have leftovers? You can definitely freeze your Marshmallow Frosting! Just scoop it into an airtight container, and it can be stored in the freezer for up to three months. When you’re ready to use it, simply thaw it in the refrigerator overnight and re-whip it for that fresh, fluffy texture.
Your Top Questions
Can I use this frosting for filling cakes?
Absolutely! Marshmallow Frosting works wonderfully as a filling between cake layers, adding a delightful texture and sweetness.
How long does Marshmallow Frosting last?
Once made, it can be kept at room temperature for up to 2 days, or in the refrigerator for about a week. Just make sure to store it in an airtight container.
Can I color Marshmallow Frosting?
Yes! You can easily tint it with gel food coloring. Just add a small amount and mix until you achieve your desired shade.
Is it possible to make this frosting vegan?
While traditional Marshmallow Frosting uses egg whites, you can substitute them with aquafaba (the liquid from canned chickpeas) for a vegan version. Just whip it up until stiff peaks form and follow the same process!
More from the Kitchen
- Chocolate Cake with Marshmallow Frosting
- Cupcakes with Fluffy Frosting
- Easy Vanilla Bean Marshmallow Treats
- S’mores Bars with Marshmallow Topping
Wrap-Up
Marshmallow Frosting is not just a frosting; it’s an experience. With its fluffy texture and delightful sweetness, it transforms ordinary desserts into extraordinary masterpieces. The versatility of this frosting means you can tailor it to fit any flavor profile, and it pairs perfectly with so many baked goods. Whether you’re a baking novice or a seasoned pro, this recipe will become a staple in your kitchen. So gather your ingredients, roll up your sleeves, and get ready to create something magical. Your desserts will never be the same again!
Marshmallow Frosting
Ingredients
Equipment
Method
- Begin by measuring out all your ingredients. Having everything ready makes the process smoother and more enjoyable.
- In a medium saucepan, combine the sugar, light corn syrup, salt, and water. Stir gently until the sugar is dissolved, then bring the mixture to a boil over medium heat. Use a candy thermometer to monitor the temperature, aiming for about 240°F (soft-ball stage).
- While the syrup is cooking, place the egg whites in the bowl of your stand mixer (or a mixing bowl if you're using a hand mixer). Beat on medium speed until soft peaks form. This usually takes about 3-5 minutes.
- Once the syrup reaches the desired temperature, carefully pour it in a thin stream into the whipped egg whites while the mixer is running on medium speed. Be sure to avoid the whisk to prevent splattering.
- Continue beating the mixture on high speed until it cools down and forms stiff peaks. This process typically takes about 5-7 minutes. Add the clear vanilla extract and beat for an additional minute to incorporate.
- Once your Marshmallow Frosting is ready, use a spatula or piping bag to decorate your cakes or cupcakes. The glossy finish will make your treats look absolutely stunning!
Notes
- Consider using a sugar substitute for a healthier option.
- You can use pasteurized egg whites from a carton if you prefer to avoid raw eggs.
- Experiment with different extracts like almond or coconut for flavor variations.