The BEST Gluten-Free Brownies
If you’re on the hunt for the ultimate indulgence that satisfies your chocolate cravings without the gluten, look no further! These brownies are rich, fudgy, and oh-so-decadent. With a perfect balance of sweetness and chocolate flavor, they are sure to please everyone, whether they follow a gluten-free diet or not. Let’s dive into how to create The BEST Gluten-Free Brownies that will have you coming back for seconds…and thirds!
Why Cooks Rave About It
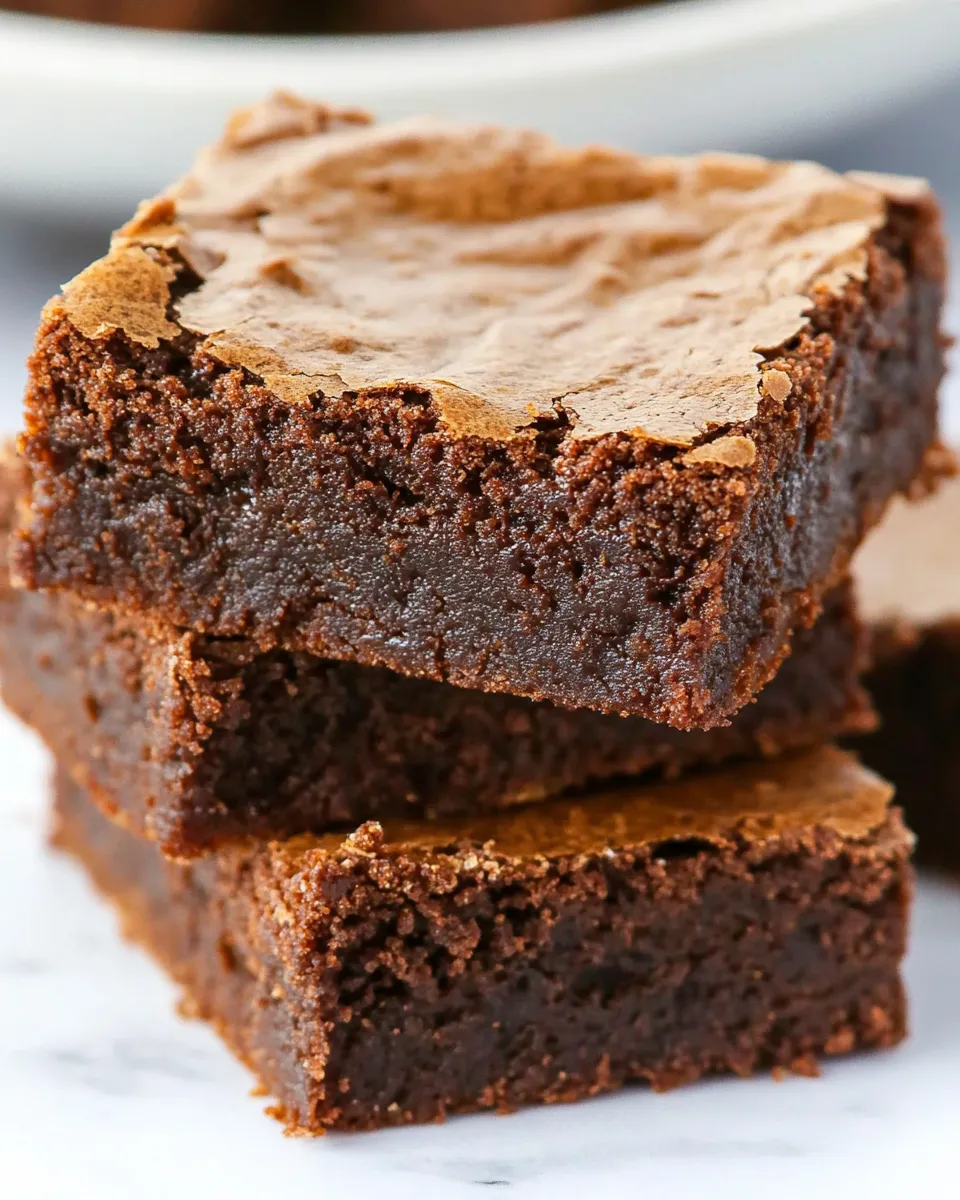
Cooks rave about these brownies for several reasons. First and foremost, they are incredibly easy to make, requiring minimal ingredients and effort. The rich, chocolatey flavor comes directly from the unsweetened baking chocolate, which provides a depth that makes every bite delightful. The texture is perfectly fudgy, ensuring that they melt in your mouth. Plus, they cater to those who need gluten-free options without compromising on taste or texture. Once you try these brownies, they might just become your go-to dessert for any occasion!
Ingredients at a Glance
- 4 ounces (113g) unsweetened baking chocolate
- 1 cup (170g) unsalted butter
- 1 ½ cups (350g) granulated sugar
- 3 large eggs
- 1 teaspoon vanilla extract
- ½ teaspoon salt
- 2 tablespoons (10g) unsweetened cocoa powder
- 1 cup gluten-free 1-to-1 baking flour (such as Bob’s Red Mill, the blue package)
Setup & Equipment
- Oven – Preheat to 350°F (175°C).
- Mixing bowls – For combining ingredients.
- Double boiler or microwave-safe bowl – For melting chocolate and butter.
- Whisk or spatula – For mixing.
- 9×9-inch baking pan – For baking the brownies.
- Parchment paper – Optional, for easy removal.
The Method for The BEST Gluten-Free Brownies
Step 1: Melting Chocolate and Butter
Begin by melting the unsweetened baking chocolate and unsalted butter together. You can do this using a double boiler on the stove or in a microwave-safe bowl. If using the microwave, heat in 30-second intervals, stirring in between until smooth and fully melted. Set aside to cool slightly.
Step 2: Mixing the Sugar and Eggs
In a large mixing bowl, combine the granulated sugar and eggs. Using a whisk or an electric mixer, beat together until the mixture is light and fluffy. This usually takes about 2-3 minutes and helps to incorporate air, giving the brownies a delightful texture.
Step 3: Adding in Vanilla and Chocolate
Once the sugar and eggs are well combined, add the vanilla extract and the melted chocolate mixture. Stir until everything is blended together seamlessly.
Step 4: Incorporating Dry Ingredients
In a separate bowl, whisk together the gluten-free 1-to-1 baking flour, cocoa powder, and salt. Gradually add this dry mixture to the wet ingredients, stirring gently until just combined. Be careful not to overmix, as this can affect the texture of the brownies.
Step 5: Baking the Brownies
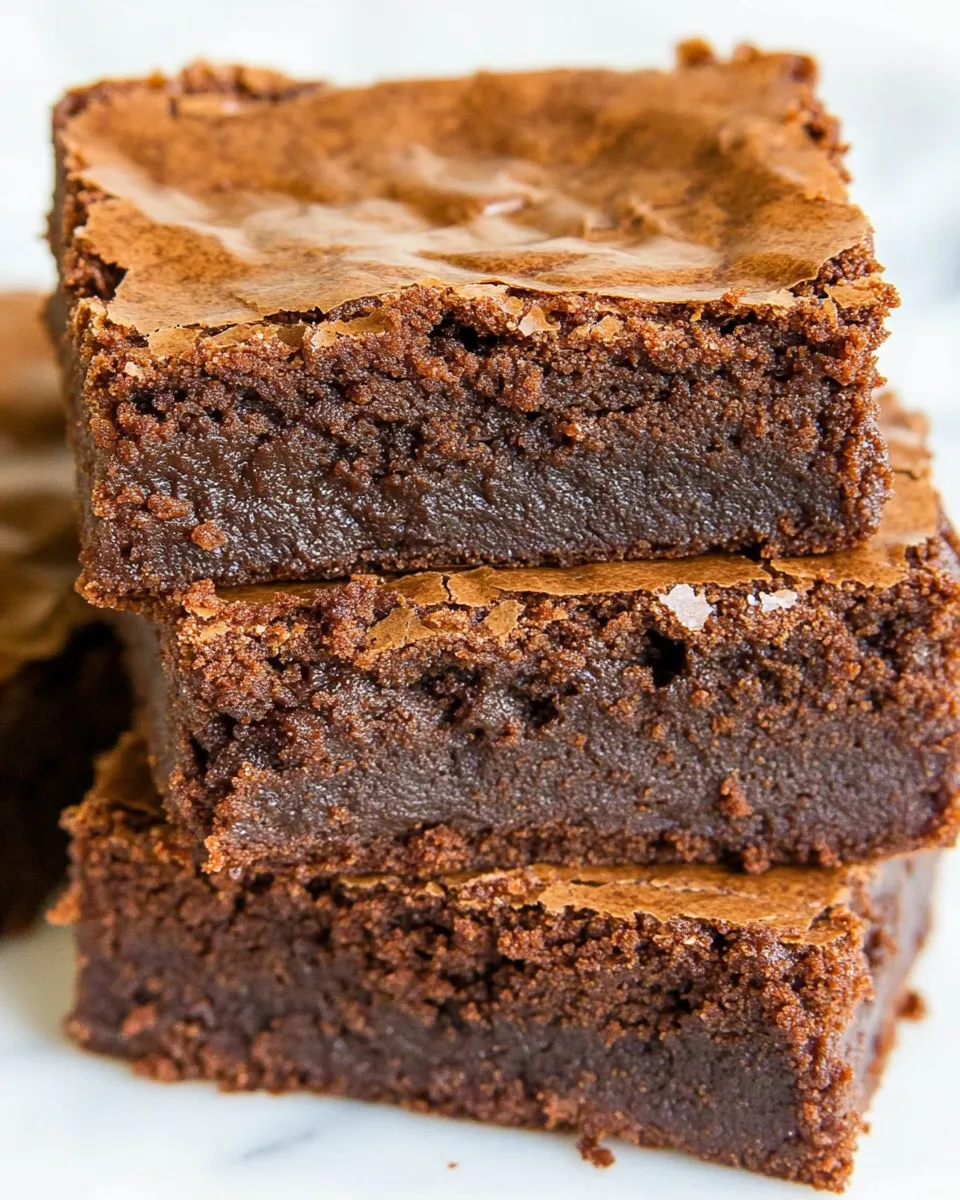
Pour the brownie batter into a greased 9×9-inch baking pan. Smooth the top with a spatula for even baking. Bake in the preheated oven for about 25-30 minutes or until a toothpick inserted into the center comes out with a few moist crumbs. Allow the brownies to cool in the pan for at least 15 minutes before slicing.
Step 6: Serving and Enjoying
Once cooled, cut the brownies into squares and enjoy! These brownies are delicious on their own, but feel free to serve with a scoop of vanilla ice cream or a drizzle of chocolate sauce for an extra indulgence.
International Equivalents

- 4 ounces (113g) unsweetened baking chocolate = 1 cup chocolate chips (if substituting).
- 1 cup (170g) unsalted butter = 227g (for those using the metric system).
- 1 ½ cups (350g) granulated sugar = approximately 350ml sugar (liquid measure).
- 1 cup gluten-free 1-to-1 baking flour = 120g (if weighing).
Pro Perspective
From a professional perspective, these brownies stand out because they use a combination of high-quality chocolate and butter, which elevates the flavor profile. The gluten-free flour blend ensures that even those with gluten sensitivities can enjoy a rich dessert without feeling deprived. The key to achieving the fudgy texture is to not overbake; keeping an eye on the time will yield perfect results. Additionally, you can experiment by adding nuts, chocolate chips, or even a hint of espresso powder for a unique twist!
Freezer-Friendly Notes
These brownies are incredibly freezer-friendly! After they have cooled completely, cut them into squares and store them in an airtight container or freezer bag. They can last up to three months in the freezer. When you’re ready to enjoy, simply thaw them at room temperature for a few hours or pop them in the microwave for a quick warm-up. This makes them a perfect treat for last-minute gatherings or a sweet treat any time you need a chocolate fix.
Quick Q&A
Can I use cocoa powder instead of baking chocolate?
While cocoa powder will provide some chocolate flavor, it will not give the same richness or texture as unsweetened baking chocolate. If you choose to substitute, you may need to adjust the fat content or add more cocoa powder to achieve a similar result.
What can I substitute for eggs in this recipe?
You can use flax eggs or applesauce as a substitute for eggs. For each egg, mix 1 tablespoon of ground flaxseed with 2.5 tablespoons of water and let it sit until it thickens, or use ¼ cup of unsweetened applesauce as a replacement for one egg.
How do I know when my brownies are done baking?
Brownies are done when a toothpick inserted into the center comes out with a few moist crumbs. If it comes out clean, they may be overbaked. Keep in mind that brownies will continue to cook slightly after being removed from the oven due to residual heat.
Can I add mix-ins to the brownie batter?
Absolutely! You can add chocolate chips, nuts, or even caramel swirls to the batter before baking. Just be mindful that adding too many mix-ins may alter the texture, so stick to about a cup of additional ingredients.
More Recipes You’ll Love
Ready to Cook?
Now that you have all the details, it’s time to gather your ingredients and start baking The BEST Gluten-Free Brownies! Whether you’re treating yourself or sharing with family and friends, these brownies are sure to impress. Enjoy the process, and remember, a little chocolate goes a long way in making your day a little sweeter. Happy baking!
The BEST Gluten-Free Brownies
Ingredients
Equipment
Method
- Step 1: Melting Chocolate and Butter - Begin by melting the unsweetened baking chocolate and unsalted butter together. You can do this using a double boiler on the stove or in a microwave-safe bowl. If using the microwave, heat in 30-second intervals, stirring in between until smooth and fully melted. Set aside to cool slightly.
- Step 2: Mixing the Sugar and Eggs - In a large mixing bowl, combine the granulated sugar and eggs. Using a whisk or an electric mixer, beat together until the mixture is light and fluffy. This usually takes about 2-3 minutes and helps to incorporate air, giving the brownies a delightful texture.
- Step 3: Adding in Vanilla and Chocolate - Once the sugar and eggs are well combined, add the vanilla extract and the melted chocolate mixture. Stir until everything is blended together seamlessly.
- Step 4: Incorporating Dry Ingredients - In a separate bowl, whisk together the gluten-free 1-to-1 baking flour, cocoa powder, and salt. Gradually add this dry mixture to the wet ingredients, stirring gently until just combined. Be careful not to overmix, as this can affect the texture of the brownies.
- Step 5: Baking the Brownies - Pour the brownie batter into a greased 9x9-inch baking pan. Smooth the top with a spatula for even baking. Bake in the preheated oven for about 25-30 minutes or until a toothpick inserted into the center comes out with a few moist crumbs. Allow the brownies to cool in the pan for at least 15 minutes before slicing.
- Step 6: Serving and Enjoying - Once cooled, cut the brownies into squares and enjoy! These brownies are delicious on their own, but feel free to serve with a scoop of vanilla ice cream or a drizzle of chocolate sauce for an extra indulgence.
Notes
- These brownies are freezer-friendly; store in an airtight container for up to three months.
- For a richer flavor, add chocolate chips or nuts to the batter.
- Be careful not to overbake to maintain the fudgy texture!