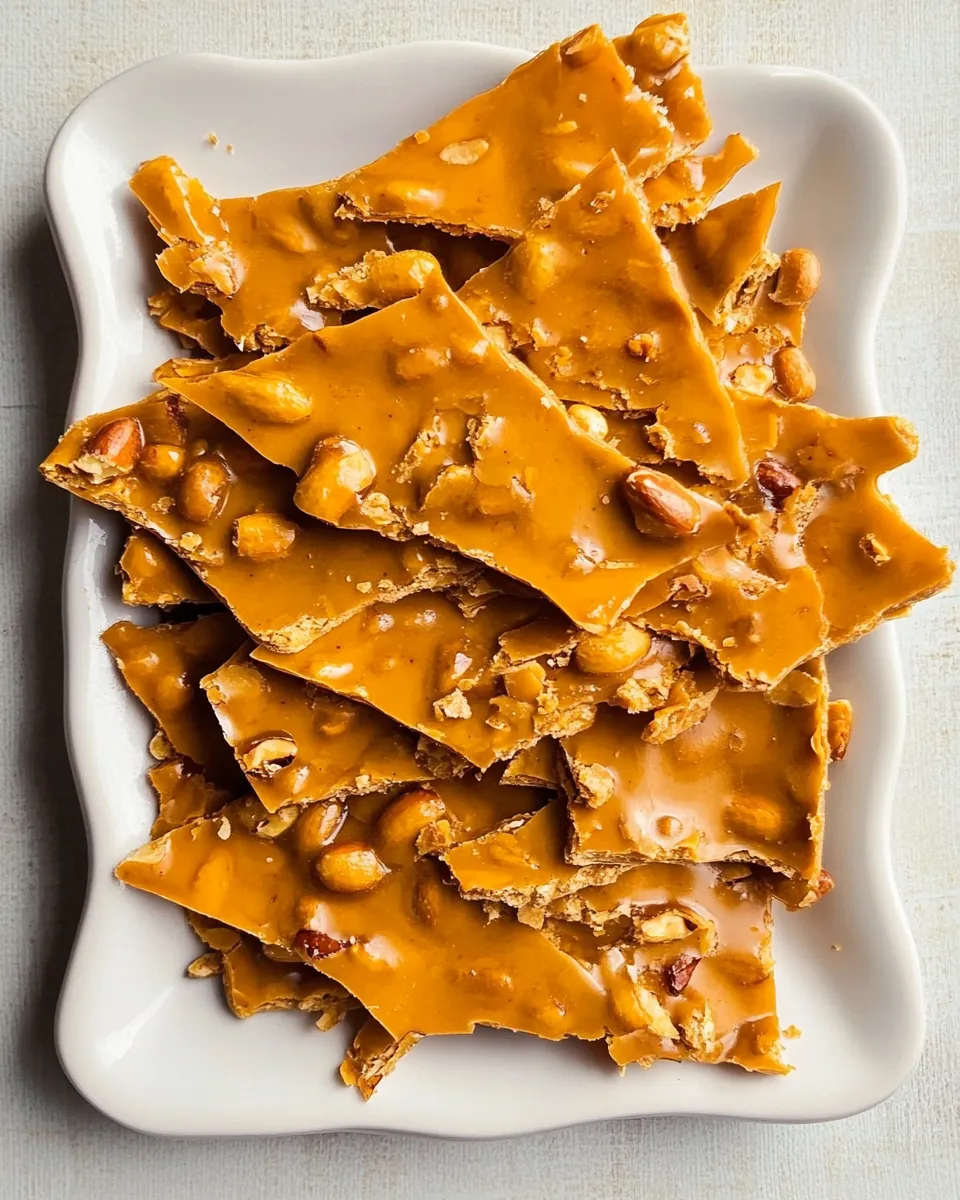
Microwave Peanut Brittle
If you’re searching for a quick and delightful treat that combines the irresistible crunch of peanuts with the sweet, buttery goodness of caramel, look no further than this Microwave Peanut Brittle. This recipe is perfect for anyone who loves homemade candy but doesn’t want to spend hours slaving over a hot stove. With just a few simple ingredients and a microwave, you can whip up a batch of this classic confection in no time. Get ready to impress your family and friends with your candy-making skills!
Why This Recipe Works
Making peanut brittle in the microwave is not only fast but also incredibly simple. Traditional methods often require candy thermometers and precise temperature control, but this Microwave Peanut Brittle eliminates those steps. The key to this recipe lies in the combination of sugar and corn syrup, which creates that delightful crunchy texture when combined with the peanuts. Plus, the addition of baking soda adds a lightness to the brittle, making it perfectly snackable.
Ingredient Breakdown
- 1 cup granulated sugar – The main sweetener that helps form the base of the brittle.
- 1/2 cup light corn syrup – This ingredient adds moisture and prevents the sugar from crystallizing.
- 1 cup salted roasted peanuts – The star of the show, providing that classic peanut flavor and crunch.
- 1 Tbsp butter – Adds richness and enhances the flavor profile of the brittle.
- 1 tsp vanilla extract – A splash of vanilla elevates the sweetness and adds depth.
- 1 tsp baking soda – This reacts with the syrup to create a lighter texture and helps the brittle expand as it cools.
What’s in the Gear List
- Microwave-safe bowl – Essential for melting the sugar and syrup mixture.
- Silicone spatula – Perfect for stirring the mixture without sticking.
- Parchment paper or silicone baking mat – Necessary for cooling the brittle and preventing sticking.
- Sharp knife or mallet – For breaking the brittle into pieces once it’s set.
Cooking Microwave Peanut Brittle: The Process
Step 1: Prepare Your Ingredients
Begin by gathering all your ingredients. Measure out the sugar, corn syrup, peanuts, butter, vanilla extract, and baking soda. This will make the process smoother and faster as you won’t be scrambling to find something while the mixture is cooking.
Step 2: Combine Sugar and Corn Syrup
In your microwave-safe bowl, mix the granulated sugar and light corn syrup until well combined. This combination is the foundation of your Microwave Peanut Brittle, so make sure it’s evenly mixed.
Step 3: Microwave the Mixture
Place the bowl in the microwave and heat on high for 4-5 minutes. Keep an eye on it as it cooks. The mixture should bubble up and become slightly golden.
Step 4: Add Peanuts and Butter
Carefully remove the bowl from the microwave (it will be hot!). Stir in the salted roasted peanuts and butter until everything is well incorporated.
Step 5: Microwave Again
Return the bowl to the microwave and heat for an additional 2-3 minutes. The mixture should become a deep amber color. Be cautious; it can quickly go from perfect to burnt.
Step 6: Stir in Vanilla and Baking Soda
Once the mixture is ready, remove it from the microwave and immediately stir in the vanilla extract and baking soda. The mixture will bubble and foam up, creating that wonderful airy texture in your brittle.
Step 7: Pour and Spread
Quickly pour the hot mixture onto your prepared parchment paper or silicone mat. Use a spatula to spread it out evenly to your desired thickness.
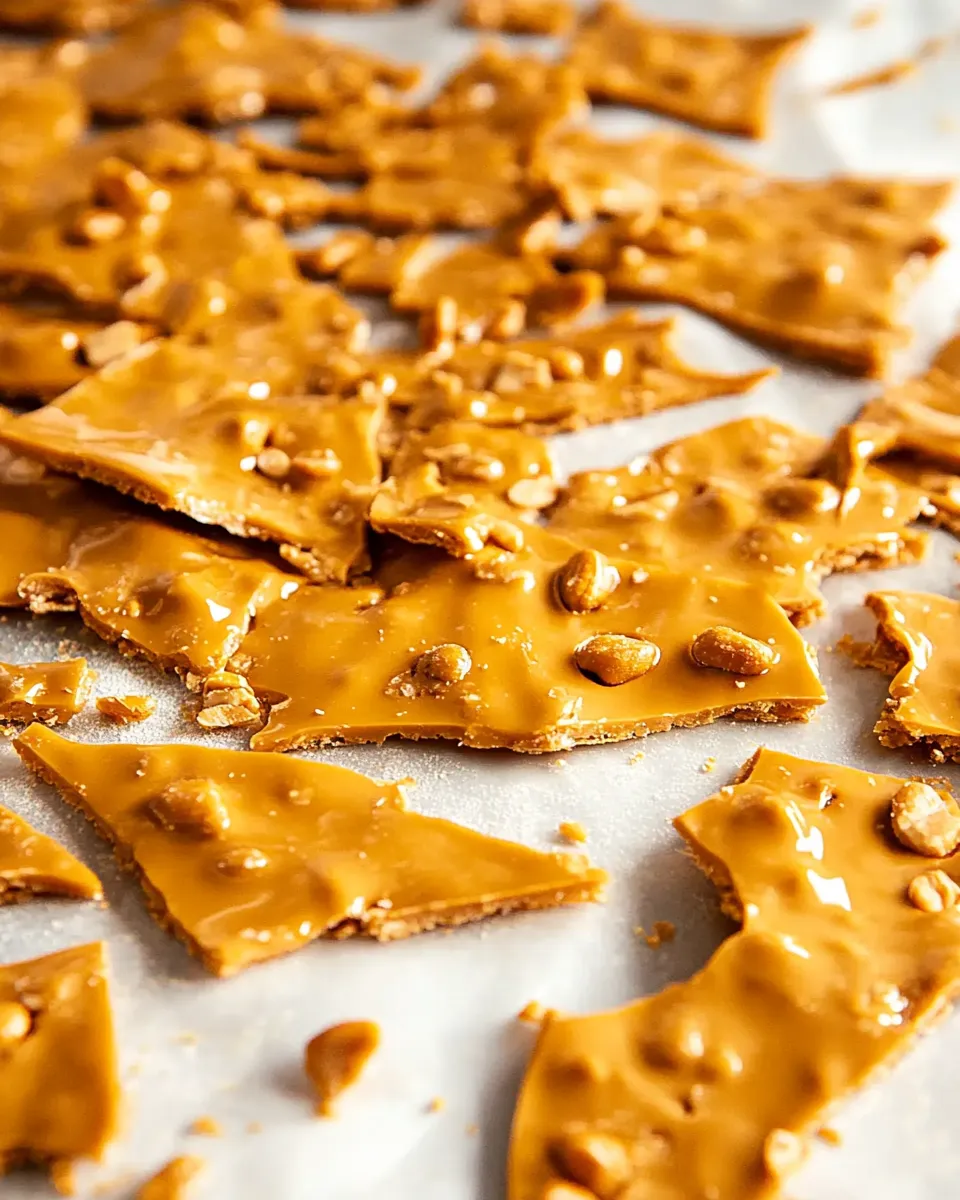
Step 8: Cool and Break
Allow the peanut brittle to cool completely at room temperature. Once it’s set, use a sharp knife or mallet to break it into pieces.
Quick Replacement Ideas
- For a nut-free version, substitute peanuts with sunflower seeds or pumpkin seeds.
- Use maple syrup instead of corn syrup for a unique flavor twist.
- Swap out the salted peanuts for unsalted for a less salty treat.
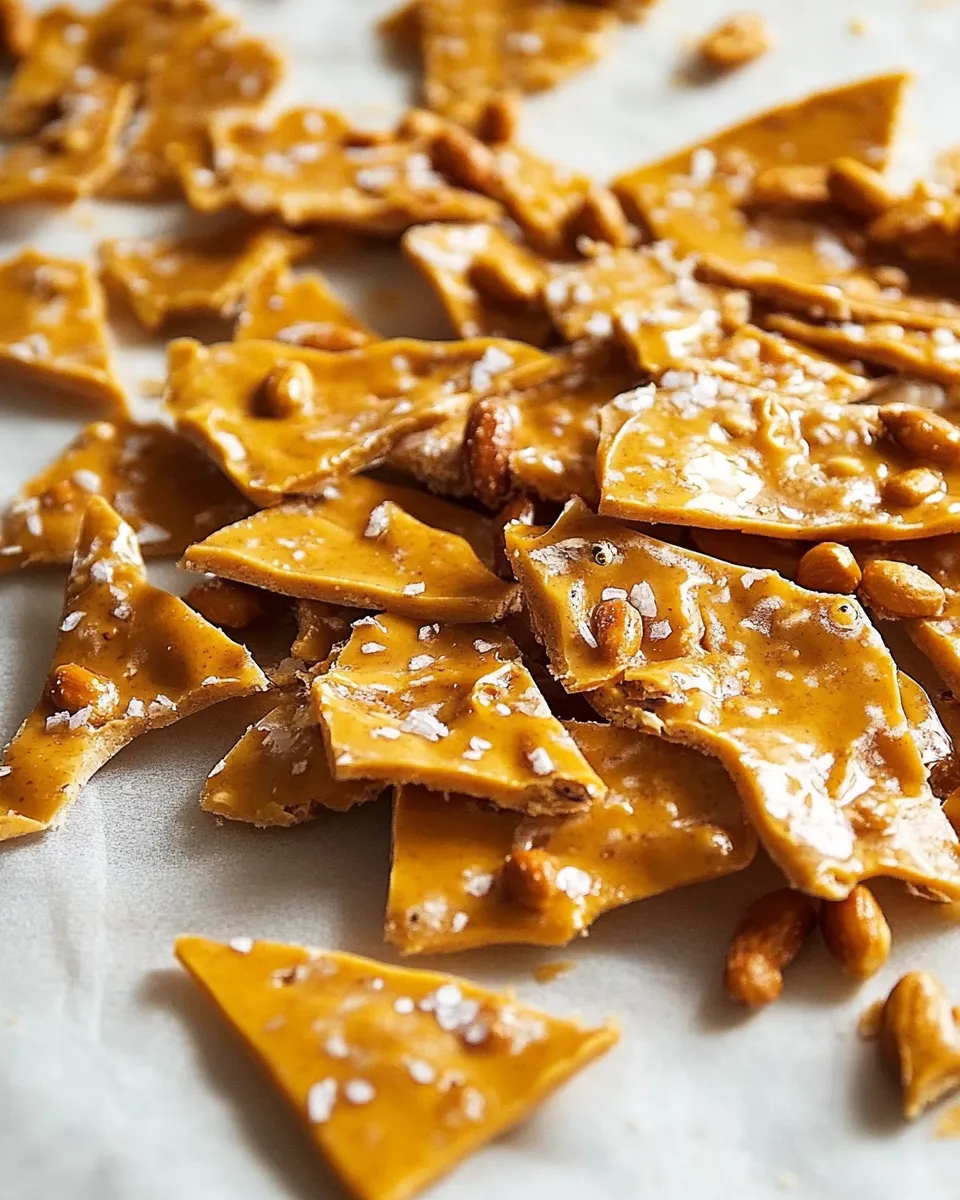
- Add a sprinkle of sea salt on top before the brittle cools for an extra flavor boost.
Frequent Missteps to Avoid
- Overheating the mixture can lead to burnt sugar, so keep a close eye on it while microwaving.
- Not stirring well enough after adding the peanuts can lead to uneven coating.
- Allowing the brittle to cool in a humid environment can cause it to become sticky.
- Forgetting to prepare your cooling surface ahead of time can result in messy cleanup.
Storage Pro Tips
To keep your Microwave Peanut Brittle fresh and crunchy, store it in an airtight container at room temperature. Here are some tips:
- Keep the brittle away from direct sunlight and heat sources to prevent it from becoming sticky.
- Layer pieces of brittle between sheets of wax paper to prevent sticking if you’re storing a large batch.
- Consume within two weeks for the best taste and texture, though it can last longer if stored properly.
Helpful Q&A
Can I use raw peanuts instead of roasted peanuts?
Yes, you can use raw peanuts, but roasting them beforehand will enhance their flavor and contribute to the overall taste of the brittle.
How do I know when the sugar mixture is ready?
The mixture should be a deep amber color and bubbling vigorously. If it begins to smoke or smells burnt, it’s overcooked.
Can I add other ingredients to the brittle?
Absolutely! Feel free to add ingredients like chocolate chips, dried fruits, or even a sprinkle of cayenne pepper for a spicy kick.
What should I do if my brittle is too hard?
If the brittle is too hard, it may have been cooked too long. Next time, try reducing the cooking time by a minute or two.
Our Most-Loved Recipes
- Chocolate Chip Cookies – A classic favorite that never disappoints.
- Banana Bread – Moist and flavorful, perfect for breakfast or a snack.
- Vegan Brownies – Rich, fudgy, and totally plant-based!
- Blueberry Muffins – Bursting with juicy berries and perfect for any occasion.
Bring It to the Table
Now that you have mastered the art of making Microwave Peanut Brittle, it’s time to share your creation with others. This sweet treat is perfect for holiday gatherings, birthday parties, or simply as a delightful snack to enjoy at home. Wrap it in festive packaging for a thoughtful homemade gift, or serve it on a platter as a fun addition to dessert tables. Whatever the occasion, your homemade peanut brittle is sure to be a hit!
The joy of creating something so delicious in such a short amount of time is truly rewarding. With just a bit of practice, you’ll be able to whip up batches of Microwave Peanut Brittle effortlessly. So gather your ingredients, fire up that microwave, and enjoy the sweet rewards of your efforts!
Microwave Peanut Brittle
Ingredients
Equipment
Method
- Begin by gathering all your ingredients. Measure out the sugar, corn syrup, peanuts, butter, vanilla extract, and baking soda.
- In your microwave-safe bowl, mix the granulated sugar and light corn syrup until well combined.
- Place the bowl in the microwave and heat on high for 4-5 minutes, keeping an eye on it as it cooks.
- Carefully remove the bowl from the microwave and stir in the salted roasted peanuts and butter until well incorporated.
- Return the bowl to the microwave and heat for an additional 2-3 minutes until the mixture becomes a deep amber color.
- Once ready, remove from the microwave and immediately stir in the vanilla extract and baking soda.
- Quickly pour the hot mixture onto your prepared parchment paper or silicone mat, spreading it out evenly.
- Allow the peanut brittle to cool completely at room temperature, then break it into pieces.
Notes
- Store in an airtight container at room temperature to keep it crunchy.
- Layer pieces between wax paper to prevent sticking in large batches.
- Consume within two weeks for the best taste.