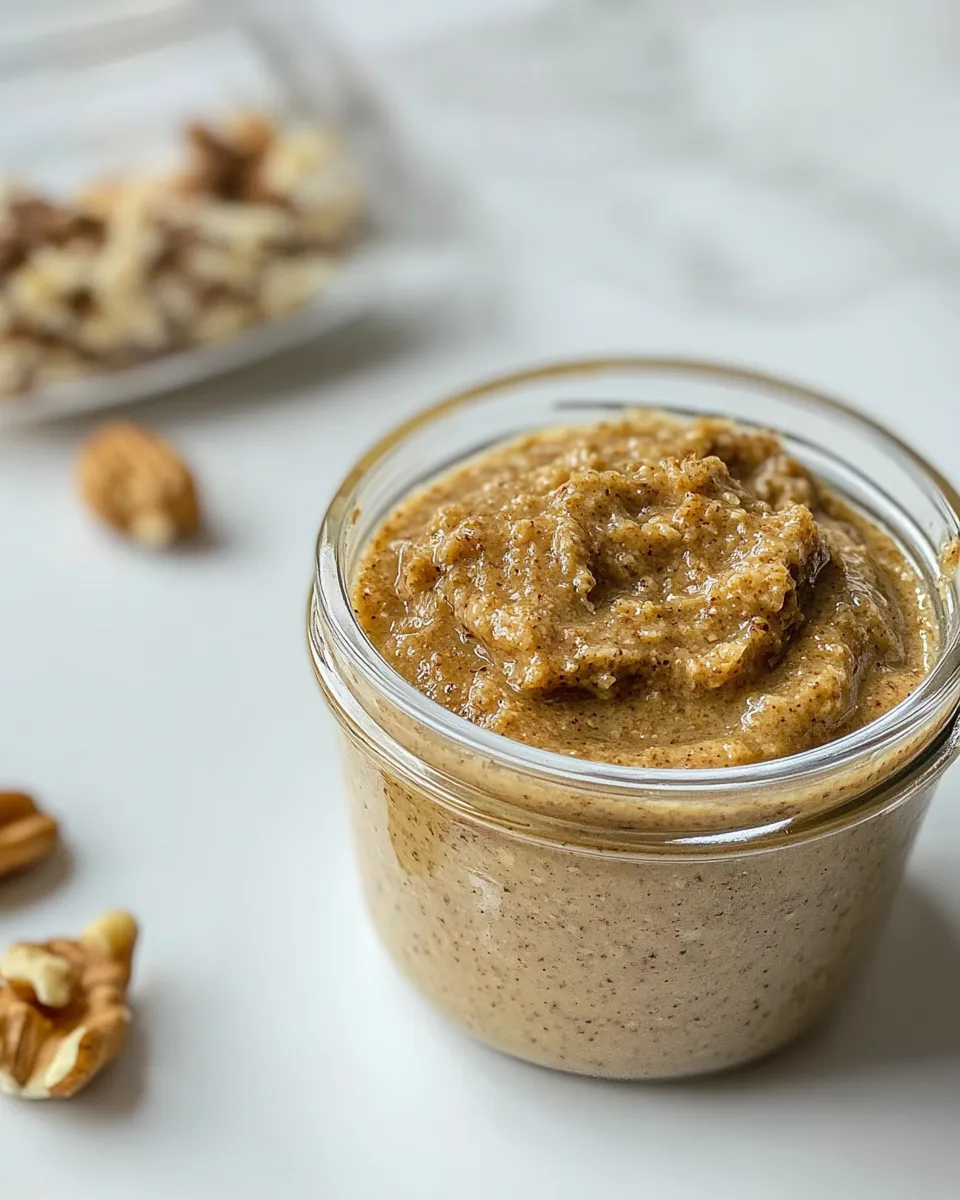
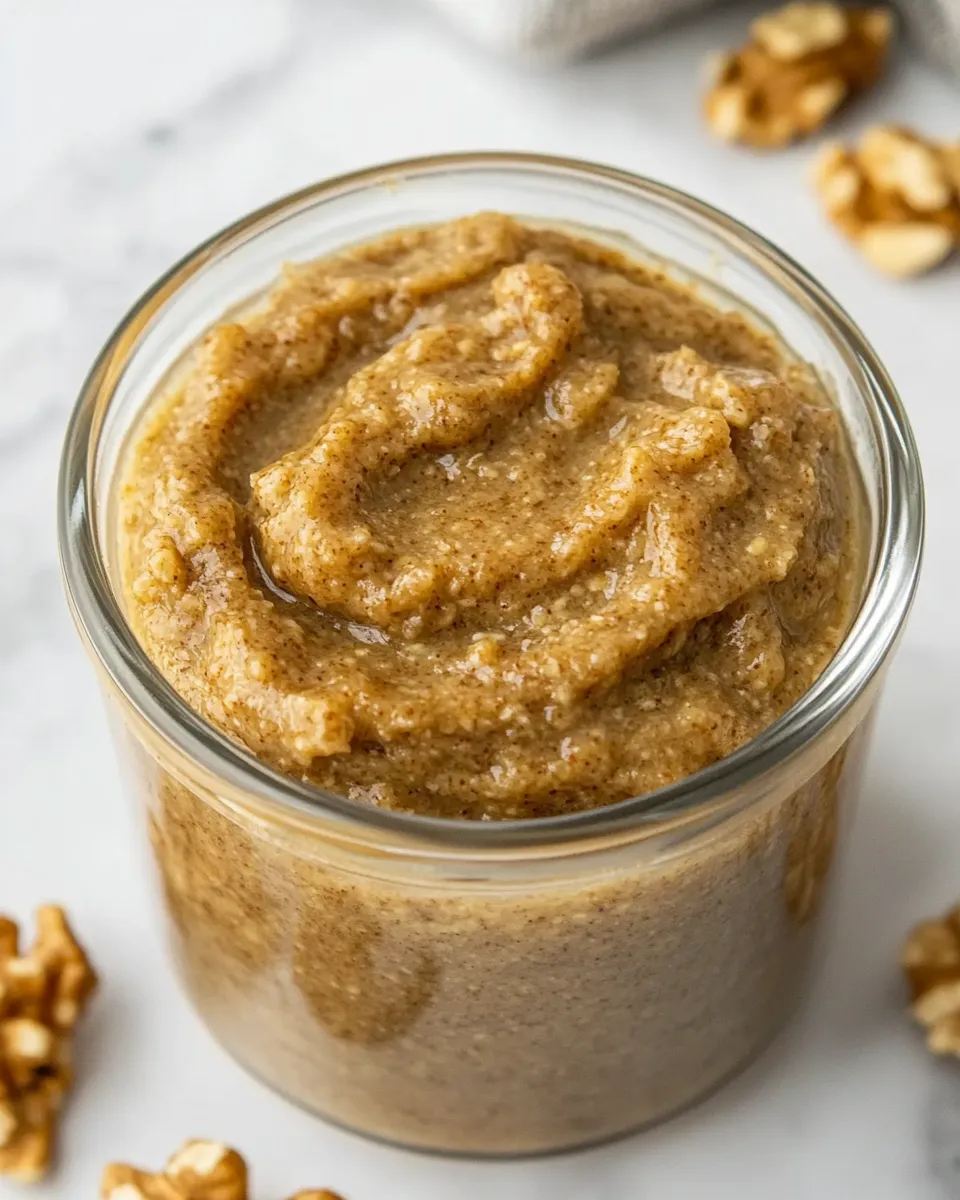
Walnut Butter
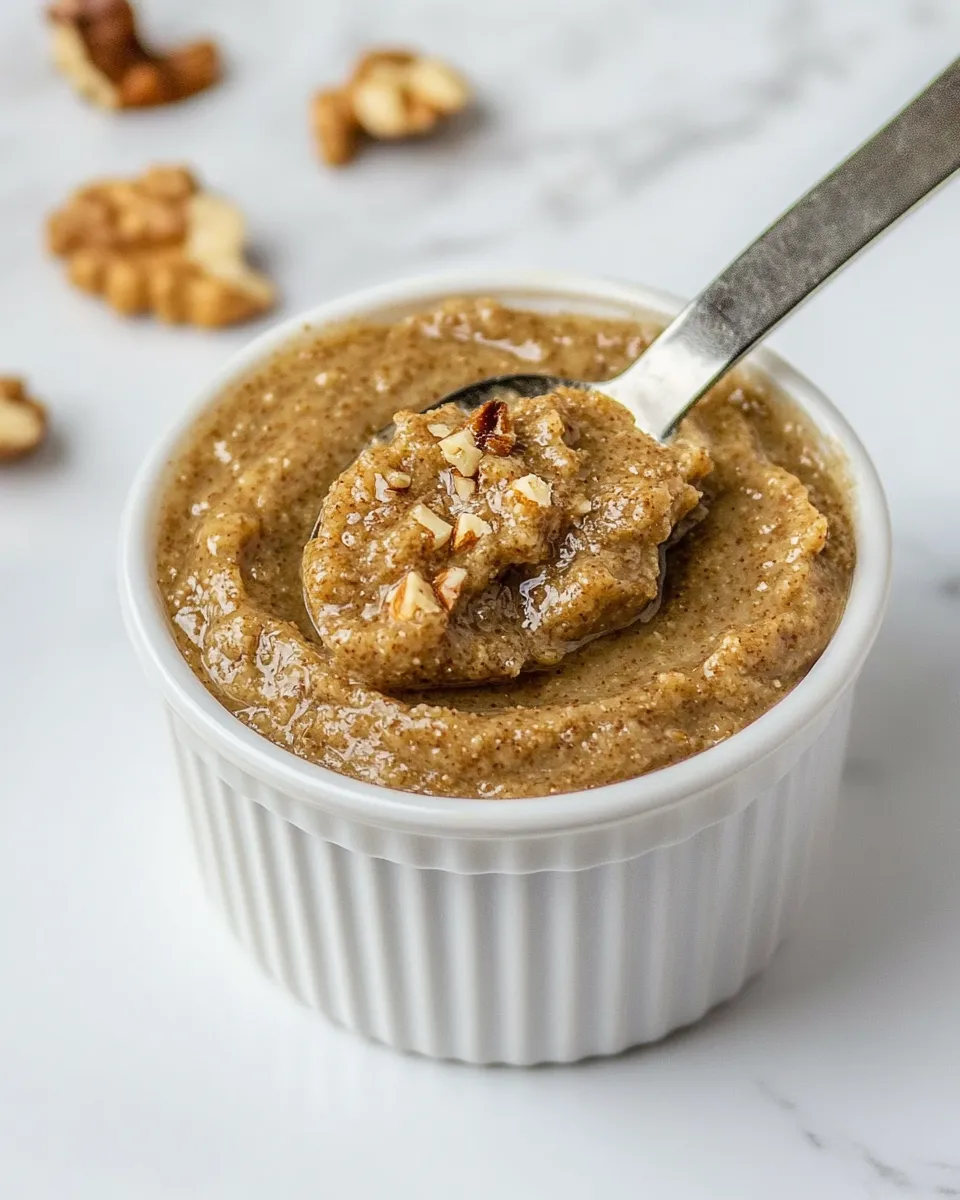
If you’ve never tried making your own nut butter, let me tell you—it’s about to become your new kitchen obsession. With its rich, creamy texture and deep, nutty flavor, walnut butter is not only delicious but also incredibly versatile. Spread it on toast, swirl it into oatmeal, or use it as a dip for fruits. The best part? It’s super simple to make at home with just a few ingredients. So let’s dive into the world of walnut butter and discover how to create this delightful spread.
Why Walnut Butter is Worth Your Time
Walnuts are packed with nutrients and healthy fats, making them a fantastic choice for a nut butter base. They are rich in omega-3 fatty acids, antioxidants, and vitamins, which contribute to heart health and overall wellness. By making your own walnut butter, you can control the ingredients and customize the flavor to your liking. Plus, there’s something truly rewarding about creating a delicious spread from scratch.
Ingredient Rundown
To make your very own walnut butter, you will need the following ingredients:
- 2 cups (217g) walnuts: The star of the show! Opt for raw or lightly roasted walnuts for a rich and nutty flavor.
- 1 tablespoon pure maple syrup: This natural sweetener adds a hint of sweetness without overpowering the nutty flavor. You can adjust the amount based on your taste.
- Salt (to taste): A pinch of salt enhances the overall flavor. Use sea salt or Himalayan salt for a touch of sophistication.
Tools of the Trade
Before you start, gather these essential tools to make your walnut butter-making experience smooth and enjoyable:
- Food processor: A powerful food processor is crucial for blending the walnuts into a creamy butter.
- Spatula: A spatula will help you scrape down the sides of the processor to ensure even blending.
- Storage container: Choose a glass jar or an airtight container to store your walnut butter once it’s made.
Method: Walnut Butter
Ready to get started? Follow these simple steps to create your own walnut butter:
Step 1: Prepare the Walnuts
Begin by measuring out 2 cups of walnuts. If you prefer a roasted flavor, you can roast them in the oven at 350°F (175°C) for about 8-10 minutes. Just keep an eye on them to avoid burning.
Step 2: Blend the Walnuts
Place the walnuts into the food processor. Pulse the nuts for about 30 seconds, then stop and scrape down the sides using a spatula. Continue blending for 2-5 minutes, stopping occasionally to scrape down the sides. The walnuts will first turn into a fine meal and then gradually break down into a creamy butter.
Step 3: Sweeten and Season
Once the walnuts have reached a smooth consistency, add 1 tablespoon of pure maple syrup and salt to taste. Blend again until the syrup and salt are fully incorporated, adjusting sweetness and saltiness as desired.
Step 4: Store Your Walnut Butter
Transfer your walnut butter into a storage container. Make sure to seal it tightly and store it in the refrigerator.
Dairy-Free/Gluten-Free Swaps

If you’re looking for alternatives to make this recipe even more inclusive, consider these options:
- Maple syrup: For a refined sugar-free option, you can substitute with agave syrup or date syrup.
- Salt: If you are following a low-sodium diet, you can reduce the amount of salt or omit it altogether.
Problems & Prevention
Creating walnut butter is usually a straightforward process, but here are a few common issues and how to solve them:
- Grainy texture: If your walnut butter is grainy, keep blending! Sometimes it just takes a bit longer to achieve that creamy consistency.
- Too thick: If your butter is too thick, you can add a teaspoon of neutral oil (like coconut oil) to help smooth it out.
- Separation: Natural nut butters may separate over time. Just give it a good stir before using!
Make-Ahead & Storage
Making walnut butter in advance is a great idea! Here’s how to store it properly:
- Refrigeration: Store your walnut butter in the refrigerator for up to two weeks. Make sure it is in an airtight container.
- Freezing: You can also freeze walnut butter for up to three months. Just make sure to leave some space in the container, as it may expand when frozen.
Questions People Ask
Can I use roasted walnuts instead of raw?
Absolutely! Roasted walnuts will give your walnut butter a deeper flavor. Just ensure they are unsalted and not overly charred.
How can I use walnut butter in recipes?
Walnut butter can be used in a variety of ways. Try it in smoothies, as a topping for pancakes, or even in baking recipes as a substitute for other nut butters.
Is walnut butter healthy?
Yes! Walnut butter is rich in healthy fats, protein, and essential nutrients. It’s a great addition to a balanced diet when consumed in moderation.
Can I make walnut butter without a food processor?
While a food processor is the easiest method, you can use a high-powered blender. Just be cautious, as it may take longer and require more stopping to scrape down the sides.
Because You Liked This
If you enjoyed learning about walnut butter, you might also like these delicious recipes:
Next Steps
Now that you’ve mastered the art of creating walnut butter, it’s time to get creative! Experiment with different flavors by adding spices like cinnamon or vanilla extract, or try blending in some cocoa powder for a chocolatey twist. The possibilities are endless, and I can’t wait to hear how you personalize your walnut butter experience. Happy blending!
Walnut Butter
Ingredients
Equipment
Method
- Begin by measuring out 2 cups of walnuts. If you prefer a roasted flavor, you can roast them in the oven at 350°F (175°C) for about 8-10 minutes. Just keep an eye on them to avoid burning.
- Place the walnuts into the food processor. Pulse the nuts for about 30 seconds, then stop and scrape down the sides using a spatula. Continue blending for 2-5 minutes, stopping occasionally to scrape down the sides. The walnuts will first turn into a fine meal and then gradually break down into a creamy butter.
- Once the walnuts have reached a smooth consistency, add 1 tablespoon of pure maple syrup and salt to taste. Blend again until the syrup and salt are fully incorporated, adjusting sweetness and saltiness as desired.
- Transfer your walnut butter into a storage container. Make sure to seal it tightly and store it in the refrigerator.
Notes
- For a refined sugar-free option, substitute maple syrup with agave or date syrup.
- If your walnut butter is grainy, keep blending until creamy.
- Store walnut butter in the refrigerator for up to two weeks in an airtight container.