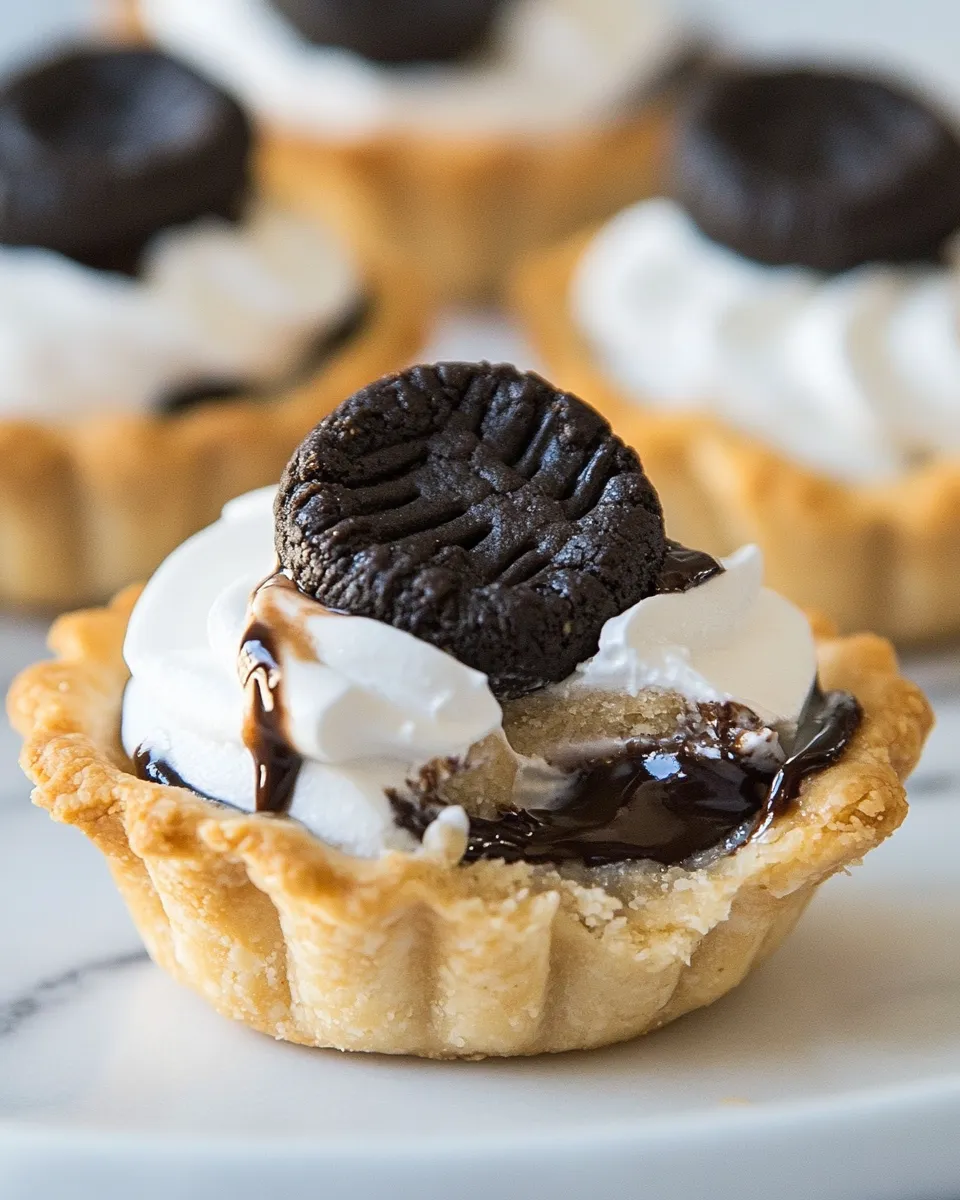
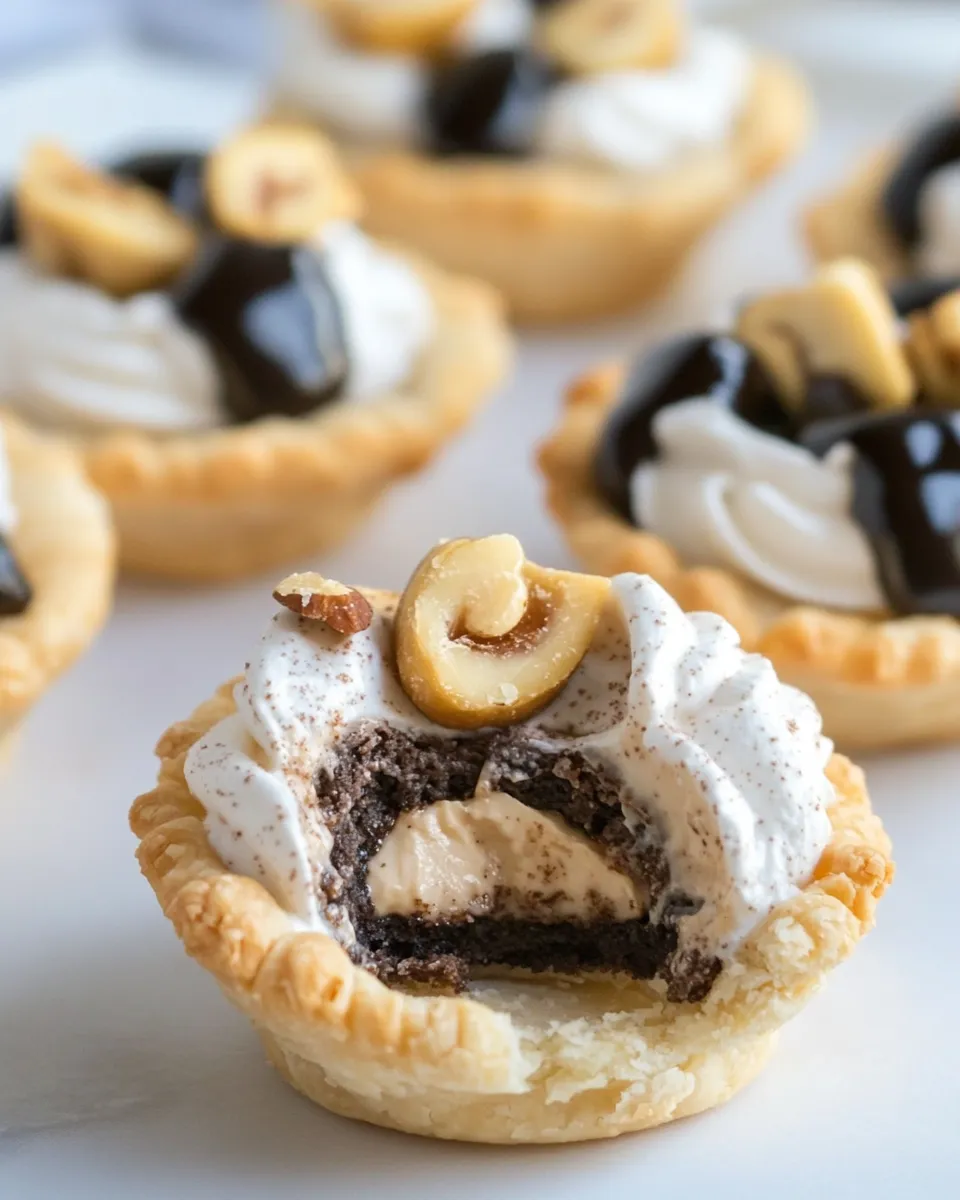
Mini Cookies and Cream Hazelnut Pies
Imagine a delightful dessert that combines the rich flavors of cookies and cream with the nutty essence of hazelnut, all nestled in a perfectly flaky crust. These Mini Cookies and Cream Hazelnut Pies are not only adorable but also incredibly easy to make. With just a few simple ingredients, you can create a treat that will impress your friends and family. Whether you’re planning a party, a casual gathering, or just want to indulge in a sweet snack, these mini pies are the perfect solution.
Our star ingredients include a box of Pillsbury pie crust, Jif Swirled Cookies ‘n Cream Hazelnut Spread, Cool Whip, and mini Oreo cookies. Each bite of these mini pies is a delightful explosion of flavors that will leave you craving more. Let’s dive into why I love this recipe and how you can whip up your own batch of these irresistible treats!
Why I Love This Recipe
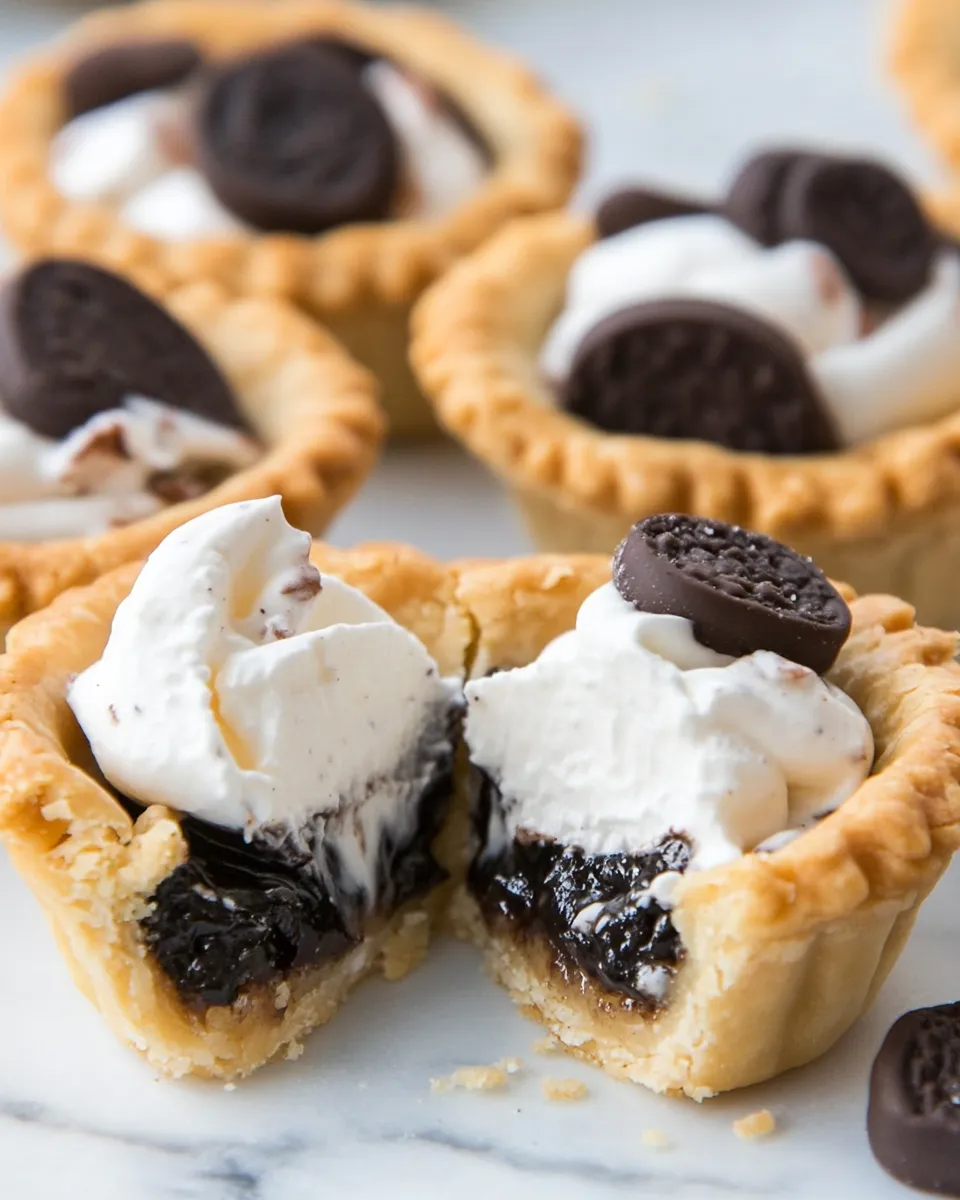
The beauty of these Mini Cookies and Cream Hazelnut Pies lies in their versatility. They are undeniably simple to assemble, yet they deliver a gourmet experience. The combination of textures—from the crunchy crust to the smooth hazelnut spread and fluffy Cool Whip—creates a delightful contrast that keeps every bite exciting. Plus, they are the perfect portion size, making them an ideal dessert for any occasion. Whether you’re entertaining guests or treating yourself, these mini pies will surely delight.
What’s in the Bowl
To make these delectable mini pies, you will need the following ingredients:
- 1 box Pillsbury pie crust (contains 2 pie crust rounds)
- 1 jar Jif Swirled Cookies ‘n Cream Hazelnut Spread
- 1 tub Cool Whip, thawed*
- 24 mini Oreo cookies
*Make sure to allow the Cool Whip to thaw completely for the best texture.
Before You Start: Equipment
Before diving into the baking process, gather the necessary equipment:
- Mini muffin tin: This is essential for shaping the mini pies.
- Rolling pin: To roll out the pie crust for better fitting.
- Cookie cutter or round cutter: To cut the pie crust into small rounds.
- Mixing bowl: For mixing the Cool Whip and hazelnut spread.
- Spatula: To help with spreading the filling.
- Chilling space: A refrigerator or freezer for chilling the mini pies before serving.
Mini Cookies and Cream Hazelnut Pies: Step-by-Step Guide
Now, let’s get started with the step-by-step guide to create these delightful mini pies!
Step 1: Preheat the Oven
Begin by preheating your oven to 350°F (175°C). This ensures that your mini pies bake evenly and achieve that perfect golden color.
Step 2: Prepare the Pie Crust
Roll out the Pillsbury pie crust on a lightly floured surface. Use a cookie cutter or a round cutter to cut out circles that are slightly larger than the mini muffin tin wells.
Step 3: Fit the Crust into Muffin Tin
Gently press each round of pie crust into the mini muffin tin, making sure to mold the crust into the shape of the tin. This will form little cups for your filling.
Step 4: Bake the Crusts
Place the muffin tin in the preheated oven and bake for about 10-12 minutes, or until the crusts are lightly golden. Keep an eye on them to avoid burning.
Step 5: Cool the Crusts
Once baked, remove the tin from the oven and allow the crusts to cool completely in the tin. This is crucial for maintaining their structure when you add the filling.
Step 6: Prepare the Filling
In a mixing bowl, combine the thawed Cool Whip and Jif Swirled Cookies ‘n Cream Hazelnut Spread. Use a spatula to gently fold the two together until well-combined and smooth.
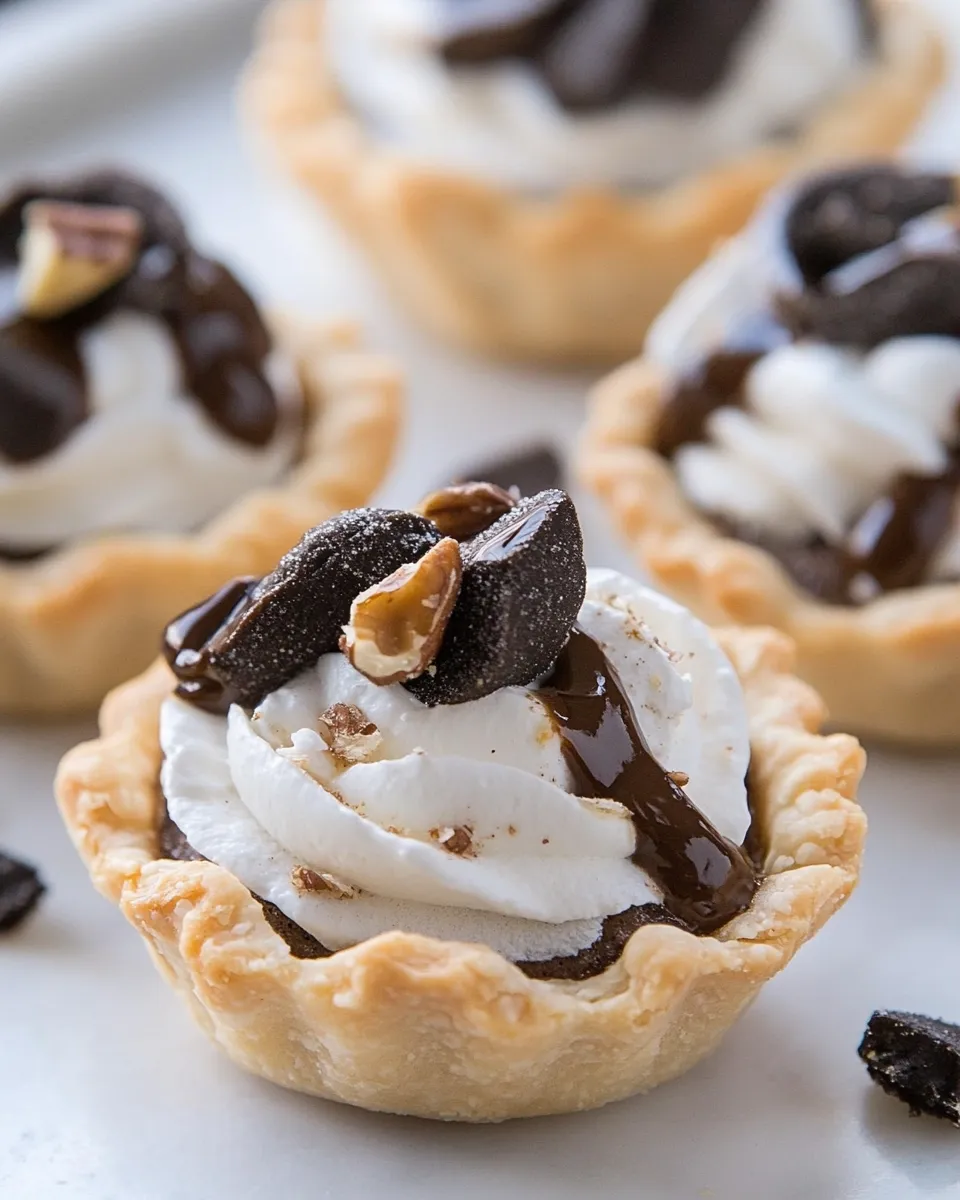
Step 7: Fill the Crusts
Once the crusts are cool, spoon the cookies and cream hazelnut filling into each pie crust, filling them to the top.
Step 8: Add the Topping
Top each mini pie with a mini Oreo cookie. You can either leave them whole or break them in half for a decorative touch.
Step 9: Chill Before Serving
Place the mini pies in the refrigerator for at least 30 minutes to set the filling. This will enhance the flavors and provide a refreshing treat when served.
Ingredient Swaps & Substitutions
Feel free to customize your Mini Cookies and Cream Hazelnut Pies with these swaps:
- Using a different brand of hazelnut spread, such as Nutella or a store brand.
- Substituting the Cool Whip with homemade whipped cream for a fresher taste.
- Incorporating different cookies, like chocolate chip or peanut butter cookies, as toppings.
- Using gluten-free pie crust if you have dietary restrictions.
Common Errors (and Fixes)
Here are some common mistakes and how to fix them:
- Crusts are too tough: Make sure not to overwork the dough when rolling it out. Handle it gently for a flaky texture.
- Filling is too runny: Ensure the Cool Whip is fully thawed but not overly watery. Mix gently to maintain its texture.
- Pies stick to the muffin tin: Ensure the muffin tin is well-greased before placing the crusts in to avoid sticking.
- Overbaking the crusts: Keep a close eye on the crusts while baking to prevent them from turning dark and hard.
Shelf Life & Storage
To keep your Mini Cookies and Cream Hazelnut Pies fresh:
- Store them in an airtight container in the refrigerator for up to 3 days.
- If you wish to make them ahead of time, bake the crusts and store them separately from the filling. Assemble them just before serving.
- Do not freeze the filled pies, as the filling may change texture once thawed.
Your Questions, Answered
Can I make these pies ahead of time?
Absolutely! You can prepare the crusts and the filling in advance. Just store them separately and assemble them on the day you plan to serve.
What can I use instead of mini Oreo cookies?
If you don’t have mini Oreos on hand, regular Oreos can be crushed and sprinkled on top, or you can use any similar cookie that pairs well with hazelnut flavors.
Can I use a different type of pie crust?
Yes! Feel free to use a homemade pie crust or a different store-bought crust, such as graham cracker or cookie dough crust for a unique twist.
How do I know when the crusts are done baking?
The crusts should be lightly golden brown. If they look pale, they may need a minute or two more in the oven, but keep a close watch to avoid burning.
Serve with These
Consider serving your Mini Cookies and Cream Hazelnut Pies with these delightful accompaniments:
Final Bite
These Mini Cookies and Cream Hazelnut Pies are truly a crowd-pleaser that packs a delicious punch in every bite. The combination of smooth hazelnut spread and fluffy whipped cream creates a heavenly filling that complements the flaky crust perfectly. Whether you’re serving them at a gathering or simply enjoying them as a snack, these mini pies are sure to become a favorite in your recipe repertoire.
So why wait? Gather your ingredients, roll up your sleeves, and get ready to indulge in the joy of baking these delightful mini treats. You won’t regret it!
Mini Cookies and Cream Hazelnut Pies
Ingredients
Equipment
Method
- Step 1: Preheat the oven to 350°F (175°C).
- Step 2: Roll out the Pillsbury pie crust on a lightly floured surface and cut out circles slightly larger than the mini muffin tin wells.
- Step 3: Press each round of pie crust into the mini muffin tin to form cups.
- Step 4: Bake the crusts for about 10-12 minutes until lightly golden.
- Step 5: Allow the crusts to cool completely in the tin.
- Step 6: In a mixing bowl, combine the thawed Cool Whip and hazelnut spread until smooth.
- Step 7: Spoon the filling into each cooled crust.
- Step 8: Top each pie with a mini Oreo cookie.
- Step 9: Chill the mini pies in the refrigerator for at least 30 minutes before serving.
Notes
- For a fresher taste, substitute Cool Whip with homemade whipped cream.
- Try different hazelnut spreads like Nutella for a unique flavor.
- Store in an airtight container in the refrigerator for up to 3 days.