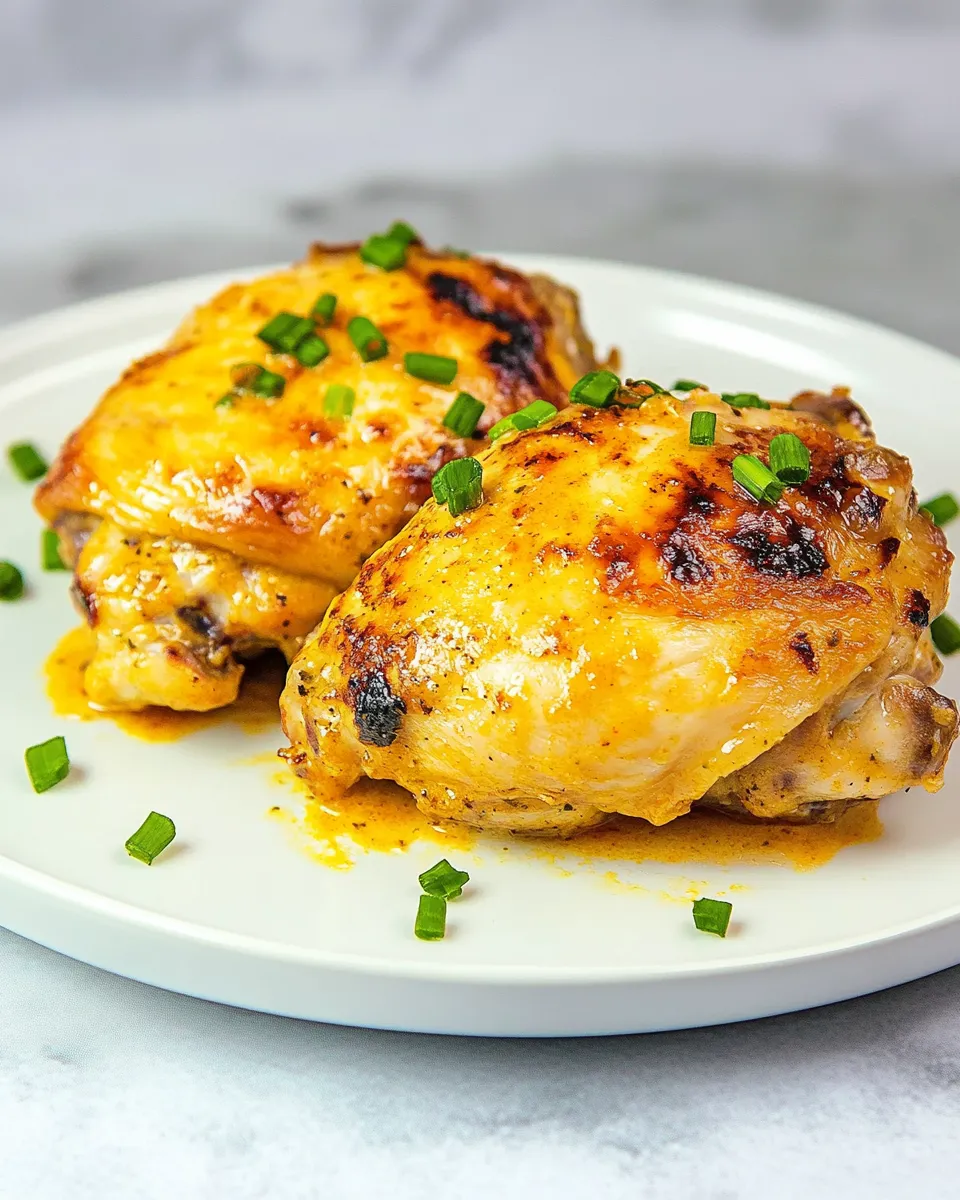
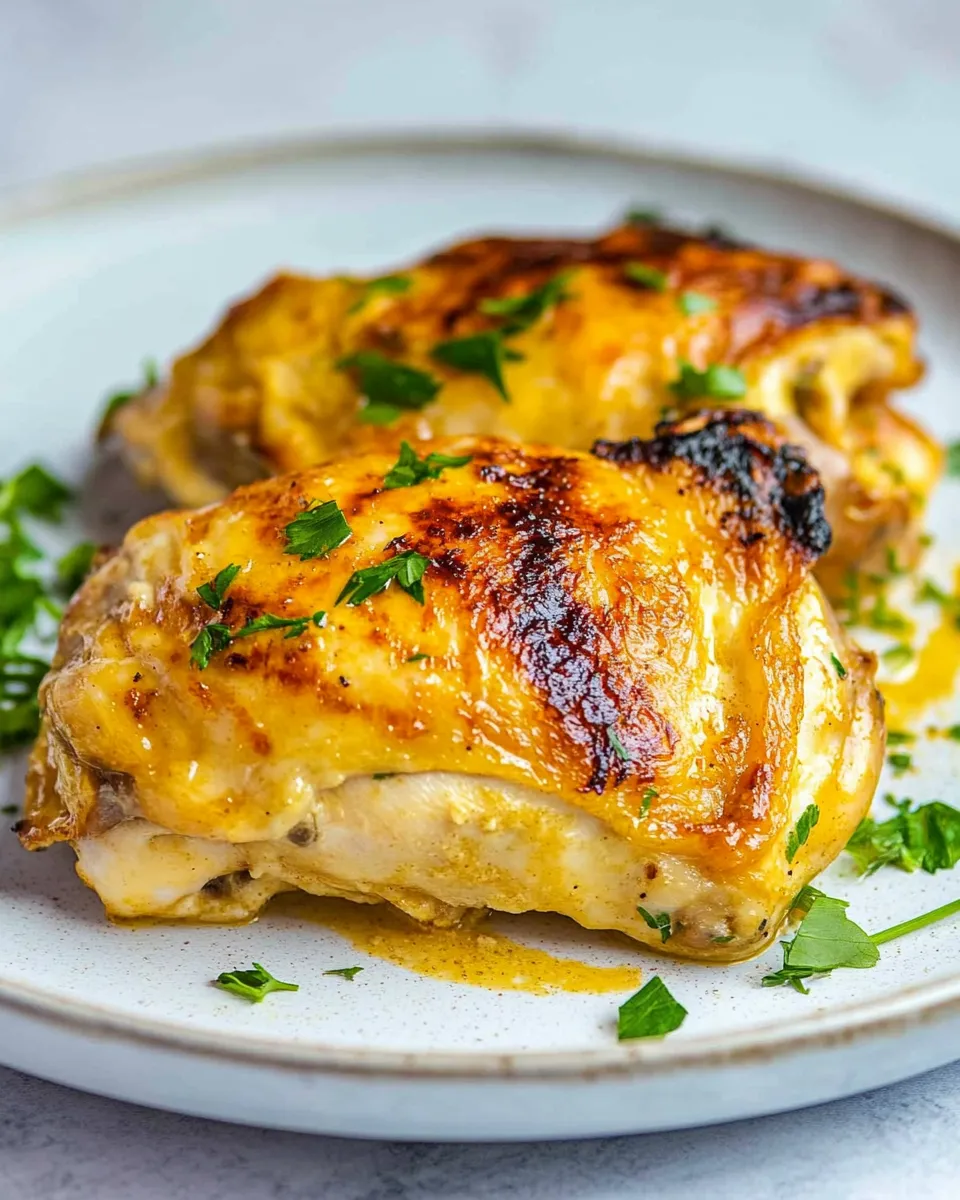
Air Fryer Ranch Chicken Thighs
This recipe is one of those weeknight winners: minimal prep, big flavor, and a reliable crispy skin that comes from the air fryer. Using a simple ranch‑butter spread tucked under the skin gives the meat that herby, savory lift without any complicated marinating or long hands‑on time. You get juicy, bone‑in thighs with a golden exterior every time.
I keep things practical and straightforward because nobody needs another fussy dinner on a busy night. The steps are short, the ingredients are few, and the air fryer does most of the work. Read through the tips and the common mistakes so you can go from start to finish with confidence.
If you like punchy flavors but prefer uncomplicated cooking, this one will become a go‑to. It’s forgiving, fast, and easy to scale if you’re feeding more people. Now let’s get into the ingredient list and the step‑by‑step process.
Ingredient List
- 4 bone-in, skin-on chicken thighs — the bone and skin keep the meat juicy and give you a crisp finish; choose thighs that are similar in size for even cooking.
- 4 tablespoons unsalted butter (½ stick, room temp) — soft butter helps the ranch seasoning adhere and baste the meat from under the skin; room temperature makes it easy to mix and spread.
- 2 teaspoons ranch seasoning — concentrated flavor for the butter; distributes flavor under the skin and on top for a classic ranch profile without extra steps.
From Start to Finish: Air Fryer Ranch Chicken Thighs
- Pat the 4 bone-in, skin-on chicken thighs dry with paper towels.
- In a small bowl, combine 4 tablespoons unsalted butter (softened) and 2 teaspoons ranch seasoning until smooth.
- Gently loosen the skin on each thigh by sliding your fingers under the skin near the cavity, taking care not to tear it.
- Divide the butter mixture: place about 2 teaspoons of the mixture under the skin of each thigh and spread it evenly over the meat under the skin. Use the remaining butter mixture to spread over the top of each thigh.
- Preheat the air fryer to 400°F (if your model requires preheating).
- Lightly grease the air fryer basket if your model recommends it, then arrange the thighs in a single layer skin side up without overlapping.
- Air fry at 400°F for 14–16 minutes, or until the skin is golden brown and an instant-read thermometer inserted into the thickest part of a thigh (avoiding bone) registers 165°F.
- Remove the thighs from the air fryer and let rest a few minutes before serving.
Quick clarifications
Keep the skin side facing up in the basket so the air can crisp it uninterrupted. If your air fryer runs hot or you have very small thighs, start checking at 14 minutes. Use an instant-read thermometer and take the reading from the thickest part of the thigh but avoid touching the bone—bone readings will be higher and misleading.
Why It Deserves a Spot
This version of ranch chicken earns a place in the rotation because it hits the trifecta: speed, texture, and flavor. The ranch seasoning mixed into butter gives a concentrated seasoning that tones down the need for extra salt or sauces, while the skin and bone protect the meat from drying out. The air fryer shortcut produces that deep golden crust you’d expect from long roasting but in a fraction of the time.
It’s also flexible. The method works for busy weeknights, but it’s clean and presentable enough for a small dinner. Leftovers reheat well and maintain texture if you follow the simple reheating steps in the storage section. If you want dinner with minimal decision‑making and maximum return, this one’s for you.
International Equivalents
Different cuisines have their own versions of buttered, seasoned chicken, usually relying on a savory fat rubbed under the skin. The technique—tucking a flavored fat under skin for moisture and flavor—is widely used globally. The specific ranch flavor profile comes from the seasoning blend; if you travel the world you’ll find similar results using herb mixes or spice blends native to each cuisine, but the underlying principle stays the same.
In short: think of this recipe as a method more than a singular style. The air fryer + under‑skin fat approach maps easily onto many flavor traditions if you later choose to experiment.
Equipment Breakdown

- Air fryer — the primary tool here. A basket‑style model works best for airflow and even crisping.
- Instant-read thermometer — essential to check doneness accurately at the thickest part of the thigh (avoid bone contact for a true reading).
- Small mixing bowl — for combining butter and ranch seasoning into a smooth spread.
- Paper towels — for patting the thighs dry; removing surface moisture helps the skin crisp.
- Knife or fingertip — to gently loosen the skin; you don’t need special tools—just a careful hand.
Easy-to-Miss Gotchas
Here are the small mistakes that change the result and how to avoid them.
- Not drying the skin: Moisture equals steam, and steam prevents crisping. Pat well with paper towels before you do anything else.
- Tearing the skin: Work slowly when you loosen it. A small tear lets the flavored butter escape and reduces the cushioning effect that keeps meat juicy.
- Overcrowding the basket: Thighs need space for hot air to circulate. Don’t overlap; if you have more than fits in a single layer, cook in batches.
- Skipping the thermometer: Timing is a guideline. Use an instant‑read thermometer to confirm 165°F at the thickest point for safety and optimal doneness.
- Forgetting to rest: A brief rest lets juices redistribute. Serve immediately after the short rest for the best texture.
Fresh Takes Through the Year
The recipe is a solid template that pairs well with changing seasons. In warmer months, keep sides light and fresh. In cooler months, choose heartier accompaniments to match the rich, buttery flavor of the chicken. The method stays the same year‑round, so you get consistent results even when your menu changes.
Because the seasoning is already in the butter, you can focus on what’s on the plate instead of recalibrating the chicken itself—make a change to your sides and you’ve effectively refreshed the whole meal without altering the core recipe.
If You’re Curious
Common curiosities: yes, you can adapt this technique to boneless thighs or breasts, but cook times will change and breasts can dry out faster. Bone‑in skin‑on pieces are the safest bet for the most forgiving results. If you want to scale up, do so in batches rather than crowding the basket. If your thighs are significantly larger or smaller than average, rely on the thermometer rather than time.
If you’re wondering about the role of the butter versus putting seasoning on top, putting a portion under the skin flavors the meat directly and keeps it moist while some on top crisps and browns beautifully.
Storing, Freezing & Reheating
Cool the thighs completely before storing. Refrigerate in an airtight container for up to 3–4 days. If you want to freeze, wrap each thigh tightly and place in a freezer‑safe container or bag; they’ll keep for 2–3 months with minimal quality loss.
To reheat from refrigerated: bring to room temperature briefly, then reheat in the air fryer at a lower temperature just long enough to warm through and re‑crisp the skin. From frozen, thaw completely in the refrigerator before reheating to ensure even warming. Avoid microwaving if you want to preserve crispness—use the air fryer or a hot oven instead.
Helpful Q&A
Q: Can I double the recipe?
Yes. Work in batches if needed so the thighs sit in a single layer in the air fryer. Crowding reduces crisping and lengthens cook time.
Q: Do I need to preheat the air fryer?
If your model recommends preheating, do it. Some models reach temp quickly and don’t require it, but preheating helps ensure an immediate sear and consistent browning.
Q: My skin didn’t get crispy—what happened?
Likely too much surface moisture or overcrowding. Dry the skin thoroughly, don’t overlap pieces, and make sure air can circulate freely.
Q: Can I make this ahead?
You can prepare the butter‑ranch mixture ahead of time and keep it chilled. Tuck it under the skin just before cooking. Cooked thighs can be reheated as described in the storage section.
Hungry for More?
If you liked how simple and reliable this method was, try applying the same technique—flavored fat under the skin, high heat finish, and careful resting—to other pieces of poultry. The approach is forgiving, fast, and produces a satisfying contrast of crisp skin and tender meat. Keep a small bowl and a mixing spoon handy and you’ll be surprised how often this becomes your fallback for easy dinners.
Thanks for reading—cook with confidence, and enjoy that perfect golden skin.

Air Fryer Ranch Chicken Thighs
Ingredients
Equipment
Method
- Pat the 4 bone-in, skin-on chicken thighs dry with paper towels.
- In a small bowl, combine 4 tablespoons unsalted butter (softened) and 2 teaspoons ranch seasoning until smooth.
- Gently loosen the skin on each thigh by sliding your fingers under the skin near the cavity, taking care not to tear it.
- Divide the butter mixture: place about 2 teaspoons of the mixture under the skin of each thigh and spread it evenly over the meat under the skin. Use the remaining butter mixture to spread over the top of each thigh.
- Preheat the air fryer to 400°F (if your model requires preheating).
- Lightly grease the air fryer basket if your model recommends it, then arrange the thighs in a single layer skin side up without overlapping.
- Air fry at 400°F for 14–16 minutes, or until the skin is golden brown and an instant-read thermometer inserted into the thickest part of a thigh (avoiding bone) registers 165°F.
- Remove the thighs from the air fryer and let rest a few minutes before serving.
Notes
Serve these thighs with ranch dipping sauce on the side for an extra ranchy treat.