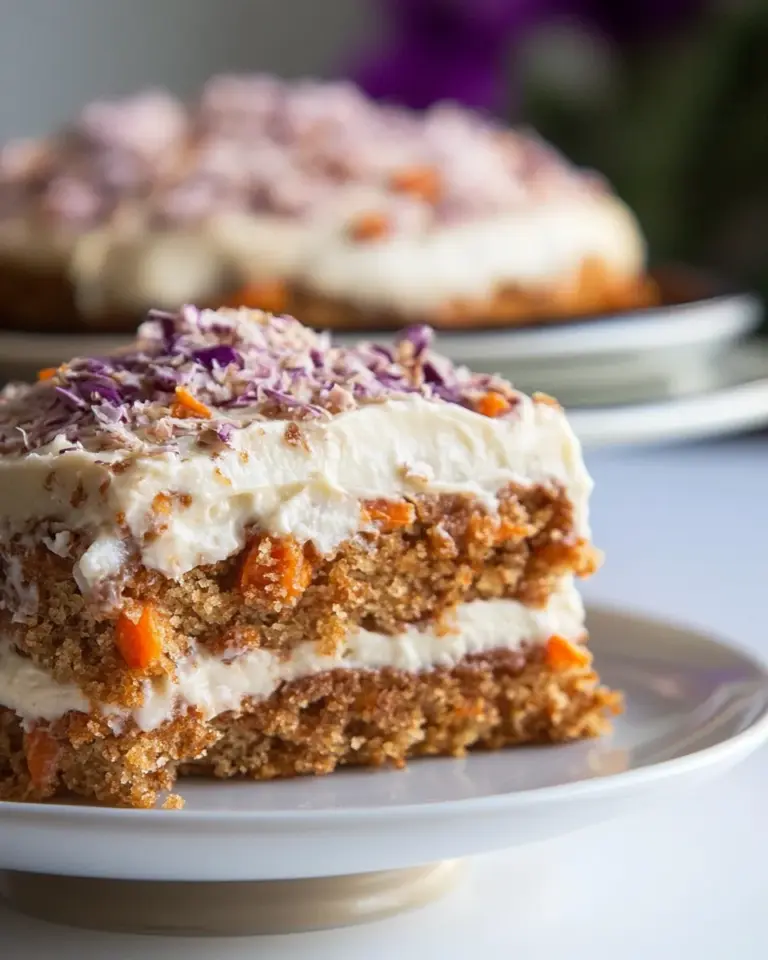
Apple Butter Layered Snack Cake
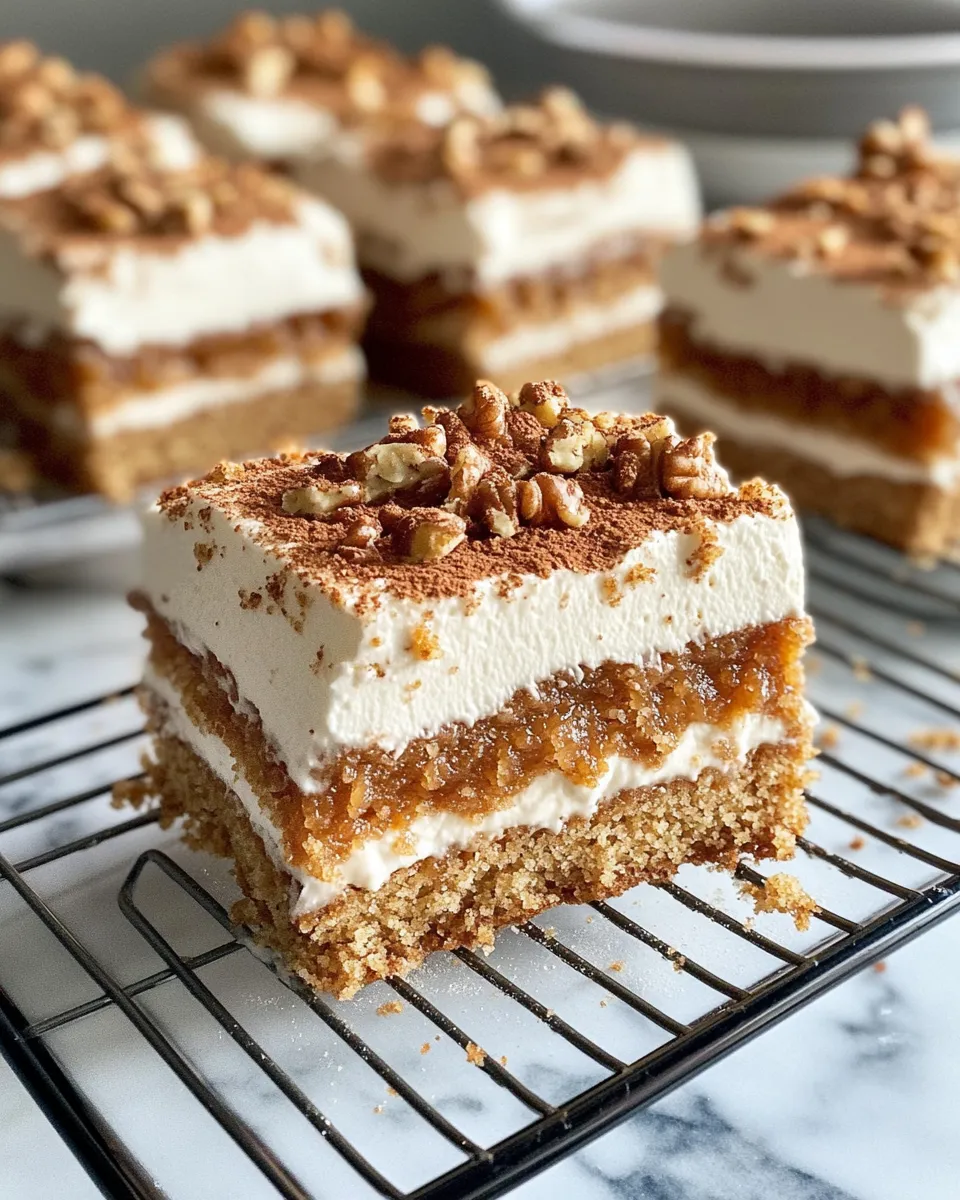
There’s something truly magical about the combination of warm spices and rich apple butter in a dessert that’s both comforting and delightfully indulgent. The Apple Butter Layered Snack Cake is exactly that—a moist, flavorful cake that’s perfect for any time you crave a sweet, cozy treat. This recipe layers tender cake with creamy frosting, creating a snack cake that’s as elegant as it is easy to make. Whether you’re enjoying a slice with your afternoon tea or bringing it to a gathering, this cake is guaranteed to impress without any fuss.
The Upside of Apple Butter Layered Snack Cake
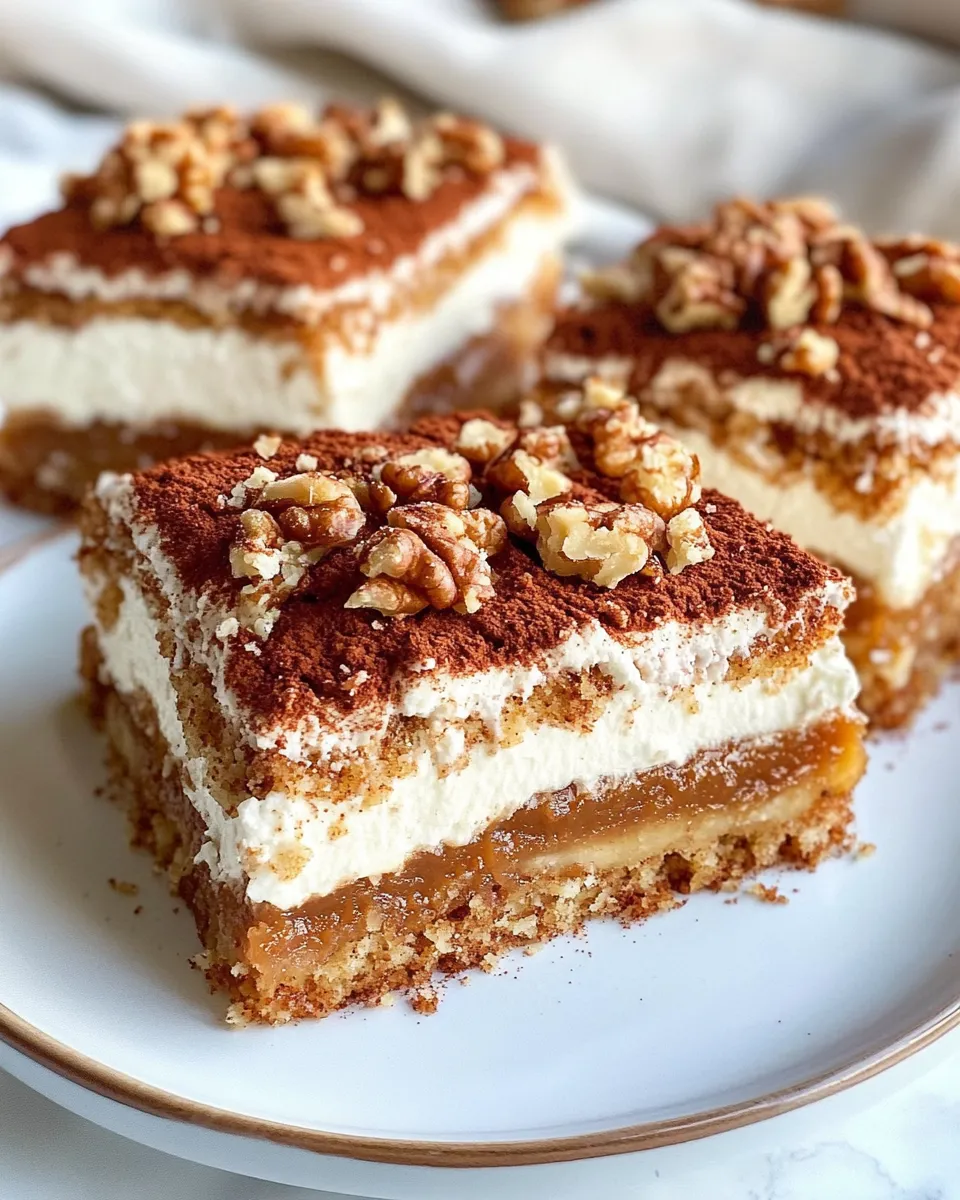
What sets this Apple Butter Layered Snack Cake apart is its incredible balance of flavors and textures. The cake layers are infused with the warmth of cinnamon and nutmeg, complemented by the deep, fruity richness of apple butter. The cream cheese frosting adds a tangy sweetness that’s just right, without overpowering the spices. Plus, the optional chopped walnuts add a delightful crunch that contrasts perfectly with the soft crumb. It’s a snack cake that feels both luxurious and homey, making it a go-to for cozy fall afternoons or year-round indulgence.
This layered cake is easy to slice into perfect portions, making it an ideal treat to share or keep all to yourself. The ingredients are straightforward and pantry-friendly, and the steps are simple enough for even novice bakers to master. If you’re a fan of other apple-inspired desserts, you might want to check out the Apple Bread Pudding With Caramel Sauce or the irresistible Caramel Apple Hand Pies.
Gather These Ingredients
- 2 cups all-purpose flour
- 1 cup granulated sugar
- 1 teaspoon baking powder
- 1 teaspoon baking soda
- 1/2 teaspoon salt
- 1 teaspoon ground cinnamon
- 1/2 teaspoon ground nutmeg
- 1/2 cup unsalted butter, softened
- 2 large eggs
- 1 cup buttermilk (or substitute with 1 cup milk + 1 tablespoon lemon juice, let sit for 5 minutes)
- 1 cup apple butter
- 1/2 cup chopped walnuts (optional)
- 1 cup cream cheese, softened
- 1/4 cup powdered sugar
- 1 teaspoon vanilla extract
Toolbox for This Recipe
- Two 8-inch round cake pans – for even layers
- Mixing bowls – for wet and dry ingredients
- Electric mixer or hand whisk – to cream butter and eggs smoothly
- Measuring cups and spoons – for precise measurements
- Spatula – for folding ingredients gently
- Cooling rack – to cool cakes evenly
- Knife or cake leveler – to trim the cake layers if needed
- Offset spatula or butter knife – for frosting the cake
Mastering Apple Butter Layered Snack Cake: How-To
Step 1: Preheat and Prepare Pans
Preheat your oven to 350°F (175°C). Grease and flour two 8-inch round cake pans, or line them with parchment paper for easy removal. This step ensures your cake layers come out clean and intact.
Step 2: Mix Dry Ingredients
In a medium bowl, whisk together the all-purpose flour, baking powder, baking soda, salt, ground cinnamon, and ground nutmeg. This blend of spices will infuse the cake with that perfect warm aroma and flavor.
Step 3: Cream Butter and Sugar
In a large bowl, use an electric mixer to beat the softened butter and granulated sugar until light and fluffy, about 3-4 minutes. This process traps air in the mixture, making the cake light and tender.
Step 4: Add Eggs and Vanilla
Add the eggs one at a time, mixing well after each addition. Then stir in the vanilla extract. The eggs help bind the cake, while vanilla adds a subtle sweet fragrance.
Step 5: Alternate Adding Dry Ingredients and Buttermilk
Add the dry ingredient mixture in three parts, alternating with the buttermilk in two parts. Begin and end with the dry ingredients. Mix each addition just until combined—overmixing can make the cake dense.
Step 6: Fold in Apple Butter and Walnuts
Gently fold in the apple butter and chopped walnuts, if using. The apple butter keeps the cake moist and adds a rich, fruity flavor, while the walnuts provide a lovely crunch.
Step 7: Bake the Cake Layers
Divide the batter evenly between the two prepared pans and smooth the tops. Bake for 25-30 minutes, or until a toothpick inserted in the center comes out clean. Let the cakes cool in the pans for 10 minutes before transferring to a wire rack to cool completely.
Step 8: Prepare the Cream Cheese Frosting
In a clean bowl, beat the softened cream cheese with powdered sugar and vanilla extract until smooth and creamy. This frosting is the perfect balance of tangy and sweet, pairing beautifully with the spiced cake.
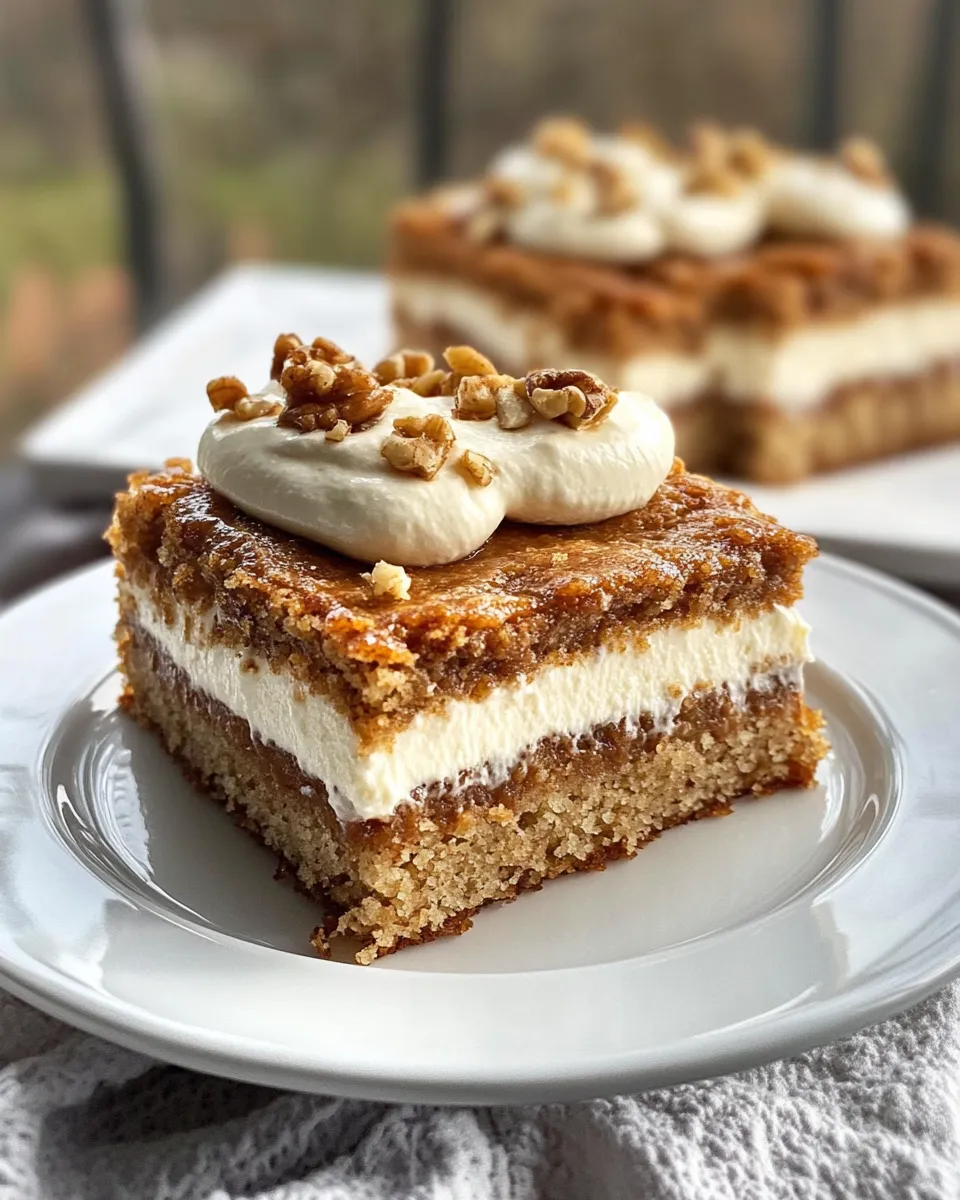
Step 9: Assemble the Cake
Place one cake layer on your serving plate. Spread a generous layer of cream cheese frosting on top. Add the second cake layer and frost the top and sides of the cake evenly.
Step 10: Chill and Serve
For best results, refrigerate the cake for at least 30 minutes before slicing. This helps the frosting set nicely. Serve with a cup of tea or coffee and enjoy every bite of your homemade Apple Butter Layered Snack Cake.
Tailor It to Your Diet
- Nut-free: Simply omit the walnuts or replace with seeds like pumpkin or sunflower seeds.
- Dairy substitute: Use plant-based butter and cream cheese alternatives, and substitute buttermilk with almond or soy milk mixed with lemon juice.
- Lower sugar: Reduce granulated sugar by 1/4 cup and adjust powdered sugar in frosting to taste.
- Gluten-free: Substitute all-purpose flour with a 1:1 gluten-free baking blend for a similar texture.
If You’re Curious
Wondering why apple butter works so well in this recipe? Apple butter is a concentrated form of cooked apples blended with spices, which adds moisture and a deep apple flavor without extra liquid. This makes your cake rich and flavorful without being soggy.
For an extra twist, try swirling in some melted dark chocolate into the batter or frosting for a decadent touch. Or, if you love experimenting, check out the Chocolate Swirl Apple Butter Bread for more inspiration.
Leftovers & Meal Prep
This Apple Butter Layered Snack Cake keeps beautifully covered at room temperature for up to two days. For longer storage, refrigerate it in an airtight container for up to five days. Before serving, let it sit at room temperature for about 20 minutes for the best texture and flavor.
Want to prep ahead? Bake the cake layers a day or two before assembling. Wrap them tightly in plastic wrap and store in the fridge. Make the frosting fresh on the day you serve to keep it creamy and smooth.
Questions People Ask
Can I make this cake without cream cheese frosting?
Absolutely! You can swap the cream cheese frosting for a simple vanilla buttercream, whipped cream, or even a dusting of powdered sugar for a lighter option. The cake itself is flavorful enough to stand on its own.
Is it possible to make this recipe vegan?
Yes, by using plant-based butter, a vegan cream cheese substitute, flax eggs or other egg replacements, and non-dairy milk with vinegar as a buttermilk substitute, you can create a delicious vegan-friendly version of this snack cake.
What is the best way to store this cake?
Store the cake in an airtight container in the refrigerator for up to five days. If you want to keep it longer, you can freeze the cake layers (without frosting) wrapped tightly in plastic wrap and foil for up to three months.
Can I add other nuts or dried fruit?
Definitely! Pecans, almonds, or even dried cranberries or raisins can be folded into the batter to add texture and bursts of flavor. Just keep the quantity similar to the original walnut measurement to maintain the cake’s balance.
That’s a Wrap
Creating the perfect Apple Butter Layered Snack Cake is a rewarding experience that brings a little warmth and sweetness into your kitchen. With its tender crumb, rich apple butter flavor, and creamy frosting, this snack cake is a delightful way to celebrate the flavors of fall or any season you crave comfort food. Whether you’re sharing with friends, gifting to loved ones, or simply treating yourself, this recipe is sure to become a favorite in your baking repertoire. So gather your ingredients, roll up your sleeves, and bake your way to a delicious slice of happiness.
Share on Pinterest
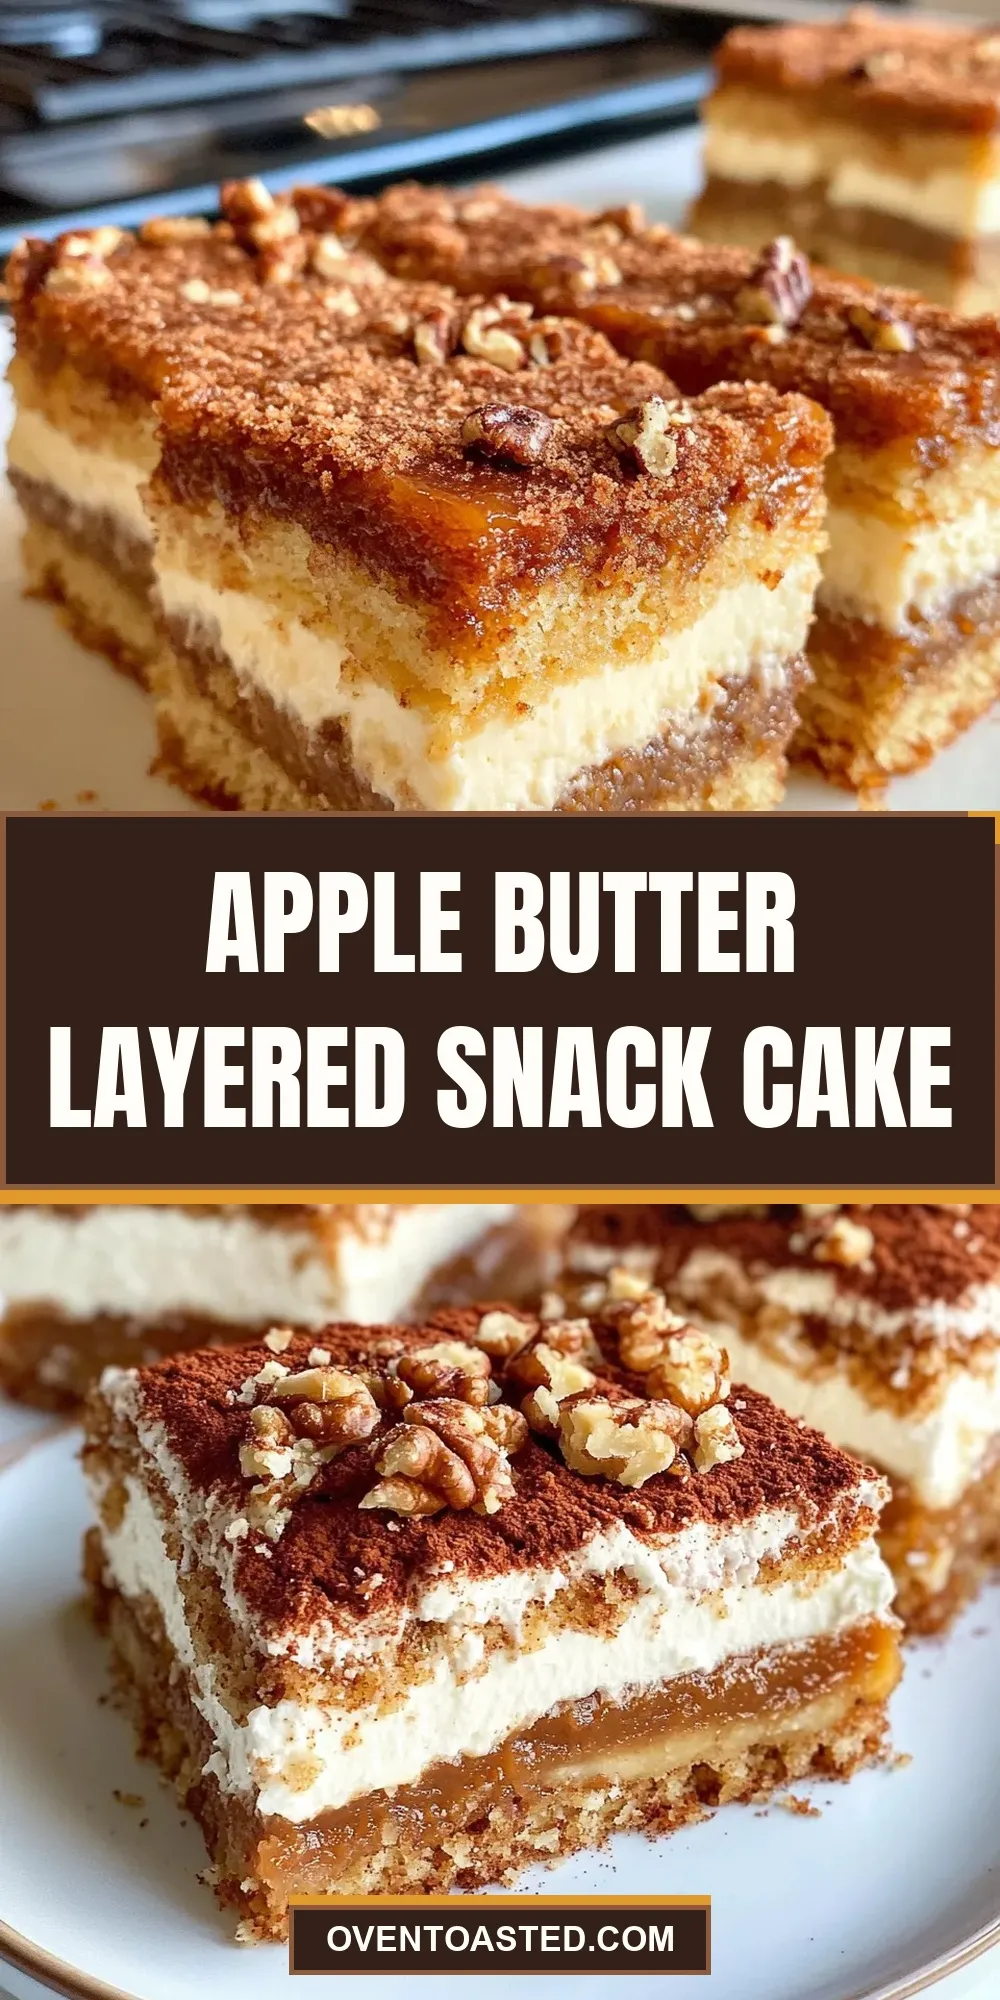
Apple Butter Layered Snack Cake
Ingredients
Equipment
Method
- Preheat your oven to 350°F (175°C). Grease and flour two 8-inch round cake pans, or line them with parchment paper for easy removal.
- In a medium bowl, whisk together the all-purpose flour, baking powder, baking soda, salt, ground cinnamon, and ground nutmeg.
- In a large bowl, use an electric mixer to beat the softened butter and granulated sugar until light and fluffy, about 3-4 minutes.
- Add the eggs one at a time, mixing well after each addition. Then stir in the vanilla extract.
- Add the dry ingredient mixture in three parts, alternating with the buttermilk in two parts. Begin and end with the dry ingredients. Mix each addition just until combined.
- Gently fold in the apple butter and chopped walnuts, if using.
- Divide the batter evenly between the two prepared pans and smooth the tops. Bake for 25-30 minutes, or until a toothpick inserted in the center comes out clean. Let the cakes cool in the pans for 10 minutes before transferring to a wire rack to cool completely.
- In a clean bowl, beat the softened cream cheese with powdered sugar and vanilla extract until smooth and creamy.
- Place one cake layer on your serving plate. Spread a generous layer of cream cheese frosting on top. Add the second cake layer and frost the top and sides of the cake evenly.
- Refrigerate the cake for at least 30 minutes before slicing to help the frosting set nicely. Serve and enjoy.
Notes
- Omit walnuts or substitute with seeds for a nut-free version.
- Use plant-based butter, cream cheese, and milk substitutes to make this cake vegan-friendly.
- Reduce sugar amounts to lower the sweetness if desired.
- Substitute gluten-free flour blend to make the cake gluten-free.
- Store leftovers covered at room temperature for 2 days or refrigerated for up to 5 days.