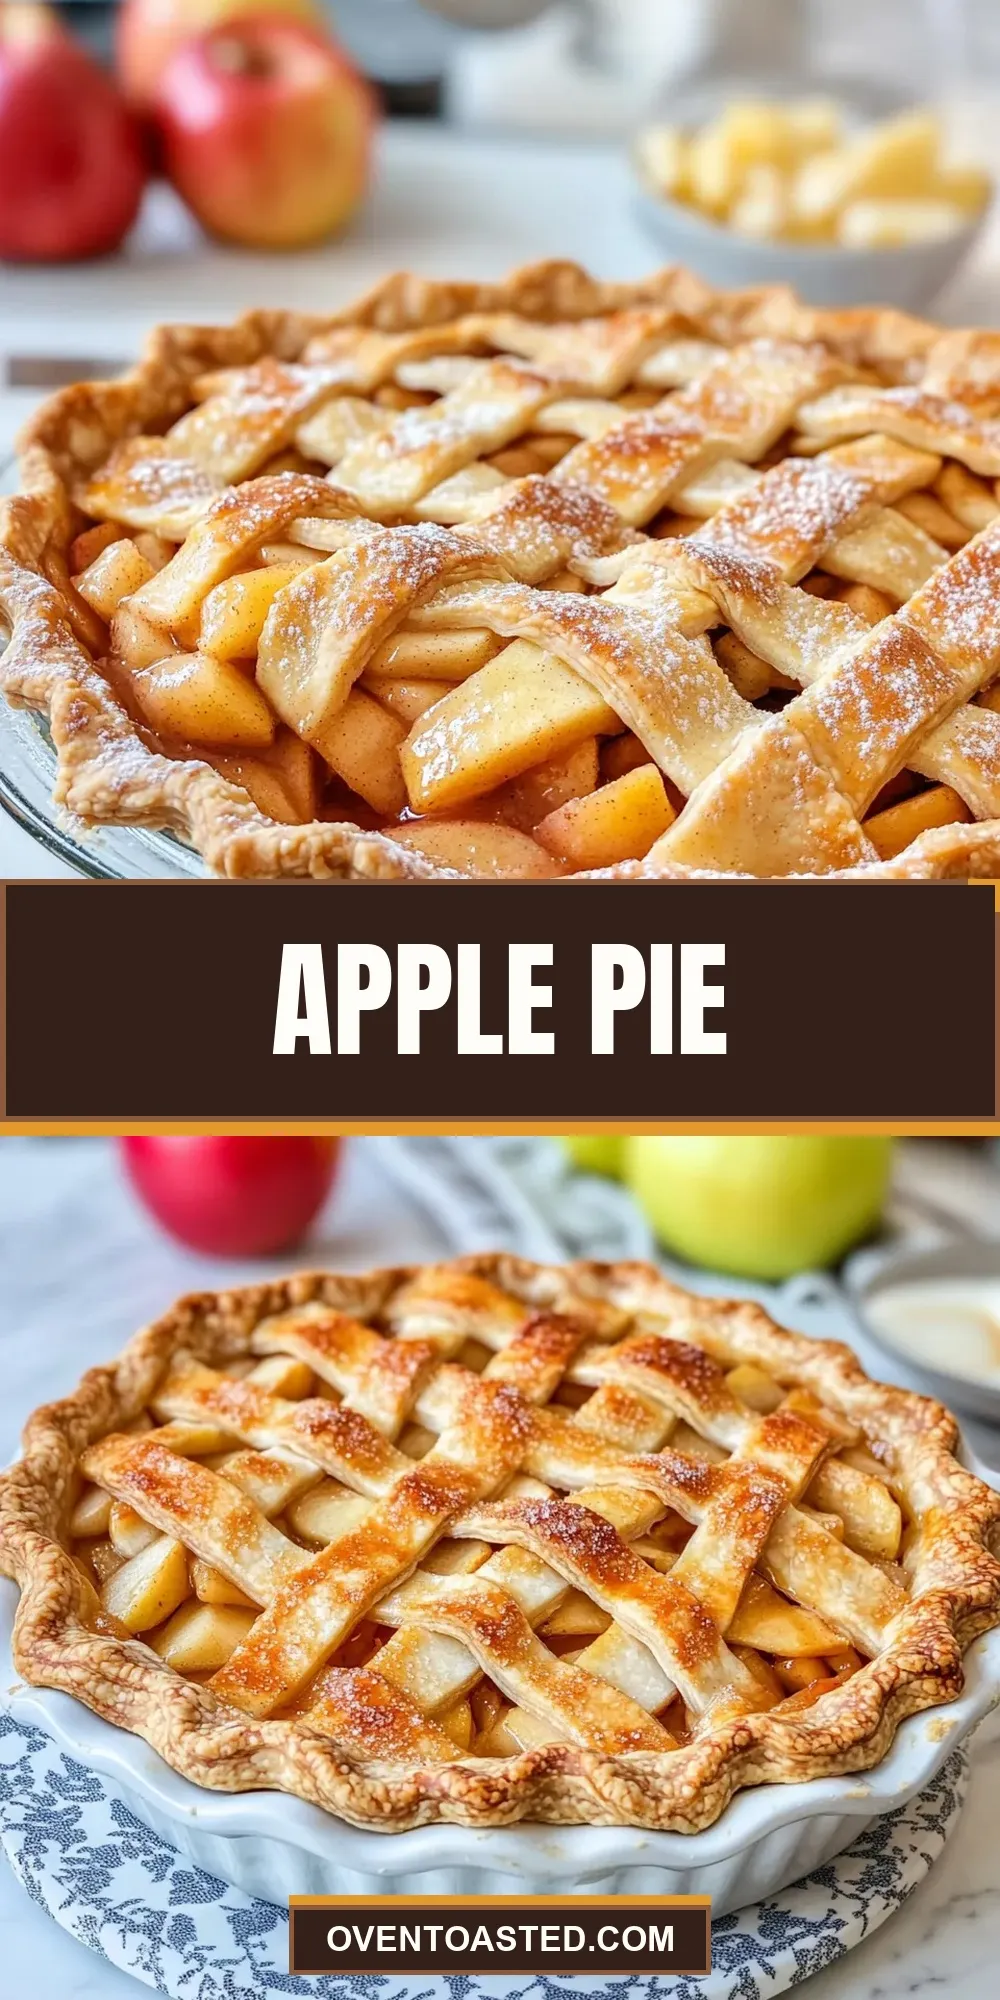
Apple Pie
There are recipes that make you feel like you’re carrying on a tradition, and this apple pie is one of them. It’s honest, unfussy, and reliably comforting. I turn to it when I want a classic dessert that tastes like a warm kitchen and a slow afternoon.
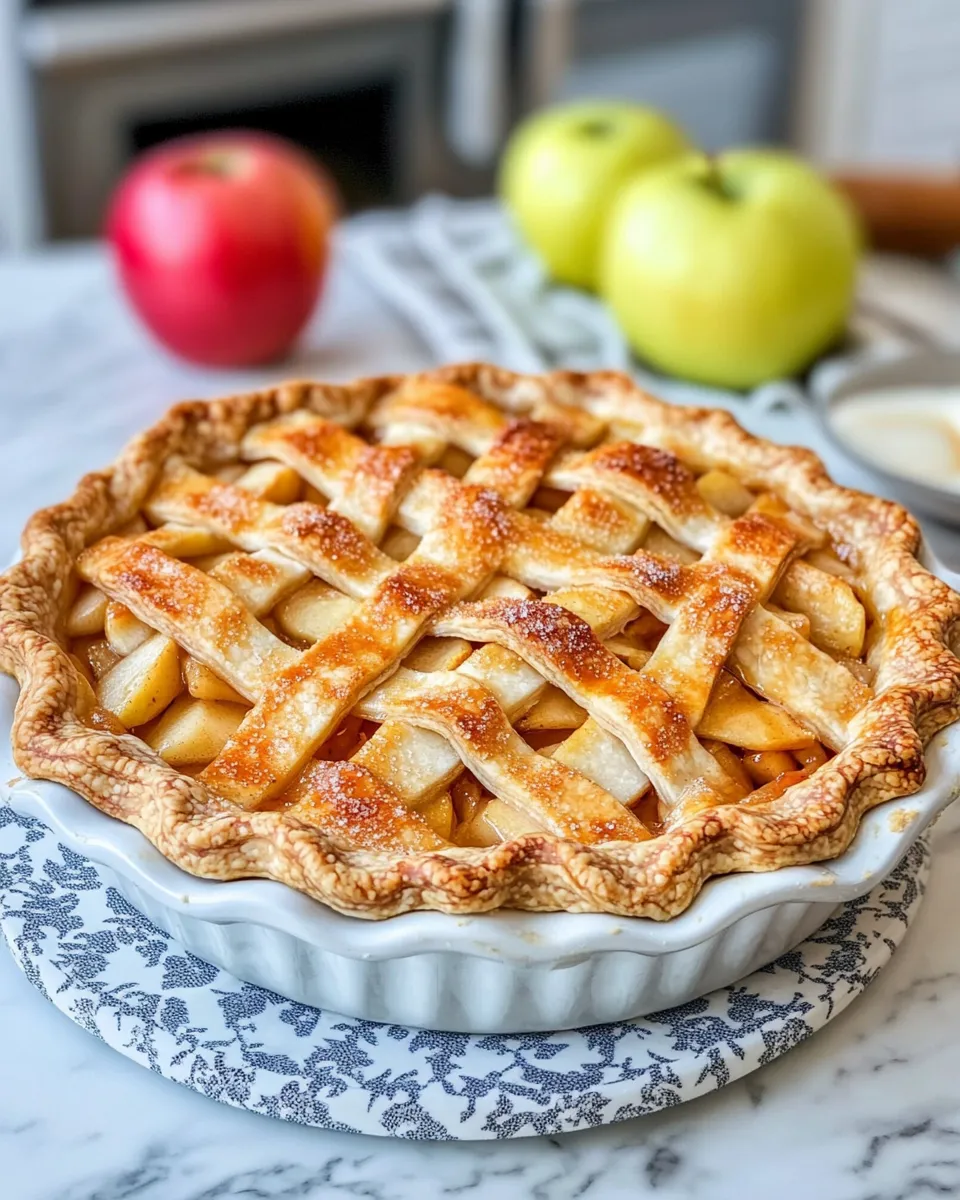
You’ll find this version leans on texture: a flaky all-butter crust and a filling that’s saucy enough to bubble without drowning the apples. The method is straightforward, but the details matter — chilling the dough, a quick flour-based sauce to thicken the filling, and a lattice top for that picture-perfect finish.
I write this as someone who bakes regularly for friends and family. The instructions below are practical and tested; they aim to help you get the best result with clear steps and sensible tips. If you love an apple pie that slices cleanly and still has a tender, saucy interior, this is the one to keep in your repertoire.
What You’ll Gather
Ingredients
- 1 all butter double pie crust — use a chilled all-butter crust; the recipe link is part of the source ingredients.
- 1 stick (½ cup) unsalted butter — melted for the filling sauce; unsalted lets you control seasoning.
- ¼ cup all purpose flour — thickens the sauce so the filling isn’t runny.
- ¼ cup water — combines with the butter and sugars to form the sauce.
- ¼ cup granulated sugar — adds sweetness and helps the sauce caramelize slightly.
- ¼ cup dark brown sugar, packed — brings depth and a molasses note to the filling.
- 1 teaspoon pure vanilla extract — brightens the flavor of the sauce.
- 7–8 Honeycrisp apples (about 3 lb), peeled, cored, and thinly sliced — Honeycrisp gives a nice balance of sweet-tart flavor and firm texture.
- 1½ teaspoons ground cinnamon — primary warming spice for the filling.
- ?? teaspoon ground ginger — listed spice to add a bit of zing.
- ?? teaspoon ground nutmeg — listed spice for warmth and complexity.
- ¼ teaspoon salt — balances sweetness and enhances apple flavor.
- 1 egg, beaten with 1 tablespoon water for egg wash — egg wash for brushing the crust and lattice.
- ½ tablespoon coarse sanding sugar — sprinkled on top for sparkle and crunch.
Apple Pie: Step-by-Step Guide
- Prepare your all-butter double pie crust according to your recipe and refrigerate the dough for at least 1 hour.
- Lightly flour a work surface. Roll out half of the chilled dough into a 12-inch circle. Fit it into a 9-inch pie dish, letting the dough hang slightly over the edge. Trim any large overhang, leaving about 1/2 inch beyond the rim.
- In a small bowl, beat 1 egg with 1 tablespoon water to make the egg wash. Brush a thin layer of egg wash over the interior and rim of the fitted bottom crust. Place the pie shell in the refrigerator while you prepare the filling. Reserve the remaining egg wash for the top of the pie.
- Preheat the oven to 425°F (220°C).
- Make the filling sauce: place a medium saucepan over medium heat and melt 1 stick (½ cup) unsalted butter. Whisk in ¼ cup all-purpose flour and cook, whisking constantly, for 1 minute.
- Add ¼ cup water, ¼ cup granulated sugar, and ¼ cup dark brown sugar to the pan. Stir to combine, bring the mixture to a boil, then reduce the heat to low and simmer for about 3 minutes, stirring occasionally. Remove from heat and stir in 1 teaspoon pure vanilla extract. Set the sauce aside to cool slightly.
- In a small bowl, whisk together the spices and salt listed in the Ingredients: 1½ teaspoons ground cinnamon, the listed amount of ground ginger, the listed amount of ground nutmeg, and ¼ teaspoon salt.
- Place the 7–8 peeled, cored, thinly sliced Honeycrisp apples (about 3 lb) in a large bowl. Sprinkle the spice-salt mixture over the sliced apples and stir with a wooden spoon or spatula until the apples are evenly coated.
- Pour the slightly cooled sauce over the spiced apples and stir until the apples are evenly coated with the sauce.
- Transfer the apple filling into the prepared pie shell, piling it slightly toward the center but keeping it level with the rim.
- Roll out the second half of the chilled dough into a 12-inch circle on a floured surface. Use a pastry wheel, pizza cutter, or sharp knife to cut the dough into strips about 1¼ inches wide. Create a lattice top by laying half the strips across the pie, then weaving the remaining strips perpendicular, alternating over and under. Trim excess dough and crimp or flute the edges to seal.
- Brush the lattice and crust edge with the reserved egg wash. Sprinkle ½ tablespoon coarse sanding sugar evenly over the top.
- Bake the pie at 425°F (220°C) for 20 minutes. Then reduce the oven temperature to 375°F (190°C) and bake for an additional 30 minutes, or until the crust is golden and the filling is bubbling.
- Remove the pie from the oven and let it cool on a rack for at least 3 hours before slicing and serving.
Why It’s My Go-To
This recipe balances structure and flavor. The all-butter crust brings a tender, flaky texture that doesn’t collapse under a saucy filling. The flour-thickened sauce gives a glossy coating to the apples so each slice holds together without being syrupy.
I reach for this pie when I want something reliably polished but not finicky. The technique is straightforward, and the results are consistent: a golden crust, a warm apple aroma that fills the house, and a filling that holds up for neat slices.
Ingredient Flex Options
Keep the spirit, change the accents. A few safe swaps when you need them:
- Apples: If Honeycrisp aren’t available, choose other firm varieties like Granny Smith, Braeburn, or Pink Lady. Combine sweet and tart apples for better depth.
- Sugars: You can adjust sweetness by reducing granulated sugar slightly if you prefer a tarter pie. Dark brown sugar adds molasses notes; light brown is a milder substitute.
- Spices: The recipe lists cinnamon, ginger, and nutmeg. Feel free to increase cinnamon by a small amount or add a pinch of cloves for holiday warmth. Follow the listed spice framework to maintain balance.
- Crust: The recipe calls for an all-butter crust for flavor and flakiness. If you must, a half-butter, half-shortening crust will be slightly more forgiving but different in flavor.
Appliances & Accessories
Tools make the process smoother. You don’t need fancy equipment, but a few helpers reduce friction:
- Rolling pin: For rolling the crust to an even 12-inch circle.
- 9-inch pie dish: Standard size for this dough and filling volume.
- Pastry wheel, pizza cutter, or sharp knife: To cut even lattice strips.
- Medium saucepan: For the butter-flour sauce base.
- Wire rack: For cooling the pie and letting the filling set.
Easy-to-Miss Gotchas
These small details make the difference between good and excellent.
- Chill the dough: Warm dough is sticky and tears. At least an hour in the fridge firms it up for rolling and shaping.
- Thin slices: Slice the apples thinly and evenly so they cook uniformly. Uneven pieces lead to some apples underdone while others are mushy.
- Don’t skip the sauce simmer: That brief simmer and whisking of flour into melted butter is what prevents a watery pie. Let it cool slightly before adding to apples so it doesn’t cook them.
- Watch the temperature drop: Start at high heat to set the crust, then lower it to finish baking through without burning the edge.
- Cool for at least 3 hours: Resist the urge to slice too soon. The filling needs time to set; otherwise you’ll get a runny slice.
Holiday-Friendly Variations
For festive occasions, small adjustments turn this classic into something celebratory.
- Spiced Holiday Pie: Increase warm spices slightly and add a pinch of ground cloves or allspice for a holiday aroma.
- Maple-Enhanced Filling: Substitute part of the brown sugar with a tablespoon of maple syrup mixed into the sauce for a rich, autumnal note.
- Decorative Top: Swap the lattice for cut-out shapes (leaves, stars) made from the second crust for a pretty presentation.
- Nuts: Scatter a thin layer of toasted pecans under the filling for crunch and nutty warmth, if you like a texture contrast.
Little Things that Matter
Pay attention to small steps. They often create the biggest payoff.
- Egg wash thinness: Beat the egg with a tablespoon of water as instructed. Too much liquid will run; a thin, even wash gives a glossy, golden finish.
- Sanding sugar timing: Add the coarse sugar just before baking so it stays sparkly rather than dissolving into the crust.
- Lattice spacing: Make strips even and weave them tightly enough to support the filling but not so tight that steam can’t escape.
Storage & Reheat Guide
Keep the pie covered loosely at room temperature for up to two days to preserve crust texture. For longer storage, wrap tightly and refrigerate for up to four days.
To reheat slices, place on a baking sheet and warm in a 350°F (175°C) oven for 10–12 minutes. This revives the crust without overcooking the filling. If reheating from chilled, add a few extra minutes. For frozen pies, thaw overnight in the fridge, then reheat as above.
Frequently Asked Questions
Can I use a store-bought crust? Yes. The recipe calls for an all-butter crust for best flavor and texture, but a quality store-bought crust will work in a pinch.
What if my filling is too runny after baking? Let the pie cool for the full 3 hours; most runniness resolves as the sauce sets. If it remains thin, next time ensure the butter-and-flour sauce simmers long enough and cools slightly before coating the apples.
Can I make the pie ahead? Assemble the pie and refrigerate for a few hours before baking, or freeze it unbaked (wrapped) for up to one month. Bake from frozen with a slightly longer baking time, watching for a golden crust and bubbling filling.
In Closing
This apple pie is straightforward, dependable, and deeply comforting. It rewards the little attentions — chilling dough, whisking the sauce, and letting the pie rest — with tidy slices and full-flavored filling. Bake it for a casual weekend dessert or for holiday company; either way, it brings warmth to the table.
If you try it, give the crust time to chill and the filling time to set. Those two moments of patience will change the result from good to memorable. Happy baking.

Apple Pie
Ingredients
Equipment
Method
- Prepare your all-butter double pie crust according to your recipe and refrigerate the dough for at least 1 hour.
- Lightly flour a work surface. Roll out half of the chilled dough into a 12-inch circle. Fit it into a 9-inch pie dish, letting the dough hang slightly over the edge. Trim any large overhang, leaving about 1/2 inch beyond the rim.
- In a small bowl, beat 1 egg with 1 tablespoon water to make the egg wash. Brush a thin layer of egg wash over the interior and rim of the fitted bottom crust. Place the pie shell in the refrigerator while you prepare the filling. Reserve the remaining egg wash for the top of the pie.
- Preheat the oven to 425°F (220°C).
- Make the filling sauce: place a medium saucepan over medium heat and melt 1 stick (½ cup) unsalted butter. Whisk in ¼ cup all-purpose flour and cook, whisking constantly, for 1 minute.
- Add ¼ cup water, ¼ cup granulated sugar, and ¼ cup dark brown sugar to the pan. Stir to combine, bring the mixture to a boil, then reduce the heat to low and simmer for about 3 minutes, stirring occasionally. Remove from heat and stir in 1 teaspoon pure vanilla extract. Set the sauce aside to cool slightly.
- In a small bowl, whisk together the spices and salt listed in the Ingredients: 1½ teaspoons ground cinnamon, the listed amount of ground ginger, the listed amount of ground nutmeg, and ¼ teaspoon salt.
- Place the 7–8 peeled, cored, thinly sliced Honeycrisp apples (about 3 lb) in a large bowl. Sprinkle the spice-salt mixture over the sliced apples and stir with a wooden spoon or spatula until the apples are evenly coated.
- Pour the slightly cooled sauce over the spiced apples and stir until the apples are evenly coated with the sauce.
- Transfer the apple filling into the prepared pie shell, piling it slightly toward the center but keeping it level with the rim.
- Roll out the second half of the chilled dough into a 12-inch circle on a floured surface. Use a pastry wheel, pizza cutter, or sharp knife to cut the dough into strips about 1¼ inches wide. Create a lattice top by laying half the strips across the pie, then weaving the remaining strips perpendicular, alternating over and under. Trim excess dough and crimp or flute the edges to seal.
- Brush the lattice and crust edge with the reserved egg wash. Sprinkle ½ tablespoon coarse sanding sugar evenly over the top.
- Bake the pie at 425°F (220°C) for 20 minutes. Then reduce the oven temperature to 375°F (190°C) and bake for an additional 30 minutes, or until the crust is golden and the filling is bubbling.
- Remove the pie from the oven and let it cool on a rack for at least 3 hours before slicing and serving.
Notes
Taste the apples, as you may want to add more sugar if they aren’t particularly sweet. This recipe was developed using very sweet Honeycrisp apples.
If you don’t want to make alattice crust, you can add a solid crust to the top of the pie instead. Just be sure that you cut holes to allow steam to vent from the top.
Be sure to let the pie cool completely before serving it. Pie that is fresh from the oven is much too hot to enjoy!
For best results, serve apple pie a la mode, with a generous scoop of vanilla ice cream on top.
To Store:Once baked and cooled, you may keep the pie covered, on the counter,at room temperature for up to 2 days. I suggest using a pie orcake dome, or apie pan that comes with a cover. Apple pie can also be stored in the fridge for up to 3 days.
To Freeze:An unbaked apple pie can be wrapped in plastic wrap, then with foil, and stored in the freezer for up to a month. A baked pie can also be stored the same way.
To Bake a Frozen Pie:If the pie is unbaked, unwrap it, and bake it from frozen as directed here, but add about 15 minutes to the baking time. If the pie has already been baked, let it thaw overnight in the fridge or at room temperature, then bake at 350°F for 15 minutes to get the top crispy again.