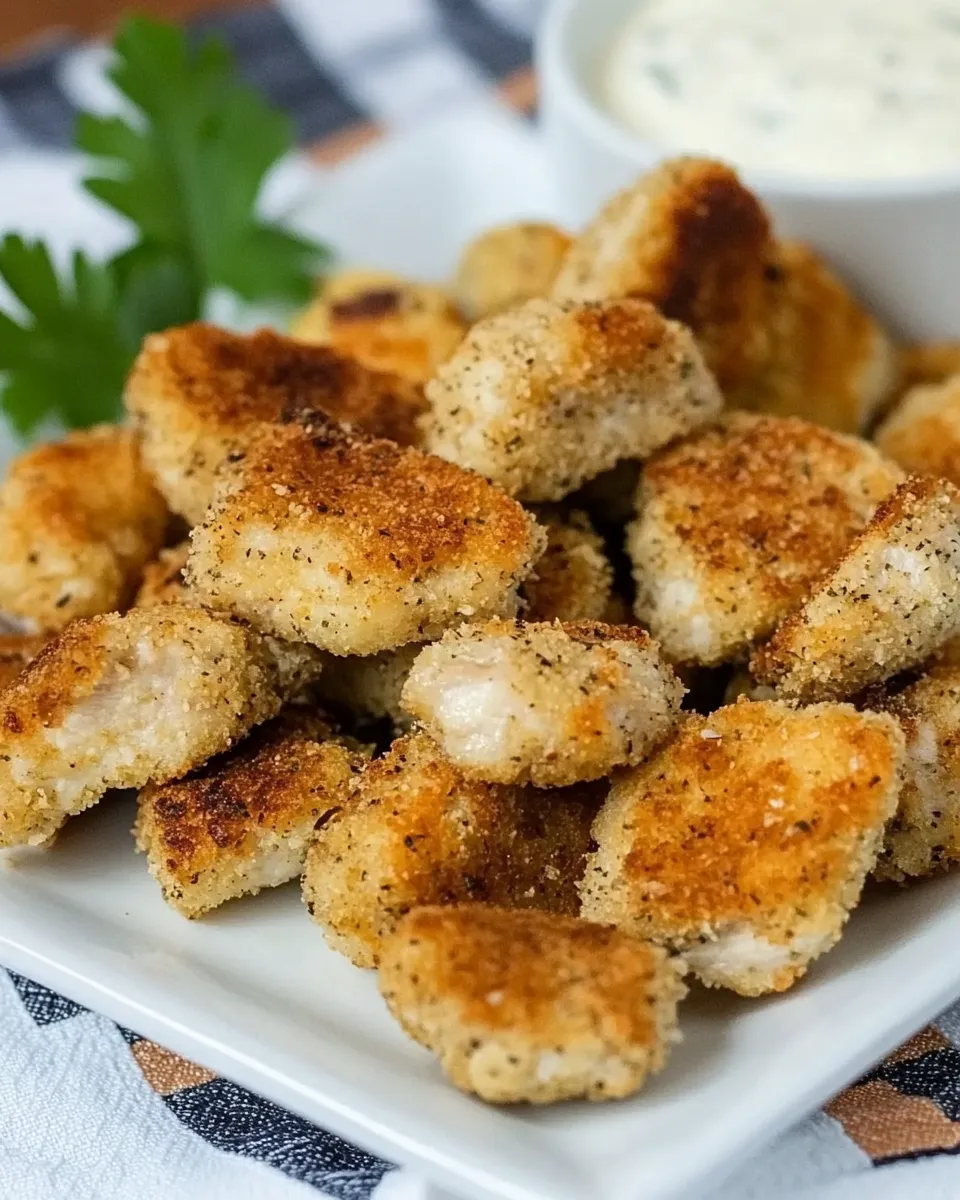
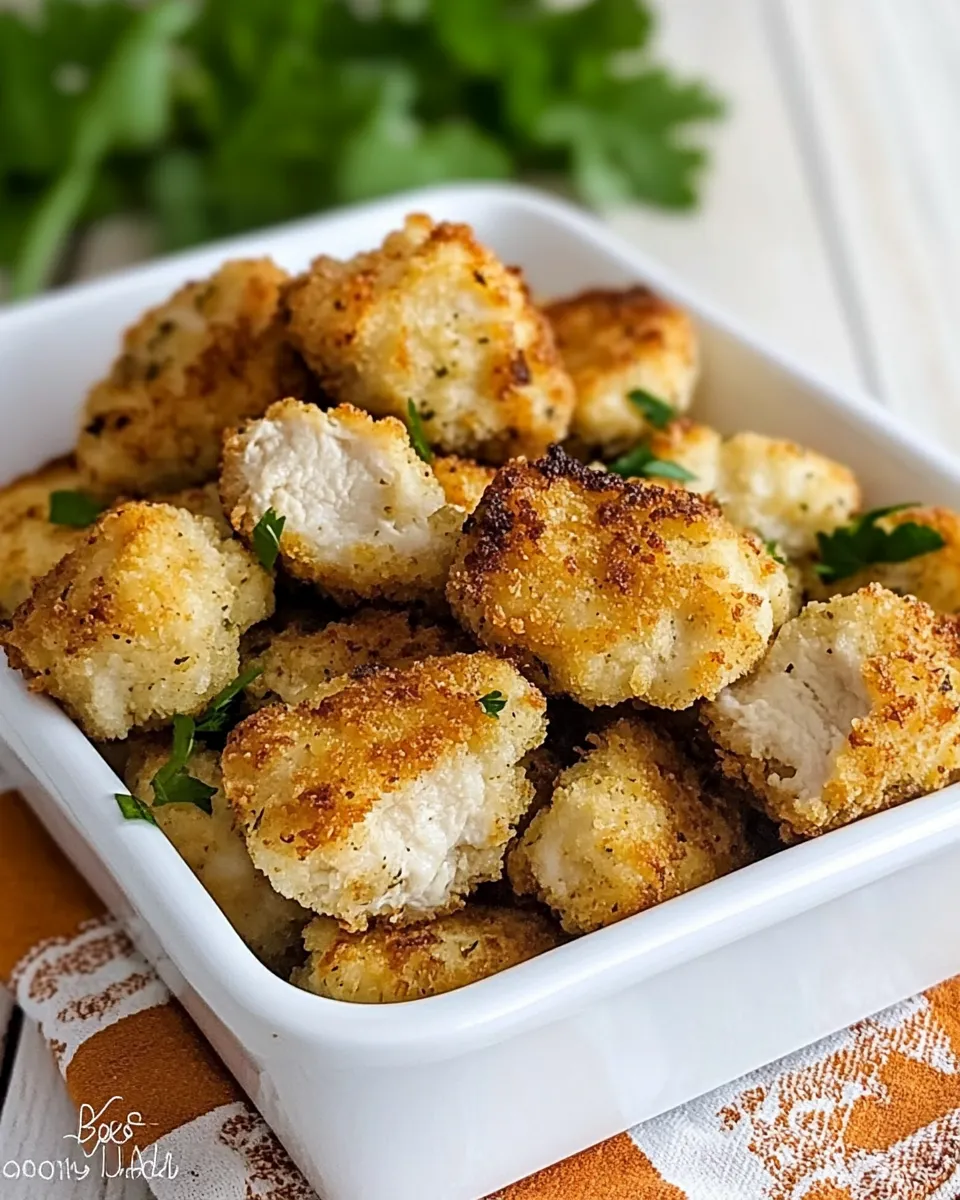
Baked Chicken Nuggets
I make these baked chicken nuggets when I want something crunchy, simple, and just a little bit better for us than deep-fried. They’re straightforward to pull together with pantry staples and a single egg to glue that golden panko crust in place. The result is a kid-friendly, adult-approved bite that holds up well for dipping and snacking.
There’s no complicated batter, no standing over a fryer, and no mystery ingredients. You get the crisp of breadcrumbs, the flavor lift from garlic powder and Italian herbs, and moist chicken inside. Small tweaks make these work for lunchboxes, quick dinners, or a casual party platter.
Below I walk you through the exact ingredients, step-by-step baking method, swaps, common pitfalls, storage notes, and my personal tips so you can get reliably crispy results every time.
What You’ll Need
Ingredients
- 1 egg — acts as the binder so the panko sticks to the chicken.
- 3/4 cup panko crumbs, white or wheat — provides the crisp, flaky coating.
- 1 teaspoon garlic powder — adds savory depth without fresh garlic labor.
- 1 teaspoon Italian herbs — a simple herb blend for balanced flavor.
- 1/2 teaspoon kosher salt — seasons the coating so each bite tastes complete.
- 2 boneless, skinless chicken breasts, cut into chunks — the protein; cut into even pieces for uniform cooking.
- cooking oil spray — helps the coating brown in the oven and keeps nuggets crisp.
Stepwise Method: Baked Chicken Nuggets
- Preheat the oven to 400°F. Line a baking sheet with parchment paper or lightly oil the sheet.
- Crack the egg into a shallow bowl and beat until smooth.
- In a separate shallow bowl, combine the 3/4 cup panko crumbs, 1 teaspoon garlic powder, 1 teaspoon Italian herbs, and 1/2 teaspoon kosher salt; stir to mix evenly.
- Working with one piece at a time, dip a chicken chunk into the beaten egg, turning to coat completely, then transfer it to the panko mixture. Press the breadcrumbs onto all sides of the chicken so it is fully coated. Repeat until all chicken pieces are coated.
- Arrange the coated chicken pieces on the prepared baking sheet in a single layer with a little space between each piece.
- Lightly spray each nugget with cooking oil spray.
- Bake in the preheated oven for 18–20 minutes, flipping once about halfway through for even browning, until the coating is golden and the chicken is cooked through (internal temperature 165°F or juices run clear).
- Remove from the oven and let the nuggets rest for 1–2 minutes before serving.
What Sets This Recipe Apart
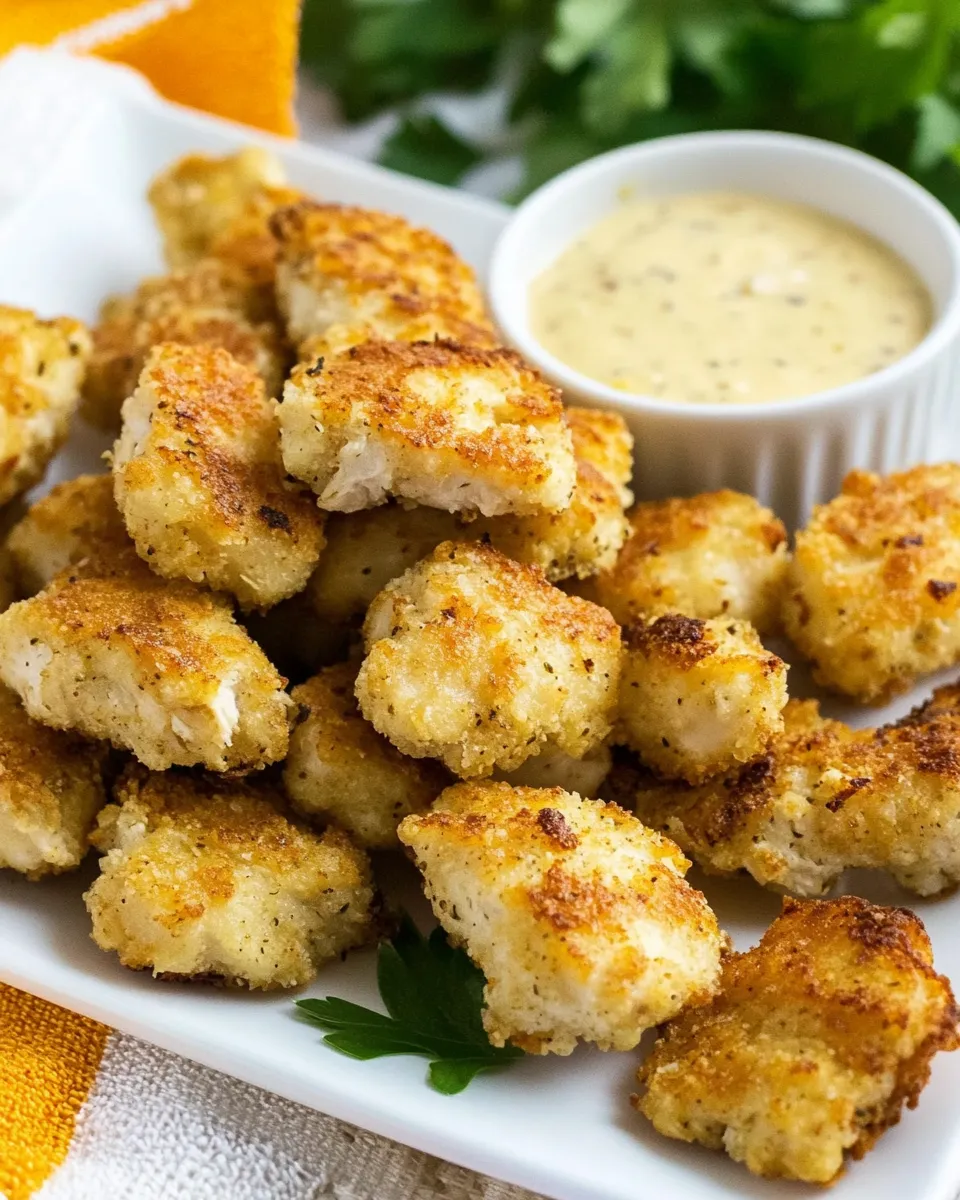
These nuggets are built around a focused, no-fuss approach: one egg, a seasoned panko blend, and a short bake at 400°F. That simplicity is the strength. Panko gives a flakier, lighter crunch than regular breadcrumbs, and the short bake keeps the chicken juicy inside while the exterior crisps up.
Unlike batter-fried nuggets, this method requires minimal active time and a single pan — less oil, less cleanup, and an easy route to a crispy finish when you use a quick spray of oil. The seasoning is modest, which keeps the nuggets adaptable: pair them with any dipping sauce or fold them into a grain bowl or wrap.
Substitutions by Category
Coating
- Regular breadcrumbs — use if you don’t have panko; expect a slightly denser crust.
- Finely crushed cereal (cornflakes) — an option for extra crunch if you have it on hand.
Binder
- Egg alternatives — a thin milk wash can work, though adhesion may be slightly weaker; double-coat if needed.
Seasoning
- Swap garlic powder or Italian herbs with your preferred dried spice blend to match the flavor profile you want.
Protein
- Boneless chicken thighs can be used in place of breasts for a richer, more forgiving result; cut into similar-sized pieces for even cooking.
Toolbox for This Recipe
- Baking sheet — a rimmed sheet is best so nothing slips off when you flip nuggets.
- Parchment paper or nonstick spray — for easy release and cleanup.
- Two shallow bowls — one for the beaten egg, one for the panko mix.
- Tongs or fork — to handle wet and coated pieces without ruining the crust.
- Meat thermometer — quick way to confirm that the internal temperature has reached 165°F.
- Cooking oil spray — promotes browning without pooling oil.
Avoid These Mistakes
Don’t overcrowd the pan. When nuggets sit too close, steam forms and the coating won’t crisp. Give each piece a bit of breathing room.
Don’t skip pressing the panko onto the chicken. A gentle but firm press helps the crumbs adhere so they stay on during baking and flipping. If the coating feels loose, press again before arranging on the sheet.
Don’t skip the flip. Flipping halfway through encourages even browning on both sides. Leaving nuggets unturned can yield uneven color and texture.
Don’t rely solely on appearance to judge doneness. Use a thermometer or check that juices run clear; the safe internal temperature is 165°F.
Fit It to Your Goals
If you’re aiming for a lower-sodium dish, reduce or omit the kosher salt in the panko mix and season the chicken lightly instead. For gluten-free needs, substitute certified gluten-free panko crumbs and confirm any other packaged items are certified.
Want to meal prep? These nuggets reheat well. Bake a double batch, cool completely, and store in the refrigerator for up to four days. They also freeze solid for longer storage — flash-freeze on a sheet, then move to a sealed container or bag.
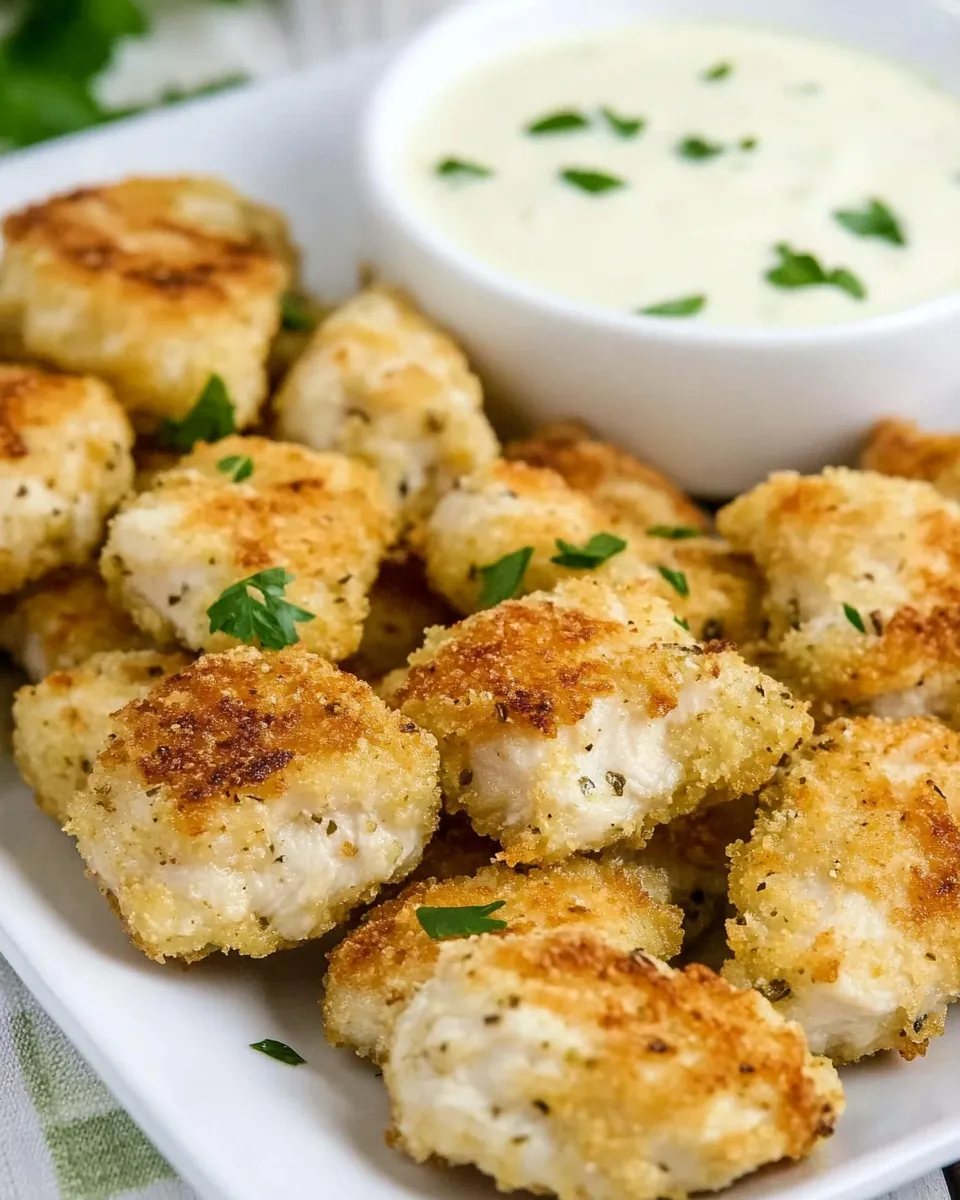
For family dinners, pair with vegetables and a grain for a balanced plate. For snack time, plate a small stack with a trio of dips so everyone can pick their favorite.
Cook’s Commentary
I like to keep the coating simple and let texture do the heavy lifting. That 3/4 cup of panko gives enough coverage without clumping into a heavy shell. The small amount of garlic powder and Italian herbs provides an everyday flavor profile that’s not technique-dependent. If you want to bump up flavor, a touch more garlic or a pinch of paprika will do it, but the baseline keeps these versatile.
Cooking oil spray is a small step with a big payoff. A light mist across the tops helps the panko toast instead of steam. If you have a convection setting, you can use it to improve browning, but keep a close eye — it can shave minutes off the timer.
When I cut the chicken, I aim for uniform pieces about the same thickness so everything finishes at the same moment. If pieces vary, remove smaller ones early and let larger pieces go the full 18–20 minutes.
Save It for Later
To refrigerate: cool the nuggets to room temperature, then place in an airtight container for up to four days. To freeze: lay baked nuggets in a single layer on a sheet pan and freeze until firm, then transfer to a freezer-safe bag or container for up to two months.
To reheat from chilled: spread nuggets on a sheet and warm in a 350°F oven for 8–10 minutes until heated through and the coating is crisp. From frozen: reheat at 375°F for 12–15 minutes, flipping once, until internal temperature reaches 165°F. Microwaving will warm them faster but will soften the coating.
FAQ
How can I get extra-crispy nuggets?
Use panko and a light spray of oil, and don’t crowd the pan. Turning once at the halfway mark helps both sides brown. You can also briefly broil at the end for a minute or two, watching closely so nothing burns.
Can I make these ahead of time?
Yes. Bake, cool, and refrigerate up to four days or freeze for longer. Reheat in the oven to restore crispness.
What if my panko mixture seems dry or too sparse?
Press the crumbs onto the wet chicken firmly so they adhere. If they still fall off, lightly pat an extra layer of beaten egg and press on more panko for a double coat.
Can I use dark meat?
Yes. Boneless thighs work well and stay juicy; just cut them into uniform pieces and check for doneness as they can cook slightly faster or slower depending on piece size.
The Takeaway
These Baked Chicken Nuggets are a practical, everyday recipe that balances crisp texture with simple seasoning. They’re quick to assemble, require minimal equipment, and deliver consistent results when you follow the steps: coat, space out, spray, flip, and check for 165°F. Make a batch for dinner, stash extras in the freezer, and rely on this formula whenever you want something crunchy and satisfying without the fuss of frying.
Keep the process simple, and you’ll have a go-to nugget that everyone will reach for again and again.
Baked Chicken Nuggets
Ingredients
Method
- Preheat the oven to 400°F. Line a baking sheet with parchment paper or lightly oil the sheet.
- Crack the egg into a shallow bowl and beat until smooth.
- In a separate shallow bowl, combine the 3/4 cup panko crumbs, 1 teaspoon garlic powder, 1 teaspoon Italian herbs, and 1/2 teaspoon kosher salt; stir to mix evenly.
- Working with one piece at a time, dip a chicken chunk into the beaten egg, turning to coat completely, then transfer it to the panko mixture. Press the breadcrumbs onto all sides of the chicken so it is fully coated. Repeat until all chicken pieces are coated.
- Arrange the coated chicken pieces on the prepared baking sheet in a single layer with a little space between each piece.
- Lightly spray each nugget with cooking oil spray.
- Bake in the preheated oven for 18–20 minutes, flipping once about halfway through for even browning, until the coating is golden and the chicken is cooked through (internal temperature 165°F or juices run clear).
- Remove from the oven and let the nuggets rest for 1–2 minutes before serving.