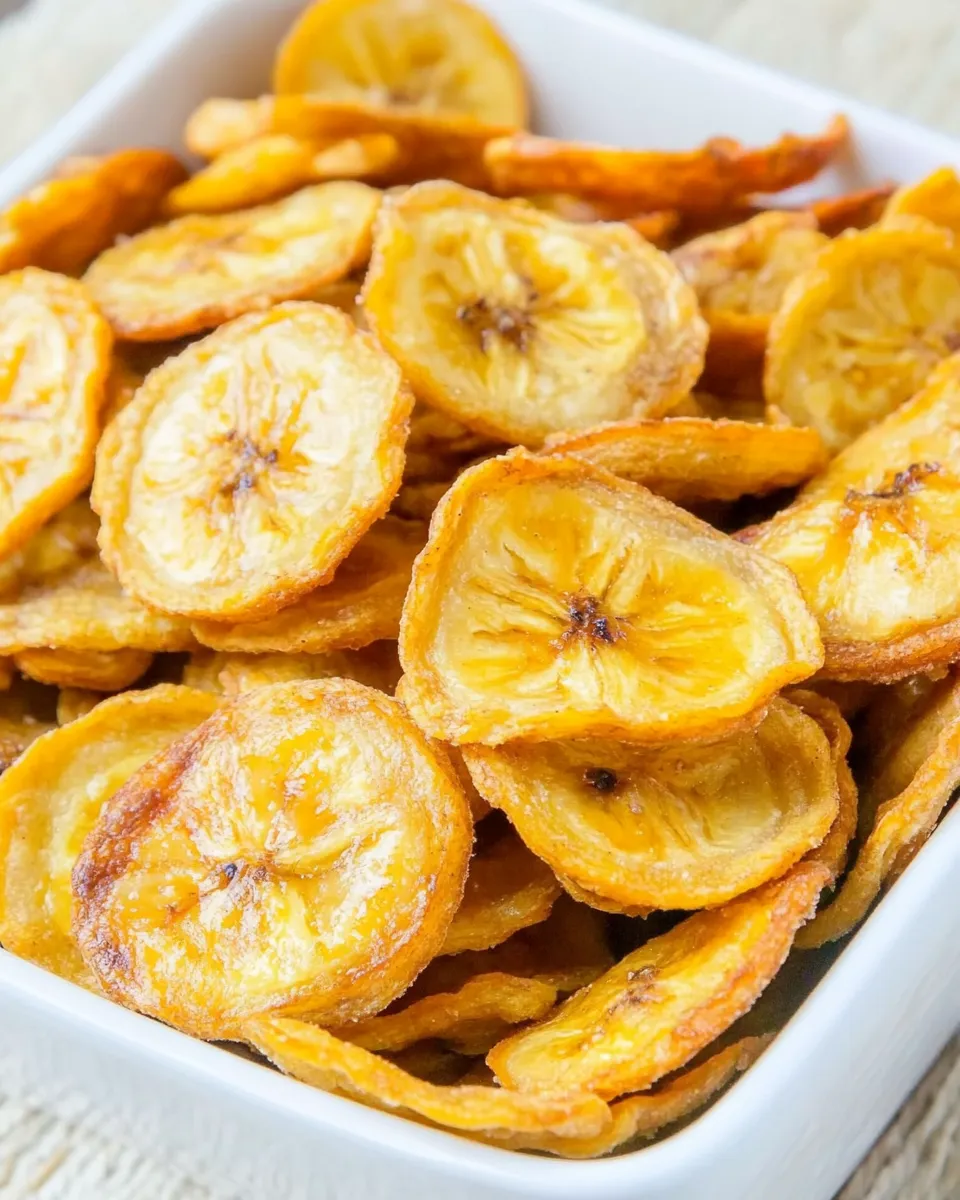
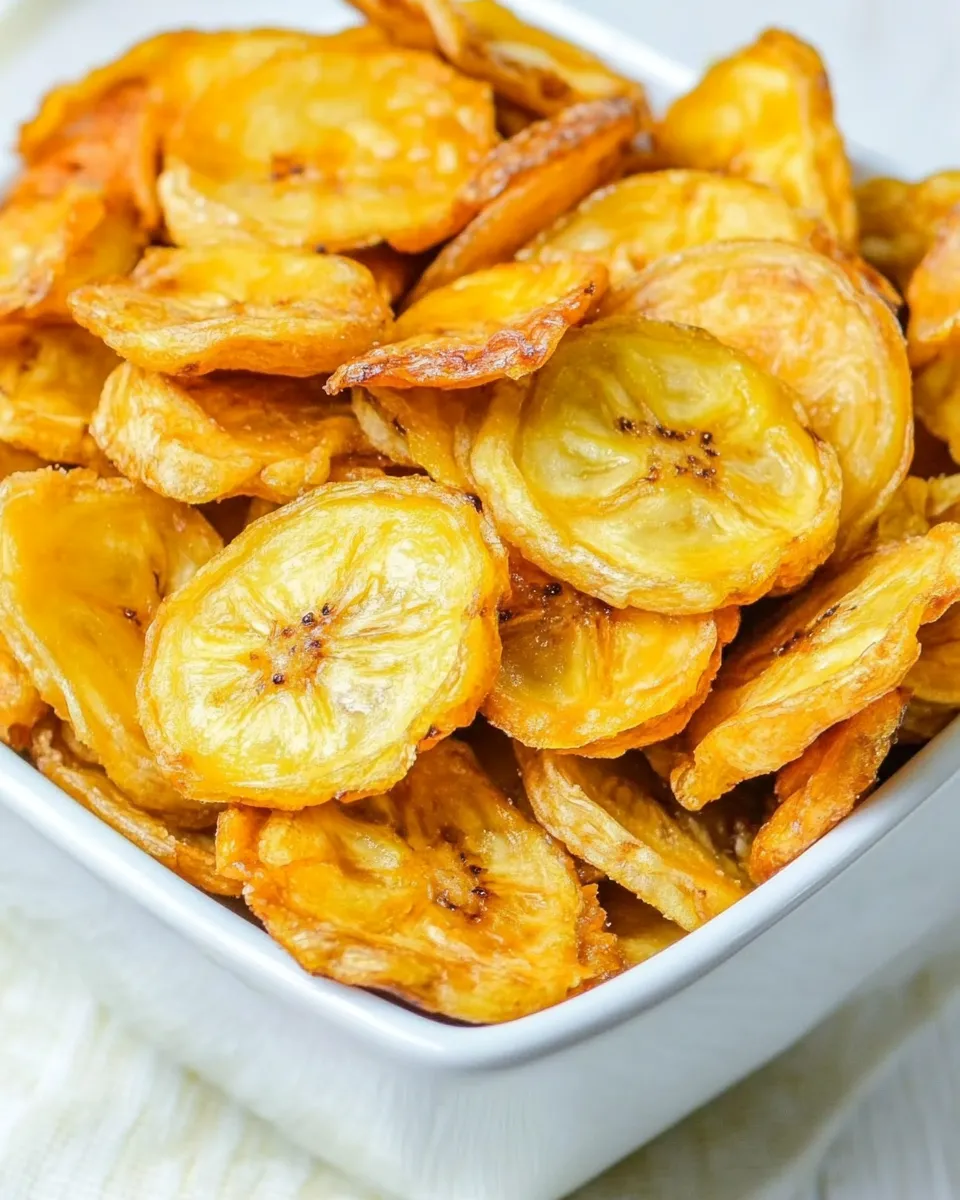
Banana Chips
These banana chips are a straightforward, pantry-friendly snack that I turn to when I want something crunchy, slightly sweet, and homemade. They take time in the oven but almost no hands-on effort, and the result is a tidy stack of chips you can reach for all week. The method below is practical and predictable—no frying, no added sugar, and just two ingredients.
I like making a batch on a slow afternoon. The kitchen smells faintly of citrus as the lemon keeps the slices from browning and helps preserve that pale, snackable color. The slow, low oven dries the bananas instead of charring them, so you get chips that are crisp once cooled but still have a pleasant banana flavor.
Expect a bit of patience, not difficulty. Slice carefully, space the pieces, flip them once, and resist the urge to rush the drying process with higher heat. Store them right and they stay crunchy for days. Below is everything you need, step by step, and notes from the kitchen to help you avoid the little mistakes I’ve learned from.
Gather These Ingredients
Ingredients
- 4 firm bananas — choose bananas that are still firm to the touch; underripe to just-ripe slices dry with better structure and less mushiness.
- 2 lemons, juiced — the lemon juice prevents enzymatic browning and adds a bright note; work quickly so slices don’t oxidize while you prep.
Banana Chips Made Stepwise
- Preheat the oven to 200°F (93°C). Line one or two baking sheets with parchment paper.
- Peel the 4 firm bananas. Using a sharp knife or an adjustable mandoline, slice the bananas into 1/16 to 1/8 inch (1.5–3 mm) thickness, keeping slices as uniform as possible.
- Pour the juice from the 2 lemons into a shallow bowl. Working in batches, dip each banana slice briefly into the lemon juice or brush both sides with juice to coat; shake off excess.
- Arrange the banana slices in a single layer on the prepared baking sheets without overlapping, leaving small gaps for air circulation.
- Bake for 1 to 1½ hours. After this time the slices should lift easily from the parchment; if so, use a thin spatula to flip each slice.
- Return the flipped slices to the oven and bake another 1 to 1½ hours, checking every 15–20 minutes to prevent burning. Total bake time will be about 2-3 hours depending on slice thickness and oven. Remove when slices are dry and firm but may still be slightly leathery—they will crisp as they cool.
- Cool the banana chips completely on the baking sheets. Once cool, store in an airtight container in a cool, dark place. For longer storage, refrigerate or freeze.
What Sets This Recipe Apart
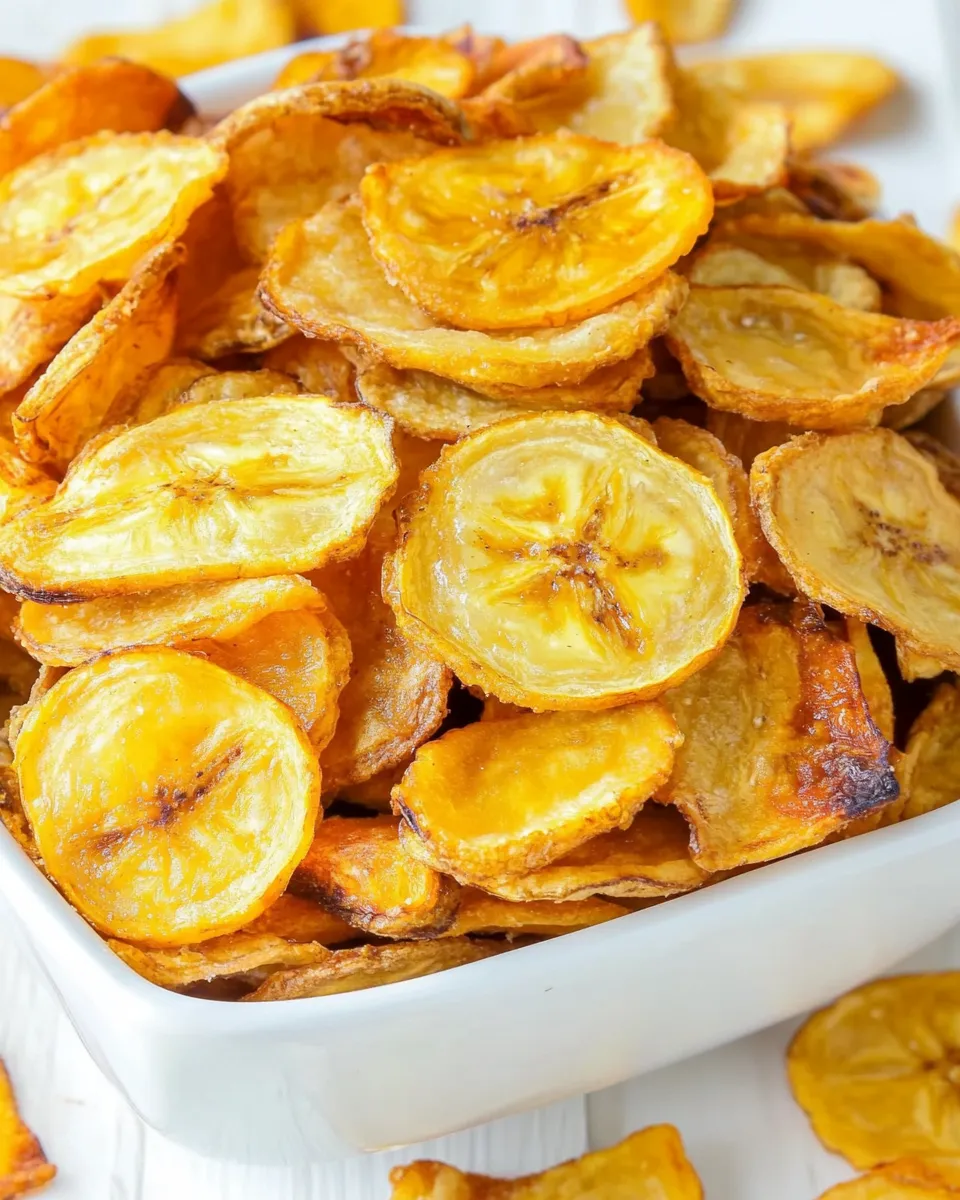
This recipe focuses on simplicity and control. Two ingredients—bananas and lemon—are all you need. There’s no added oil or sugar; the slow oven gently dehydrates the fruit instead of frying it, so the flavor stays clean and the texture becomes toasted rather than greasy.
Another distinguishing point is the low temperature. Many quick methods crank up the heat and risk uneven cooking or browning. At 200°F (93°C) the slices dry evenly and predictably. The flip halfway through is crucial: it equalizes color and texture so you get crisp centers and thin, table-ready chips without burnt edges.
Finally, this is forgiving. Thickness matters more than exact time. Stick to the suggested ranges and check visually. The slices will seem slightly leathery when you pull them, and they finish crisping as they cool—don’t judge doneness only by snap right out of the oven.
Low-Carb/Keto Alternatives
If you’re watching carbs or following a ketogenic plan, banana chips aren’t a direct fit because bananas are naturally high in sugar and starch. That said, you can use the same drying approach for low-carb vegetables and leafy greens to create crunchy snacks that mimic the idea:
- Zucchini slices — slice thin and salt lightly to draw moisture before drying; they crisp into mild, neutral chips.
- Kale or collard leaves — massage with a small amount of oil and season, then bake at low temperature until crisp.
- Radish slices — thin radish chips dry to a peppery, crunchy snack with far fewer carbs than banana.
Swap bananas for any of these and follow the same low-and-slow oven method, but expect shorter or longer drying times depending on water content. For strict keto, pork rinds or cheese crisps are another option if you want a similar crunch without plant carbs.
Gear Up: What to Grab
- Baking sheets — one or two, depending on batch size; heavy pans give more even heat.
- Parchment paper — prevents sticking and helps with a neat flip.
- Sharp knife or adjustable mandoline — for uniform 1.5–3 mm slices; uniformity equals even drying.
- Shallow bowl or small brush — for the lemon juice; dipping is fastest, brushing uses less juice.
- Thin spatula — for flipping the slices cleanly without tearing.
- Oven thermometer — optional, but helpful if your oven runs hot or cold; accuracy matters at low temps.
- Airtight container — to keep chips crisp after cooling.
Easy-to-Miss Gotchas
Before you start
- Banana ripeness: Overripe bananas are sweeter but softer and more likely to turn mushy during slicing and baking. Use firm bananas for better structure.
- Slices must be consistent: A thick slice will remain chewy while a thin one crisps quickly. Aim for consistent thickness across the batch.
During baking
- Air circulation: Don’t overcrowd the sheet. Small gaps let moisture escape and speed even drying.
- Flip on schedule: The first flip after 1–1½ hours is the turning point. If slices still stick to parchment, give them a few more minutes before flipping to avoid tearing.
- Check frequently late in the bake: When slices move from leathery to crisp, that final stage can catch you off guard. Look every 15–20 minutes during the second bake window.
Make It Diet-Friendly
Banana chips are naturally vegan and gluten-free, which fits many diets as-is. If you need to lower sugar, pick firmer, less ripe bananas—their natural sugar is lower than in heavily ripe fruit. Portion control also matters: a few chips go a long way as a snack paired with protein or fat to balance blood sugar.
For paleo eaters, this recipe is compatible as long as you use fresh, whole ingredients. For those avoiding citrus, swap the lemon step for a quick dip in very dilute ascorbic acid solution if you have it, or work fast to arrange slices immediately to reduce browning. (Note: the lemon step is the simplest and most accessible solution.)
Cook’s Notes
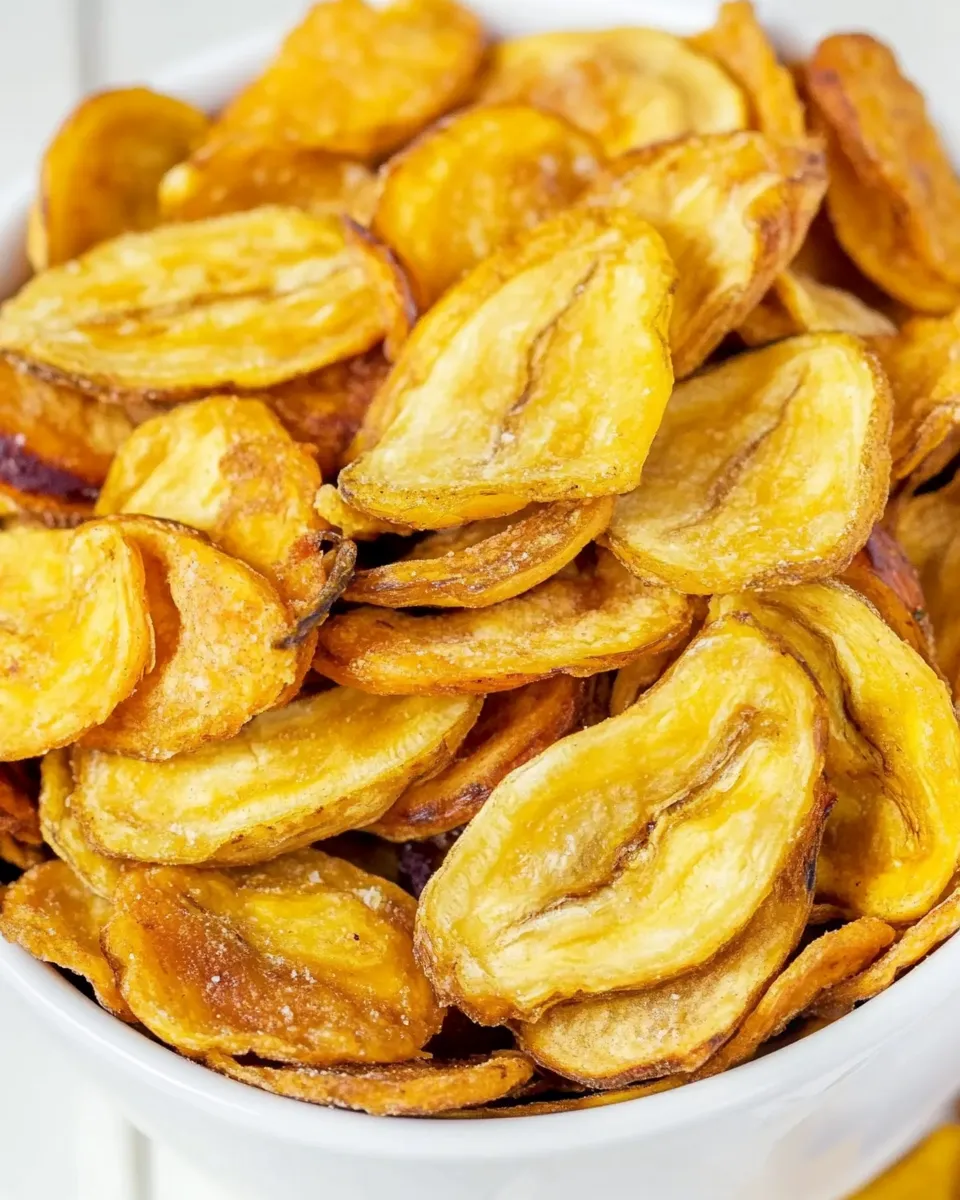
Temperature and thickness are the two levers you control. If your slices are coming out too dark at the edges, either reduce the oven temperature slightly or slice a bit thicker so the evaporation slows. If chips never crisp, you likely pulled them too early; let them cool fully on the sheet for at least 30–60 minutes. They continue to firm as they lose residual heat.
Mandolines make life easier but be safe—use the hand guard or a protective glove. If you don’t have a mandoline, a very sharp knife and a steady hand will do; rotate the banana as you slice to keep thickness even. Use the brush method for lemon if you want to control juice usage and minimize wastage.
If you plan to season the chips (a pinch of cinnamon, a little chili powder), do so sparingly and after flipping so the spices toast gently without burning on the initial side that faces the hot pan.
Freezer-Friendly Notes
Banana chips freeze well and thaw quickly. To freeze, make sure the chips are completely cool and crisp, then layer them in a freezer-safe container with parchment paper between layers to protect from moisture and crushing. Vacuum-sealed bags work best if you have one.
For storage times: in an airtight container at room temperature they keep for a week or more depending on humidity; refrigerated they last several weeks; frozen, expect 3 months or more of good quality. To refresh frozen chips, let them come to room temperature and, if they’ve softened, warm them in a low oven (200°F/93°C) for 5–10 minutes to re-crisp.
Ask & Learn
Q: My chips are leathery and never crisp. What did I do wrong?
A: Most likely they needed more time in the oven to fully dehydrate or they were left in a humid environment after baking. Ensure uniform thin slices and patience—cooling on the baking sheet is part of the process. If they’re still leathery after cooling, return them to the oven for another short session.
Q: Can I use ripe bananas with lots of brown spots?
A: You can, but very ripe bananas have more sugar and softer flesh, which often yields chips that struggle to hold shape and may brown more during baking. If you do use ripe fruit, slice slightly thicker and expect a chewier chip with more caramelized flavor.
Q: Do I need to flip the slices?
A: Yes. Flipping ensures even drying and color on both sides. The recipe’s first bake loosens the slices from the parchment, which signals when to flip those pieces safely.
Hungry for More?
If you enjoyed this approach, try adapting the low-and-slow method to other fruits and vegetables—apple chips, pear chips, or thin carrot slices make great variations. Each ingredient will have its own ideal thickness and timing, so use the banana method as a baseline and adjust by watching texture rather than clock time alone.
Make a habit of baking small batches until you know exactly how your oven behaves. With that knowledge, this method becomes a dependable way to turn simple produce into crunchy snacks the whole household can enjoy.
Ingredients
Equipment
Method
- Preheat the oven to 200°F (93°C). Line one or two baking sheets with parchment paper.
- Peel the 4 firm bananas. Using a sharp knife or an adjustable mandoline, slice the bananas into 1/16 to 1/8 inch (1.5–3 mm) thickness, keeping slices as uniform as possible.
- Pour the juice from the 2 lemons into a shallow bowl. Working in batches, dip each banana slice briefly into the lemon juice or brush both sides with juice to coat; shake off excess.
- Arrange the banana slices in a single layer on the prepared baking sheets without overlapping, leaving small gaps for air circulation.
- Bake for 1 to 1½ hours. After this time the slices should lift easily from the parchment; if so, use a thin spatula to flip each slice.
- Return the flipped slices to the oven and bake another 1 to 1½ hours, checking every 15–20 minutes to prevent burning. Total bake time will be about 2–3 hours depending on slice thickness and oven. Remove when slices are dry and firm but may still be slightly leathery—they will crisp as they cool.
- Cool the banana chips completely on the baking sheets. Once cool, store in an airtight container in a cool, dark place. For longer storage, refrigerate or freeze.
Notes
Try them sprinkled with sea salt, cinnamon, or cayenne pepper as well!