Banana Pudding Recipe
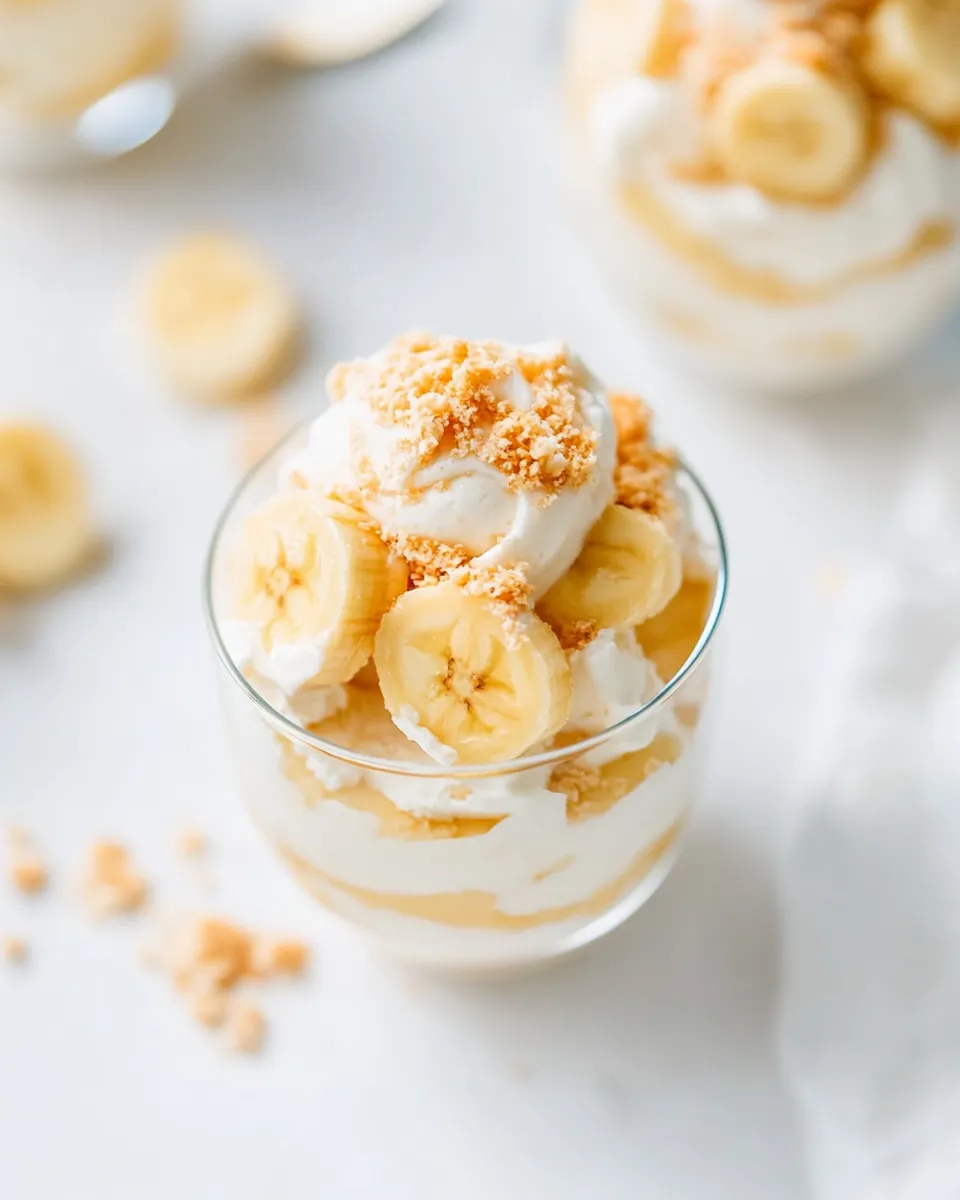
This banana pudding is the sort of dessert I make when I want something that feels like a hug from the inside. It’s built on a few pantry staples, comes together quickly, and chills into a silky, spoonable finale. Think creamy, not overly sweet; banana-forward, with soft cookie layers that melt into cake-like crumbs after time in the fridge.
I lean on instant pudding and sweetened condensed milk to get a dependable, set-but-tender custard without standing over a pot. Whipped cream folded into the pudding keeps the texture light and fluffy. Layers of vanilla wafers and sliced bananas finish the job — simple, effective, and crowd-pleasing.
Below you’ll find the exact ingredient list and the tested, step-by-step method I use in the blog kitchen. I’ll also walk through substitutions, common mistakes (and quick fixes), what gear I recommend, and storage notes so your Banana Pudding comes out predictable and delicious every time.
What Goes In
This dessert layers three things: a creamy pudding base, vanilla wafers, and fresh bananas. The pudding is made from sweetened condensed milk, instant vanilla pudding mix, cold water, and whipped heavy cream. The whipped cream lightens the pudding and gives a soft, cloudlike texture. Vanilla paste (if used) deepens the flavor, and a touch of salt balances the sweetness.
Ingredients
- 1 (14-ounce) can sweetened condensed milk — provides sweetness, body, and a rich milk-sweet backbone.
- 1-1/2 cups cold water — hydrates the pudding mix; cold helps it set firmly.
- 1 (3.9-ounce) package instant vanilla pudding mix — thickens and flavors the custard quickly.
- 3 cups heavy cream — whipped into soft peaks, it lightens the pudding and adds creaminess.
- 2 teaspoons vanilla paste or vanilla extract, optional — boosts real vanilla flavor when used.
- 1/4 teaspoon salt — balances sweetness and brightens flavors.
- 1 (11-ounce) box vanilla wafer cookies — structure and cookie texture; they soften into cake-like layers when chilled.
- 6 bananas — sliced; they add fresh banana flavor and a soft fruit layer.
Banana Pudding: Step-by-Step Guide
- In a large bowl, use a hand mixer fitted with a whisk attachment to beat the sweetened condensed milk and cold water together for about 1 minute, until fully combined.
- Sprinkle the entire (dry) instant vanilla pudding mix into the condensed milk mixture and beat until completely smooth, about 2 minutes. Transfer this pudding mixture to a separate bowl, cover, and refrigerate for 30–60 minutes, or until firm.
- Fit a stand mixer with the whisk attachment. Add the heavy cream, the vanilla paste or extract (if using), and the salt to the mixer bowl.
- Beat the cream on medium speed for about 1–3 minutes, until it begins to thicken. Increase the speed to medium-high and whip until soft peaks form. Stop as soon as soft peaks appear to avoid overwhipping.
- Reduce the mixer to low. While it runs, add the chilled pudding mixture one large spoonful at a time, continuing to mix until no streaks remain and the combined mixture is smooth and nicely thickened.
- Reserve 4 vanilla wafers for garnish. Slice the 6 bananas.
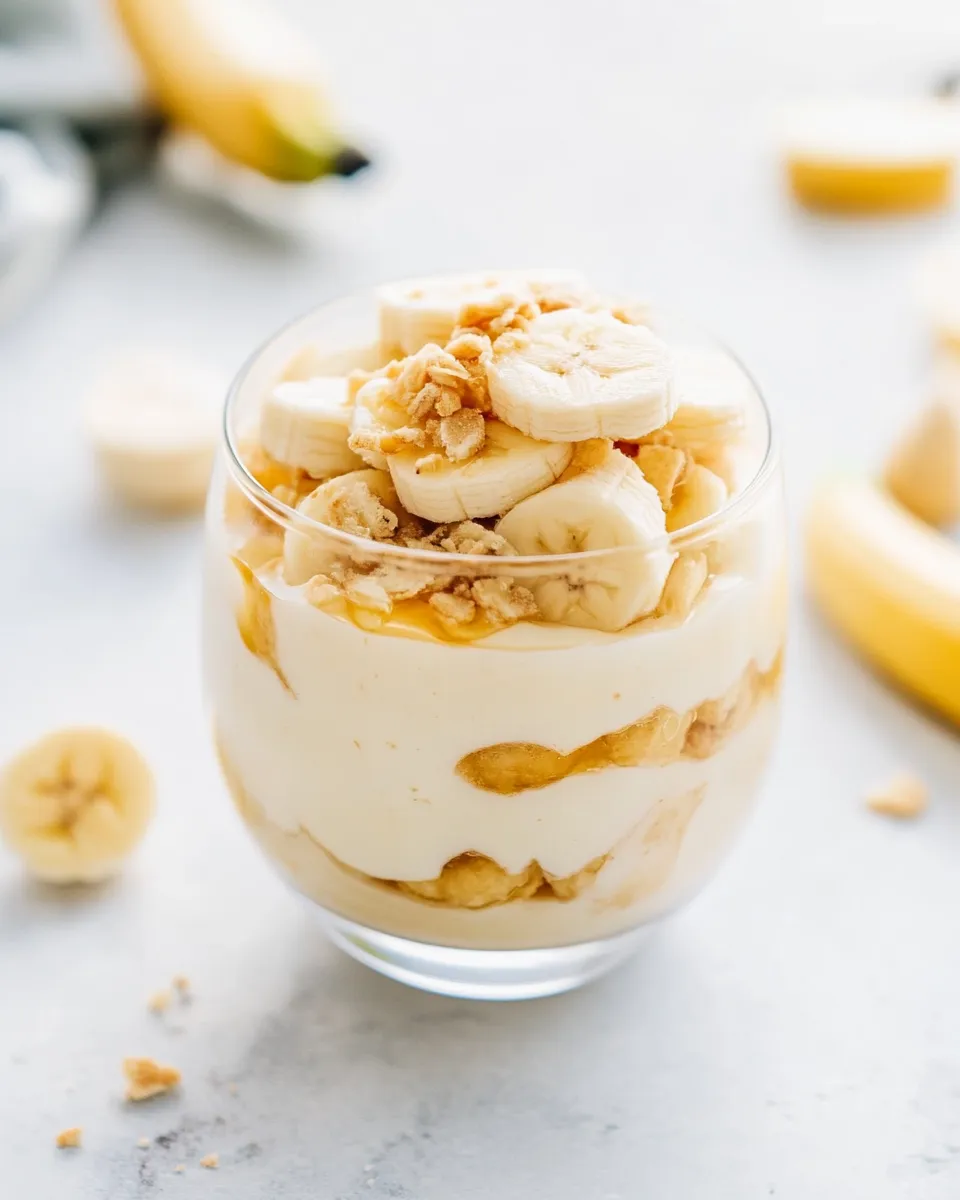
- To assemble: spread 1/4 of the pudding mixture evenly over the bottom of a trifle bowl or serving dish. Arrange a layer of vanilla wafers over the pudding, then add a layer of sliced bananas. Spread a second 1/4 of the pudding over the bananas.
- Repeat the layers (cookies, bananas, pudding) until the pudding, cookies, and bananas are used up, ending with the remaining 1/4 of pudding as the top layer.
- Cover the assembled dessert tightly with plastic wrap and refrigerate for 3–6 hours, or until the cookies have softened to a cake-like consistency.
- Just before serving, crush the reserved 4 vanilla wafers and sprinkle them over the top. Serve the dessert within 12 hours of assembling.
Why This Recipe Is Reliable
This recipe relies on predictable, shelf-stable components: instant pudding and sweetened condensed milk. They bind reliably without the tempering step required for cooked custards. The refrigeration step firms the pudding while the whipped cream keeps the texture airy, so you get a stable yet light dessert.
Measurements and timing are forgiving. The chilled pudding can sit 30–60 minutes before folding into whipped cream; 3–6 hours of refrigeration lets the wafers soften properly. The method avoids egg-cooking or splatters and doesn’t require precise heat control. That makes it repeatable even on busy weeknights or when you’re prepping for guests.
Texture-Safe Substitutions
- Heavy cream — stick with heavy cream for the whipped component. Using a lighter cream or half-and-half will not whip properly and will yield a looser final texture.
- Instant vanilla pudding — you can use an equal-weight instant chocolate or banana pudding mix if you want a different flavor, but expect a flavor shift. Do not swap with cook-and-serve mix unless you cook it first and cool completely.
- Vanilla wafers — ladyfingers or shortbread cookies work, but they will soften differently. Thicker cookies may leave chewier pockets; thinner ones collapse faster.
- Vanilla paste — optional, but real vanilla paste or extract is preferable to imitation for depth. If omitting, the dessert will still be sweet and vanilla-noted from the pudding mix.
Kitchen Gear Checklist
- Large mixing bowl for the condensed milk and pudding mix.
- Hand mixer with a whisk attachment (or stand mixer with whisk) to combine condensed milk and water quickly.
- Stand mixer with whisk attachment for whipping the cream and folding in pudding mixture; a hand mixer can substitute in a pinch.
- Spatula for folding and scraping the bowl cleanly.
- Trifle bowl, 9×13 baking dish, or similar serving dish for assembly.
- Plastic wrap or airtight cover for chilling.
Common Errors (and Fixes)
1. Pudding too loose after chilling
Cause: pudding mix not whisked long enough or not chilled long enough. Fix: when you first beat the pudding mix into the condensed milk, beat for the full ~2 minutes until smooth, then refrigerate 30–60 minutes. If it’s still loose after chilling, give it a bit more time in the fridge before folding into whipped cream.
2. Overwhipped cream
Cause: whipping past soft peaks. Fix: stop when soft peaks form. If you overwhip into grainy butter, you can try rescuing by adding a few tablespoons of fresh cold cream and gently whisking by hand until the texture smooths out — but it’s sometimes better to start fresh.
3. Bananas turn brown quickly
Cause: oxidation. Fix: slice bananas just before assembling. If you must slice them early, toss briefly with a little lemon juice and blot excess moisture. That will slightly affect flavor but slow browning.
4. Cookies remain crunchy after chilling
Cause: too little pudding or not enough refrigeration time. Fix: press cookies lightly into the pudding when assembling so they contact moisture, and allow the assembled dessert the full 3–6 hours in the fridge.
Dietary Customizations
- Less sugar: This recipe is already quite sweet because of the sweetened condensed milk and pudding mix. You can offset perceived sweetness by using very ripe bananas (they taste sweeter) or pairing portions with unsweetened whipped cream, but removing core sweeteners will change texture and set.
- Dairy-free: A true dairy-free version requires swapping heavy cream and condensed milk for stable non-dairy alternatives that whip and bind similarly; those substitutes are hit-or-miss and will alter texture. If you need dairy-free, consider a tested vegan pudding and a coconut cream that whips solidly.
- Gluten-free: Replace the vanilla wafers with a gluten-free cookie of similar thickness. Timing and softening behavior may differ slightly; taste-test a small layered cup first.
Notes from the Test Kitchen
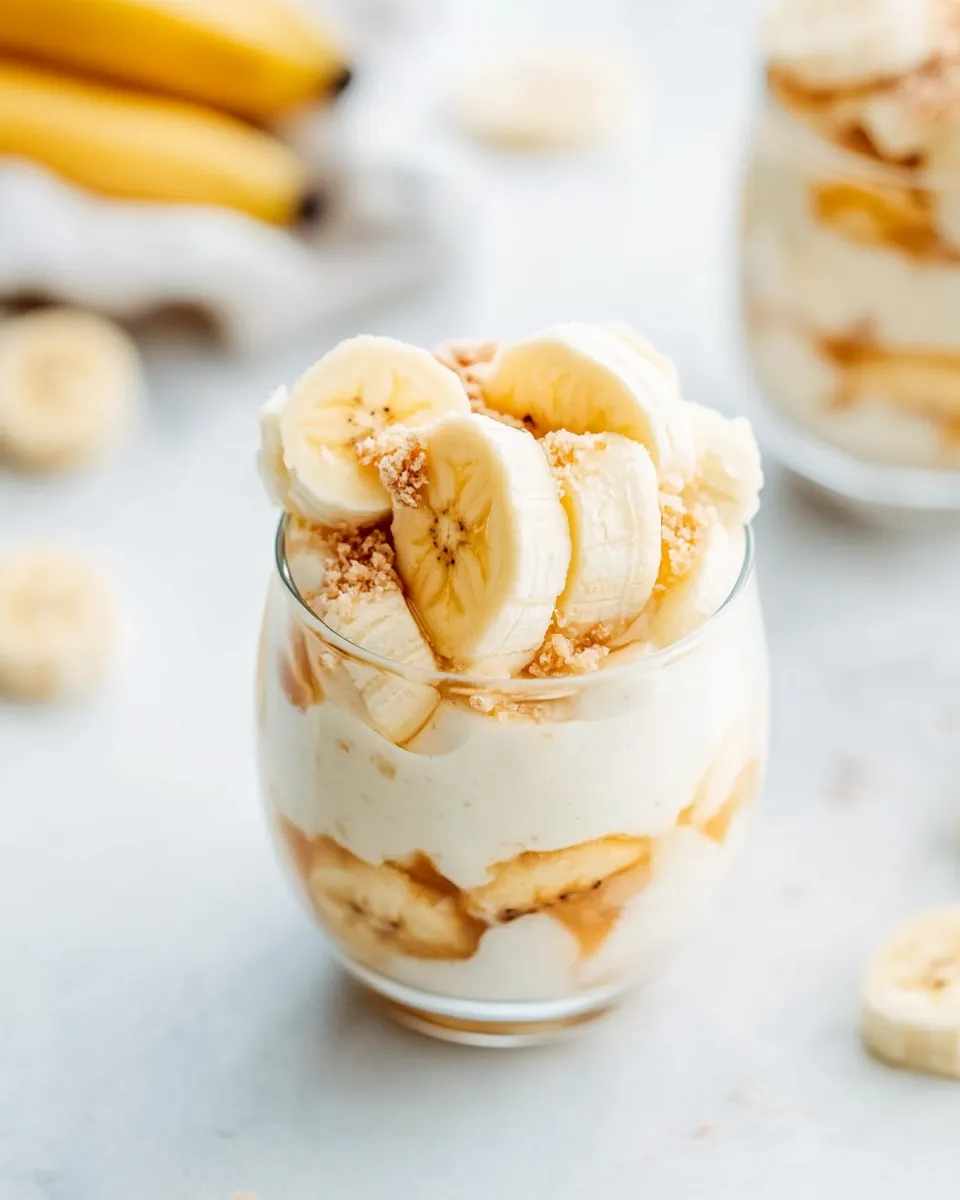
I tested this in different bowls and vessels. A clear trifle bowl looks pretty and shows the layers, but a 9×13 dish is easiest for serving a crowd. For individual portions, assemble in small glasses and shorten the refrigeration to 2–3 hours; the smaller depth lets cookies soften a little faster.
Reserve the final cookie crumbs for texture contrast right before serving. If you sprinkle them too early they’ll sink or soften completely. Also, ripe bananas work best — they contribute sweet banana flavor and blend with the pudding. If your bananas are underripe, the dessert will taste less banana-forward.
Shelf Life & Storage
Cover the assembled dessert tightly and store in the refrigerator. Serve within 12 hours of assembling, as noted in the directions; that keeps the banana slices from becoming overly brown and preserves the best texture. If stored longer than 12 hours, the cookies will continue to soften and the bananas will darken; it will still be safe to eat for up to 48 hours but with diminished appearance and texture.
If you need to prep components ahead: make the pudding base and keep it covered in the refrigerator for up to 24 hours, and whip cream shortly before folding. Slice bananas right before assembly for best color and texture.
Ask & Learn
If you’re wondering which vanilla to use: real vanilla paste or extract gives depth; the instant pudding mix already contains vanilla flavor, so the paste is optional. If you try a different pudding flavor, note that the condensed milk’s sweetness will remain and may pair better with complementary flavors (e.g., chocolate pudding with banana can work but tastes different).
Questions I often get: Can I use pre-sliced bananas? You can, but they brown faster. Should I layer differently? You can create thicker cookie layers or alternate directions for presentation, but keep the ratio of pudding to cookies similar so the texture remains balanced.
Serve & Enjoy
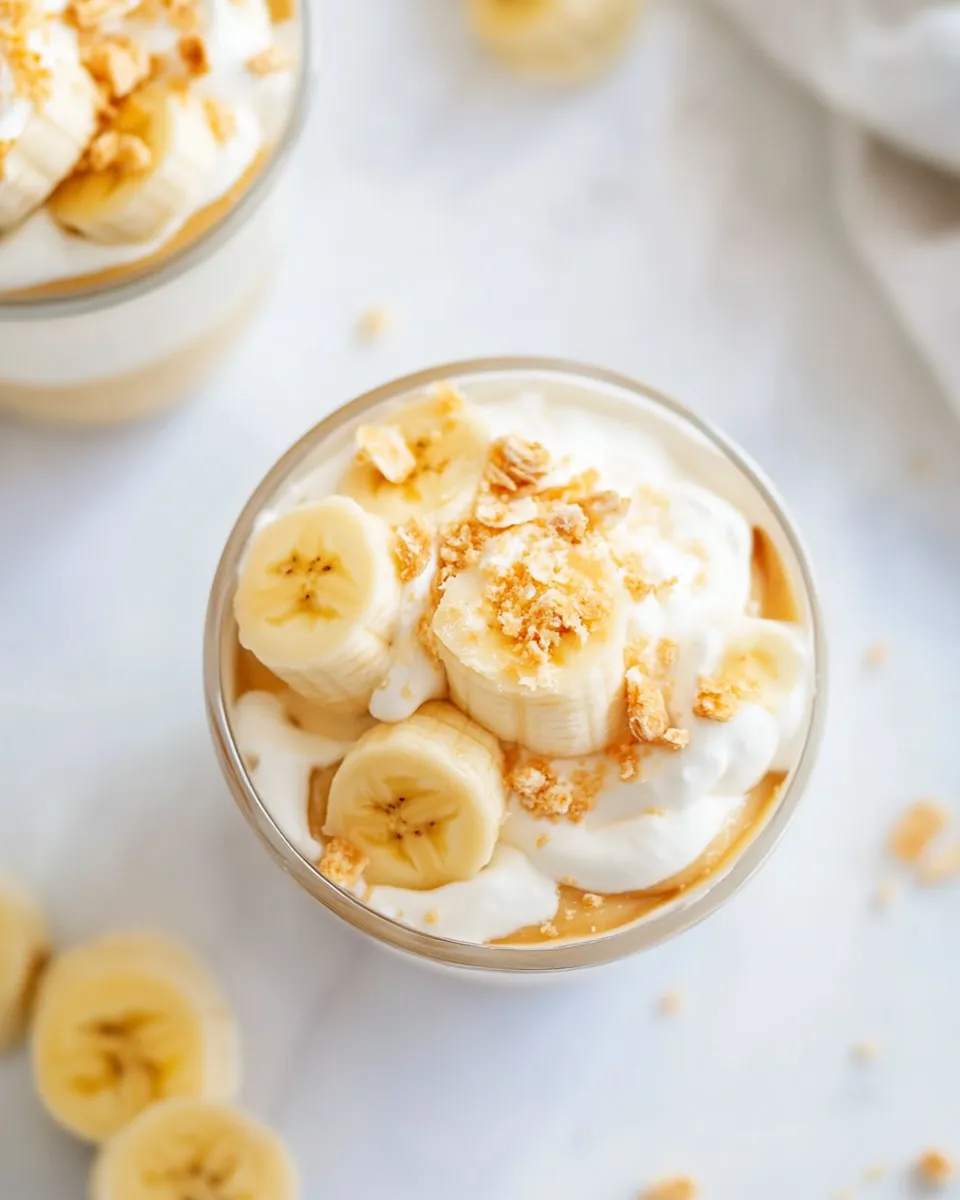
Before serving, crush the reserved 4 vanilla wafers and scatter them on top for a fresh crunch. Scoop into bowls with a mix of pudding, banana, and softened cookie in every bite. The contrast between the light whipped-folded pudding and the fruity banana slices is the point — rich, familiar, and comforting.
Serve chilled. This is a perfect make-ahead dessert for gatherings; it holds well during a party and arrives ready to please. If you want to add a final flourish, a thin grating of dark chocolate or a few banana slices fanned on top right before serving looks lovely, but the recipe is already complete and reliably delicious as written.
Banana Pudding Recipe
Ingredients
Equipment
Method
- In a large bowl, use a hand mixer fitted with a whisk attachment to beat the sweetened condensed milk and cold water together for about 1 minute, until fully combined.
- Sprinkle the entire (dry) instant vanilla pudding mix into the condensed milk mixture and beat until completely smooth, about 2 minutes. Transfer this pudding mixture to a separate bowl, cover, and refrigerate for 30–60 minutes, or until firm.
- Fit a stand mixer with the whisk attachment. Add the heavy cream, the vanilla paste or extract (if using), and the salt to the mixer bowl.
- Beat the cream on medium speed for about 1–3 minutes, until it begins to thicken. Increase the speed to medium-high and whip until soft peaks form. Stop as soon as soft peaks appear to avoid overwhipping.
- Reduce the mixer to low. While it runs, add the chilled pudding mixture one large spoonful at a time, continuing to mix until no streaks remain and the combined mixture is smooth and nicely thickened.
- Reserve 4 vanilla wafers for garnish. Slice the 6 bananas.
- To assemble: spread 1/4 of the pudding mixture evenly over the bottom of a trifle bowl or serving dish. Arrange a layer of vanilla wafers over the pudding, then add a layer of sliced bananas. Spread a second 1/4 of the pudding over the bananas.
- Repeat the layers (cookies, bananas, pudding) until the pudding, cookies, and bananas are used up, ending with the remaining 1/4 of pudding as the top layer.
- Cover the assembled dessert tightly with plastic wrap and refrigerate for 3–6 hours, or until the cookies have softened to a cake-like consistency.
- Just before serving, crush the reserved 4 vanilla wafers and sprinkle them over the top. Serve the dessert within 12 hours of assembling.
Notes
Note 1:
Be sure to use regular sweetened condensed milk, not low-fat or reduced sugar. This is not to be confused with evaporated milk.
Note 2:
Use regular instant pudding mix, not sugar-free, low-fat, or cook-and-serve varieties. Get the small 3.9-ounce (110g) box. Follow the recipe instructions when using the mix, rather than the package directions. For best flavor, opt for Jell-O brand (not sponsored).
Note 3:
Milk won’t work here—it won’t whip and thicken the way that cream does.
Storage:
Place any remaining pudding in an airtight container or cover the dish with plastic wrap to keep it fresh. Store it in the fridge for up to 2–3 days. The cookies will soften over time, so it’s best to enjoy within this window.