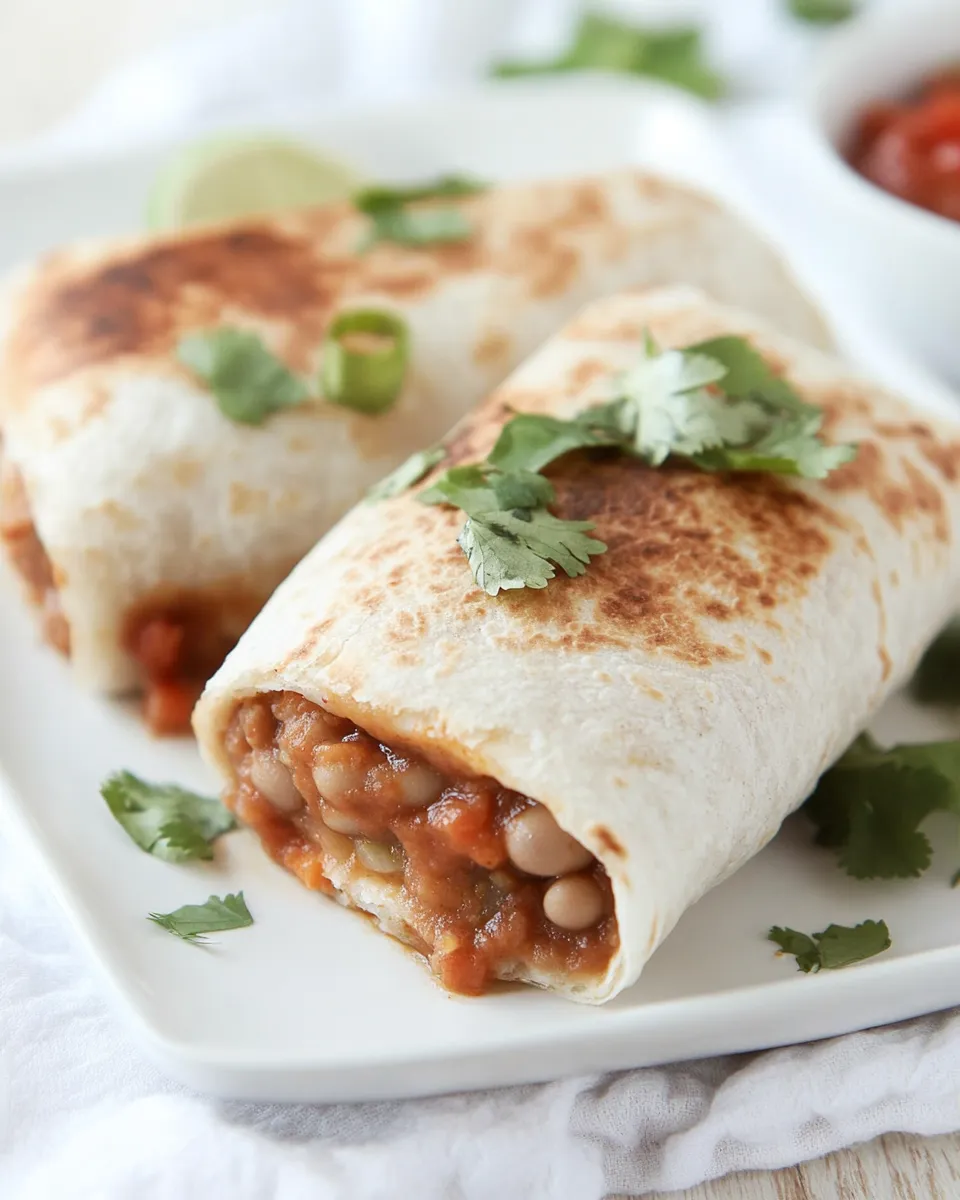
Bean Chimichangas
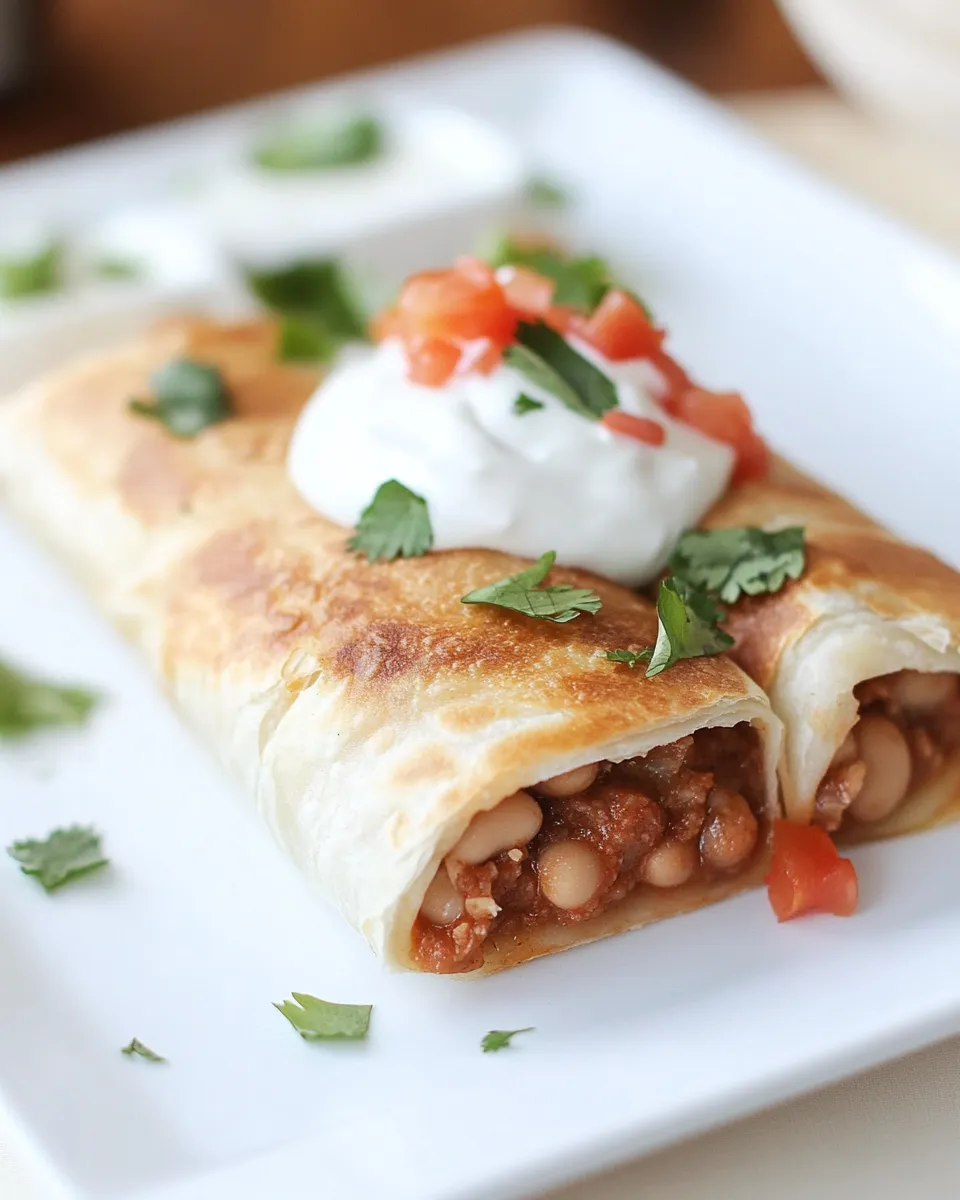
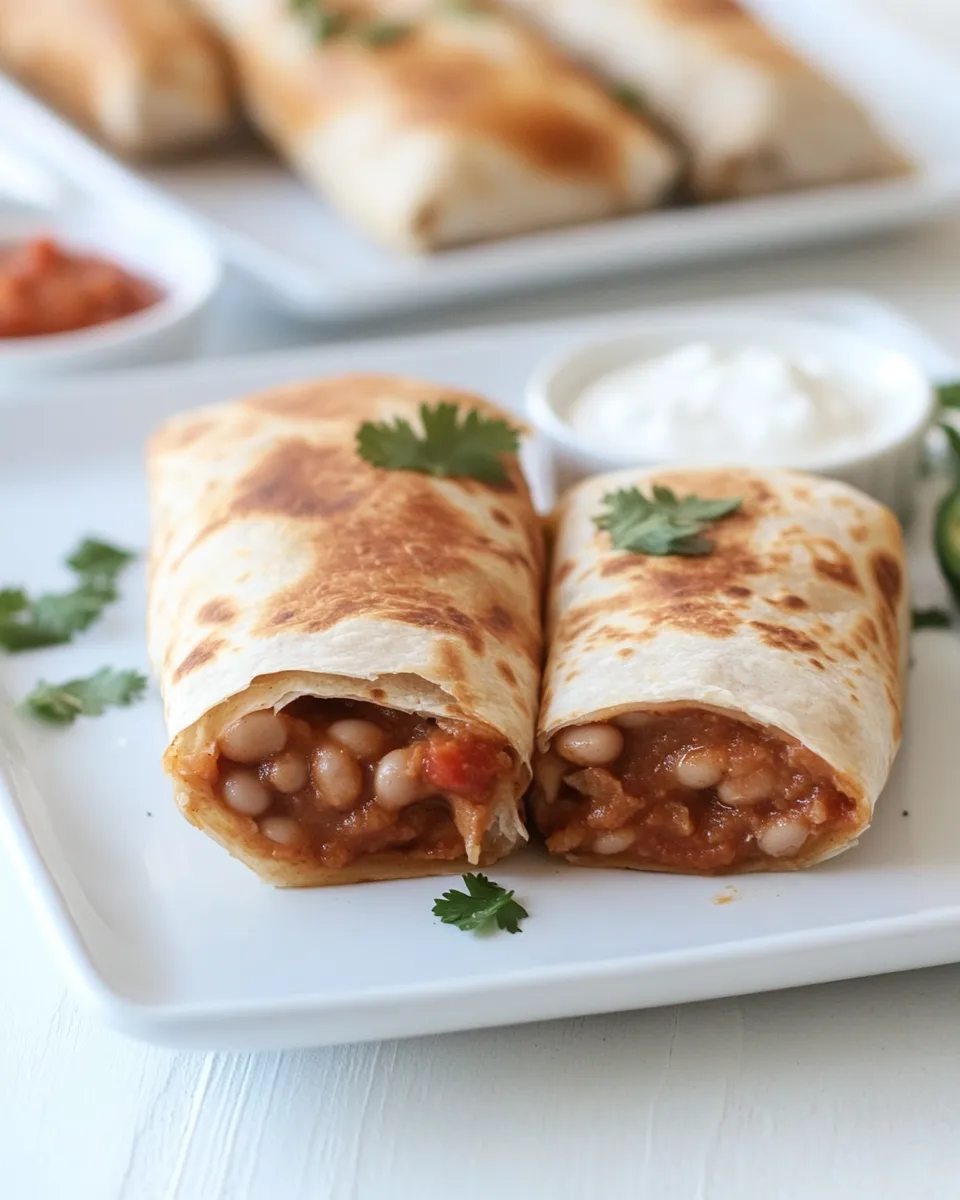
These bean chimichangas are the sort of weeknight dinner I reach for when I want comfort without a long list of steps. They come together from pantry staples—refried beans, Velveeta®, a little RO*TEL® for brightness—and finish with a quick flash-fry and a short time in the oven. They’re reliable, cheesy, and crowd-pleasing, whether you’re feeding family or prepping for casual guests.
I love how the textures play off each other: creamy bean-and-cheese filling, a melted Monterrey Jack top layer, and a crisp exterior from the brief skillet fry. The egg-white glue keeps each roll tidy during frying and baking. No deep-fryer required, just a skillet and the oven.
Below you’ll find everything you need: a clear ingredients list, exact step-by-step instructions using the provided method, troubleshooting tips I’ve learned from making these dozens of times, storage and reheating advice, and simple swaps if you’re short on something. Read through once, then make them—your kitchen will reward you with warm, cheesy goodness in under an hour.
What You’ll Gather
Collect the ingredients and set up a small assembly area: tortillas warmed and covered, the bean-and-cheese mixture kept warm, a small bowl for whisked egg whites, and a skillet for flash-frying. Having everything within reach makes the wrapping stage smooth and quick.
Ingredients
- 12 tortillas — Use flour tortillas for pliability; warm them before rolling to prevent cracking.
- 2 egg whites — Whisked and used as a simple sealing “glue” for the tortillas.
- 1 can refried beans — The base of the filling; creamy texture helps bind the chimichanga interior.
- 8 oz Velveeta® — Melts into a smooth, cohesive cheese sauce when combined with the beans and RO*TEL®.
- 1/2 can RO*TEL® Diced Tomatoes & Chiles — Adds acidity and mild heat; drain slightly if you prefer less liquid.
- 2 tbsp Vegetable OIl — For flash-frying; enough to crisp the outside without deep-frying.
- Monterrey Jack Cheese — Sprinkled over the filling for extra melt and a mild, creamy finish.
Bean Chimichangas: Step-by-Step Guide
- Preheat oven to 350°F (175°C).
- In a medium pot, combine the 1 can refried beans, 1/2 can RO*TEL® Diced Tomatoes & Chiles, and 8 oz Velveeta®. Heat over medium-low, stirring often, until the cheese is fully melted and the mixture is smooth. Keep warm on very low heat.
- Crack and whisk the 2 egg whites in a small bowl until slightly frothy; set aside. You will use this to seal the tortillas.
- Warm the 12 tortillas so they are pliable: microwave briefly covered with a damp paper towel or heat each tortilla in a dry skillet for a few seconds per side. Keep warmed tortillas covered while you work.
- Working with one tortilla at a time, place it on a flat surface. Spoon some of the bean-and-cheese mixture into the center of the tortilla, leaving about 1–2 inches of space around the edges for folding.
- Sprinkle a portion of the Monterrey Jack Cheese over the filling.
- Use a small spoon or a brush to apply a thin line of the whisked egg white around the inner edge of the tortilla rim (this will act as glue).
- Fold the tortilla: fold the bottom edge up over the filling about an inch, fold both side edges toward the center, then roll the tortilla away from you to enclose the filling and create a sealed roll. Press the final seam onto the egg-white-coated area to seal. Add a little more egg white to the seam if needed.
- Repeat steps 5–8 until all tortillas are filled and sealed. Work in batches if necessary to keep tortillas warm.
- Pour the 2 tbsp vegetable oil into a large skillet and heat over medium heat until shimmering. Flash-fry the chimichangas in batches, placing seam-side down first and frying about 1 minute per side (or until lightly golden). Do not overcrowd the pan.
- After frying each batch, transfer the chimichangas seam-side down to a baking pan or sheet.
- Bake the chimichangas in the preheated 350°F oven for 12–15 minutes to finish heating through and set the seam. Let rest 1–2 minutes before serving.
Why This Recipe Belongs in Your Rotation
It’s fast, forgiving, and uses pantry staples most people already have. If you keep tortillas, canned beans, and a melting cheese like Velveeta® on hand, you can turn out a satisfying meal with minimal effort. The quick fry plus brief baking gives you the best of both worlds: crisp exterior without a long or messy frying process.
The flavors are approachable and adaptable. RO*TEL® adds a little zip, and Monterrey Jack adds fresh-melting creaminess. The technique is simple too—warm the filling, roll thoughtfully, flash-fry, and finish in the oven. It’s a great base recipe for feeding a family, serving at a casual gathering, or prepping a batch to reheat later.
If You’re Out Of…
Short on one of the listed items? Here are straightforward swaps that keep the spirit of the dish without inventing new ingredients.
- No Velveeta®: Use an equal amount of a melty processed cheese or a mix of cheddar and cream cheese for a similar creamy texture, though melting characteristics can vary.
- No RO*TEL®: Stir in a diced tomato plus a finely chopped mild green chile, or a splash of salsa for acidity and heat.
- No refried beans: Mash a can of black beans or pinto beans with a spoon and warm with a splash of water or oil to reach a spreadable consistency.
- No egg whites: A thin slurry of water and a bit of flour can act as glue, or use whole beaten egg if you have it (brush lightly).
- No vegetable oil: Use a neutral oil with a high smoke point (canola, peanut) for the flash-fry.
Tools of the Trade
These chimichangas don’t require specialty tools. Keep the following on hand for an efficient assembly line:
- Medium saucepan — to melt Velveeta® and warm the bean mixture evenly.
- Small bowl and fork — for whisking the egg whites.
- Large skillet — for flash-frying; a heavy-bottomed skillet distributes heat evenly.
- Baking sheet or pan — to transfer fried chimichangas to the oven so seams set and they finish heating through.
- Tongs or a spatula — to flip the chimichangas while frying without puncturing the tortilla.
Learn from These Mistakes
I’ve learned a few things the hard way so you don’t have to. Keep these points in mind to avoid common pitfalls.
- Tortillas too cold: If tortillas crack when you fold them, warm them a bit more. Heat makes them pliable and easier to seal.
- Overfilling: Leaving 1–2 inches clear around the edges is crucial. Too much filling makes rolling impossible and causes bursts during frying.
- Oil too hot or too cool: If oil smokes, lower the heat; if it’s not shimmering, the chimichangas will absorb oil and get greasy. Aim for a gentle shimmer and quick color change—about 1 minute per side.
- Skipping the oven finish: The oven step is short but important: it guarantees the seam sets and the interior heats evenly. Don’t skip it.
- Rushing the seal: Press the seam firmly and use a touch more egg white if needed; a poorly sealed chimichanga can unfurl while frying.
In-Season Swaps
When fresh produce is abundant, add a few seasonal touches without changing the core recipe:
- Summer: Add fresh charred corn or diced roasted red pepper into the filling for sweetness and texture.
- Fall: Stir in small cubes of roasted butternut squash for a sweet, earthy note that pairs well with the cheese.
- Spring: Fold in thinly sliced grilled asparagus or fresh spinach (lightly wilted) for brightness.
- Winter: Add caramelized onions or roasted poblano strips for deeper flavors that stand up to the cheese.
Pro Perspective
As someone who makes a lot of handheld, filled-and-fried items, I focus on texture contrast and moisture control. The Velveeta® plus refried beans creates a filling that’s smooth and stable; it doesn’t weep aggressively, which helps the tortillas stay crisp after frying. The egg-white wash is an old restaurant trick: it gives a light, neutral seal without adding flavor or color.
When frying, the goal is quick color development, not long immersion. That keeps the outside crisp and the inside intact. Finishing in the oven is the professional move: it sets seams and finishes the interior without over-browning the exterior.
Store, Freeze & Reheat
Storage and reheating are simple if you follow these steps.
- Refrigerate: Cool chimichangas to room temperature, then store in an airtight container for up to 3 days. Keep them seam-side down if possible to protect the seal.
- Freeze: Flash-freeze on a baking sheet until solid, then transfer to a freezer-safe bag for up to 2 months. Freeze before baking if you want a longer shelf life; you can fry or bake from frozen with a slightly longer cooking time.
- Reheat from refrigerated: Reheat at 350°F (175°C) in the oven for 10–12 minutes until heated through and crisp. Avoid microwaving if you want to keep the exterior crunchy.
- Reheat from frozen: Bake at 375°F (190°C) for 20–25 minutes, or until hot throughout. If you prefer, thaw overnight in the refrigerator before reheating for a shorter bake time.
Frequently Asked Questions
Below are short answers to the questions I hear most often about this recipe.
- Can I use whole eggs instead of egg whites? Yes. Whole beaten egg will seal the tortilla as well, but it may brown more during frying.
- Can I make these vegetarian/vegan? The recipe is vegetarian, but not vegan as written due to cheese. For a vegan version, use a plant-based melting cheese and a bean mash, and replace the egg wash with a plant-based adhesive like aquafaba (chickpea brine), though results will vary.
- Can I skip frying and bake only? Yes. Brush the outside lightly with oil and bake at 400°F for 12–18 minutes until golden and crisp, though frying adds extra texture.
- How can I keep them from becoming soggy? Don’t overfill and ensure the filling isn’t too watery. Drain excess liquid from the RO*TEL® if necessary and keep a short frying time to crisp the exterior.
Next Steps
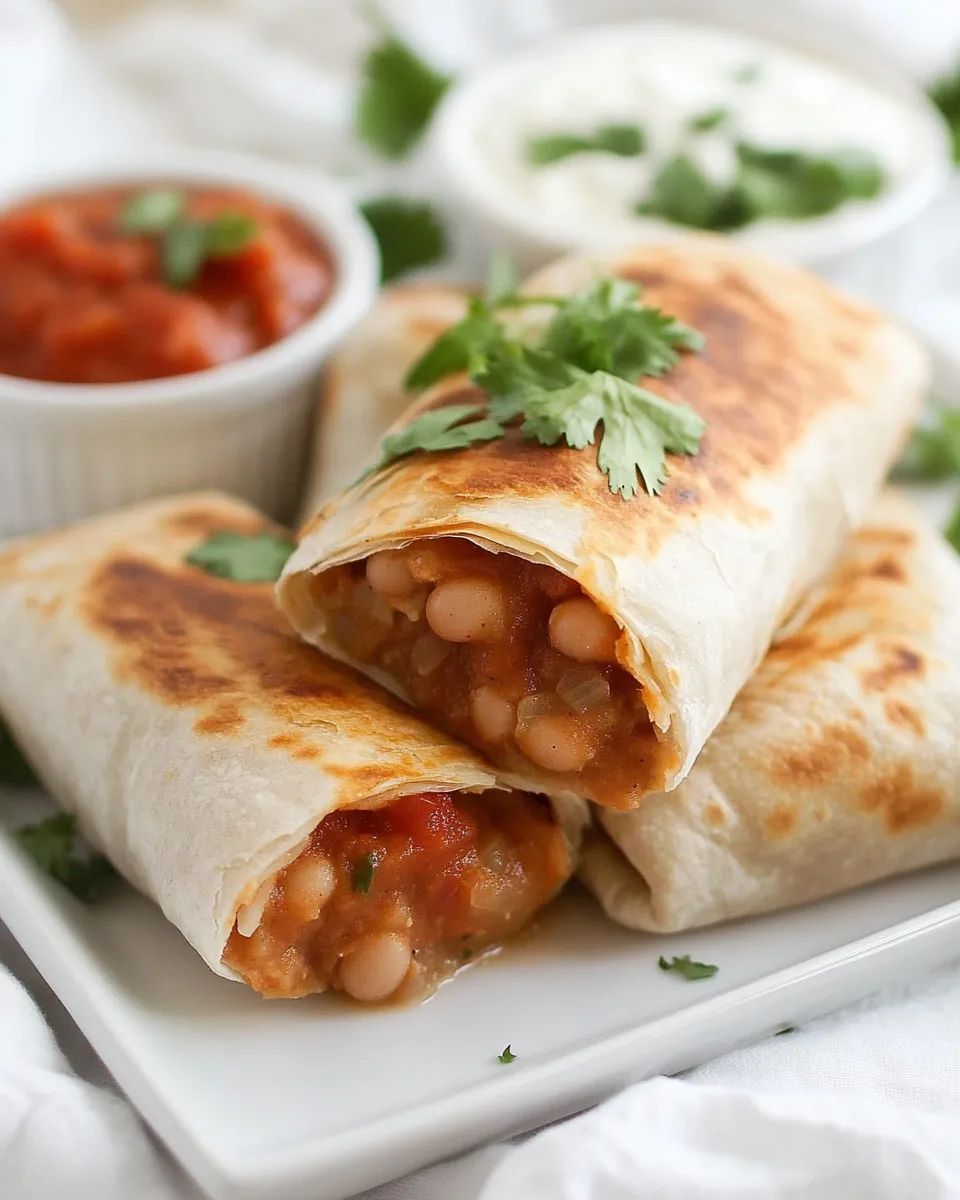
When you’re ready, set up your assembly line: warm tortillas, keep the filling warm on low, whisk the egg whites, and have your skillet and baking sheet ready. Work one tortilla at a time and keep finished chimichangas seam-side down on a sheet so they stay sealed. Serve with salsa, sour cream, or a simple shredded lettuce and tomato salad for contrast.
Make a double batch if you want leftovers—these reheat well and are a great quick lunch. If you try any of the swaps or seasonal additions, take note of what you liked and tweak the amounts next time. Cooking is iterative, and these chimichangas are a forgiving canvas for small improvements.
Bean Chimichangas
Ingredients
Equipment
Method
- Preheat oven to 350°F (175°C).
- In a medium pot, combine the 1 can refried beans, 1/2 can RO*TEL® Diced Tomatoes & Chiles, and 8 oz Velveeta®. Heat over medium-low, stirring often, until the cheese is fully melted and the mixture is smooth. Keep warm on very low heat.
- Crack and whisk the 2 egg whites in a small bowl until slightly frothy; set aside. You will use this to seal the tortillas.
- Warm the 12 tortillas so they are pliable: microwave briefly covered with a damp paper towel or heat each tortilla in a dry skillet for a few seconds per side. Keep warmed tortillas covered while you work.
- Working with one tortilla at a time, place it on a flat surface. Spoon some of the bean-and-cheese mixture into the center of the tortilla, leaving about 1–2 inches of space around the edges for folding.
- Sprinkle a portion of the Monterrey Jack Cheese over the filling.
- Use a small spoon or a brush to apply a thin line of the whisked egg white around the inner edge of the tortilla rim (this will act as glue).
- Fold the tortilla: fold the bottom edge up over the filling about an inch, fold both side edges toward the center, then roll the tortilla away from you to enclose the filling and create a sealed roll. Press the final seam onto the egg-white-coated area to seal. Add a little more egg white to the seam if needed.
- Repeat steps 5–8 until all tortillas are filled and sealed. Work in batches if necessary to keep tortillas warm.
- Pour the 2 tbsp vegetable oil into a large skillet and heat over medium heat until shimmering. Flash-fry the chimichangas in batches, placing seam-side down first and frying about 1 minute per side (or until lightly golden). Do not overcrowd the pan.
- After frying each batch, transfer the chimichangas seam-side down to a baking pan or sheet.
- Bake the chimichangas in the preheated 350°F oven for 12–15 minutes to finish heating through and set the seam. Let rest 1–2 minutes before serving.