Black Walnut Chocolate Chip Keto Low-Carb Muffins With Almond Flour
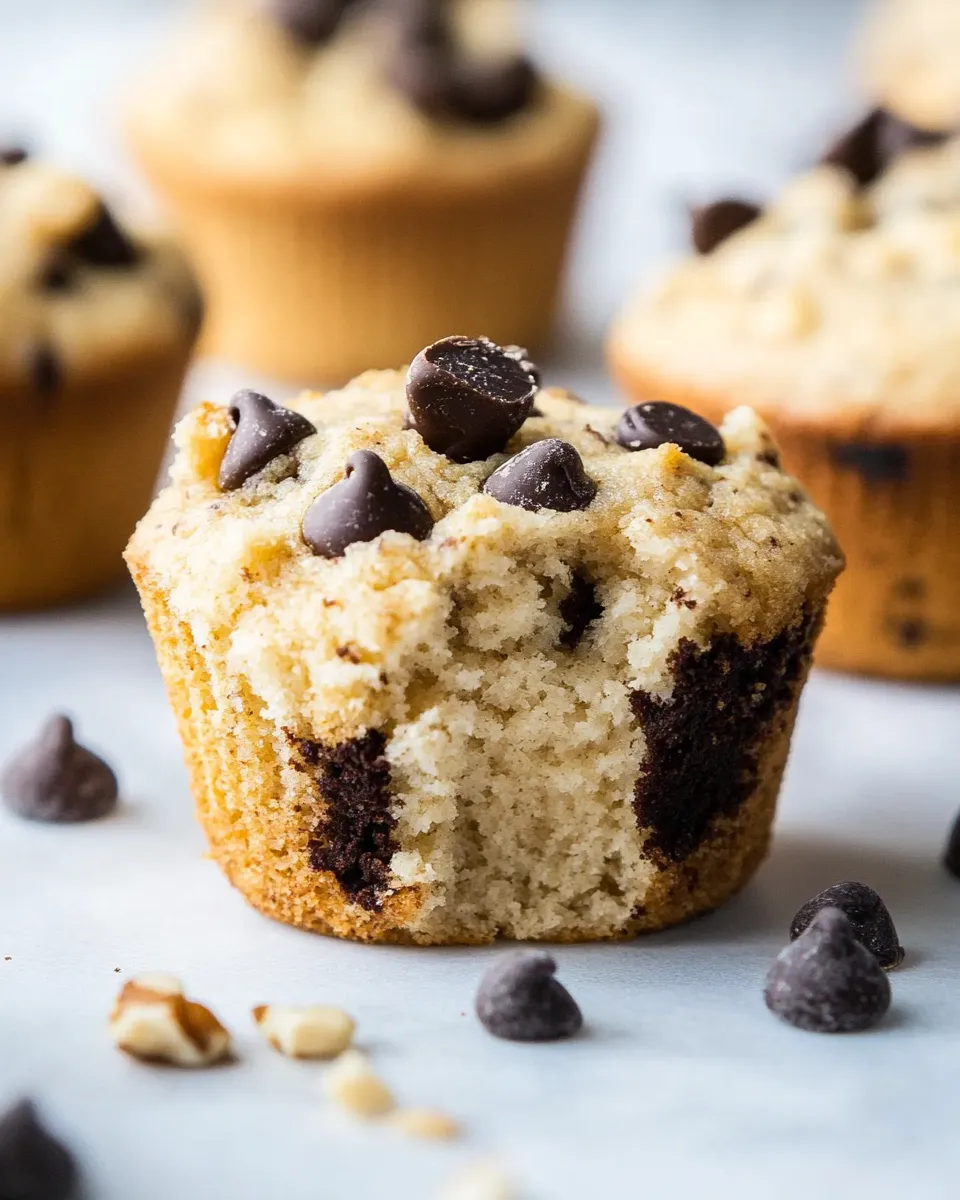
These muffins are exactly what I reach for when I want a weekend treat that still fits my low-carb routine. They pair the buttery, toasty notes of almond flour with the bold crunch of black walnuts and little pockets of chocolate. The texture is dense but tender — a satisfying bite that holds up to coffee and a busy morning.
I tested this recipe several times to nail the balance between moistness and structure. Almond flour plus a touch of coconut flour gives body without the crumbly, dry finish that sometimes plagues keto bakes. The use of melted ghee and full-fat canned coconut milk keeps the crumb rich while remaining compliant with low-carb goals.
No fuss, no complicated techniques. You’ll measure, whisk, fold, rest the batter briefly, and bake. The procedure is straightforward and forgiving, which is exactly what I want from a recipe I make repeatedly.
Ingredients at a Glance
- 3 cups almond flour (300 g) — the base: provides structure, a tender crumb, and low-carb bulk.
- 4 tablespoons coconut flour (firmly packed, 32 g) — absorbs moisture and firms the batter; a little goes a long way.
- 1 tablespoon baking powder — gives lift and a light top to the muffins.
- 1 teaspoon baking soda — works with the acidic notes in coconut milk for extra lift.
- 1 teaspoon salt — balances sweetness and enhances the nutty flavors.
- 3/4 cup monk fruit — primary sweetener; keeps the recipe keto-friendly without a cooling aftertaste.
- 6 tablespoons ghee, melted — adds richness and keeps the muffins moist; use melted so it incorporates evenly.
- 6 tablespoons full-fat canned coconut milk — contributes creaminess and a touch of fat for texture.
- 3 large eggs, room temperature — bind the batter and provide lift and structure.
- 1 tablespoon vanilla extract — brightens flavor and ties the ingredients together.
- 1/2 cup + 1 tablespoon Stevia-sweetened chocolate chips — chocolate pockets without added sugar; fold gently to distribute.
- 1/4 cup black walnuts, diced — for crunch and a slightly bitter, complex walnut flavor that complements the chocolate.
Step-by-Step: Black Walnut Chocolate Chip Keto Low-Carb Muffins With Almond Flour
- Preheat oven to 350°F. Generously spray a muffin tin with cooking spray.
- In a large bowl, whisk together 3 cups almond flour (300 g), 4 tablespoons coconut flour (firmly packed, 32 g), 1 tablespoon baking powder, 1 teaspoon baking soda, and 1 teaspoon salt.
- In a separate bowl, whisk together 3/4 cup monk fruit, 6 tablespoons melted ghee, 6 tablespoons full-fat canned coconut milk, 3 large room-temperature eggs, and 1 tablespoon vanilla extract until smooth.
- Pour the wet ingredients into the dry ingredients and stir until just combined. The mixture will be very thick.
- Fold in 1/2 cup + 1 tablespoon Stevia-sweetened chocolate chips and 1/4 cup diced black walnuts.
- Let the batter rest for 5 minutes to allow the coconut flour to absorb the moisture. Stir once after resting if needed.
- Fill each muffin cup about two-thirds full (an ice cream scoop works well for even portions).
- Bake at 350°F for 25–27 minutes, or until the tops are golden brown and a toothpick inserted into the center comes out clean or with a few moist crumbs.
- Remove the pan from the oven and let the muffins cool in the pan for 10–15 minutes. Run a knife around the sides of each muffin to loosen them and remove them from the pan. Transfer to a rack and cool completely before serving or storing.
Why This Black Walnut Chocolate Chip Keto Low-Carb Muffins With Almond Flour Stands Out
There are lots of keto muffin recipes that either taste eggy or crumble as soon as you touch them. This one avoids both. Almond flour contributes moistness and a fine crumb while the small addition of coconut flour stabilizes the batter without drying it out. Together they yield a firm, sliceable muffin that still feels indulgent.
Black walnuts are the quiet hero here. They’re more assertive than regular walnuts and give a depth of flavor that the stevia-sweetened chocolate chips play off beautifully. The melted ghee and canned coconut milk deliver a silkiness in each bite — you’ll notice a richer mouthfeel than many low-carb bakes.
Lastly, the recipe is forgiving. You don’t need precise folding techniques or special equipment. The 5-minute rest is the key little trick: it lets the coconut flour hydrate and prevents a gummy center. The result is consistent when you follow the steps.
Healthier Substitutions
If you need to tweak ingredients for dietary preferences or pantry limitations, here are sensible swaps. Keep in mind any sugar replacements may affect sweetness and texture, so taste and adjust sparingly.
- Swap the ghee for unsalted butter if you prefer a less pronounced buttery flavor.
- Use an erythritol-monk fruit blend in place of straight monk fruit if you like a closer mouthfeel to sugar.
- If you want a dairy-free fat alternative, you can use a neutral oil in place of melted ghee; expect a slightly different mouthfeel.
- Replace black walnuts with another toasted nut for a milder profile; chop them to the same size so the texture remains even.
Essential Tools for Success
Good tools cut down on guesswork and help you reproduce results each time. You don’t need anything fancy.
- Standard 12-cup muffin tin — gives consistent muffin size and even baking.
- Nonstick cooking spray — ensures the muffins release cleanly from the pan.
- Two mixing bowls — one for dry, one for wet ingredients to avoid overmixing.
- Whisk and spatula — whisk dry ingredients thoroughly and use a spatula to fold in chips and nuts gently.
- Measuring cups and spoons — almond flour is best measured by spooning and leveling, or use a kitchen scale for accuracy.
- Toothpick or skewer — the simplest way to test doneness.
Frequent Missteps to Avoid
- Overmeasuring almond flour — packing it into the cup makes muffins dense and dry. Spoon and level or weigh 300 g for accuracy.
- Skipping the rest — coconut flour needs a few minutes to absorb moisture. Skip this step and you’ll get a loose, under-set center.
- Overmixing — stir only until combined. Excess mixing develops the batter into something gummy instead of tender.
- Opening the oven early — avoid checking in the first 20 minutes so the muffins set properly and don’t deflate.
- Not allowing muffins to cool in the pan briefly — removing them too hot increases the chance they’ll break apart.
Seasonal Ingredient Swaps
These muffins serve as a sturdy base for seasonal tweaks. A few small changes add festive notes without overhauling the recipe.
- Fall: Stir in warm spices such as cinnamon or a pinch of nutmeg to the dry mix for cozy flavors.
- Winter: Add a few drops of orange extract or finely grated zest for brightness that pairs well with chocolate.
- Spring/Summer: Fold in a small amount of citrus zest or sprinkle chopped toasted nuts on top before baking for texture.
Testing Timeline
Here’s a practical timeline so you can plan baking alongside other tasks:
- 10 minutes — gather and measure ingredients, preheat the oven, and prep muffin tin.
- 10 minutes — whisk dry ingredients and combine wet ingredients until smooth.
- 2–3 minutes — fold wet and dry together and fold in chips and walnuts.
- 5 minutes — rest the batter to hydrate the coconut flour.
- 25–27 minutes — bake at 350°F until golden and a toothpick comes out clean or with a few moist crumbs.
- 10–15 minutes — cool in the pan, then transfer to a rack to cool completely.
Keep-It-Fresh Plan
Storage is simple and saves time. These muffins stay moist and flavorful when handled correctly.
- Room temperature: Store in an airtight container for 1–2 days if your kitchen is cool.
- Refrigerator: Store in an airtight container for up to 5 days; bring to room temperature or warm briefly before eating.
- Freezer: Individually wrap and freeze for up to 3 months. Thaw at room temperature or warm in a low oven or toaster oven.
Ask the Chef
Q: Can I make these into mini muffins?
A: Yes. Reduce the baking time; start checking at 12–14 minutes since smaller portions bake faster.
Q: My batter looked very thick — is that right?
A: Yes. The recipe intentionally yields a very thick batter because almond flour lacks the gluten structure of wheat. Letting it rest helps the coconut flour absorb liquid and soften the batter.
Q: Can I omit the chocolate chips to reduce sweetness?
A: Absolutely. The muffins will be less sweet and you may want to reduce the monk fruit slightly if you remove the chips, but the structure and moisture should remain intact.
Ready, Set, Cook
When you’re ready, preheat the oven and gather your mise en place. Follow the steps in order, and don’t skip the short rest — it’s the small move that makes these muffins reliable every time. Enjoy baking, and please tell me how yours turn out: did you keep the black walnuts or try a different nut? Happy baking.
Black Walnut Chocolate Chip Keto Low-Carb Muffins With Almond Flour
Ingredients
Equipment
Method
- Preheat oven to 350°F. Generously spray a muffin tin with cooking spray.
- In a large bowl, whisk together 3 cups almond flour (300 g), 4 tablespoons coconut flour (firmly packed, 32 g), 1 tablespoon baking powder, 1 teaspoon baking soda, and 1 teaspoon salt.
- In a separate bowl, whisk together 3/4 cup monk fruit, 6 tablespoons melted ghee, 6 tablespoons full-fat canned coconut milk, 3 large room-temperature eggs, and 1 tablespoon vanilla extract until smooth.
- Pour the wet ingredients into the dry ingredients and stir until just combined. The mixture will be very thick.
- Fold in 1/2 cup + 1 tablespoon Stevia-sweetened chocolate chips and 1/4 cup diced black walnuts.
- Let the batter rest for 5 minutes to allow the coconut flour to absorb the moisture. Stir once after resting if needed.
- Fill each muffin cup about two-thirds full (an ice cream scoop works well for even portions).
- Bake at 350°F for 25–27 minutes, or until the tops are golden brown and a toothpick inserted into the center comes out clean or with a few moist crumbs.
- Remove the pan from the oven and let the muffins cool in the pan for 10–15 minutes. Run a knife around the sides of each muffin to loosen them and remove them from the pan. Transfer to a rack and cool completely before serving or storing.