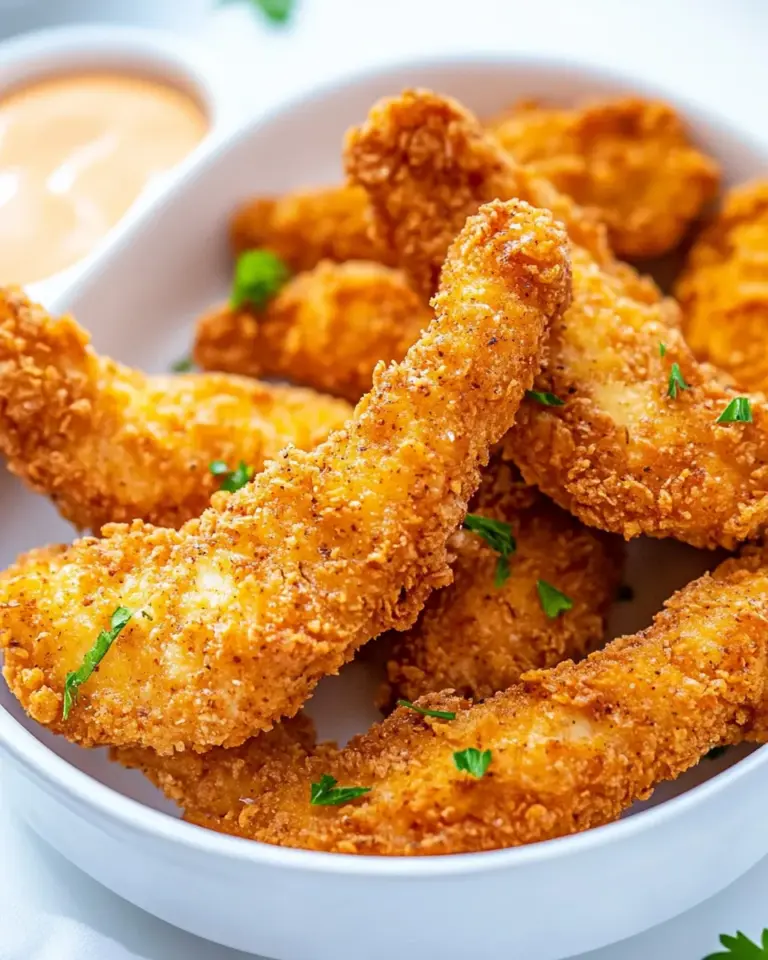
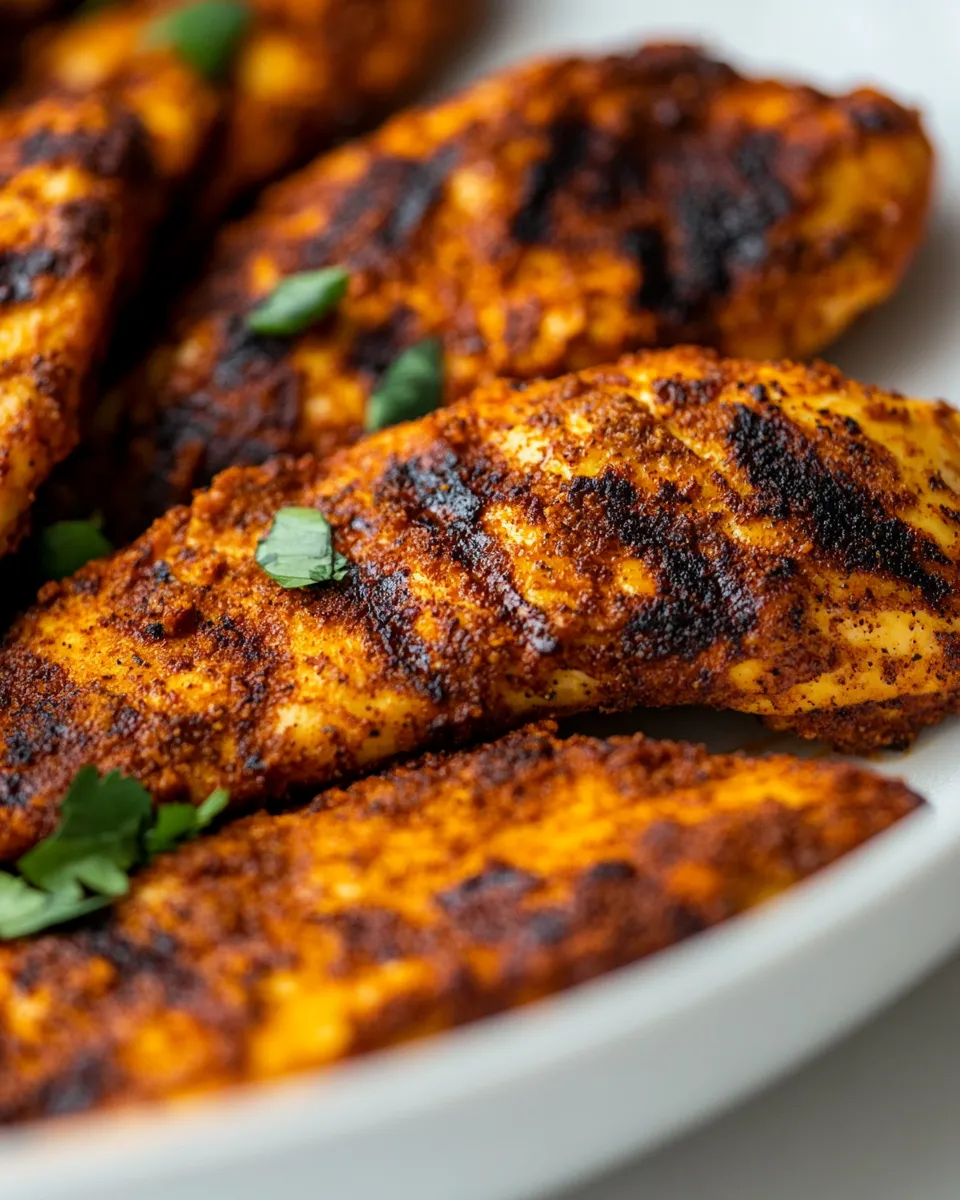
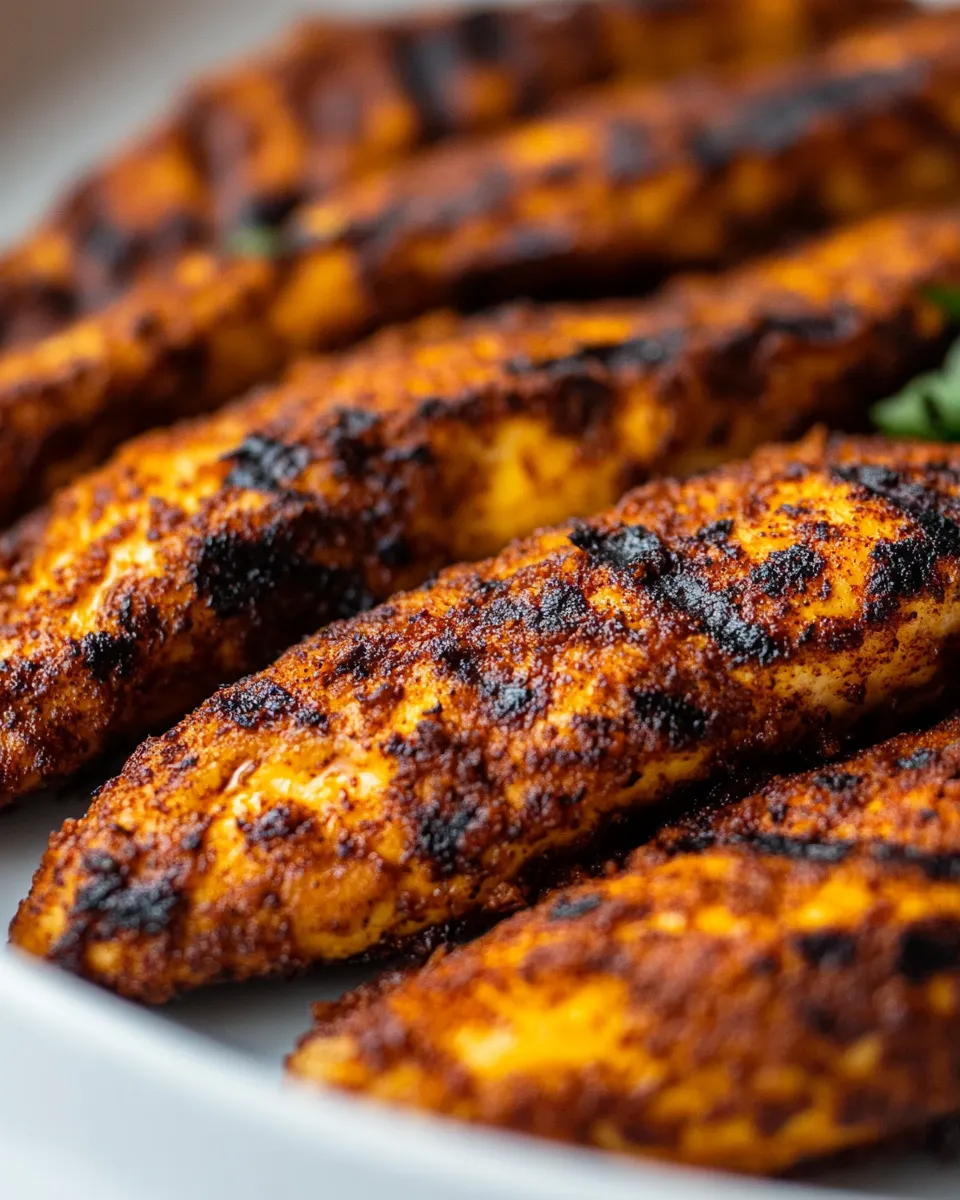
Blackened Chicken Tenders
These blackened chicken tenders are my go-to when I want dinner that’s quick, bold, and satisfying. They take advantage of a simple spice mix and high heat to get that signature char — crisp exterior, juicy center — without a long list of steps or a sink full of dishes. If you like punchy flavor and straightforward technique, this one delivers every time.
I keep the ingredient list tight: chicken tenders, oil, and a blackened seasoning mix. That’s intentional. With the right heat and a short rest at the end, these tenders stay tender and slice clean for salads, sandwiches, or a protein-forward weeknight plate.
Below you’ll find a clear ingredient glance, step-by-step instructions taken directly from the recipe blueprint, and practical notes for swaps, tools, troubleshooting, storage, and seasonal serving ideas. Read straight through or skip to the section you need. Let’s cook.
Ingredients at a Glance
- 1.5 lbs chicken tenders — the lean, fast-cooking protein; uniform tenders help everything finish at the same time.
- 3 tablespoons avocado oil, or oil of choice — provides a high smoke point for quick searing and helps the seasoning adhere.
- 1 tablespoon blackened seasoning mix — the flavor driver; coats the chicken and forms that dark, charred crust when cooked hot.
Blackened Chicken Tenders, Made Easy
- Place 1.5 lbs chicken tenders in a large bowl or a resealable plastic bag. Add 3 tablespoons avocado oil and 1 tablespoon blackened seasoning; toss or shake until the tenders are evenly coated.
- Heat a large skillet over medium-high heat until hot (about 2–3 minutes).
- Arrange the coated tenders in a single layer in the hot skillet without crowding; cook in batches if needed.
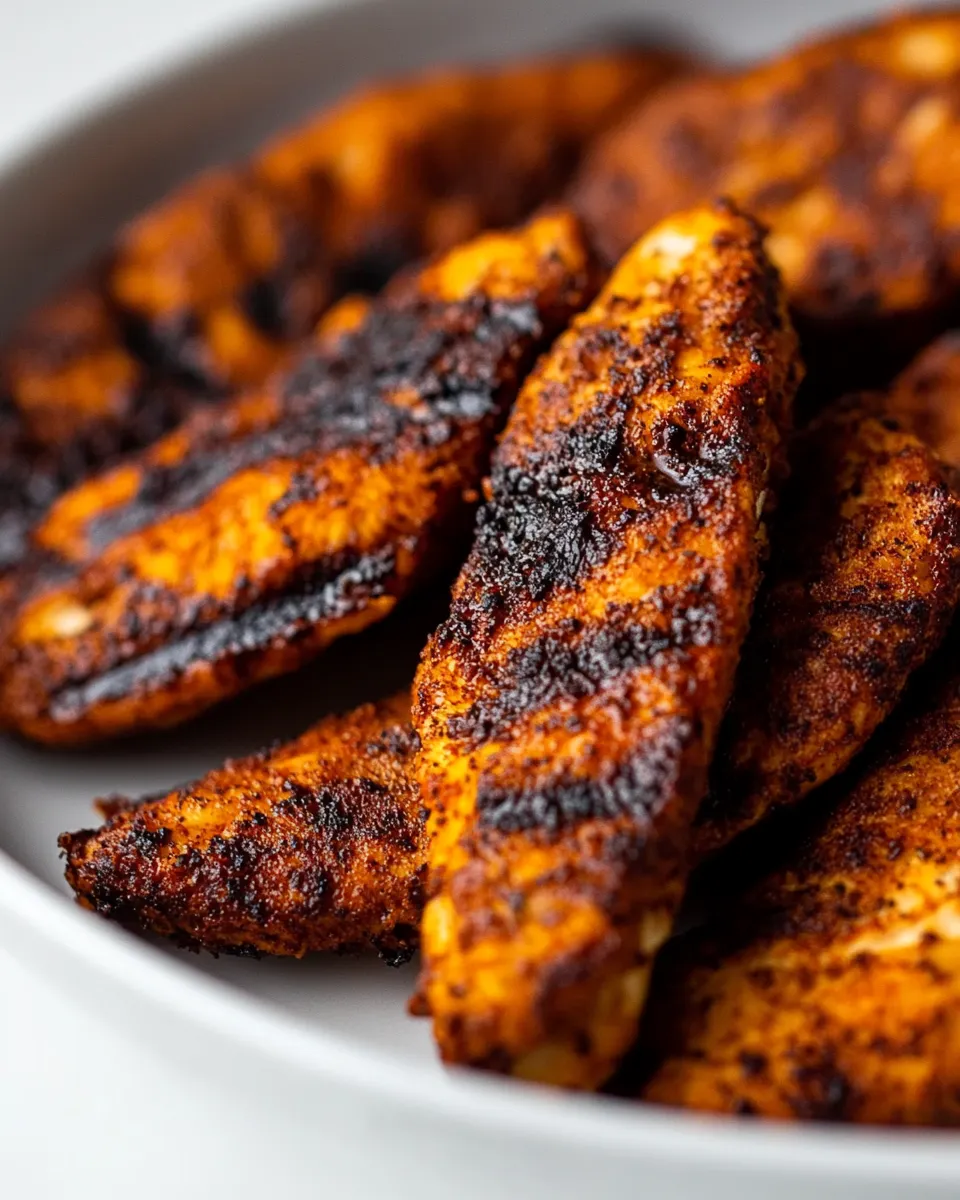
- Cook the tenders 3–4 minutes on the first side without moving them, then flip and cook 3–4 minutes more, until the outsides are charred to your liking and the chicken is cooked through (internal temperature 165°F / 74°C or no pink in the center).
- Transfer the cooked tenders to a plate and let rest for at least 5 minutes before slicing.
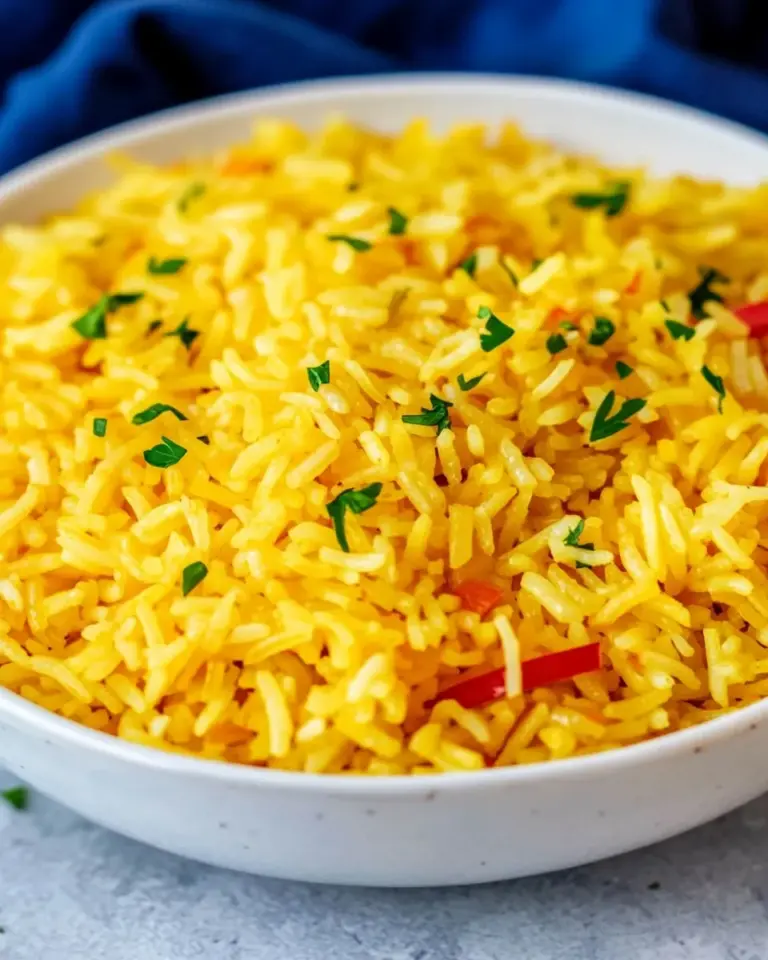
- Slice and serve (for example: in sandwiches, on salads, in rolls, or with vegetables and your favorite dipping sauce).
Why This Recipe Works
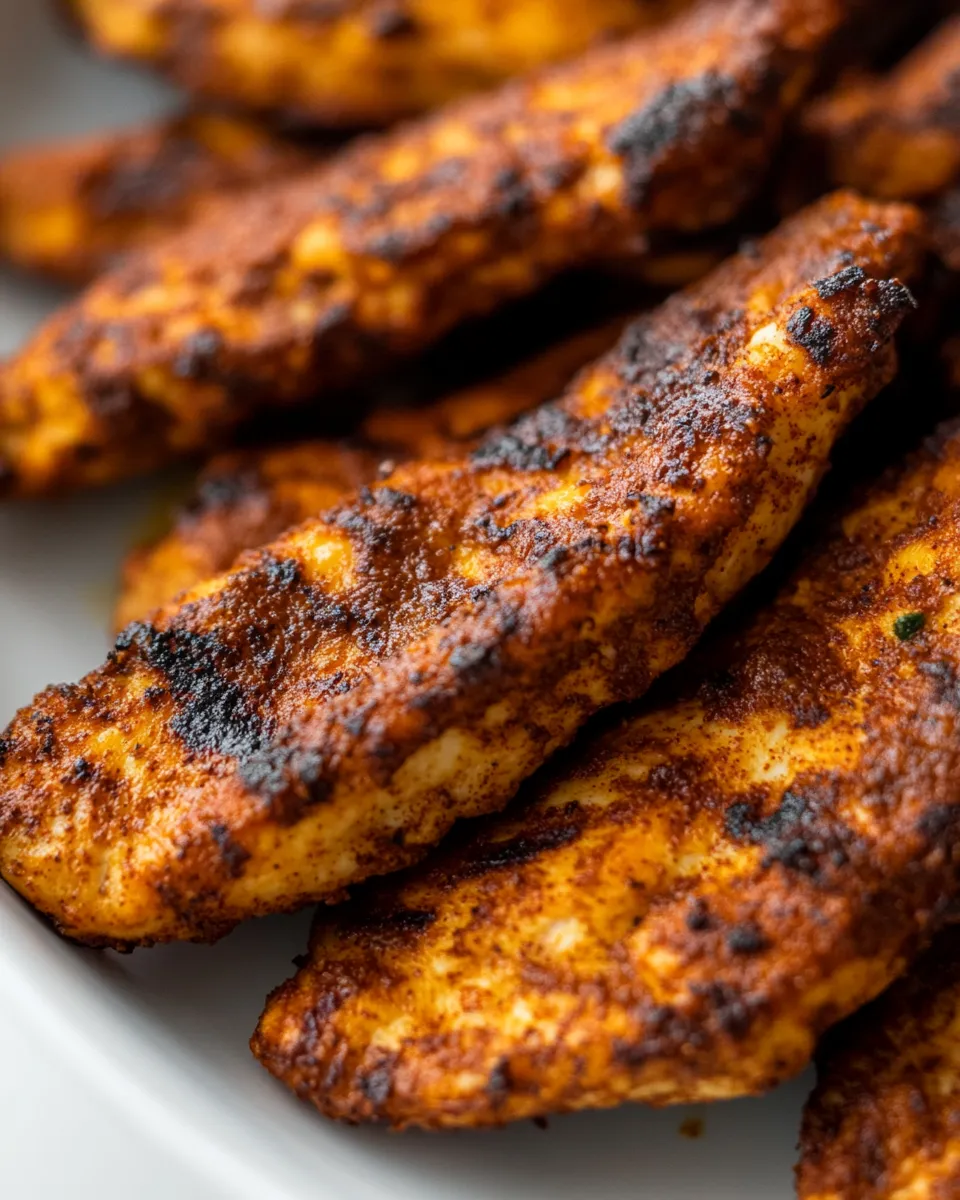
Blackening is essentially a high-heat sear that lets seasoning caramelize and smoke slightly, forming a concentrated crust. The short cook time matters: tenders are thin and cook quickly, so 3–4 minutes per side gives you a charred exterior without overcooking the interior.
Using a neutral, high-smoke-point oil like avocado oil protects the seasoning from burning too fast and promotes even browning. Tossing the tenders with oil first ensures the seasoning sticks and the heat transfers uniformly across the surface.
Finally, the brief rest at the end keeps the juices where you want them. Resting gives the proteins time to redistribute moisture so that when you slice, the tenders remain juicy instead of drying out on the plate.
Ingredient Flex Options
The recipe is intentionally minimal so you can adapt around what you have. The oil line even includes “or oil of choice” to remind you that the main consideration is smoke point — choose an oil that tolerates medium-high heat. If you prefer a different heat level or flavor profile, pick a blackened seasoning mix that suits you; blends vary from smoky and mild to aggressively spicy.
Keep the proportions the same: 3 tablespoons oil and 1 tablespoon seasoning for 1.5 lbs of tenders gives consistent coating and browning. If you scale the protein, maintain that ratio so the crust and sear behave similarly.
Hardware & Gadgets
Good tools make this easy and repeatable.
- Heavy skillet (cast iron or stainless steel) — holds and distributes heat for a steady sear; cast iron gives the best crust but stainless works fine.
- Tongs — for flipping without piercing the meat too much.
- Instant-read thermometer — the fastest, most reliable way to confirm 165°F / 74°C without cutting into the tenders and losing juices.
- Large bowl or resealable plastic bag — to toss the tenders with oil and seasoning so each piece is evenly coated.
- Plate and tent of foil — to rest the cooked tenders while you finish remaining batches.
Things That Go Wrong
Here are the common missteps and how to avoid them.
- Overcrowding the pan — crowding drops the skillet temperature and causes steaming instead of searing. Cook in batches so each tender gets direct contact with the hot surface.
- Cooking at too low a heat — you won’t get the characteristic char; increase the heat until the skillet is hot (2–3 minutes on medium-high as a guideline) before adding the chicken.
- Moving the tenders too soon — flipping before a sear forms can tear the crust and prevent even browning. Let the tenders cook 3–4 minutes on the first side undisturbed.
- Assuming visual cues are enough — color can be misleading because seasoning darkens on its own. Use an instant-read thermometer or confirm no pink remains in the center to ensure doneness.
- Skipping the rest — slicing immediately after cooking releases juices that could have been retained by a short rest. Give them at least 5 minutes.
Fresh Seasonal Changes
Blackened tenders are a flexible protein to pair with seasonal produce. In spring and summer, serve sliced over a crisp salad with crisp lettuces and a light vinaigrette. In fall and winter, tuck them into warm rolls with roasted root vegetables or use them to top grain bowls with roasted squash and greens.
Leftovers can be brightened with seasonal salsas or pickled vegetables to cut through the charred flavor. The tenders also work well with whatever warm-carb you prefer: rice, farro, or a simple sheet-pan of seasonal vegetables.
Chef’s Rationale
I keep this recipe tight because the technique is the point. Blackening is about controlled, high-heat contact to concentrate flavor. The oil isn’t just to prevent sticking — it acts as a medium to transfer heat and makes sure the seasoning forms an even crust.
Chicken tenders are chosen because they’re consistent in size and cook quickly. If you used bone-in or much thicker cuts, you’d need to lower the heat and extend cooking time to avoid over-charring the outside while the inside remains underdone.
Finally, I recommend resting because texture matters as much as flavor. Cutting too early makes the dish dry and less appealing. A short rest keeps the mouthfeel right and makes the tenders much nicer to slice and serve.
Storing, Freezing & Reheating
Cool cooked tenders completely before storing. For best quality, refrigerate in an airtight container for up to 3–4 days. If you plan to freeze, flash cool on a tray so they don’t stick together, then transfer to a freezer-safe bag or container. Frozen tenders keep well for 2–3 months.
Reheat gently to retain juiciness. Preferred method: a 350°F oven (175°C) for about 8–12 minutes from refrigerated, checking that the internal temperature reaches a safe 165°F / 74°C. From frozen, thaw in the fridge overnight and reheat the same way. If you’re in a hurry, reheat briefly in a hot skillet to refresh the crust — a quick 1–2 minutes per side over medium heat will do, but watch carefully to avoid drying.
Ask the Chef
Q: Can I use chicken breasts instead of tenders?
A: Yes, but slice them into uniform strips so they cook in the same time window. Thicker pieces may need lower heat and longer cooking so the interior reaches 165°F / 74°C before the outside burns.
Q: My seasoning burned before the chicken was done. What happened?
A: Either the pan was too hot, or the seasoning sat exposed too long before contact with the oil and meat. Lower the heat a touch and ensure the oil coats the tenders so the seasoning has a buffer. If you want a milder char, reduce heat slightly and extend cook time in smaller increments.
Q: How do I make this less spicy?
A: Choose a milder blackened seasoning mix. The recipe uses one tablespoon for 1.5 lbs of tenders; switching to a mild blend keeps the technique intact while lowering heat.
Save & Share
This recipe is simple to scale and perfect for weeknight rotation. Bookmark it, pin it, or drop a link into your meal plan for the next busy night. If you cook it, share a photo — I love seeing how people plate these tenders with their favorite sides.
Short shareable caption you can copy: Quick, smoky blackened chicken tenders — charred outside, juicy inside. Perfect for salads, sandwiches, or a protein-packed weeknight meal. Ready in about 20 minutes.
If you have tweaks that worked for you, tell me about them. I test, I adjust, and I always pass along improvements that make a practical difference in the kitchen.
Blackened Chicken Tenders
Ingredients
Equipment
Method
- Place 1.5 lbs chicken tenders in a large bowl or a resealable plastic bag. Add 3 tablespoons avocado oil and 1 tablespoon blackened seasoning; toss or shake until the tenders are evenly coated.
- Heat a large skillet over medium-high heat until hot (about 2–3 minutes).
- Arrange the coated tenders in a single layer in the hot skillet without crowding; cook in batches if needed.
- Cook the tenders 3–4 minutes on the first side without moving them, then flip and cook 3–4 minutes more, until the outsides are charred to your liking and the chicken is cooked through (internal temperature 165°F / 74°C or no pink in the center).
- Transfer the cooked tenders to a plate and let rest for at least 5 minutes before slicing.
- Slice and serve (for example: in sandwiches, on salads, in rolls, or with vegetables and your favorite dipping sauce).
Notes
To reheat:Place the chicken tenders on a baking sheet and broil them on high for a couple of minutes until heated through. You could also pop them in an air fryer for a couple of minutes. For the best texture, we don’t recommend the microwave.
To freeze:Once the chicken has cooled completely, transfer the tenders to a cookie sheet. Freeze them in a single layer on the cookie sheet to ensure that they don’t stick together, then transfer them to a freezer-safe bag or container for up to 3 months. Reheat in the oven until they’re crispy.