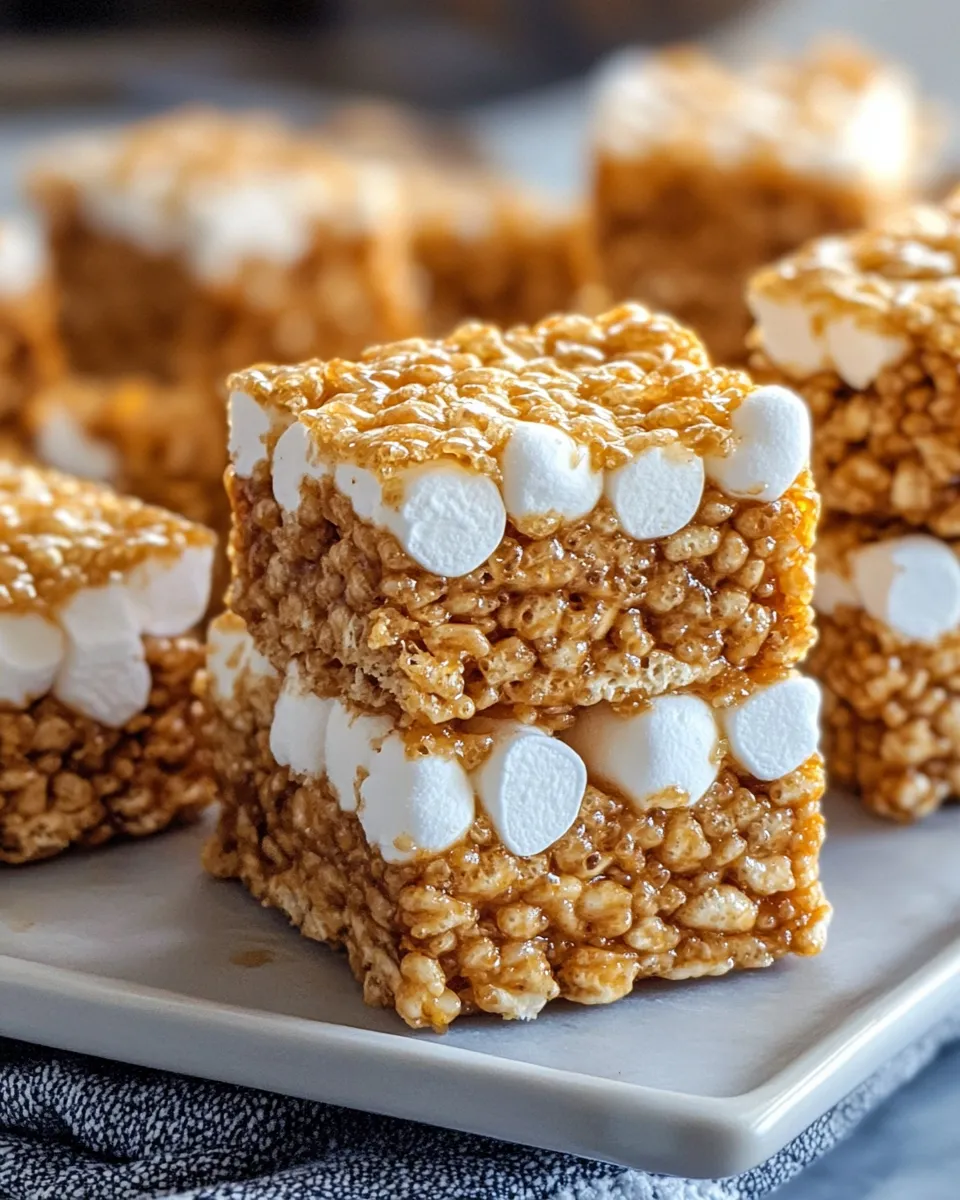
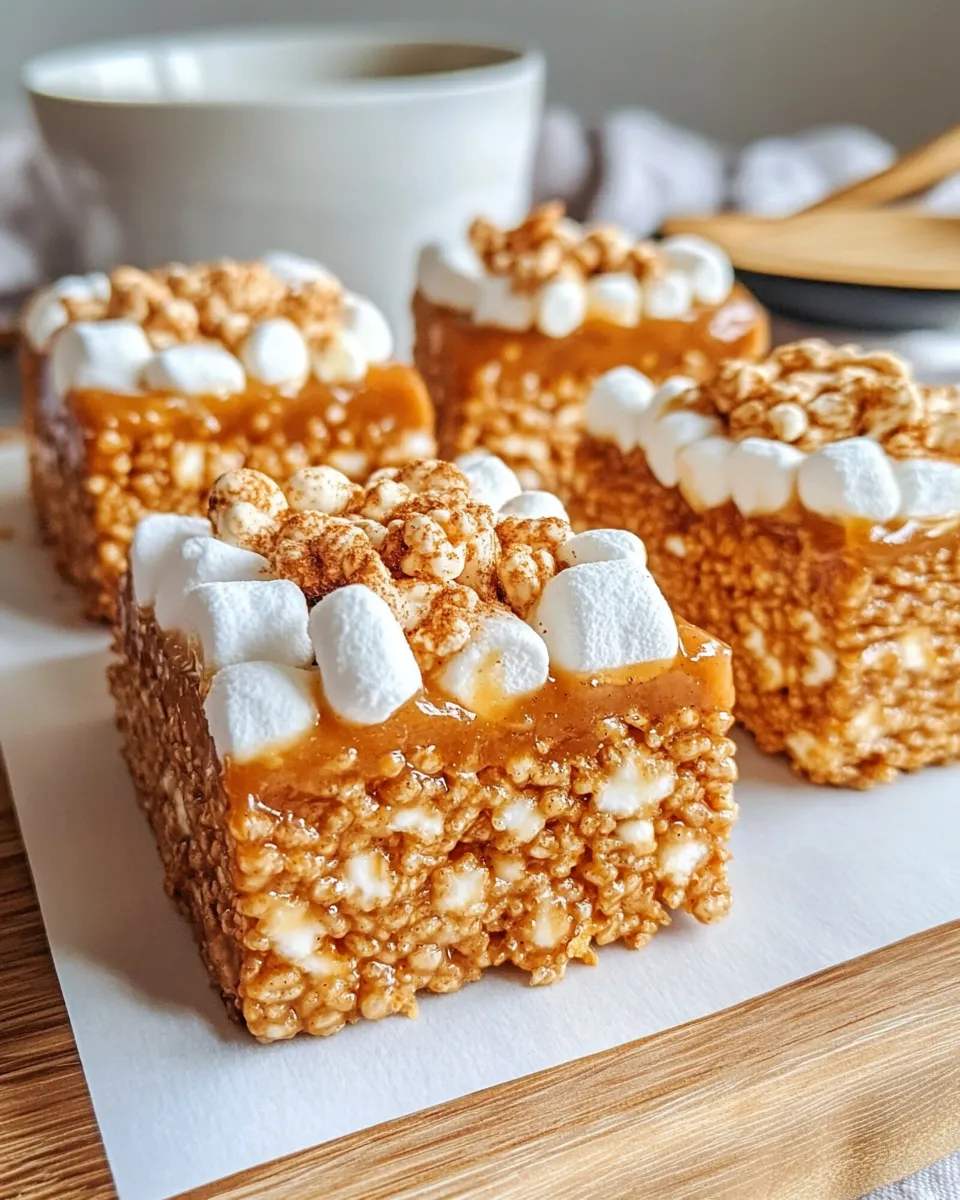
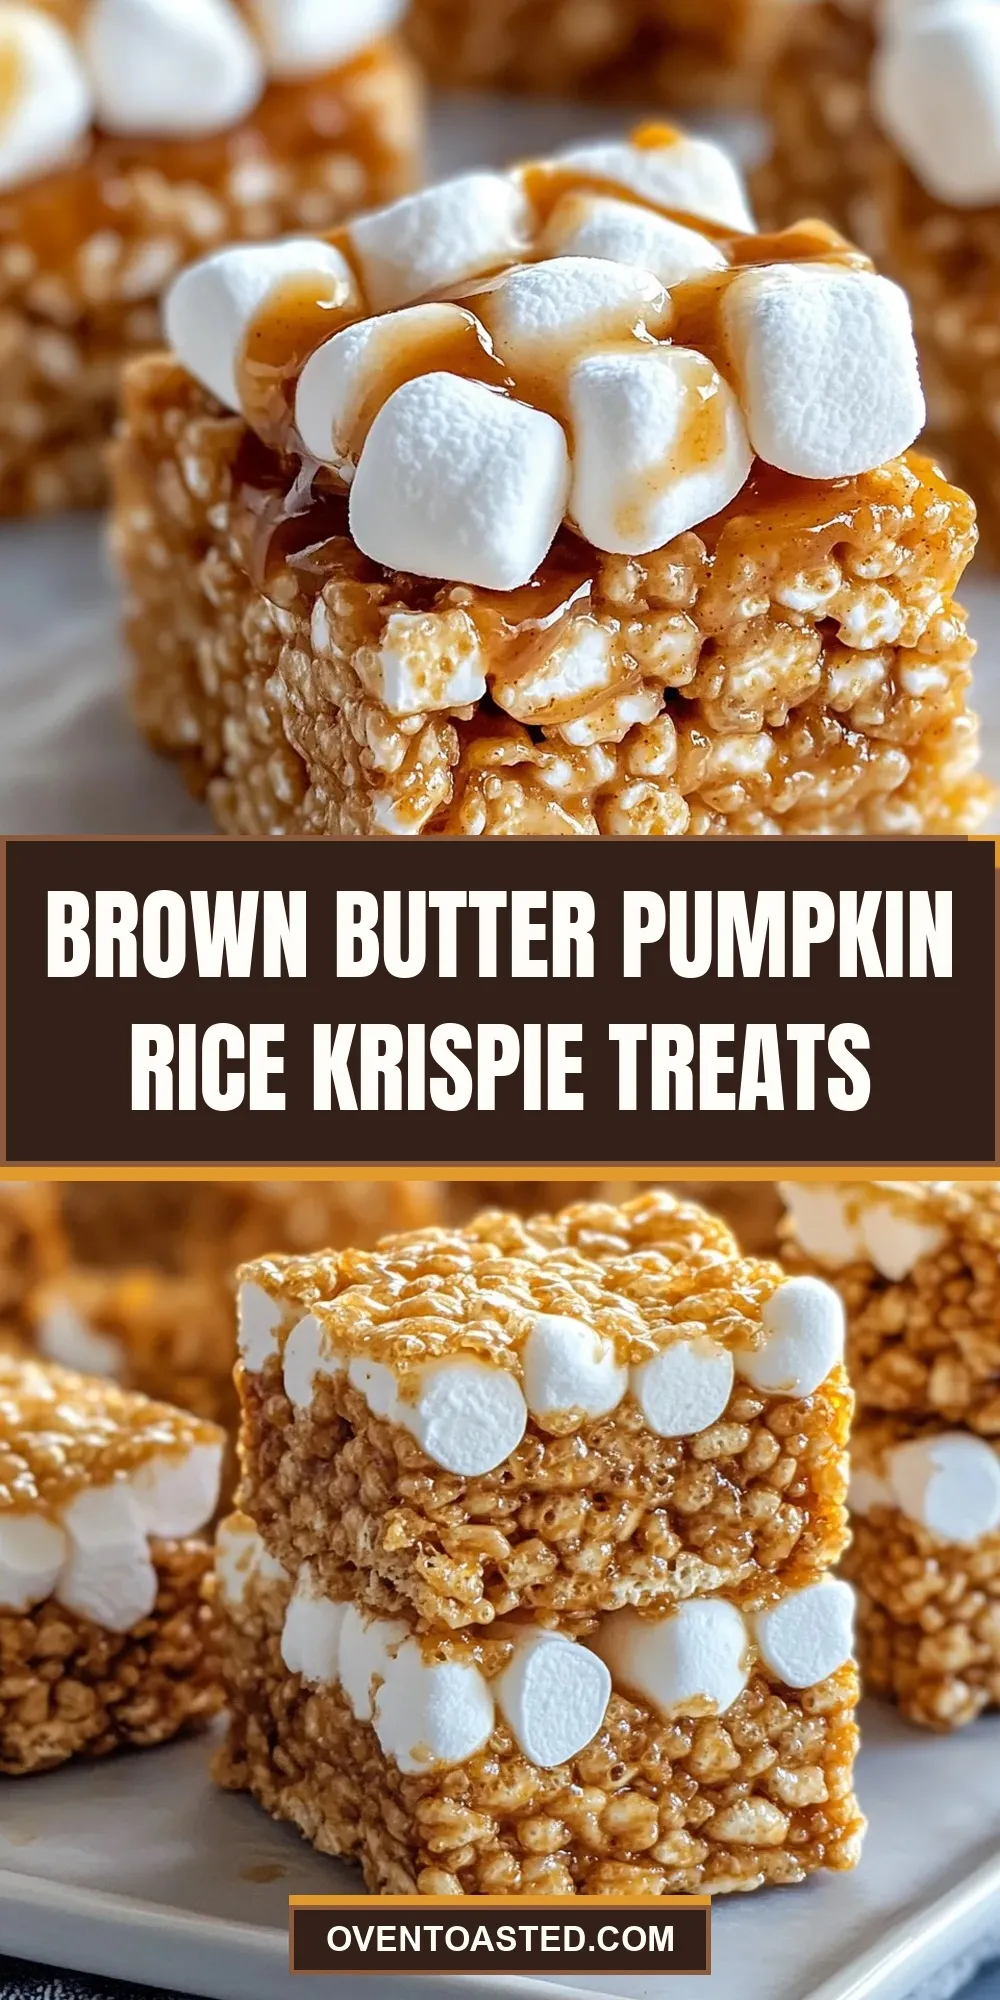
Brown Butter Pumpkin Rice Krispie Treats
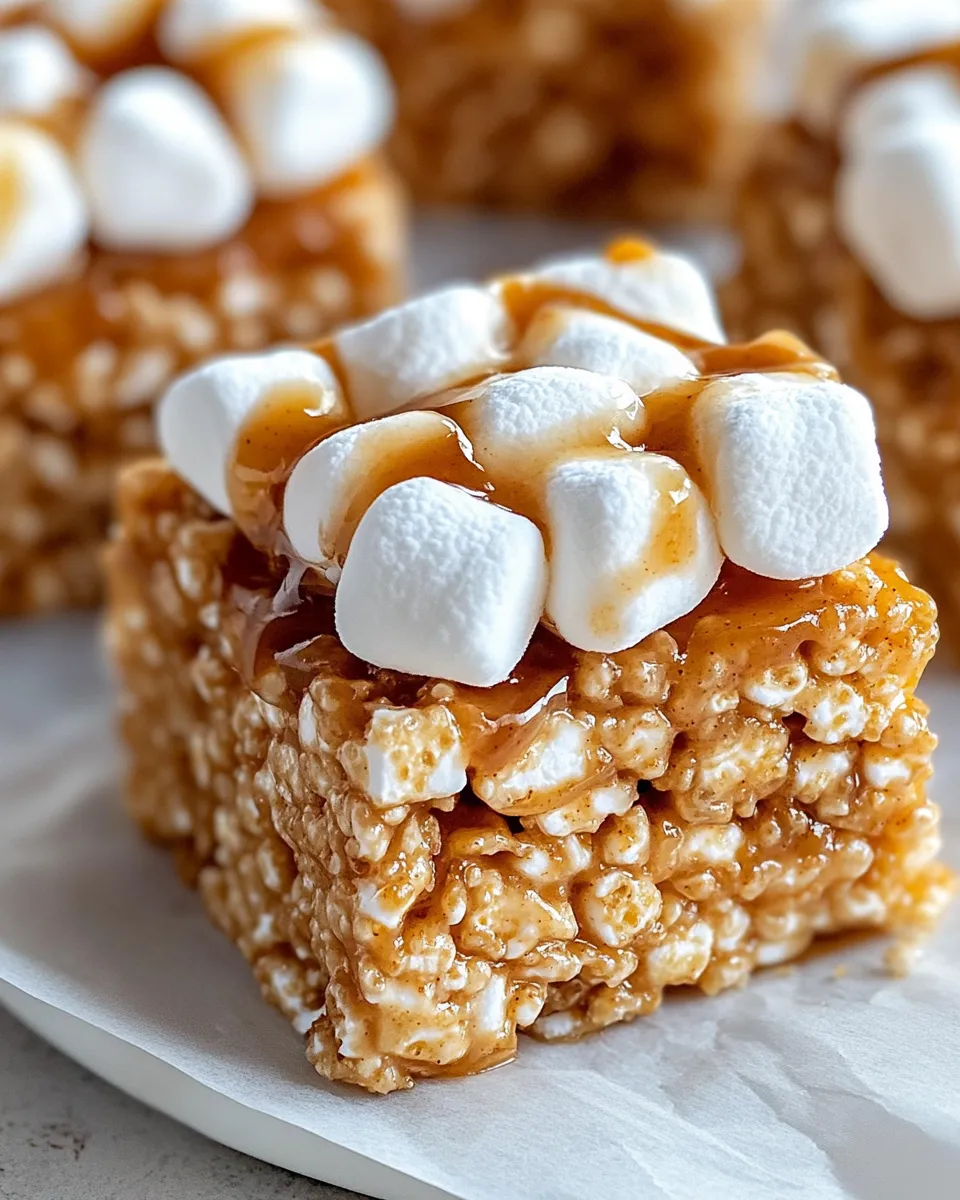
There’s something magical about the marriage of browned butter and pumpkin in fall-inspired desserts, but when you add the nostalgic crunch of Rice Krispies, you get a game changer. These Brown Butter Pumpkin Rice Krispie Treats are the perfect cozy snack or dessert that’s irresistibly soft, chewy, and packed with autumnal flavor. The nutty depth from the browned butter elevates the classic marshmallow base, while the pumpkin puree and pumpkin pie spice bring warmth and a subtle spice that makes these treats truly unforgettable. Whether you’re making them for a seasonal party, a lunchbox surprise, or just because the craving hits, these treats are guaranteed to become a fast favorite.
Why You’ll Keep Making It
These Brown Butter Pumpkin Rice Krispie Treats are more than just a twist on a classic. Here’s why they’ll become a regular in your recipe rotation:
- Simple yet sophisticated: The browned butter adds a gourmet touch without extra fuss.
- Seasonal flavors all year round: Pumpkin and spice combine to give you cozy vibes anytime you want.
- Quick and kid-friendly: Ready in under 30 minutes, perfect for last-minute cravings.
- Customizable: You can easily swap spices or add-ins to match your taste.
- Perfect texture: Crispy cereal meets gooey marshmallow and smooth pumpkin for the ideal bite.
Ingredient Notes
- Unsalted Butter (1/4 cup): Browning the butter is key here—it adds a rich, nutty flavor that transforms the treats. Use unsalted to control the salt level.
- Mini Marshmallows (10 oz package): Mini marshmallows melt quickly and evenly, creating that signature sticky, chewy texture.
- Rice Krispies Cereal (6 cups): The classic crispy rice cereal provides lightness and crunch. Feel free to use the gluten-free version if needed.
- Pumpkin Puree (1 cup): Adds moisture, natural sweetness, and the unmistakable pumpkin flavor. Avoid pumpkin pie filling as it contains added sugar and spices.
- Pumpkin Pie Spice (1 teaspoon): A blend of cinnamon, nutmeg, ginger, and cloves that gives just the right amount of warmth and spice.
- Vanilla Extract (1/2 teaspoon): Enhances the overall flavor and rounds out the spices.
- Salt (1/4 teaspoon): Balances the sweetness and brings out the nutty butter notes.
Gear Up: What to Grab
- Large saucepan or skillet: For browning the butter and melting marshmallows.
- Spatula or wooden spoon: To stir the mixture smoothly.
- 9×13-inch baking dish: For pressing and setting the treats.
- Non-stick spray or parchment paper: To line the pan for easy removal.
- Measuring cups and spoons: For accurate ingredient portions.
- Mixing bowl (optional): To combine pumpkin with spices before adding to the butter mixture, for better integration.
Brown Butter Pumpkin Rice Krispie Treats — Do This Next
Step 1: Brown the Butter
Place the unsalted butter in a large saucepan over medium heat. Let it melt slowly, stirring occasionally. Watch closely as it foams, then turns a golden brown with a nutty aroma—this usually takes about 4-5 minutes. Remove from heat immediately to prevent burning.
Step 2: Melt the Marshmallows and Combine Pumpkin
Add the entire package of mini marshmallows to the browned butter. Stir continuously until the marshmallows are fully melted and smooth. In a small bowl, combine pumpkin puree, pumpkin pie spice, vanilla extract, and salt. Stir this mixture into the melted marshmallows until fully incorporated and glossy.
Step 3: Add the Rice Krispies
Pour in the Rice Krispies cereal all at once. Using a spatula, fold gently but thoroughly until every crispy piece is coated with the pumpkin-marshmallow mixture. Work quickly but carefully to avoid crushing the cereal.
Step 4: Press Into Pan
Lightly grease or line your 9×13-inch pan with parchment paper. Transfer the mixture to the pan and press firmly and evenly. You can use a piece of parchment paper or a flat spatula to help press down without sticking.
Step 5: Cool and Cut
Let the treats cool at room temperature for about 30-40 minutes until set. Once firm, cut into squares or rectangles and serve.
Better Choices & Swaps
- Butter substitute: Use coconut oil for a dairy-free and slightly tropical twist.
- Marshmallows: Use a vegan marshmallow brand if preferred.
- Cereal: Swap Rice Krispies for another puffed rice cereal or even gluten-free crispy cereal.
- Extra flavor: Add a handful of toasted pecans or walnuts for crunch and depth.
- Spices: Experiment with cardamom or allspice if you want a different warm spice profile.
Chef’s Rationale
The genius of these treats lies in the browned butter, which introduces a toasty, caramel-like flavor profile that complements the natural earthiness of pumpkin. Instead of traditional buttery sweetness, the brown butter deepens the flavor and makes each bite more complex. The pumpkin puree not only adds moisture but also gives a subtle, seasonal sweetness that balances the marshmallow’s sticky texture. Pumpkin pie spice is used sparingly to avoid overpowering the delicate balance of flavors. Finally, the Rice Krispies provide the perfect crunch that keeps the treat from feeling too dense or heavy. This balance of textures and flavors is what makes these Brown Butter Pumpkin Rice Krispie Treats so special.
Cooling, Storing & Rewarming
After pressing the mixture into the pan, let the treats cool completely at room temperature to firm up properly. Once cooled, cut into your preferred sizes. Store the treats in an airtight container at room temperature for up to 3 days, or refrigerate for up to a week if you’d like them to last longer.
If you prefer them warm and gooey, microwave individual squares for about 10-15 seconds before serving. Avoid reheating the entire batch to prevent drying out. These treats also freeze well—wrap tightly in plastic wrap and store in a freezer-safe container for up to 3 months. Thaw at room temperature before enjoying.
Common Qs About Brown Butter Pumpkin Rice Krispie Treats
Can I use canned pumpkin pie filling instead of pumpkin puree?
It’s best to use plain pumpkin puree rather than pumpkin pie filling. The pie filling is already sweetened and spiced, which can throw off the flavor balance and texture of your treats.
How do I know when the butter is browned and not burnt?
Browned butter will have a golden amber color with a nutty aroma. When you see small brown specks forming at the bottom of the pan and smell a rich, toasted scent, it’s ready. Remove immediately to prevent burning, which tastes bitter.
Can I make these treats gluten-free?
Yes! Simply use a gluten-free crispy rice cereal instead of the traditional Rice Krispies to keep the treats gluten-free without sacrificing texture.
Can I add mix-ins like chocolate chips or nuts?
Absolutely! Stir in a handful of chopped nuts, seeds, or chocolate chips after mixing in the cereal for added texture and flavor. For a chocolate twist, try pairing these treats with Brown Butter Chocolate Chunk Cookies for a decadent dessert spread.
Before You Go
Before you dive into making these luscious treats, gather all your ingredients and tools to streamline the process. Remember, the key to success is attentive browning of the butter and quickly folding in the cereal to preserve the crunch. Don’t be shy about experimenting with spices or mix-ins to make this recipe your own. These Brown Butter Pumpkin Rice Krispie Treats are sure to bring joy and a touch of fall magic to your kitchen any time of year.
Enjoy the delightful blend of nutty, pumpkin-spiced sweetness in every bite — your new favorite twist on a beloved classic!
Share on Pinterest
Brown Butter Pumpkin Rice Krispie Treats
Ingredients
Equipment
Method
- Place the unsalted butter in a large saucepan over medium heat. Let it melt slowly, stirring occasionally. Watch closely as it foams, then turns a golden brown with a nutty aroma—this usually takes about 4-5 minutes. Remove from heat immediately to prevent burning.
- Add the entire package of mini marshmallows to the browned butter. Stir continuously until the marshmallows are fully melted and smooth. In a small bowl, combine pumpkin puree, pumpkin pie spice, vanilla extract, and salt. Stir this mixture into the melted marshmallows until fully incorporated and glossy.
- Pour in the Rice Krispies cereal all at once. Using a spatula, fold gently but thoroughly until every crispy piece is coated with the pumpkin-marshmallow mixture. Work quickly but carefully to avoid crushing the cereal.
- Lightly grease or line your 9x13-inch pan with parchment paper. Transfer the mixture to the pan and press firmly and evenly. You can use a piece of parchment paper or a flat spatula to help press down without sticking.
- Let the treats cool at room temperature for about 30-40 minutes until set. Once firm, cut into squares or rectangles and serve.
Notes
- For a dairy-free version, substitute the butter with coconut oil.
- Use vegan marshmallows and gluten-free cereal to accommodate dietary restrictions.
- Add chopped nuts or chocolate chips after mixing in the cereal for extra texture and flavor.
- Store treats in an airtight container at room temperature for up to 3 days, or refrigerate for up to a week.
- Freeze treats wrapped tightly for up to 3 months and thaw before serving.