Brownie Cookies
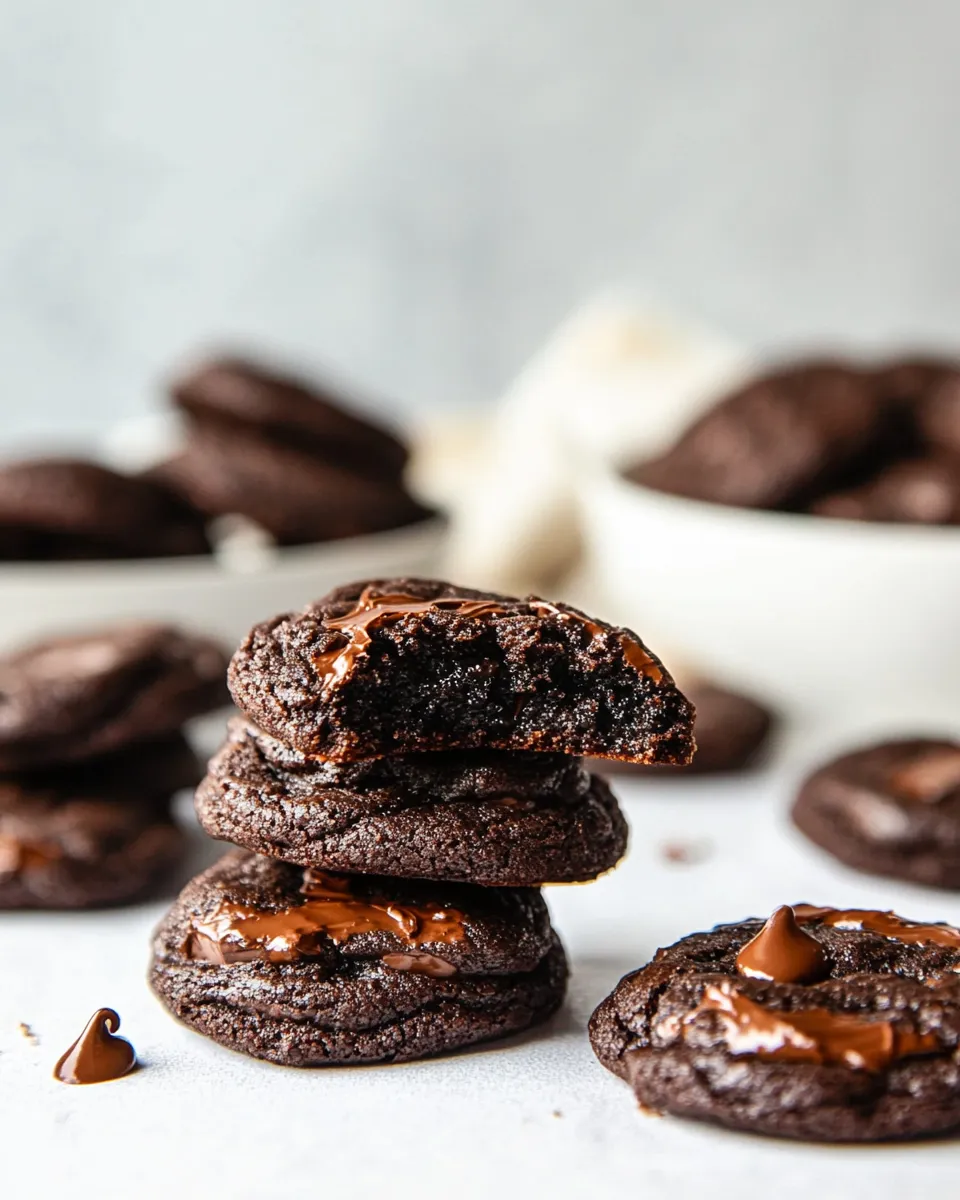
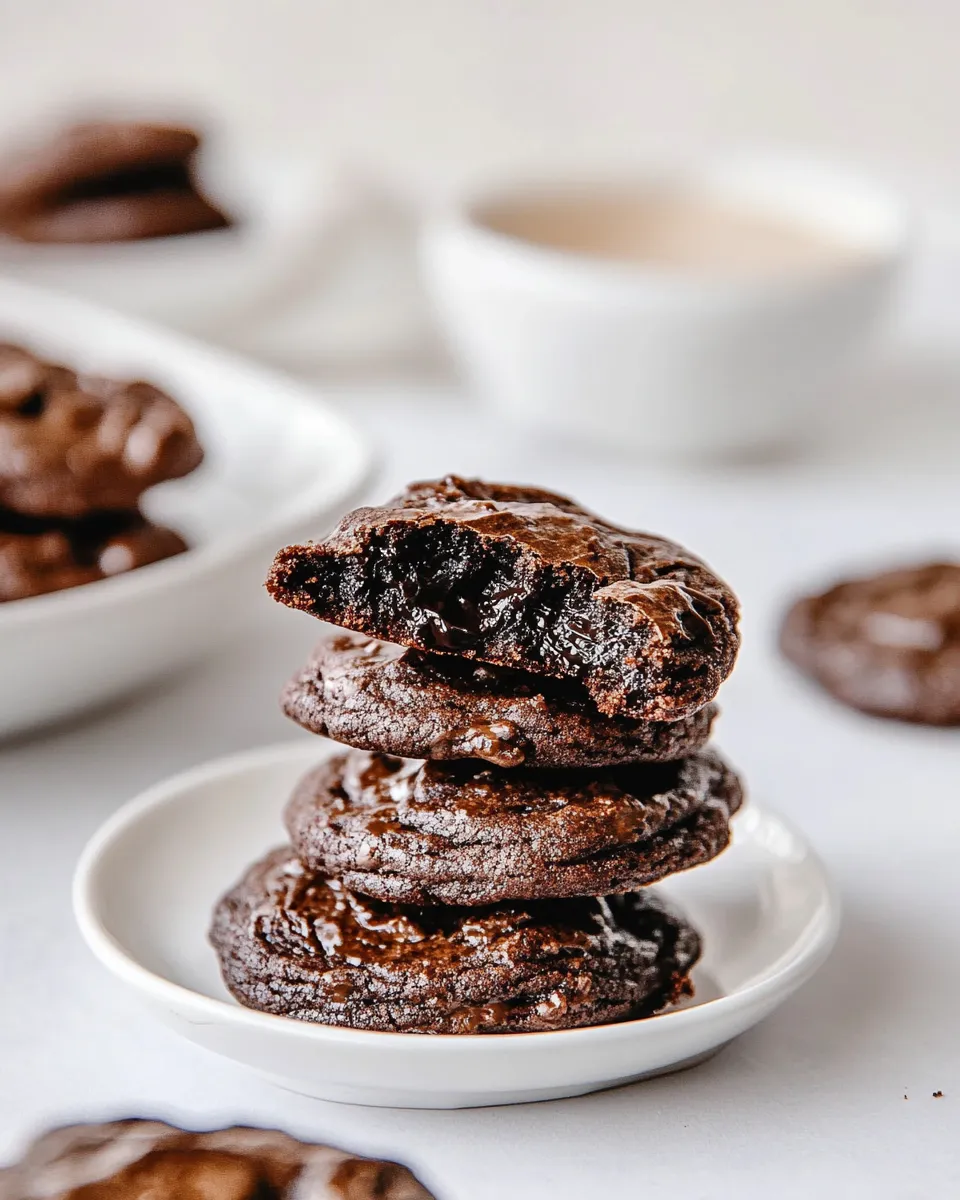
These brownie cookies are the kind of bake that solves multiple cravings at once: the fudgy richness of a brownie with the crisp-crackled top and hand-held convenience of a cookie. They take a little technique but the steps are straightforward. Follow them and you’ll get cookies with shiny, cracked tops and soft, dense centers that taste like a tiny, portable chocolate cake.
I like to make these when I want something impressive but not fussy. The method focuses on aerating the eggs and sugar for that crackled crown, then folding in warm chocolate so the batter stays glossy and light. The recipe moves quickly once you get the mixer going, and you can have a pan of cookies baking before you know it.
Below you’ll find a clear ingredient breakdown, the full step-by-step method taken exactly from the source, and practical tips for mix-and-match options, troubleshooting, and storage. Read through once, prepare your mise en place, and you’ll be set for a reliably delicious batch.
Ingredient Breakdown
- 3/4 cup plus 1 tablespoon all-purpose flour — provides the framework; measured accurately for the right fudgy density.
- 3/4 teaspoon baking powder — a small lift so cookies puff and crack; don’t increase it much or you’ll lose the brownie feel.
- 3 large eggs, at room temperature — the backbone of structure and volume; room temp eggs whip up better.
- 1 1/4 cups granulated sugar — sweetens and helps create that glossy, crackly top when beaten with the eggs.
- 3/4 teaspoon salt — balances sweetness and enhances chocolate flavor.
- 1 tablespoon canola oil — keeps the crumb tender and adds a bit of shine without weighing the cookies down.
- 1 teaspoon pure vanilla extract — lifts and rounds the chocolate notes; use a quality vanilla for best flavor.
- 5 tablespoons unsalted butter — melted with the chocolate for richness and sheen; gives that true brownie mouthfeel.
- 8 ounces semisweet or bittersweet chocolate — the main chocolate flavor; choose good-quality chocolate for the best results.
- 1/4 cup Dutch-process cocoa powder — deepens chocolate flavor and contributes to the dark, fudgy color.
Method: Brownie Cookies
- Adjust an oven rack to the middle position and preheat the oven to 350°F. Line two sheet pans with parchment paper.
- In a small bowl, whisk together 3/4 cup plus 1 tablespoon all-purpose flour and 3/4 teaspoon baking powder. Set aside.
- In the bowl of a stand mixer fitted with the paddle attachment, combine 3 large eggs (at room temperature), 1 1/4 cups granulated sugar, and 3/4 teaspoon salt. Beat on medium-high speed until the mixture is pale and has roughly doubled in volume, about 6 to 8 minutes.
- Reduce the mixer speed to low and add 1 tablespoon canola oil and 1 teaspoon pure vanilla extract. Mix just until combined.
- While the egg mixture is beating (or immediately after), melt 5 tablespoons unsalted butter and 8 ounces semisweet or bittersweet chocolate: place the butter in a small heavy-bottomed saucepan over low heat, add the chocolate, and stir frequently until smooth.
- Remove the pan from the heat and whisk in 1/4 cup Dutch-process cocoa powder until completely combined. Let the chocolate-butter mixture cool for 1 to 2 minutes so it is warm but not hot.
- With the mixer on low speed, add the warm chocolate-butter mixture to the egg mixture gradually (in a thin stream or in a few additions) and mix until combined.
- Add the flour and baking powder mixture to the batter and mix on low speed just until combined. Let the batter sit at room temperature for 5 minutes.
- Use a small scoop or two spoons to drop heaping tablespoons of batter onto the prepared sheet pans, spacing each cookie at least 2 inches apart. You should be able to fit about 12 cookies per pan.
- Bake the cookies one pan at a time on the middle rack at 350°F, rotating the pan halfway through baking. Bake until the cookies are puffed and cracked and the edges are set, about 8 to 12 minutes (begin checking at 8 minutes).
- Transfer the sheet pan to a wire rack and let the cookies cool completely on the pan.
Why You’ll Keep Making It
These brownie cookies hit the sweet spot between fudgy and portable. They have a delicate, shiny crust with an almost molten center that stays tender after cooling. Everyone recognizes the comforting appeal of chocolate and these cookies deliver it without needing a lot of fuss.
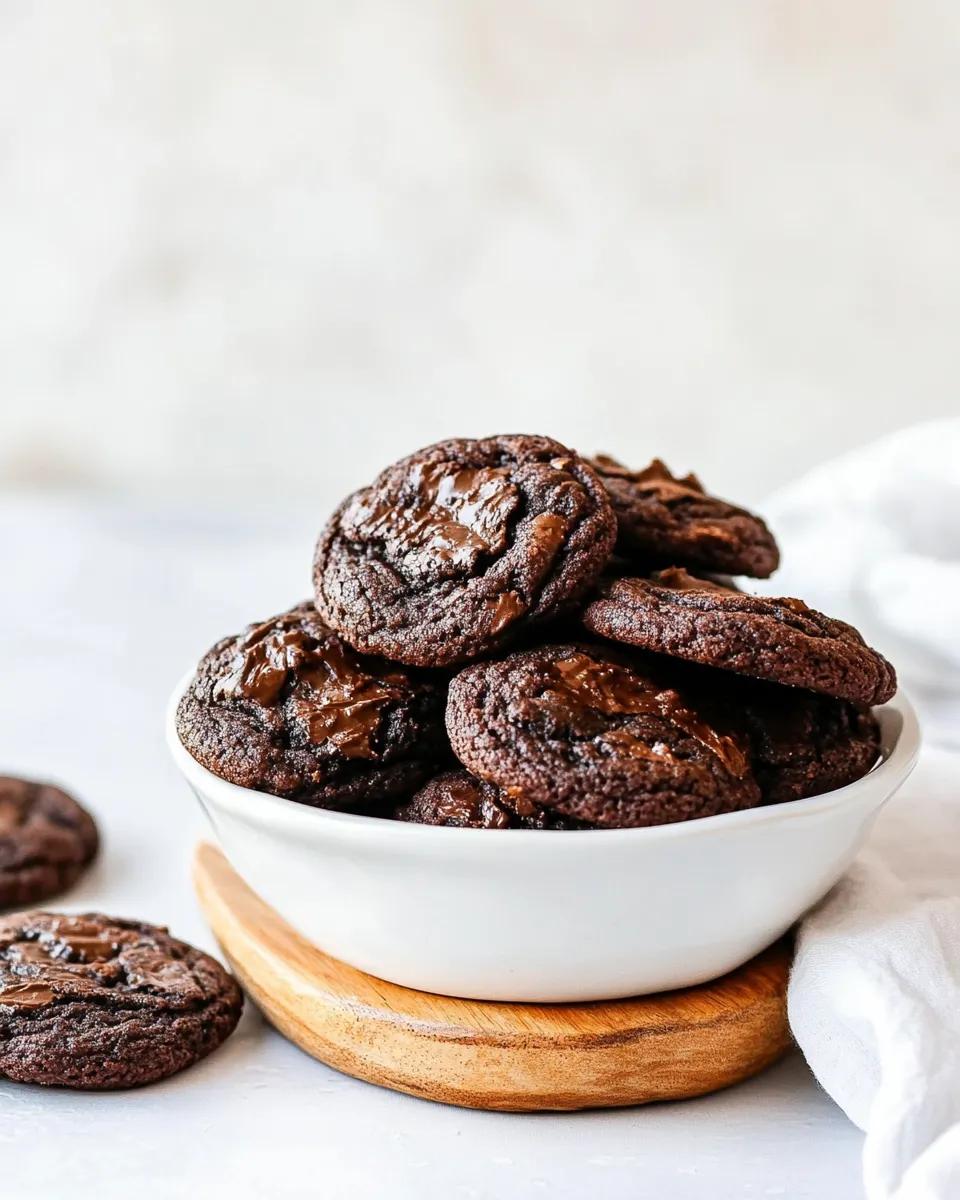
They’re versatile, too. Make them for an after-school treat, a bake sale, or a simple dessert after dinner. They travel well in a tin and pair perfectly with coffee or a glass of milk. For me, the satisfying texture and predictable results make them a repeat recipe in my rotation.
Ingredient Flex Options

I like options, but I stick close to the recipe when it comes to structural ingredients. Still, here are safe swaps and additions that won’t break the result:
- Chocolate: swap semisweet for bittersweet if you prefer less sugar, or use 60–70% cacao bars for deeper flavor.
- Fat: you can substitute vegetable oil for canola oil in equal measure; it won’t change texture much. I don’t recommend cutting the butter since it carries a lot of flavor when melted with the chocolate.
- Add-ins: fold in a small handful (about 1/3 cup) of chopped nuts or chocolate chips after the flour is incorporated for texture. Don’t overload the batter or the cookies won’t spread and crack properly.
- Extracts: a touch of espresso powder (1/2 teaspoon) in the warm chocolate intensifies chocolate flavor without making the cookies taste like coffee.
Gear Checklist
- Stand mixer with paddle attachment (or a hand mixer and a roomy bowl) — essential for whipping the eggs and sugar to volume.
- Small heavy-bottomed saucepan — for melting butter and chocolate evenly.
- Small bowl — to whisk the flour and baking powder together.
- Sheet pans and parchment paper — clean release and easier cleanup.
- Small cookie scoop or spoons — for uniform cookies that bake evenly.
- Wire rack — for cooling the cookies on the pan after baking.
Watch Outs & How to Fix
- Under-whipped eggs: if the egg-sugar mixture isn’t pale and doubled, the cookies will be flatter and won’t develop the signature crackle. Fix: keep beating until you reach volume; it can take 6–8 minutes.
- Hot chocolate mixture: if the chocolate mixture is too hot when added, it can deflate the egg foam and produce dense cookies. Fix: let it cool 1–2 minutes so it’s warm but not hot, or cool a bit longer if it seems steaming.
- Overmixing after flour: mixing too long after the flour goes in will develop gluten and make cookies cakier. Fix: mix only until just combined, and stop as soon as no dry streaks remain.
- Too-soft centers after baking: if cookies seem underbaked in the middle, check oven temperature accuracy. Fix: use an oven thermometer and bake closer to the 10–12 minute mark if your oven runs cool.
- Cookies spreading too much: if the batter is too loose, cookies may flatten. Fix: chill the scooped dough for 10–15 minutes to firm slightly before baking, or reduce scoop size.
How to Make It Lighter
These are meant to be fudgy, but if you prefer something less dense, a few adjustments help:
- Increase the beaten egg volume: beat the eggs and sugar a bit longer until very pale and billowy; this adds lift without changing ingredients.
- Omit or reduce butter slightly: removing up to 1 tablespoon of butter and replacing it with an extra tablespoon of oil can give a lighter crumb, though you’ll lose a touch of richness.
- Smaller cookies: make smaller scoops and bake a bit less time. Smaller portions feel lighter and crisp up more around the edges.
Pro Perspective
Professional bakers paying close attention to temperature and timing will tell you two things: control the temperature of what you add to beaten eggs, and respect the whipping stage. The air you incorporate when whipping the eggs and sugar is what creates the thin, glossy crust and gives height. If you’re cautious with the warm chocolate and fold it in gradually, you preserve that air and get dramatic crackles.
Another pro tip: choose chocolate you enjoy eating. The cookie concentrates the chocolate flavor, so a quality semisweet or bittersweet bar makes a noticeable difference. Use Dutch-process cocoa as called for to deepen color and mellow acidity.
Keep-It-Fresh Plan
These cookies hold up well for several days if stored properly. Let them cool completely on the pan, then place them in an airtight container.
- Short term: store at room temperature for up to 3 days; they’ll remain soft with slightly crisped edges.
- Longer storage: freeze cooled cookies in a single layer on a tray, then transfer to a freezer-safe bag for up to 2 months. Thaw at room temperature when ready to eat.
- Reviving: if cookies lose a little crispness, warm them in a 300°F oven for 3–5 minutes to refresh the top and center.
Your Questions, Answered
- Q: Can I make the batter ahead? A: You can prepare the batter and chill it briefly, but the whipped egg structure is best used soon after mixing. If you refrigerate longer than an hour, bring it to room temperature and give a gentle stir before scooping.
- Q: Do I need to use a stand mixer? A: A stand mixer makes reaching volume easier and more reliable, but a hand mixer works if you have a large bowl and patience for the 6–8 minute whipping stage.
- Q: Can I use unsweetened cocoa instead of Dutch-process? A: Dutch-process cocoa is recommended for its mellow, deep flavor. If you only have natural cocoa, the cookies will still work but the taste and color will be different.
Ready to Cook?
Gather your ingredients and set the oven to preheat. Line your pans and measure the flour and baking powder into a small bowl. Once the eggs and sugar are whipped and the chocolate is warm and glossy, the rest moves quickly. Scoop uniform portions, watch the oven near the 8-minute mark, and cool the cookies on the pan so they set into that perfectly fudgy texture.
Make a batch today. You’ll have a dozen small, indulgent bites of chocolate that feel both special and effortless—exactly what a good baking day should be.
Brownie Cookies
Ingredients
Equipment
Method
- Adjust an oven rack to the middle position and preheat the oven to 350°F. Line two sheet pans with parchment paper.
- In a small bowl, whisk together 3/4 cup plus 1 tablespoon all-purpose flour and 3/4 teaspoon baking powder. Set aside.
- In the bowl of a stand mixer fitted with the paddle attachment, combine 3 large eggs (at room temperature), 1 1/4 cups granulated sugar, and 3/4 teaspoon salt. Beat on medium-high speed until the mixture is pale and has roughly doubled in volume, about 6 to 8 minutes.
- Reduce the mixer speed to low and add 1 tablespoon canola oil and 1 teaspoon pure vanilla extract. Mix just until combined.
- While the egg mixture is beating (or immediately after), melt 5 tablespoons unsalted butter and 8 ounces semisweet or bittersweet chocolate: place the butter in a small heavy-bottomed saucepan over low heat, add the chocolate, and stir frequently until smooth.
- Remove the pan from the heat and whisk in 1/4 cup Dutch-process cocoa powder until completely combined. Let the chocolate-butter mixture cool for 1 to 2 minutes so it is warm but not hot.
- With the mixer on low speed, add the warm chocolate-butter mixture to the egg mixture gradually (in a thin stream or in a few additions) and mix until combined.
- Add the flour and baking powder mixture to the batter and mix on low speed just until combined. Let the batter sit at room temperature for 5 minutes.
- Use a small scoop or two spoons to drop heaping tablespoons of batter onto the prepared sheet pans, spacing each cookie at least 2 inches apart. You should be able to fit about 12 cookies per pan.
- Bake the cookies one pan at a time on the middle rack at 350°F, rotating the pan halfway through baking. Bake until the cookies are puffed and cracked and the edges are set, about 8 to 12 minutes (begin checking at 8 minutes).
- Transfer the sheet pan to a wire rack and let the cookies cool completely on the pan.
Notes
This recipe makes 30 smaller cookies, using a rounded tablespoon. If making smaller cookies, they will be done closer to 8 minutes instead of 12. If you want to make large cookies, you will get 16 cookies. The cookies will spread out a little more.
The cookies are best the day of baking but will keep in an airtight container at room temperature for up to 2 days.
Variation: With peanut butter — Drop 1 heaping teaspoon of peanut butter on top of each brownie dough ball and use a knife to swirl.
Recipe from 100 Cookies by Sarah Kieffer