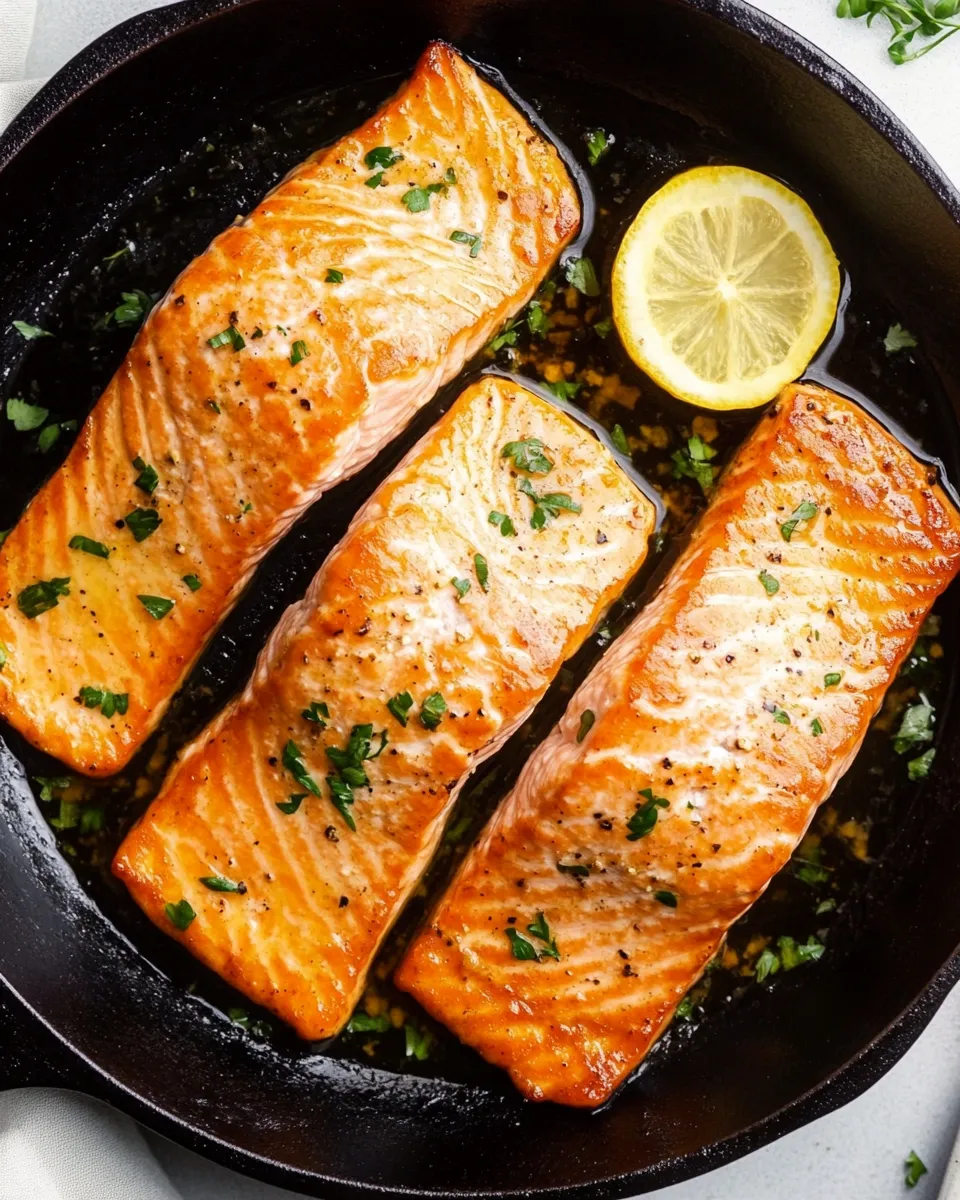
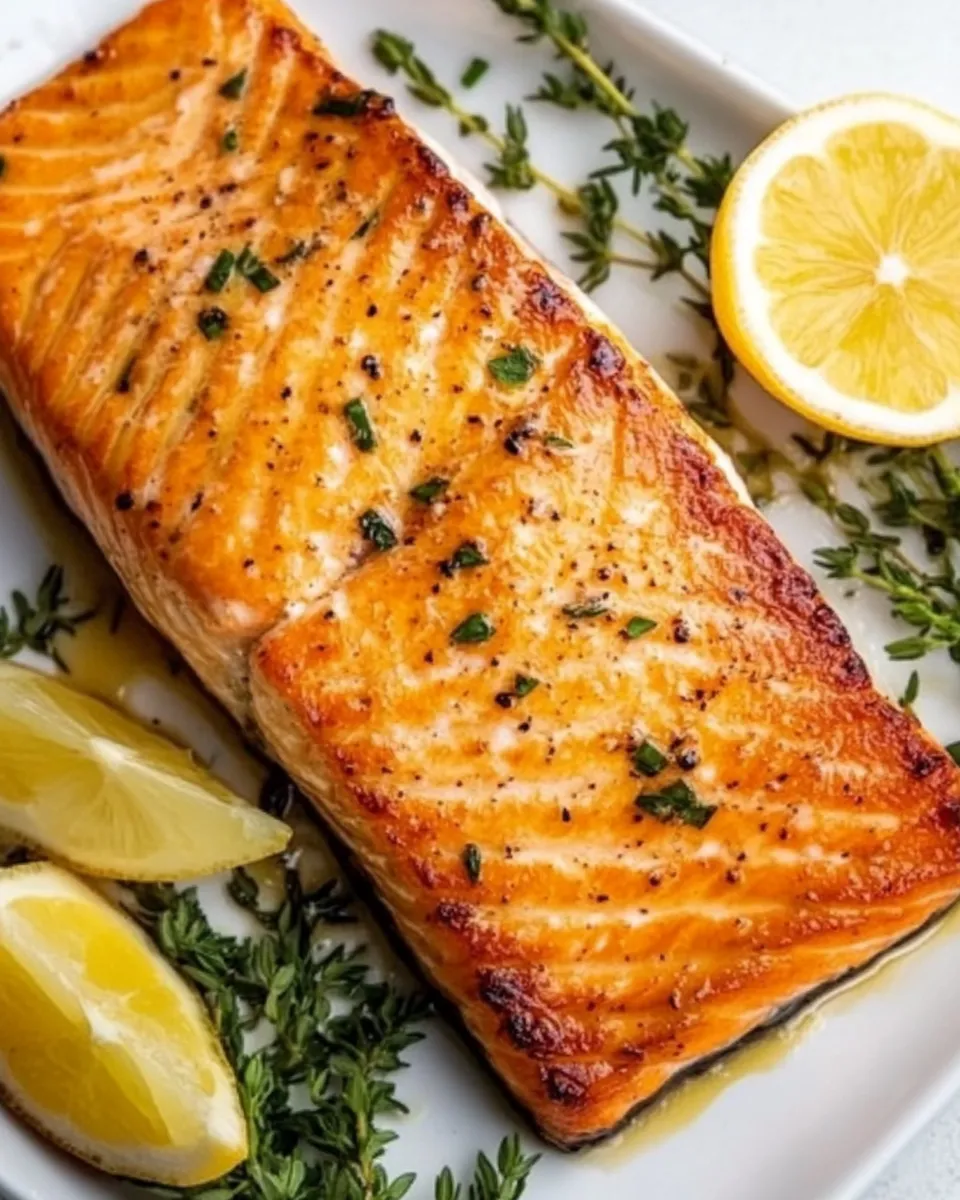
Cast Iron Salmon
I cook a lot, and I come back to this cast iron sear whenever I want salmon that’s crisp at the edges, tender in the middle, and impossibly simple. The technique is straightforward: hot skillet, a little oil, butter for flavor, and a short, precise cook. It’s a weeknight hero and a dinner-party trick that looks like you fussed for hours.
This post walks you through exactly what I do, why it works, and how to avoid the few pitfalls that can turn a perfect fillet into a disappointment. Expect honest, practical notes you can use the first time you try it, and every time after that.
What You’ll Need
Think minimal. A heavy cast iron skillet, a clean plate, paper towels, and a confident stove hand will carry you through. The method depends on heat and timing more than any fancy ingredients, so focus on readiness and speed when you add the fish to the pan.
Ingredients
- 4 salmon fillets (4–6 ounces each) — Choose even-thickness fillets for uniform cooking; skin-on helps hold the fillet together while searing.
- 1 tablespoon olive oil — Creates a slippery surface so the fillets don’t stick and helps start a quick sear.
- 1/2 teaspoon salt — Simple seasoning; adjust to taste but this amount seasons the surface without overpowering.
- 1/2 teaspoon pepper — Freshly cracked if possible for a brighter finish.
- 2 tablespoons butter — Adds browning and a glossy, savory finish from the pan juices.
- 1/2 small lemon, sliced — A squeeze at the end brightens the richness; keep the slices for serving.
Cast Iron Salmon Made Stepwise
- Pat the 4 salmon fillets (4–6 ounces each) dry with paper towels and place skin side down on a plate.
- Drizzle 1 tablespoon olive oil evenly over the top(s) of the fillets and sprinkle 1/2 teaspoon salt and 1/2 teaspoon pepper over the top(s).
- Place a cast iron skillet over high heat and heat until very hot (about 2–3 minutes).
- Add 2 tablespoons butter to the hot skillet and let it melt and foam.
- Carefully add the salmon fillets to the skillet, skin side down. Cook undisturbed on high heat for 3 minutes.
- Reduce the heat to medium, flip each fillet, and cook for an additional 2 minutes (or until cooked to your desired doneness).
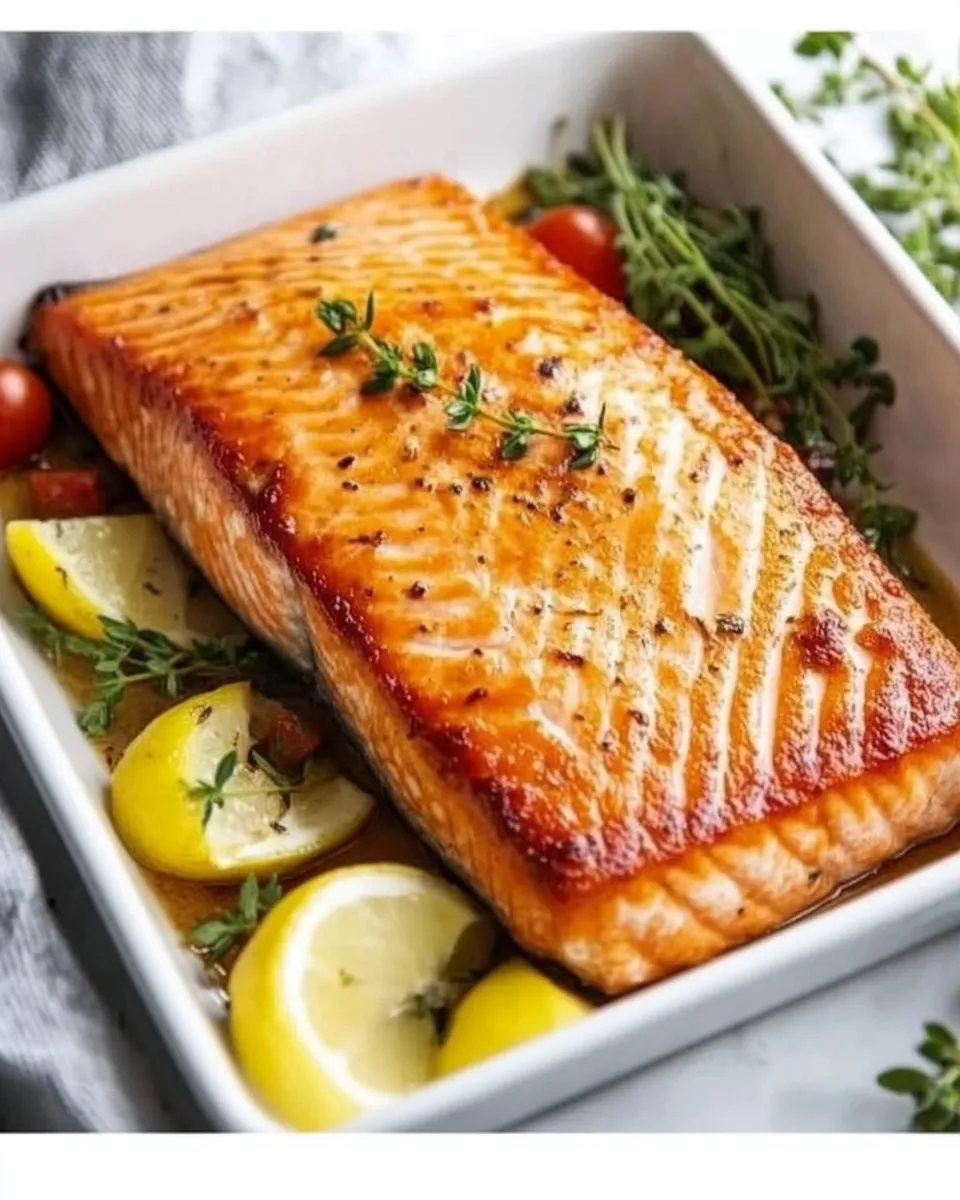
- Transfer the salmon to a plate, drizzle with the buttery pan juices from the skillet, and serve with the 1/2 small lemon sliced alongside.
Why This Recipe Belongs in Your Rotation
It’s fast. From pan to plate in under ten minutes of active cooking, this is a dependable option when you want something healthy and satisfying without a lot of fuss.
It’s forgiving when you pay attention to the basics. Dry the fish, get the pan hot, and don’t move the fillets while the skin is crisping. Those three actions deliver consistent results: nicely seared exterior and tender, flaky interior.
The flavor profile is simple and classic: olive oil for the initial sear, butter for richness, and lemon for balance. Those few ingredients let the salmon itself shine while still delivering a restaurant-quality finish.
Low-Carb/Keto Alternatives
This preparation is naturally low-carb and keto-friendly as written — salmon is protein and healthy fat, and the recipe uses olive oil and butter, both fine for low-carb diets. If you’re tracking precise macros, skip any high-carb sides and serve the fillet with the lemon slices provided.
If you want to increase fat intake for ketosis, use the pan’s buttery juices liberally over the fillet when serving (the recipe already ends by drizzling these pan juices over the fish).
Gear Checklist
- Heavy cast iron skillet — essential for even, high-heat searing and the pan juices that finish the fillet.
- Paper towels — for drying the fillets thoroughly before seasoning.
- Heatproof spatula or fish spatula — to flip the fillets cleanly without tearing.
- Tongs (optional) — helpful if you prefer to control the flip with a second hand.
- Plate for resting and serving — a warm plate keeps the salmon comfortable while you finish plating.
Troubleshooting Tips
Skin won’t crisp
If the skin sticks and tears, the pan likely wasn’t hot enough or the fish was too damp. Dry the fillets thoroughly with paper towels and let the skillet heat for the full 2–3 minutes until it’s very hot. Add the fillet skin-side down and don’t try to move it for the first 3 minutes.
Center is raw or overly rare
Thickness matters. If your fillet is thicker than 6 ounces or very tall in the center, it will need a bit more time after flipping. Use the visual cues: the cooked portion will move up the fillet as it cooks, and the exterior will show a nice sear. For precise doneness, use an instant-read thermometer; 125–130°F (52–54°C) yields medium-rare, while 135°F (57°C) is closer to medium.
Butter burns in the pan
Butter can brown quickly on very high heat. The recipe uses high heat to sear the skin and then lowers to medium after flipping. If the butter starts to smoke excessively, reduce heat a notch sooner. The bubbling foaming is normal; smoking is not.
Fish sticks or falls apart when flipping
Let the skin develop a crust before attempting the flip. If you try to flip too soon, the fillet will stick. Use a thin spatula and give it a confident but gentle lift; if it resists, wait a few more seconds and try again.
Make It Diet-Friendly
For dairy-free needs, skip the butter and increase the olive oil slightly to maintain a moist finish. The olive oil will still give a good sear, though the flavor profile will be a touch leaner without butter.
For lower sodium, reduce the salt to taste or omit the added salt and rely on the lemon to brighten the fish. The half lemon sliced alongside provides acid that enhances flavor without added sodium.
For higher fat (if you prefer), allow the pan juices (which contain melted butter) to be spooned over the fillet at service — the recipe already instructs you to drizzle those juices over the fish.
Testing Timeline
Plan your time like this for a smooth, repeatable cook:
- 0–5 minutes: Dry and season the fillets, prepare the skillet.
- 2–3 minutes: Heat the cast iron skillet until very hot.
- 3 minutes: Sear skin-side down on high heat (first pass).
- 2 minutes: Flip and finish on medium (second pass).
- Immediate: Rest briefly on a plate and drizzle with pan juices before serving.
From start to finish you’re looking at roughly 10–12 minutes total, with about 5 minutes of active cooking time. If you’re testing doneness or doubling the batch, work in single layers so the pan stays hot and the timing remains consistent.
Shelf Life & Storage
Cooked salmon keeps well refrigerated for up to 3–4 days in an airtight container. Store the leftover fillet with the skin separated from moist sides if possible, and reheat gently to avoid drying out.
For longer storage, freeze cooked fillets for up to 2 months wrapped tightly in plastic and placed in a freezer-safe container. Thaw overnight in the refrigerator before reheating.
When reheating, do it gently: a low oven (250–275°F / 120–135°C) for a short time or a quick sear in a warm skillet to refresh the exterior without overcooking the interior.
Cast Iron Salmon Q&A
Can I use a non-stick pan instead of cast iron?
You can, but cast iron holds and transfers heat in a way that helps create a better sear and fuller pan juices. Non-stick pans work for delicate turns, but you’ll miss some of the crust and fond that butter browning gives in cast iron.
Do I need to remove the skin?
No. The recipe is written with skin-on fillets. The skin crisps and helps keep the fillet intact while searing. If you prefer skinless, reduce the initial sear time by a bit and handle the fillets gently.
How do I judge doneness without a thermometer?
Watch the color change from the bottom up of the fillet. When the cooked portion reaches about halfway up the side, that’s the cue to flip. After the flip, a short finish time will bring it to medium. The fish should flake gently when pressed but still feel slightly springy.
Why do you add butter after heating the pan?
Adding butter to a very hot pan lets it brown quickly and foams, which creates the flavorful pan juices used to finish the fish. It also helps transfer flavor to the fillet surface during the sear.
Hungry for More?
If you liked this technique, you can apply it to other firm-fleshed fish prepared skin-on. The core method — hot pan, quick sear, finish in butter — works reliably and saves time without sacrificing flavor. Keep this routine in your weeknight rotation and you’ll have a fast, elegant protein option on hand whenever you need it.
Cast Iron Salmon
Ingredients
Equipment
Method
- Pat the 4 salmon fillets (4–6 ounces each) dry with paper towels and place skin side down on a plate.
- Drizzle 1 tablespoon olive oil evenly over the top(s) of the fillets and sprinkle 1/2 teaspoon salt and 1/2 teaspoon pepper over the top(s).
- Place a cast iron skillet over high heat and heat until very hot (about 2–3 minutes).
- Add 2 tablespoons butter to the hot skillet and let it melt and foam.
- Carefully add the salmon fillets to the skillet, skin side down. Cook undisturbed on high heat for 3 minutes.
- Reduce the heat to medium, flip each fillet, and cook for an additional 2 minutes (or until cooked to your desired doneness).
- Transfer the salmon to a plate, drizzle with the buttery pan juices from the skillet, and serve with the 1/2 small lemon sliced alongside.
Notes
TO STORE:
Leftovers should be stored in an airtight container in the refrigerator for 2-3 days.
TO FREEZE:
Store the cooled salmon in a freezer-safe container and freeze for up to three months.
TO REHEAT:
Reheat the salmon in a covered pan over medium high heat or preheated oven (200C/400F) until warm.