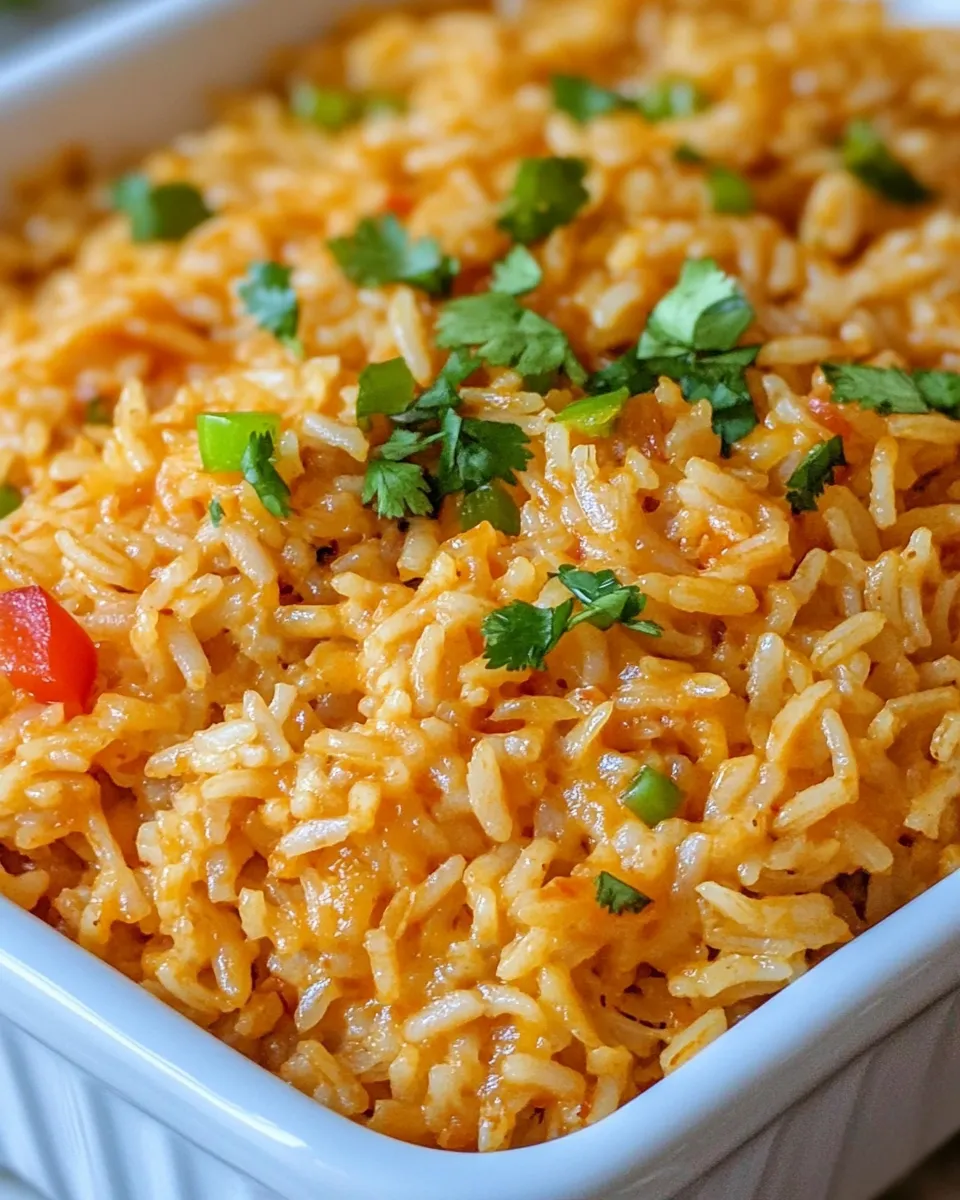
Cheesy Enchilada Rice
This is the kind of dish I make when I want something that feels like a hug on a plate: saucy, cheesy, and straightforward. It’s one-pan comfort with bright notes from canned green chiles and the familiar, tangy backbone of enchilada sauce. You don’t need coaxing equipment or fancy ingredients—just follow the pan steps and let the rice do the rest.
I like it as a weeknight side or a simple main with a salad. The rice is forgiving: a gentle simmer, a few stirs, and you get soft, saucy grains with melted cheese folded through. It’s also fast to clean up, which means more time to actually eat it.
Below you’ll find everything I use and every step from start to finish. Read the short notes in Ingredients, follow the Steps exactly if you want reliable results, and skim the tips for tweaks that suit your pantry.
The Essentials
What makes this recipe work is basic chemistry: sauté a little butter and onion, toast the rice briefly, then give it a flavorful braising liquid—enchilada sauce plus water—so each grain plumps and absorbs flavor. The green chiles add a gentle heat and vegetal lift. Finish with plenty of cheese stirred in for creaminess and a glossy finish.
Plan for a single pan, medium heat control, and a bit of patience during the 20-minute covered simmer. Stirring every five minutes keeps the rice from sticking and ensures even cooking. These are small rituals that pay off with perfect texture.
Ingredients
- 2 teaspoons butter — for sautéing the onion and blooming flavor.
- 3/4 cup chopped onion — adds sweetness and aromatic base.
- 2 cups long grain rice — the starch that gives structure; long grain stays separate when cooked properly.
- 4.5 ounces Old El Paso Chopped Green Chiles (1 can) — brings mild heat and a fresh pepper note.
- 19 ounces Old El Paso Red Enchilada Sauce (1 can) — the primary flavor and moisture component; concentrated and savory.
- 2 cups shredded monterey jack cheese or pepper jack cheese (8 ounces) — melts into the rice for creaminess; pepper jack adds extra zip.
- 4 cups water — the cooking liquid; added in two stages to control texture.
- Scallions for garnish — for brightness and a crisp onion finish.
Cheesy Enchilada Rice in Steps
- Place 2 teaspoons butter in a 5-qt. sauté pan and set over medium heat. Add 3/4 cup chopped onion and sauté 2–3 minutes, until softened.
- Add 2 cups long grain rice, 4.5 ounces Old El Paso chopped green chiles, and 19 ounces Old El Paso red enchilada sauce to the pan; stir to combine.
- Add 3 cups water, stir once, and cover the pan. Bring to a boil over medium-high heat.
- Reduce heat to low to maintain a gentle simmer. Cook, covered, for 20 minutes, stirring every 5 minutes and keeping the pan covered between stirs.
- After 20 minutes, add the remaining 1 cup water and 2 cups shredded Monterey Jack or pepper jack cheese. Stir to combine.
- Cook another 2–3 minutes, stirring, until the rice is tender and the cheese is melted. Remove from heat.
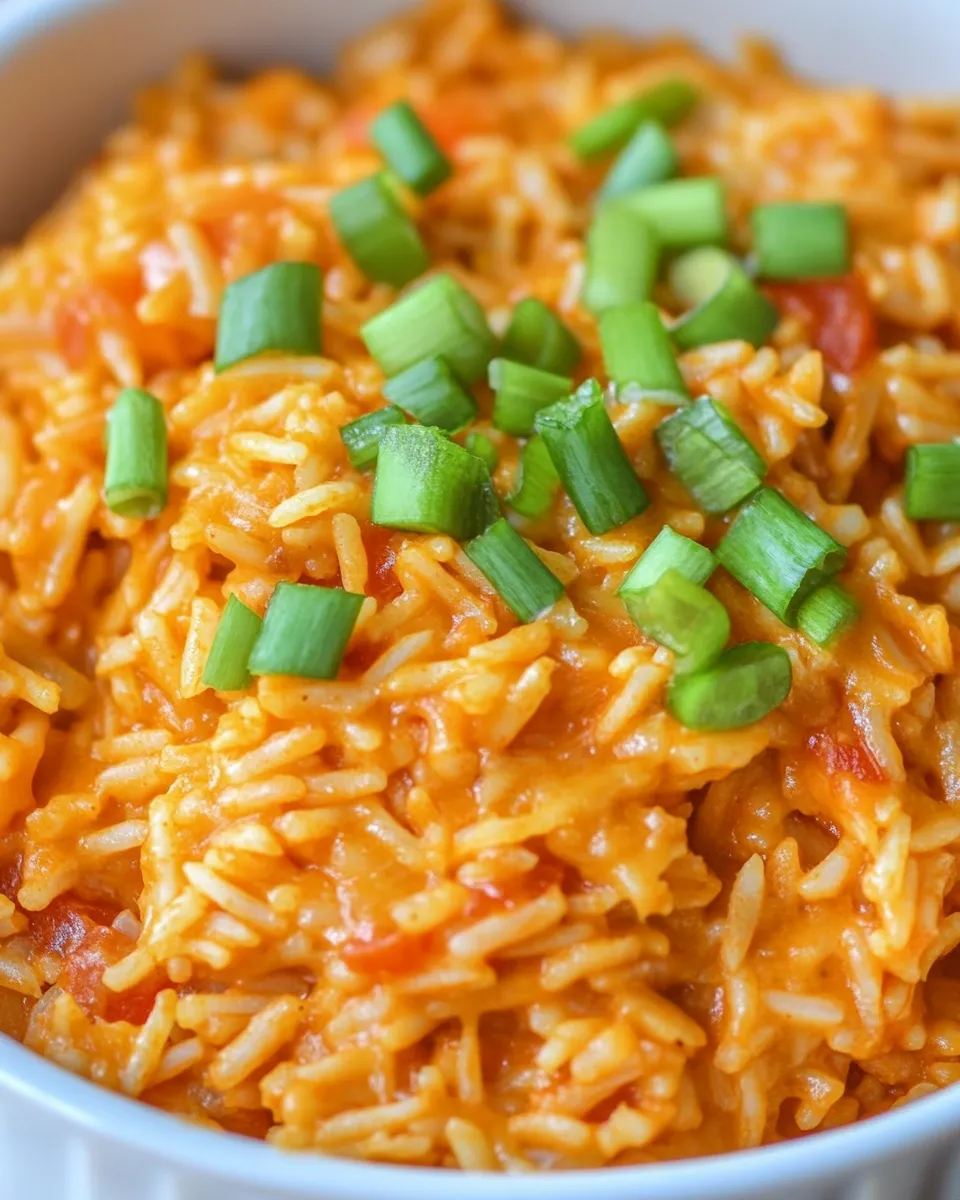
- Fluff the rice with a fork, garnish with scallions, and serve warm.
Why It’s Crowd-Pleasing

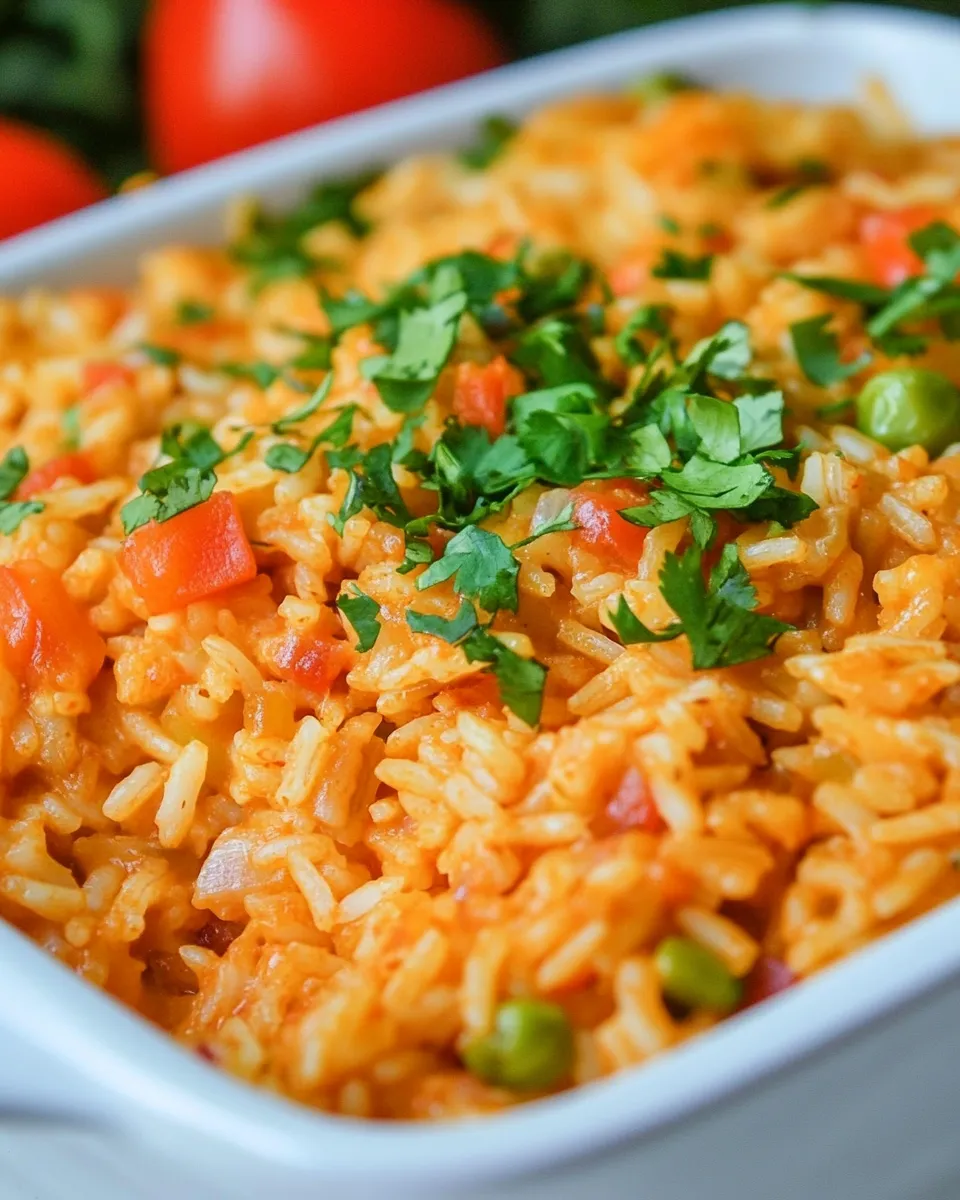
Cheese and sauce make almost anything irresistible, and this combination hits those comfort buttons without being heavy-handed. The enchilada sauce carries bold, familiar flavors so even picky eaters recognize and enjoy it. The texture—moist grains with melted pockets of cheese—satisfies both as a side and a solo dish.
It’s also visually inviting: red sauce tinted rice and ribbons of melted white cheese contrast with green scallions on top. That color and the aroma of sautéed onion and chiles draw people to the table. Finally, the method is easy to scale for a crowd: add more rice and proportionally more sauce and water, keep the same gentle simmer and timing, and you’ll maintain results.
Easy Ingredient Swaps
Stick to what the recipe lists when you want guaranteed results, but if you need tiny adjustments, here are safe swaps that don’t disrupt the technique:
- Cheese choice: Monterey Jack or pepper jack are both in the recipe—choose pepper jack for extra kick or Monterey Jack for mellow creaminess.
- Enchilada sauce: If you only have a low-sodium or mild version, use it. The liquid and seasoning profile remain the same; taste and adjust salt at the end if needed.
- Green chiles: Use the canned chopped green chiles listed—if you have a different brand, the flavor will be close enough. The recipe relies on that canned texture and heat level.
Appliances & Accessories
You don’t need special gadgets. A 5-quart sauté pan with a tight-fitting lid is ideal because it gives enough surface area to sauté and enough depth for the rice to simmer without overflowing. A heavy-bottomed pan helps distribute heat evenly and reduces the chance of scorching.
Use a wooden spoon or heatproof spatula for stirring. A fork is the right tool for fluffing the rice at the end—gentle motions keep the grains separate. If your lid lets steam escape aggressively, tent aluminum foil under the lid to keep moisture consistent.
Mistakes Even Pros Make
Here are the small, common missteps that change the outcome, and how to avoid them:
- Sticking the pan to a high flame. Keep to medium and then low for the simmer. High heat reduces liquid too fast and leaves undercooked rice or a scorched bottom.
- Removing the lid too often. You’re instructed to stir every 5 minutes—do that—but keep the pan covered between stirs. Letting the steam escape continuously dries the rice and lengthens cooking time.
- Adding all the water at the start. The recipe adds water in two stages for a reason: it gives better control over texture. Follow it for consistent tenderness.
- Over-stirring when the cheese is added. Stir just until combined. Excessive stirring can make the rice gummy.
Variations by Season
This recipe leans on pantry-stable ingredients, so seasonal changes are subtle. In cooler months, emphasize warm sides and serve the rice as a base for baked proteins or roasted vegetables. In warmer months, keep things light: serve the rice alongside crisp salads or simply with a squeeze of lime if you have it on hand.
Because the foundation is saucy rice and melty cheese, you can adapt how you serve it across seasons without changing the main ingredients—use it to accompany richer mains in winter and brighter, fresher plates in summer.
Notes on Ingredients

Everything here has a role. The butter and onion build the aromatic base. The rice absorbs sauce and water to create the bite and body. The canned green chiles deliver controlled heat and texture. The enchilada sauce is both seasoning and liquid—so use the listed brand if you want a specific flavor profile, but other red enchilada sauces will work similarly. Cheese binds everything together and adds silkiness; choosing a milder or spicier variety changes the final tone.
Use the scallions as a finishing touch. They provide a fresh, oniony contrast to the melted cheese and enriched rice.
Save for Later: Storage Tips
Cool the rice to room temperature before storing. Transfer it to an airtight container and refrigerate within two hours of cooking for food safety. It will keep well in the fridge for 3–4 days.
To reheat, sprinkle a little water over the rice and cover while warming gently on the stovetop or in the microwave to restore moisture. If you want to freeze it, portion into freezer-safe containers and freeze for up to 2 months. Thaw overnight in the fridge before reheating; add a splash of water while warming to recover tenderness.
Ask & Learn
Common questions I get are about texture, spice, and leftovers. If your rice turns out too firm, it likely needed more liquid or slightly more time—remember the recipe adds water in two stages; that second cup is the rescue. If it’s too soft or mushy, the rice probably had too much water or was overcooked; use slightly less liquid next time or reduce the simmer time slightly.
If you want more heat, pepper jack is already an option in the ingredient list; choosing that cheese will kick it up without changing any other steps. For less heat, stick to Monterey Jack.
That’s a Wrap
This Cheesy Enchilada Rice is one of those reliable recipes I keep returning to when I want something effortless and satisfying. It’s forgiving, pantry-friendly, and quick enough for a weeknight but pretty enough for company. Follow the steps and ingredients as given for consistent results; use the tips here to tweak texture and timing to your stove and pot.
Make it once exactly as written. Then make it your own—slowly—by adjusting the cheese choice or the sauce brand until you find the balance you love. Serve warm, garnish with scallions, and enjoy the kind of meal that comes together with minimal fuss and maximum comfort.
Cheesy Enchilada Rice
Ingredients
Equipment
Method
- Place 2 teaspoons butter in a 5-qt. sauté pan and set over medium heat. Add 3/4 cup chopped onion and sauté 2–3 minutes, until softened.
- Add 2 cups long grain rice, 4.5 ounces Old El Paso chopped green chiles, and 19 ounces Old El Paso red enchilada sauce to the pan; stir to combine.
- Add 3 cups water, stir once, and cover the pan. Bring to a boil over medium-high heat.
- Reduce heat to low to maintain a gentle simmer. Cook, covered, for 20 minutes, stirring every 5 minutes and keeping the pan covered between stirs.
- After 20 minutes, add the remaining 1 cup water and 2 cups shredded Monterey Jack or pepper jack cheese. Stir to combine.
- Cook another 2–3 minutes, stirring, until the rice is tender and the cheese is melted. Remove from heat.
- Fluff the rice with a fork, garnish with scallions, and serve warm.
Notes
You can store leftovers of this rice in an airtight container in the refrigerator for up to 3-4 days! This is a great rice to make ahead and warm up as you need it throughout the week.