Chicken Katsu Recipe
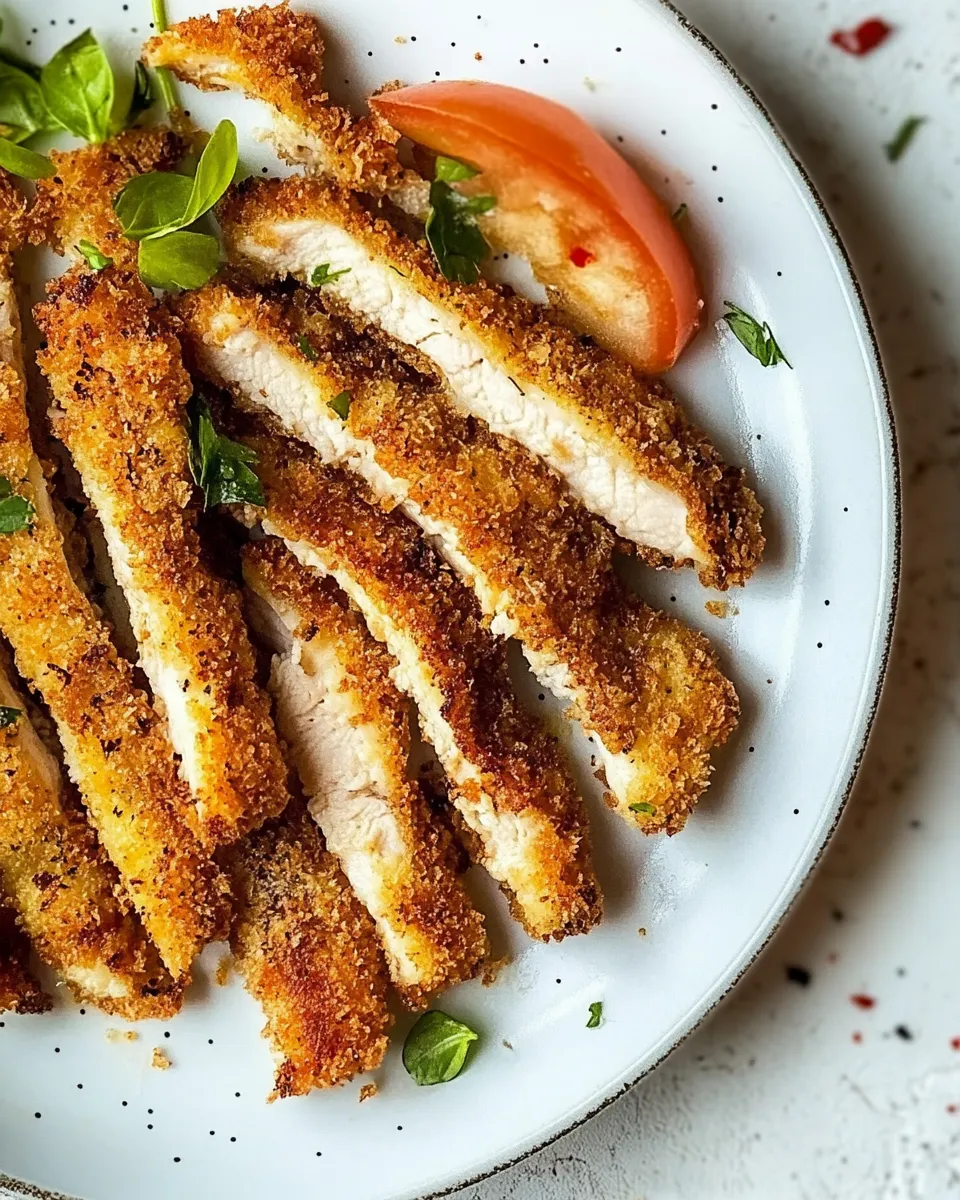
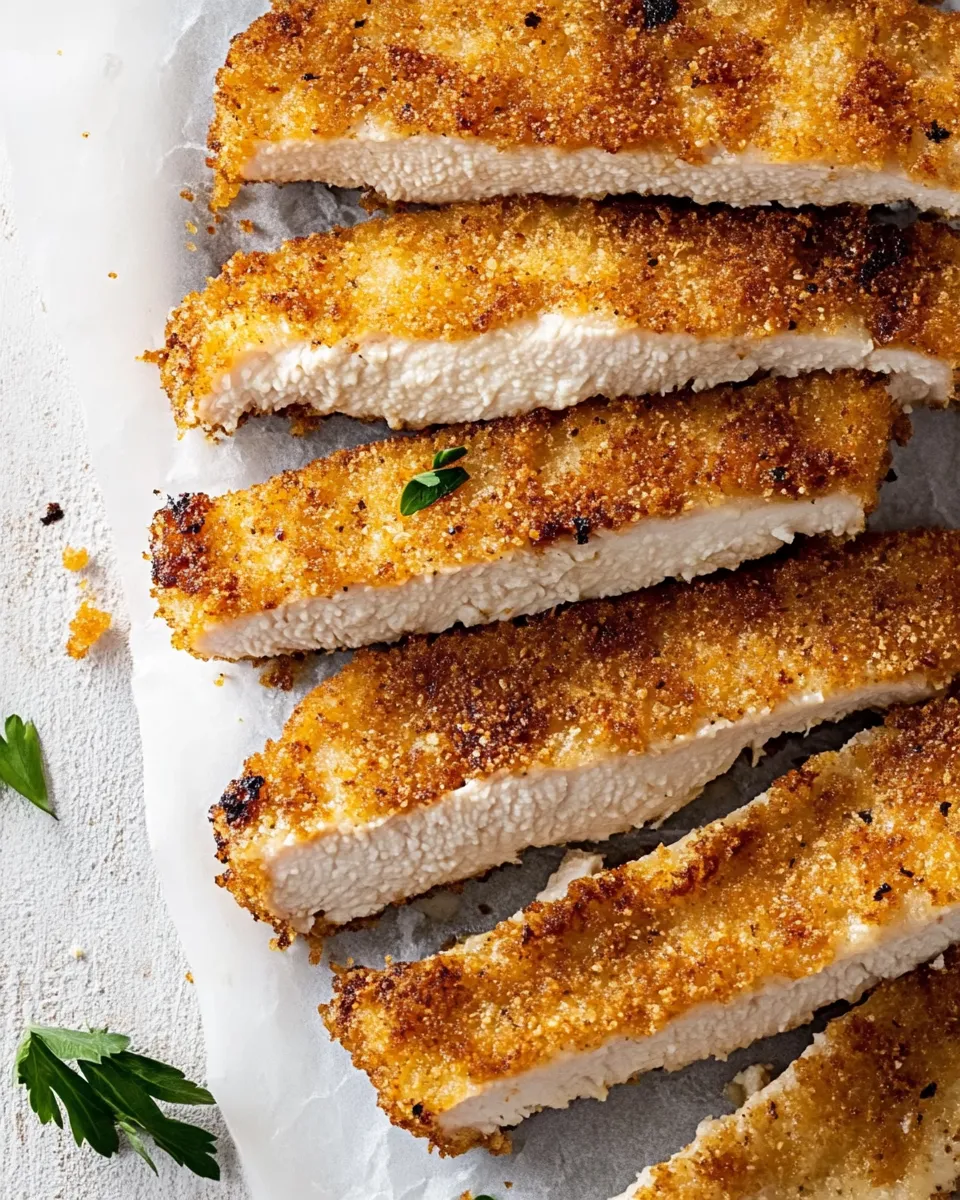
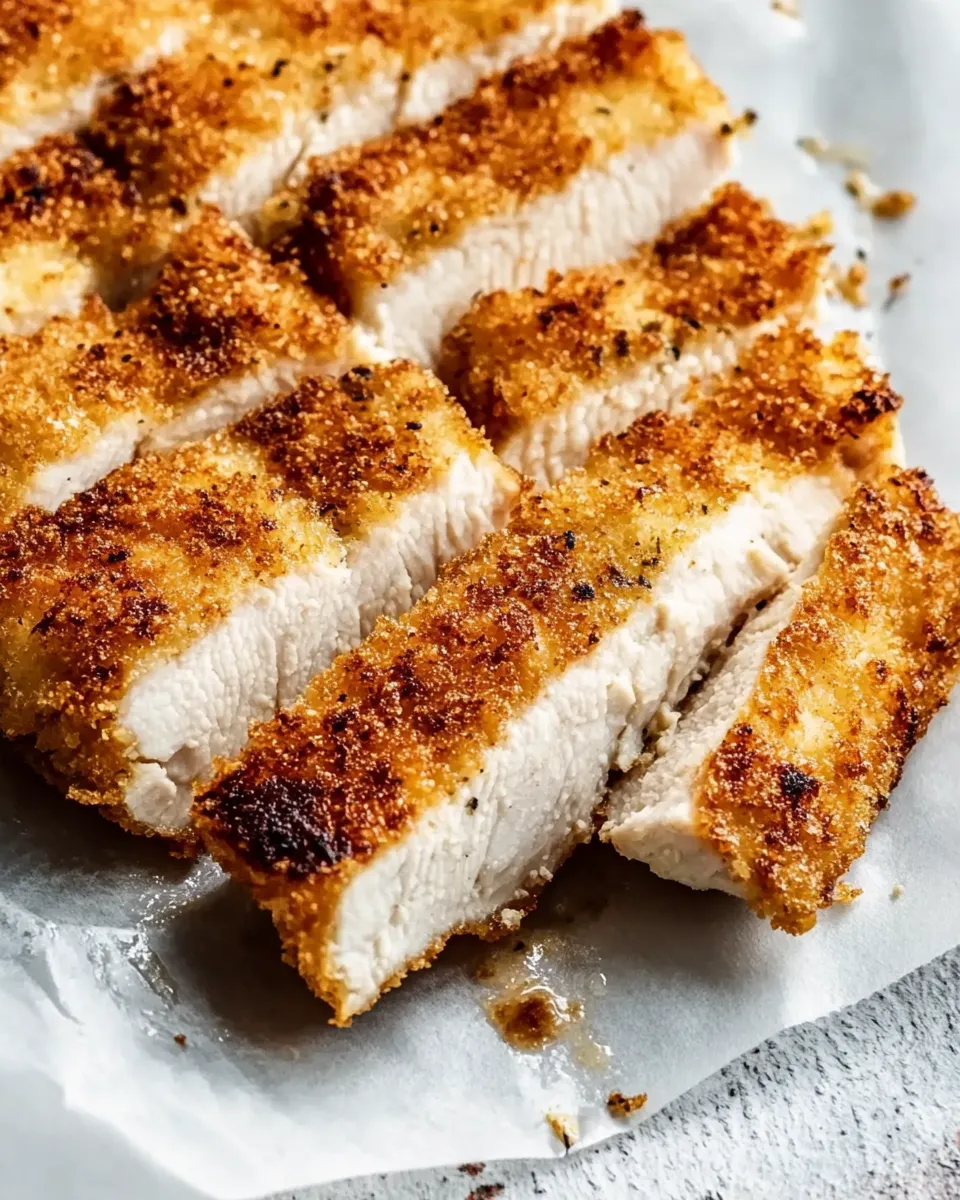
I make chicken katsu on repeat when I need something reliably crunchy, quick, and comforting. It’s a simple breaded chicken cutlet with a snappy golden crust and a tender interior — childhood dinner table energy, but perfectly grown-up with a good katsu sauce. This version is straightforward and faithful to the classic technique: pound, season, dredge, fry, rest, slice.
Below you’ll find a clear ingredients list, step-by-step instructions I used while testing, and practical notes for getting the crispiest crust and juiciest interior every time. No gimmicks, just a reliable method you can trust for weeknights or when company drops by.
If you’ve never made katsu before, don’t worry. The steps are repetitive but simple, and the results are instantly rewarding. Read through the prep and gear notes, then follow the short frying routine. You’ll have golden cutlets in about 20–30 minutes.
What Goes Into Chicken Katsu

This section breaks down the essentials you’ll need. Quantities and items match the recipe exactly so you can shop or check your pantry quickly.
Ingredients
- 4 small chicken breasts — skinless and boneless; the main protein. Pound to even thickness for uniform cooking.
- 2 tablespoons soy sauce — seasons the chicken and adds savory depth.
- 1/2 teaspoon salt — basic seasoning for both sides of the breasts.
- 1/4 teaspoon pepper — light pepper for balance; adjust to taste.
- 2 tablespoons all purpose flour — the first dredge; helps the egg adhere.
- 1 cup panko breadcrumbs — gives the signature airy, crunchy crust.
- 1 large egg — whisked; binds the panko to the chicken.
- 1/2 cup oil* — frying medium; enough to shallow-fry the cutlets until golden.
- 1/2 cup katsu sauce — for serving; sweet-savory finishing touch.
Chicken Katsu: Step-by-Step Guide
- Place the 4 small skinless, boneless chicken breasts on a cutting board and pound each to an even 1/2-inch thickness.
- Season both sides of each breast with the 1/2 teaspoon salt and 1/4 teaspoon pepper, then drizzle the 2 tablespoons soy sauce over the breasts.
- Set up three shallow bowls: add the 2 tablespoons all-purpose flour to the first bowl, the whisked 1 large egg to the second bowl, and the 1 cup panko breadcrumbs to the third bowl.
- Working with one piece at a time, dredge a chicken breast in the flour, shake off any excess, dip it in the whisked egg, then press it into the panko so it is evenly coated. Repeat with the remaining breasts.
- Pour 1/2 cup oil into a non-stick skillet and heat over medium-high heat until the oil reaches 350°F (or is shimmering and hot).
- Carefully add the breaded chicken breasts to the hot oil without crowding the pan. Fry for 4–5 minutes total, flipping once about halfway through (about 2–2.5 minutes per side), until the crust is golden brown and the internal temperature reaches 165°F.
- Transfer the cooked chicken katsu to paper towels to drain excess oil. Let rest briefly, then slice and serve with the 1/2 cup katsu sauce.
Reasons to Love Chicken Katsu
Chicken katsu hits several satisfying notes at once: the crust is crisp, the meat stays juicy, and the sauce adds an immediate layer of sweet-savory contrast. It’s fast, approachable, and forgiving — perfect for cooks who want a big payoff without a big time commitment.
It’s also versatile. Serve it on rice for a quick donburi, tuck sliced katsu into a sandwich with shredded cabbage and mayo, or pair it with steamed vegetables for a lighter meal. The textures and flavors are universally appealing, which is why it’s such a reliable crowd-pleaser.
Smart Substitutions
If you need to swap something, here are safe substitutions that won’t change the technique:
- For chicken: use thin pork chops if you prefer pork katsu; cook times will be similar for thin-cut pieces.
- For panko: regular breadcrumbs work in a pinch but expect a denser crust.
- For soy sauce: tamari works well if you need a gluten-free option; reduce added salt slightly if using a very salty brand.
- For oil: any neutral oil with a high smoke point (vegetable, canola, peanut) will work.
- For katsu sauce: tonkatsu sauce or a mix of ketchup + Worcestershire + a touch of honey can stand in.
What’s in the Gear List
Minimal gear makes this practical on any weekday:
- Cutting board and meat mallet or rolling pin — to pound the chicken evenly.
- Three shallow bowls or plates — for flour, egg, and panko setup (the classic breading station).
- Non-stick skillet — the recipe specifies a non-stick pan; it helps prevent tearing and makes frying easier.
- Thermometer (instant-read) — ensures chicken reaches 165°F without overcooking.
- Paper towels and a wire rack if available — to rest and drain fried cutlets so the crust stays crisp.
Errors to Dodge
These are the common mistakes I test-kitchens always watch for:
- Not pounding the chicken evenly — thick spots overcook while thin parts dry. Aim for consistent 1/2-inch thickness.
- Skipping the flour step — flour helps the egg bond to the meat; without it, the panko slips off.
- Overcrowding the pan — it drops oil temperature and yields soggy crusts. Fry in batches if needed.
- Cooking at too low a temperature — the crust will absorb oil. The oil should shimmer and reach roughly 350°F before the chicken goes in.
- Not letting the cutlets rest after frying — a brief rest lets juices redistribute and prevents the crust from getting gummy under the knife.
In-Season Flavor Ideas
Chicken katsu is a clean canvas for seasonal pairings. Here are practical, seasonal suggestions that require no recipe rewrites:
- Spring: Serve with shredded cabbage, thinly sliced radish, and a squeeze of lemon to brighten the plate.
- Summer: Add a mango or peach salsa for a sweet contrast to the savory katsu sauce.
- Fall: Pair with a warm miso-ginger glaze on the side or roasted root vegetables for an earthy complement.
- Winter: Serve alongside braised cabbage or quick-pickled onions to cut through the richness.
What I Learned Testing
During testing, the biggest difference in final texture came down to three things: even thickness, dry panko, and oil temperature. Pounding chicken to exactly 1/2-inch made the internal doneness predictable. Fresh, dry panko produced that airy crunch; if the panko had absorbed moisture it browned too fast and didn’t get crisp.
I also learned to trust the short fry time. A total of 4–5 minutes per piece at the right temperature reliably produced a golden crust and a safe internal temperature without drying the meat. Using a thermometer removed the guesswork and kept results consistent across multiple pans and stovetops.
Prep Ahead & Store
You can prep components ahead but aim to fry close to service for best texture.
- Prep the chicken: Pound, season, and keep covered in the fridge up to 2 hours before breading.
- Bread ahead: You can bread the chicken and refrigerate on a tray for up to 1 hour. Beyond that, the panko may soften.
- Store cooked katsu: Refrigerate in an airtight container for up to 3 days. Reheat in a 375°F oven on a wire rack or in an air fryer to revive the crust.
- Freeze: Wrap individual cutlets and freeze for up to 1 month. Reheat from frozen in an air fryer or oven until heated through; the crust won’t be identical but will re-crisp reasonably well.
Your Questions, Answered
Q: Can I bake these instead of frying? A: You can, but the texture changes. Baking produces a drier, less uniformly crispy exterior; to help, spray the panko lightly with oil and bake at a high temperature, flipping once. The recipe’s specified frying method gives the best traditional crust.
Q: How do I check doneness without a thermometer? A: Cut into the thickest part; the juices should run clear and the meat should be opaque. An instant-read thermometer is faster and more reliable — it should read 165°F at the thickest point.
Q: Can I double the recipe? A: Yes, but fry in batches. Overcrowding the pan will reduce oil temperature and compromise the crust.
Wrap-Up
Follow the simple seven-step method: pound, season, flour, egg, panko, fry, rest. Stick to the quantities in the ingredients list and keep an eye on oil temperature. The result is a crisp, golden katsu with a juicy center and an instantly satisfying crunch.
Serve sliced with katsu sauce and something bright on the side — shredded cabbage, a quick slaw, or a wedge of lemon. It’s a small bit of effort with a big return: consistently great chicken katsu that’s ready any night you need it.
Chicken Katsu Recipe
Ingredients
Equipment
Method
- Place the 4 small skinless, boneless chicken breasts on a cutting board and pound each to an even 1/2-inch thickness.
- Season both sides of each breast with the 1/2 teaspoon salt and 1/4 teaspoon pepper, then drizzle the 2 tablespoons soy sauce over the breasts.
- Set up three shallow bowls: add the 2 tablespoons all-purpose flour to the first bowl, the whisked 1 large egg to the second bowl, and the 1 cup panko breadcrumbs to the third bowl.
- Working with one piece at a time, dredge a chicken breast in the flour, shake off any excess, dip it in the whisked egg, then press it into the panko so it is evenly coated. Repeat with the remaining breasts.
- Pour 1/2 cup oil into a non-stick skillet and heat over medium-high heat until the oil reaches 350°F (or is shimmering and hot).
- Carefully add the breaded chicken breasts to the hot oil without crowding the pan. Fry for 4–5 minutes total, flipping once about halfway through (about 2–2.5 minutes per side), until the crust is golden brown and the internal temperature reaches 165°F.
- Transfer the cooked chicken katsu to paper towels to drain excess oil. Let rest briefly, then slice and serve with the 1/2 cup katsu sauce.
Notes
* Use oil with a high smoke point, like peanut oil.
Air fryer method
: Prep the chicken as instructed. Next, place a single layer of the chicken in a greased air fryer basket. Spray the top of the chicken with cooking spray. Now, air fry at 200C/400F for 8 minutes, flip, spray the other side with cooking spray, and cook for another 8 minutes.
Oven baked method
: Prep the chicken as instructed. Place it on a lined baking sheet and bake at 180C/350F for 30 minutes, flipping halfway through.
TO STORE
: Place leftovers in airtight containers and store them in the refrigerator for up to 4-5 days.
TO FREEZE:
Allow the chicken to cook completely to add to the freezer-safe bags and freeze for up to 3 months.
TO REHEAT
: Reheat in a pan or oven until warm or in the microwave for 20-30 seconds.