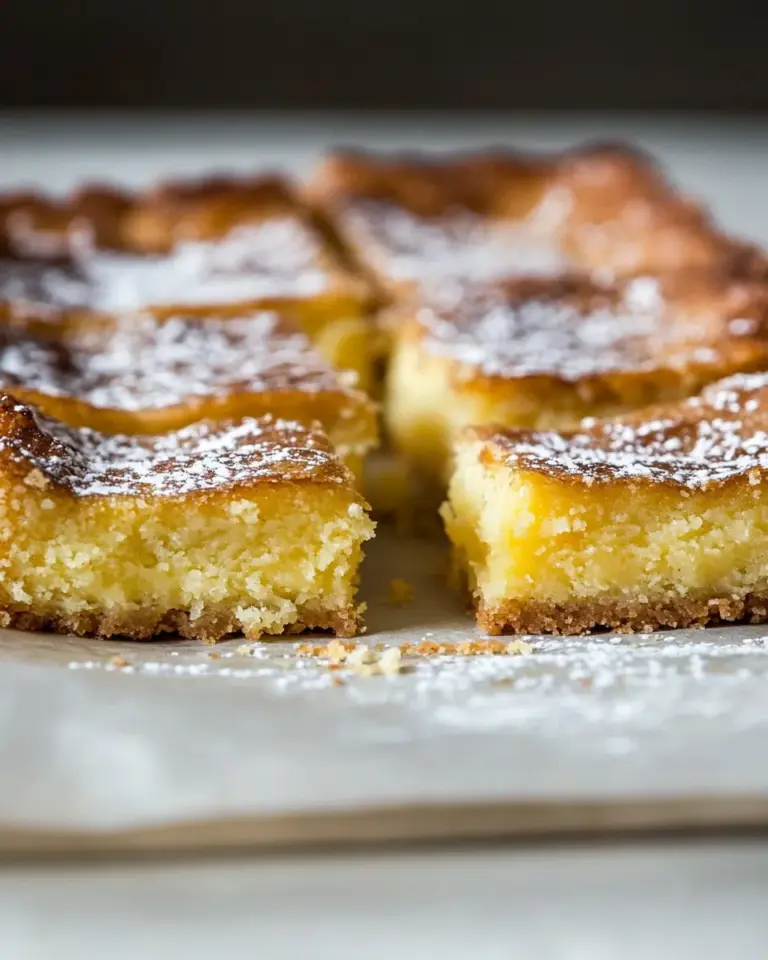
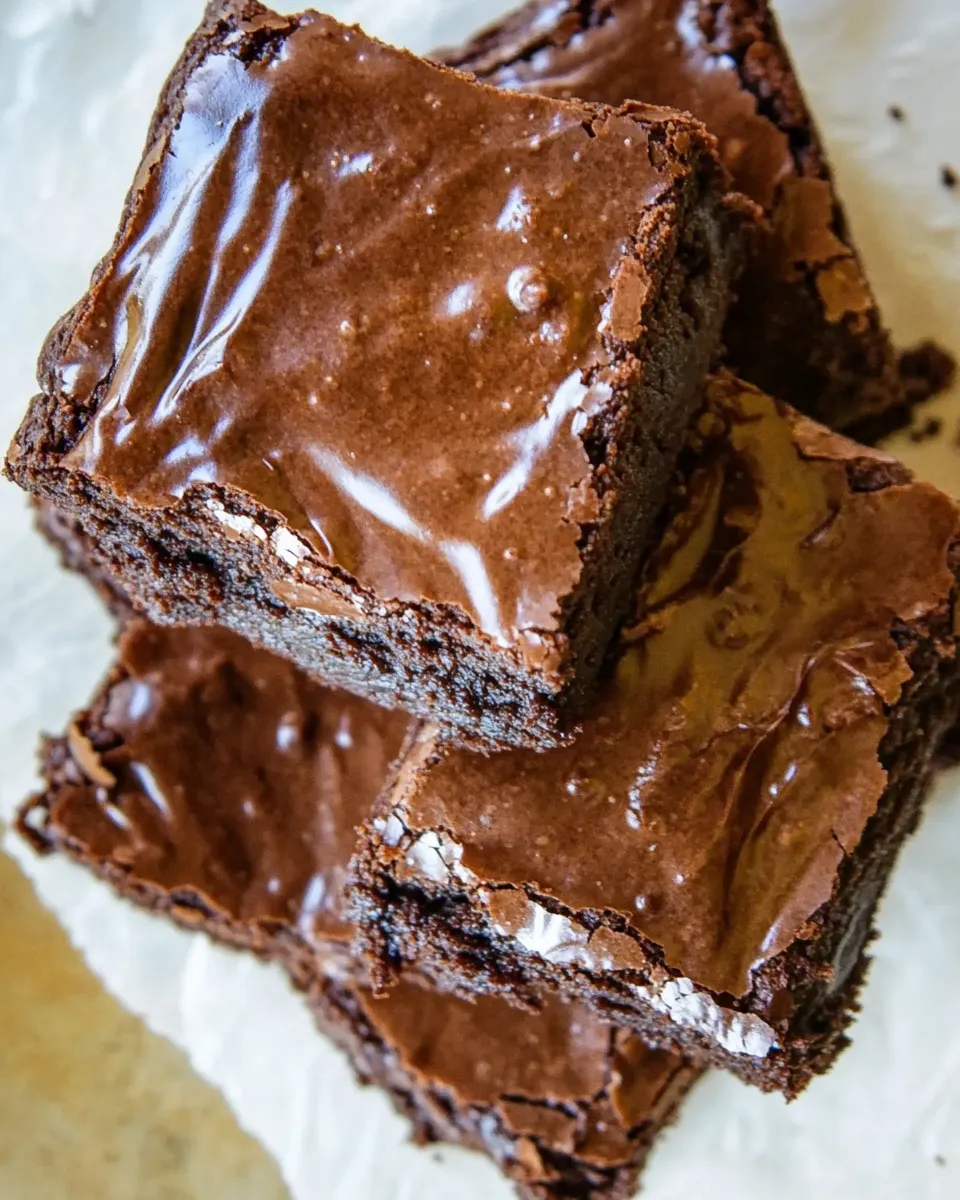
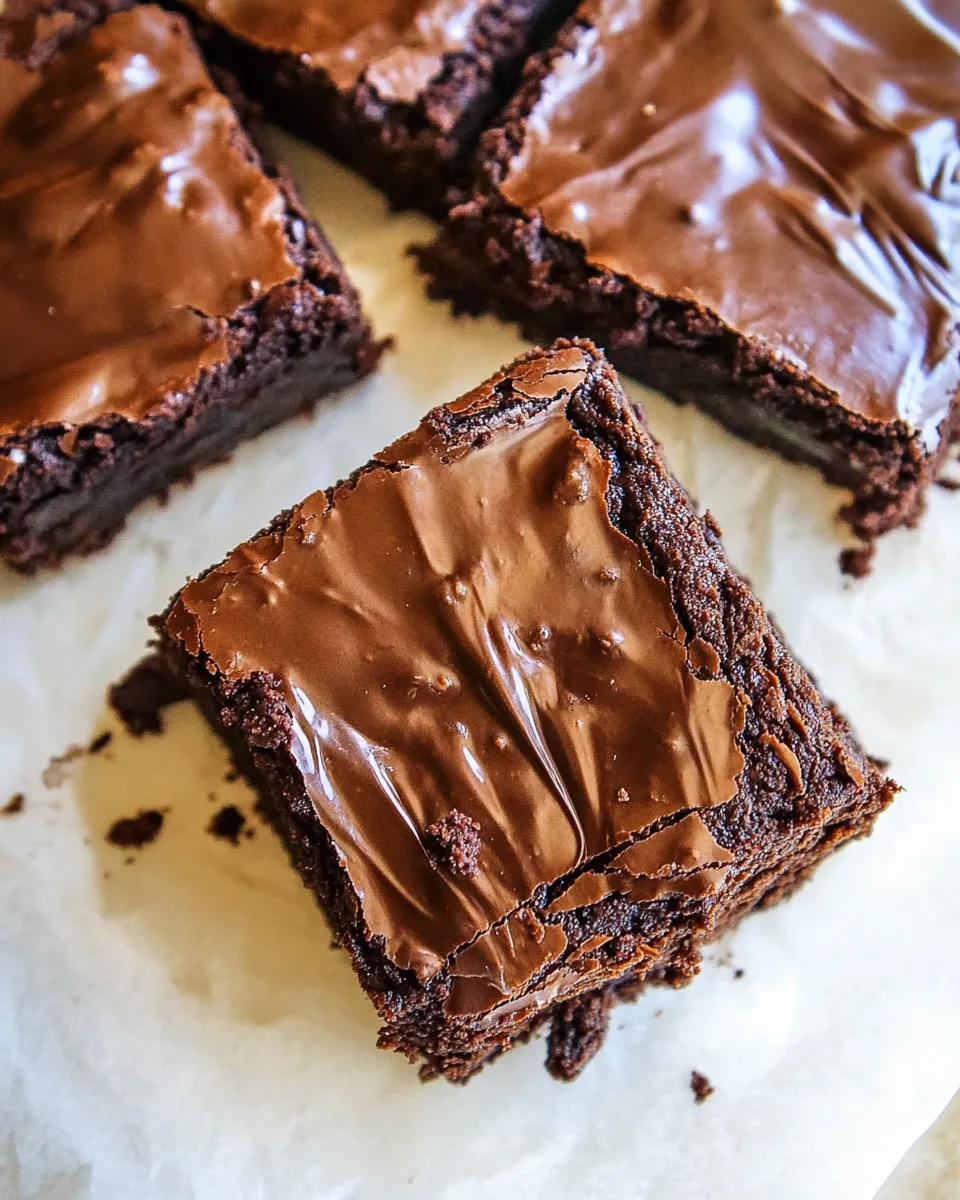
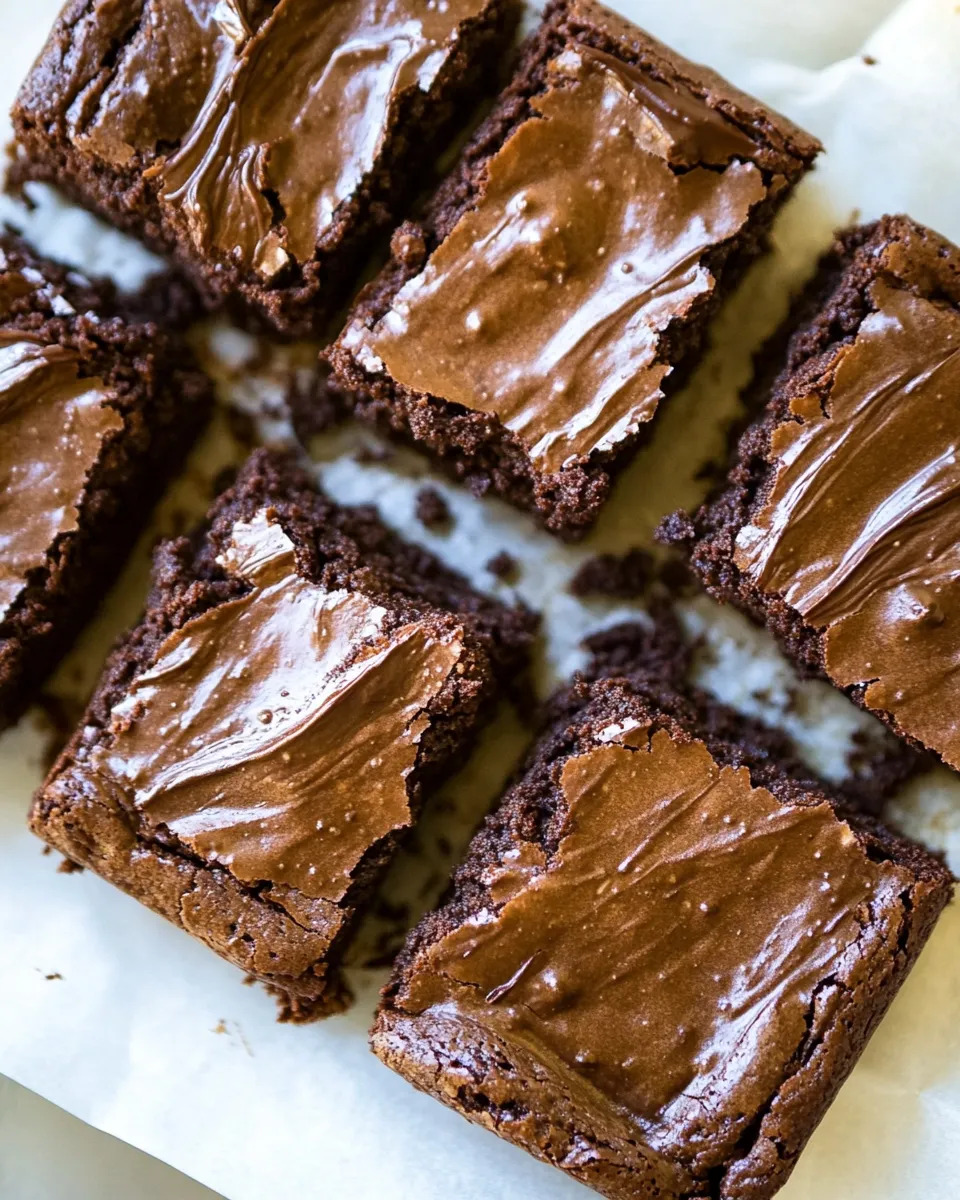
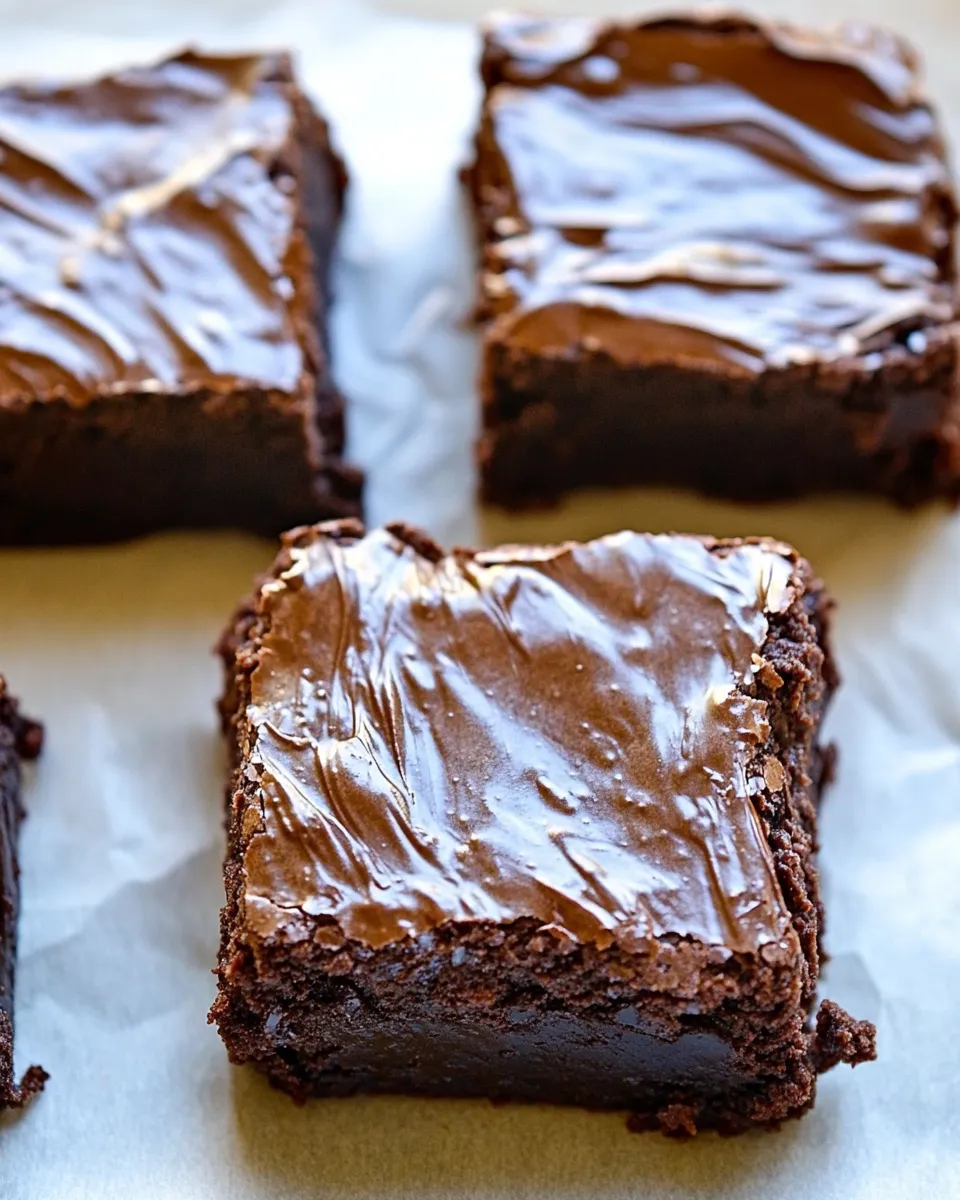
Chocolate Chickpea Brownies
These brownies are my go-to when I want something chocolatey and surprisingly wholesome. They come together from pantry staples, take less than an hour of hands-on time, and the texture after chilling is dense and fudgy — exactly what I look for in a brownie. The trick is simple: a can of beans becomes the base for a batter that bakes up like a proper treat.
I make them when guests show up unexpectedly, when I want a portable dessert for potlucks, or when I need a fail-safe after-school snack. They don’t taste like beans; they taste like chocolate, with enough fudgy chew to satisfy anyone who loves a rich square. And because the recipe leans on a few swaps (applesauce or milk, oil or nut butter), you can tailor it to what’s in your pantry.
Below you’ll find the ingredient list, the exact step-by-step method I follow every time, and practical notes — from why the batter works to small mistakes that can throw off the texture. Read through once, then follow the ordered steps and chill as instructed. The payoff is a batch of brownies that slice cleanly and hold together without being cakey.
The Ingredient Lineup
Ingredients
- 1 can chickpeas or white beans — the binder and moisture base; when pureed they make a dense, fudgy crumb.
- 2 tbsp cocoa powder — provides chocolate flavor and dries the batter slightly for structure.
- 2 tbsp Dutch cocoa or additional regular cocoa — darker-flavored option; use as labeled or double up on regular cocoa if needed.
- 1/3 cup flour (white, oat, spelt, almond, sorghum, etc.) — adds structure; pick the flour that suits any dietary needs.
- 3 tbsp milk of choice or applesauce — choose one; milk smooths texture, applesauce keeps it oil-light and adds moisture.
- 3 tbsp oil or nut butter of choice — choose one; oil yields a tender crumb, nut butter adds richness and chew.
- 1 tsp pure vanilla extract — rounds and deepens flavor.
- 1 tsp baking powder — gives a small lift so brownies aren’t flat.
- 1/4 tsp each: salt and baking soda — salt balances sweetness; baking soda pairs with acid for a subtle lift.
- 1/2 cup sugar — sweetener and contributes to the fudgy texture; for refined-sugar-free options consider fruit-based or specialty swaps
- 1/2 cup chocolate chips — not optional (omit at own risk) — melty pockets of chocolate; some reserved for the top add a professional look.
Cook Chocolate Chickpea Brownies Like This
- Preheat the oven to 330°F. Grease or line an 8-inch pan (square).
- Drain and rinse 1 can chickpeas or white beans very well.
- In a food processor, combine the drained beans with 2 tbsp cocoa powder, 2 tbsp Dutch cocoa (or additional regular cocoa), 1/3 cup flour, 3 tbsp milk of choice or applesauce (choose one), 3 tbsp oil or nut butter (choose one), 1 tsp pure vanilla extract, 1 tsp baking powder, 1/4 tsp salt, 1/4 tsp baking soda, and 1/2 cup sugar.
- Process the mixture until completely smooth, stopping to scrape down the sides as needed. (A blender can be used, but a food processor gives better texture.)
- Remove the blade and fold the 1/2 cup chocolate chips into the smooth batter by hand. If you want chips on top, set aside some of the measured chocolate chips before folding them in.
- Spread the batter evenly into the prepared 8-inch pan. Sprinkle any reserved chocolate chips on top if desired.
- Bake on the center rack for 14 minutes. The edges should be set while the center may still appear slightly soft.
- Remove from the oven and let the brownies cool in the pan to room temperature. Then chill in the refrigerator until firm (at least 1 hour; chilling overnight yields better texture).
- Slice and serve. If desired, frost with melted chocolate chips or your preferred frosting.
Why It Works Every Time
There are a few simple chemistry points that make these brownies reliable. First, pureed chickpeas act like a neutral-tasting, starchy base. When processed thoroughly they create a smooth matrix that traps fat and sugar, producing a fudgy texture rather than a crumbly one. The cocoa powders — regular and Dutch — contribute both flavor and a bit of dryness, so the recipe balances wet ingredients (beans, oil or nut butter, milk or applesauce) and dry ingredients (cocoa, flour, sugar).
Baking powder and a touch of baking soda provide a gentle lift without turning the brownies cakey. The very short bake time (14 minutes) is intentional: you want set edges and a slightly soft center. Chilling is critical here — it firms the matrix, concentrates flavor, and makes clean slices possible. Last, the chocolate chips melt into pockets of rich chocolate that mimic classic brownie texture; leaving them out changes the experience dramatically.
Ingredient Flex Options
- Bean choice: Chickpeas or white beans work best for a neutral flavor. Black beans can be used but will change both color and flavor.
- Flour swaps: White, oat, spelt, almond, or sorghum are all listed as options; choose based on texture and dietary needs. Almond flour will give a denser, slightly nuttier result.
- Milk vs applesauce: Milk makes a silkier batter; applesauce reduces oil needs and adds gentle sweetness. Pick one, don’t use both unless adapting measurements.
- Oil vs nut butter: Oil keeps things neutral and tender; nut butter adds flavor and chew. If using nut butter, expect a slightly thicker batter.
- Cocoa: Dutch-processed provides deeper chocolate notes. If you only have regular cocoa, use that for both slots.
- Sweetener options: The recipe lists 1/2 cup sugar. You can experiment with unrefined sugars or coconut sugar, understanding they may alter color and moisture slightly.
Recommended Tools
- Food processor — for the smoothest, fudgiest batter.
- 8-inch square baking pan — the recipe is sized for this pan; different sizes change bake time and thickness.
- Parchment paper or nonstick spray — for easy removal from the pan.
- Rubber spatula — to scrape the processor and fold in chips.
- Measuring cups and spoons — accurate measures keep texture consistent.
- Cooling rack — to bring the pan to room temperature before chilling.
Easy-to-Miss Gotchas
Small missteps make a big difference with these. The most common issues I see are under-rinsing the beans, over-processing or under-processing, and skipping the chill.
Rinse the can well. Any brine left behind can add an off taste. Process until completely smooth — even tiny bean bits change the mouthfeel. If you use a blender, expect a looser batter; a food processor gives the tight, fudgy texture you want.
Watch the bake time carefully. Fourteen minutes at 330°F is intentionally short. If you bake longer to “be safe,” you risk a cakier, drier brownie. Trust the instructions: edges set, center slightly soft, then chill. Finally, chilling is not optional — it steadies the crumb and makes slicing neat squares.
Health-Conscious Tweaks
There are a few straightforward ways to nudge this toward a lighter or lower-sugar version without losing the character of the brownie. Swap applesauce for milk to reduce added fat. Use nut butter instead of oil if you want more protein and a feeling of satiety. Try a less-refined sugar like coconut sugar in place of granulated sugar, keeping the amount the same; it will darken the color and add a caramel note.
To lower sugar further, reduce the chocolate chips slightly, or choose a higher cacao percentage chip that is less sweet. For gluten-free needs, pick one of the suggested flours like almond or oat (certified gluten-free). Remember that these tweaks affect texture: less sugar or less fat can tighten the crumb, so keep the chill step and expect a slightly different mouthfeel.
Cook’s Notes
Texture & timing
I prefer these chilled. Right out of the oven they’re soft and fragile; chilling firms them up and intensifies the chocolate. If you want a fudgier center, slice after at least an hour in the fridge. For a cake-like slice, let them sit longer at room temperature after chilling, but I find that defeats the fudgy intent.
Serving ideas
Serve plain for simplicity or warm a slice briefly and top with a spoonful of whipped cream or a scoop of ice cream. If you like contrast, sprinkle flaky sea salt over the melted chips on top before chilling — it highlights the chocolate.
One practical tip: use a sharp knife warmed in hot water and wiped dry for clean cuts. Make one long swipe instead of a sawing motion for prettier squares.
Prep Ahead & Store
You can prepare the batter in advance and keep it in the fridge for up to 24 hours before baking; give it a quick stir before spreading in the pan. After baking and the initial cool-down, chill at least 1 hour or overnight for best texture. Store baked brownies in an airtight container in the refrigerator for up to 5 days. If you want to keep them longer, freeze slices wrapped tightly for up to 2 months. Thaw in the refrigerator overnight, then bring to room temperature before serving.
Quick Q&A
- Can I use black beans instead of chickpeas? Yes, but expect a darker color and slightly different flavor; black beans are common in similar brownie recipes.
- Is the 8-inch pan essential? It’s recommended. Using a different size changes thickness and bake time; a larger pan will yield thinner brownies and a shorter bake time.
- Do I have to chill them? Chill at least 1 hour. It firms the brownies and improves slices.
- Can I omit the chocolate chips? The ingredient list flags chips as “not optional.” Omit at your own risk — you’ll miss the melty chocolate pockets that define the experience.
- What’s the best way to measure flour? Spoon it into the cup and level it off, or weigh it for the most consistent results.
Final Thoughts
These Chocolate Chickpea Brownies are proof that pantry ingredients can become something unexpectedly delightful. They shift the dessert conversation away from indulgence-as-guilt and toward fun, adaptable baking you can feel good about. Follow the steps, chill them properly, and you’ll have dense, chocolatey squares that hold together and satisfy a craving fast.
Make the recipe once exactly as written to learn how your oven likes it, then tweak from there — different flours, a swap between applesauce and milk, or a favorite nut butter — and keep what works. Baking with beans is a small habit that opens up a lot of quick, resilient desserts. Enjoy the brownies, and don’t be surprised if they become a requested staple.
Chocolate Chickpea Brownies
Ingredients
Equipment
Method
- Preheat the oven to 330°F. Grease or line an 8-inch pan (square).
- Drain and rinse 1 can chickpeas or white beans very well.
- In a food processor, combine the drained beans with 2 tbsp cocoa powder, 2 tbsp Dutch cocoa (or additional regular cocoa), 1/3 cup flour, 3 tbsp milk of choice or applesauce (choose one), 3 tbsp oil or nut butter (choose one), 1 tsp pure vanilla extract, 1 tsp baking powder, 1/4 tsp salt, 1/4 tsp baking soda, and 1/2 cup sugar.
- Process the mixture until completely smooth, stopping to scrape down the sides as needed. (A blender can be used, but a food processor gives better texture.)
- Remove the blade and fold the 1/2 cup chocolate chips into the smooth batter by hand. If you want chips on top, set aside some of the measured chocolate chips before folding them in.
- Spread the batter evenly into the prepared 8-inch pan. Sprinkle any reserved chocolate chips on top if desired.
- Bake on the center rack for 14 minutes. The edges should be set while the center may still appear slightly soft.
- Remove from the oven and let the brownies cool in the pan to room temperature. Then chill in the refrigerator until firm (at least 1 hour; chilling overnight yields better texture).
- Slice and serve. If desired, frost with melted chocolate chips or your preferred frosting.
Notes
*Most flours will work in the recipe, including almond flour for a grain-free option. Readers also had success with coconut flour – use 2 tbsp instead of 1/3 cup, because coconut flour is so absorbent.
Also try these
Chocolate Coconut Fudge Bars
.