Chocolate Chip Cookie Bars Recipe
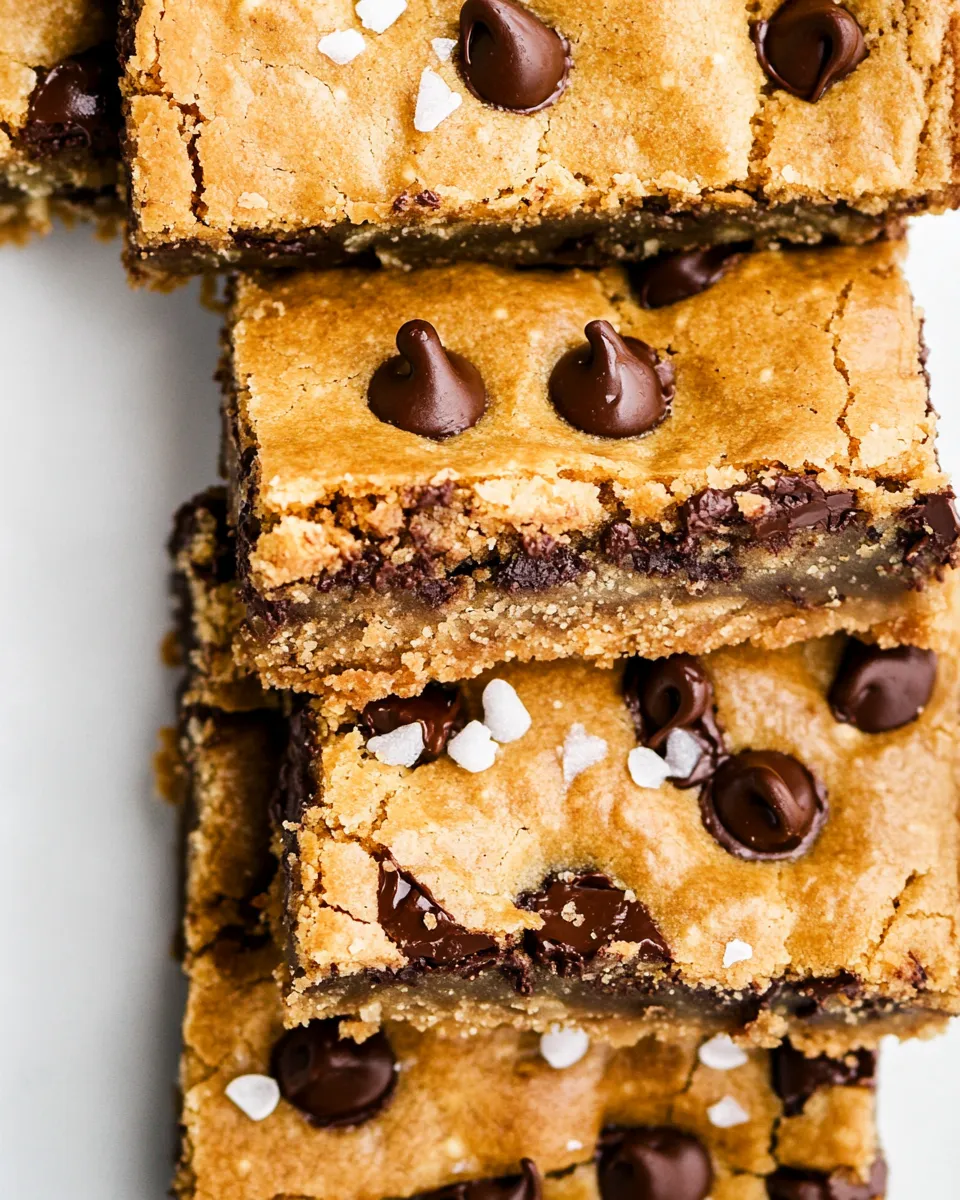
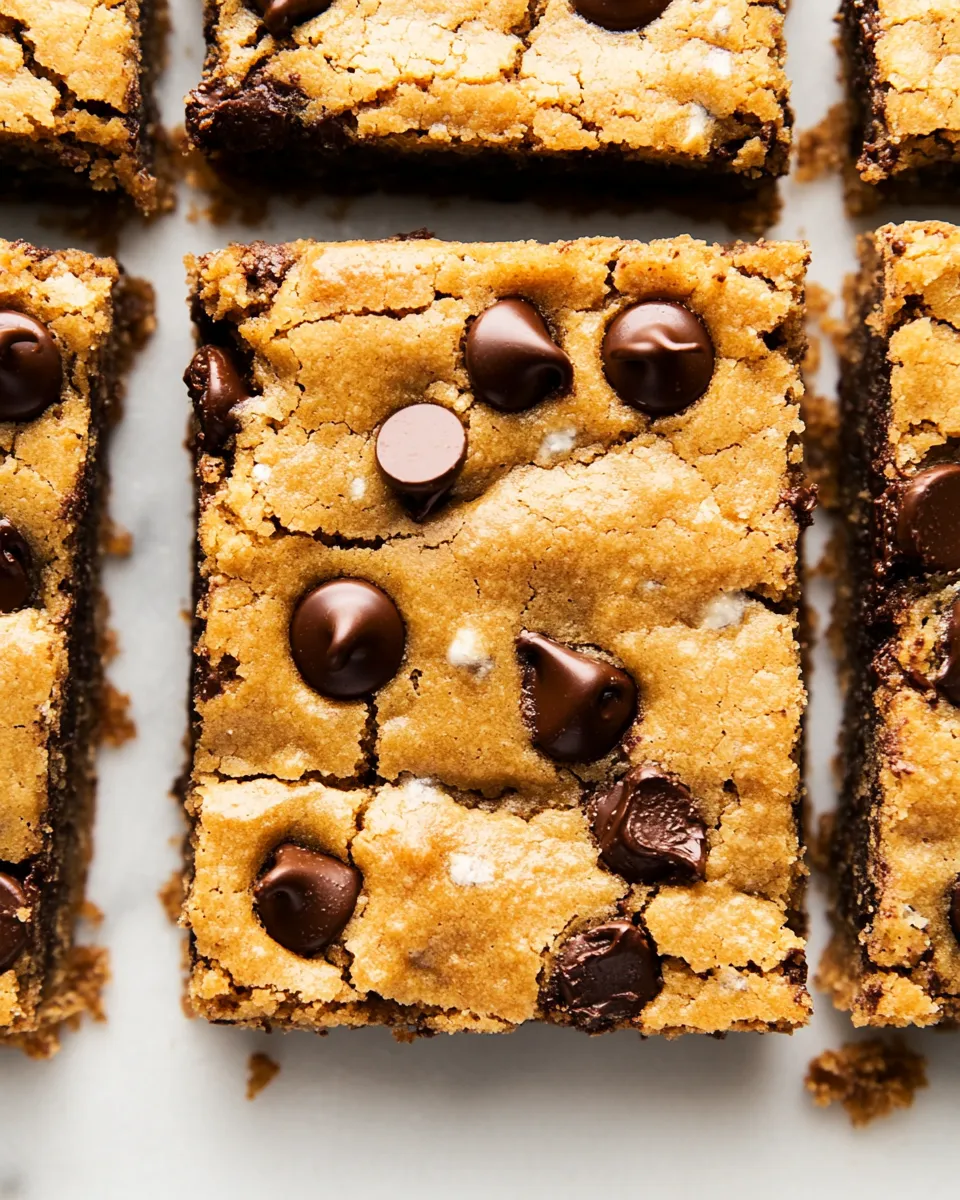
These chocolate chip cookie bars are the kind of dessert that belongs in the busy parts of life: birthdays, school pickups, late-night cravings, or a simple Saturday afternoon with coffee. They bake up fast, cut into tidy squares, and keep the chew and caramelized edges that make cookies irresistible—except you don’t have to scoop dozens of cookies. Practical, dependable, and warmly familiar.
I rely on a few straightforward choices here: melted butter for an almost-fudge center, a mix of brown and granulated sugar for depth and chew, and a little extra yolk for richness. The method is intentionally forgiving but includes a few specific moments where attention pays off—cool the melted butter, don’t overmix the flour, and watch the bake time.
Below you’ll find a clear ingredients list, the exact steps I follow, troubleshooting, swaps, and storage tips. No frills. Just what works every time when you want chocolate chip bars that taste like the best parts of a chocolate chip cookie—lick-the-bowl included.
The Essentials
These bars are built for ease. You’ll mix the wet ingredients first, fold in dry, stir in chocolate, press into a 9×13 pan, and bake. The recipe uses melted unsalted butter rather than creamed butter to produce a denser, chewier bar with rich flavor. The optional maple syrup brings a subtle complexity that pairs beautifully with brown sugar and chocolate.
Timing and temperature matter. A lower oven temperature and a slightly shorter bake time help the center stay soft while the edges brown. Remove them when the top stops looking glossy. They’ll finish setting as they cool.
Ingredients
- 12 tablespoons unsalted butter, melted — provides fat and flavor; let it cool to room temperature so it doesn’t melt the sugars and make greasy bars.
- 1 cup light brown sugar, lightly packed — adds moisture and chew; lightly packed keeps the ratio consistent without densifying the dough.
- 1/2 cup granulated sugar — balances sweetness and contributes a slight crisp to the edges.
- 1 large egg — gives structure and lift.
- 1 large egg yolk — adds richness and chew; see note 1.
- 1/2 tablespoon vanilla extract — enhances the chocolate and brown sugar flavors.
- 2 tablespoons maple syrup — optional, see note 2; adds flavor complexity and moisture if used.
- 2-1/4 cups flour — the structural backbone; all-purpose works well.
- 1/2 teaspoon baking soda — a small lift so the bars aren’t dense.
- 3/4 teaspoon salt — balances sweetness and brightens flavors.
- 1-1/4 cups chocolate chips — the star mix-in; reserve a few to press on top if you want a pretty finish.
- Flaky sea salt — optional; sprinkle on top right after baking for contrast.
Chocolate Chip Cookie Bars, Made Easy
- Preheat oven to 325°F and place a rack in the center position. Spray a 9×13-inch pan with cooking spray, line it with parchment paper leaving an overhang on two sides for easy removal.
- Melt 12 tablespoons unsalted butter in the microwave in a microwave-safe bowl. Set the melted butter aside to cool to room temperature (hot butter will melt the sugars and make greasy bars).
- In a large bowl, whisk the cooled melted butter with 1 cup light brown sugar (lightly packed) and 1/2 cup granulated sugar until smooth.
- Add 1 large egg, 1 large egg yolk, 1/2 tablespoon vanilla extract, and 2 tablespoons maple syrup (optional). Whisk until the mixture is smooth and emulsified.
- Using a wooden spoon, stir in 1/2 teaspoon baking soda, 3/4 teaspoon salt, and 2-1/4 cups flour until just combined. Do not overmix.
- Fold in 1-1/4 cups chocolate chips. Reserve a few chocolate chips if you want to press extra on top before baking.
- Transfer the dough to the prepared pan and press it into an even layer. If desired, press the reserved chocolate chips onto the top.
- Bake for 23–28 minutes, until the top is no longer glossy and the edges are lightly golden. Be careful not to overbake.
- If using, sprinkle flaky sea salt over the bars immediately after removing them from the oven. Let the bars cool completely in the pan, then lift them out using the parchment overhang, cut into bars, and serve.
Why This Recipe Is Reliable
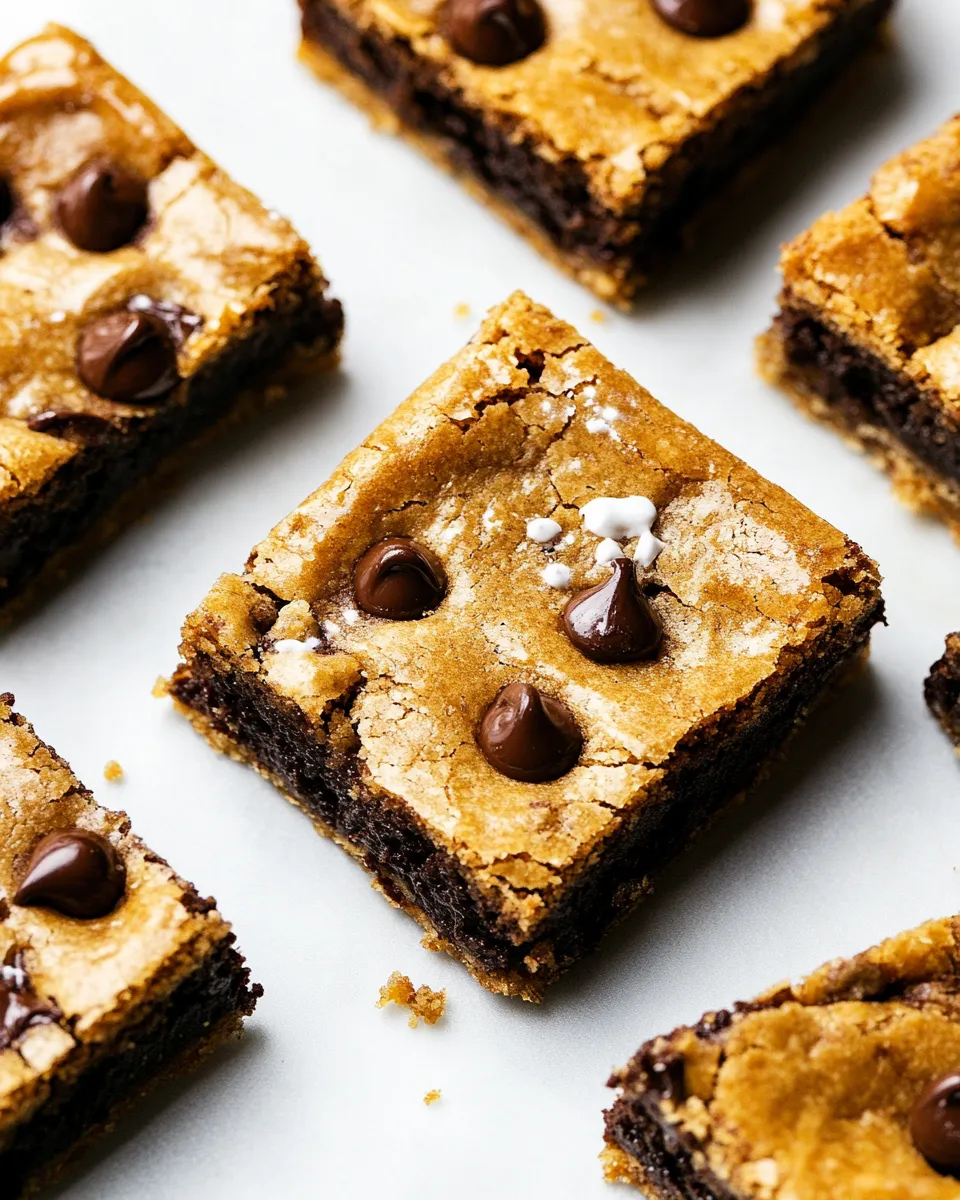
There are three deliberate choices that make these bars consistently good. First, melted butter keeps the interior dense and fudgy while letting the edges caramelize. Second, a blend of brown and granulated sugar balances moisture and texture—brown sugar for chew, granulated for structure. Third, a single whole egg plus an extra yolk builds richness without overinflating the crumb.
The modest amount of baking soda ensures a slight lift but not a cake-like rise. The lower baking temperature and watching for the glossy top are both important: you want the surface to lose its sheen but not to brown too much. Cooling in the pan finishes the set-up, which prevents dry bars.
Swap Guide
Want to change something? Here are safe swaps that preserve the method and texture.
- Butter: salted butter can be used, but reduce added salt in the recipe or skip the flaky sea salt on top.
- Sugars: dark brown sugar will deepen flavor; keep the total sugar weight the same (use the same measuring cup amounts called for here).
- Chocolate: any chip or chopped chocolate works—mix sizes for pockets of melty chocolate and little chips that hold their shape.
- Maple syrup: it’s optional. If you skip it, the bars will still be rich and tender; add it for a subtle syrupy note.
- Flour: stick with all-purpose for the intended texture. Whole-grain flours will change the result and may require adjustments for hydration.
Equipment Breakdown
You don’t need anything exotic to pull these off. Use items you likely already have.
- 9×13-inch baking pan — the bars are designed for this size for even thickness and baking time.
- Parchment paper — important for an easy lift and clean edges; let it overhang on two sides.
- Microwave-safe bowl or small saucepan — to melt butter. Microwave is faster; stovetop gives you more control.
- Large mixing bowl and a wooden spoon — the dough benefits from gentle handling; a wooden spoon gives you good control when folding in flour and chips.
- Whisk and measuring cups/spoons — accurate measuring helps with consistent results.
Watch Outs & How to Fix
Greasy or flat bars
Cause: butter too hot when mixed with sugars. Fix: let melted butter cool to room temperature before whisking with sugars. If bars come out greasy, chill them briefly and cut with a very sharp knife to reduce smearing.
Dry or crumbly bars
Cause: overbaking or too much flour from packing cups. Fix: check at the earlier end of the bake window; measure flour by spooning into a cup and leveling rather than scooping directly.
Dense, gummy center
Cause: underbaked center or too-low oven temperature. Fix: give the bars a few extra minutes in the oven and always cool completely in the pan—the center firms up as it cools. If you slice too early, the bars can seem underdone.
Chocolate melts into one pool
Cause: hot dough or very soft chips. Fix: fold chocolate chips in gently and reserve chips to press on top if you want distinct pockets of chocolate. Use a mix of chip sizes if you want melty strings and intact bites.
Seasonal Adaptations
These bars are a great base for seasonal additions. In fall, folded spices like cinnamon or a small pinch of nutmeg complement the brown sugar—add sparingly so you don’t overwhelm the chocolate. For winter, chopped toasted nuts or orange zest bring brightness and texture. In summer, swap half the chocolate chips for white chocolate chips or add a sprinkle of flaky salt and a few toasted coconut flakes for contrast.
When adding extras, keep quantities modest so the original dough structure isn’t compromised. Press mix-ins into the top if chunky so they stay visible and distributed.
Behind the Recipe
My version comes from wanting cookie flavor with simpler, faster execution. Melted butter speeds the process because you don’t cream, and it creates a different crumb—denser and chewier than typical cookie dough. The extra yolk adds silkiness and helps with the chew without making the bars cakey. A lower bake temp gives the edges time to color while the center stays tender.
I learned the hot-butter pitfall the hard way: if you add melted butter that’s still steaming into the sugars, the batter loosens and the fat separates during baking. Letting it cool is a small step that changes the end result.
Leftovers & Meal Prep
Store cooled bars in an airtight container at room temperature for up to 3 days. For longer storage, wrap individual bars tightly and freeze up to 2 months. Thaw at room temperature or warm briefly in a low oven for a fresh-baked feel.
If you’re prepping ahead for a gathering, you can bake the bars, cool completely, and refrigerate overnight—slice right before serving for the cleanest edges. For transport, keep them on a flat tray and separate layers with parchment.
Ask the Chef
Q: Can I halve the recipe? A: Yes. Use an appropriately sized pan (an 8×8 works for about half the dough). Watch the bake time closely—the center will need less time.
Q: Can I use browned butter? A: Browned butter will add a nutty complexity. Cool it completely before mixing with the sugars to avoid greasiness. Expect a slightly deeper flavor and possibly a modest change in texture.
Q: Why both an egg and an egg yolk? A: The whole egg gives structure; the yolk adds fat and tenderness. Together they yield a tender but stable bar.
The Takeaway
These Chocolate Chip Cookie Bars are straightforward, forgiving, and reliably delicious. The method focuses on a few small, intentional details—cool melted butter, a balance of sugars, a short bake at a modest temperature—that give the bars a chewy center and caramelized edges. Make them as written the first time, then feel free to personalize with swaps or mix-ins once you know how they behave.
Ready, practical, and perfect for any day you want cookie flavor without the scooping. Bake, cool, cut, and enjoy.

Chocolate Chip Cookie Bars Recipe
Ingredients
Equipment
Method
- Preheat oven to 325°F and place a rack in the center position. Spray a 9×13-inch pan with cooking spray, line it with parchment paper leaving an overhang on two sides for easy removal.
- Melt 12 tablespoons unsalted butter in the microwave in a microwave-safe bowl. Set the melted butter aside to cool to room temperature (hot butter will melt the sugars and make greasy bars).
- In a large bowl, whisk the cooled melted butter with 1 cup light brown sugar (lightly packed) and 1/2 cup granulated sugar until smooth.
- Add 1 large egg, 1 large egg yolk, 1/2 tablespoon vanilla extract, and 2 tablespoons maple syrup (optional). Whisk until the mixture is smooth and emulsified.
- Using a wooden spoon, stir in 1/2 teaspoon baking soda, 3/4 teaspoon salt, and 2-1/4 cups flour until just combined. Do not overmix.
- Fold in 1-1/4 cups chocolate chips. Reserve a few chocolate chips if you want to press extra on top before baking.
- Transfer the dough to the prepared pan and press it into an even layer. If desired, press the reserved chocolate chips onto the top.
- Bake for 23–28 minutes, until the top is no longer glossy and the edges are lightly golden. Be careful not to overbake.
- If using, sprinkle flaky sea salt over the bars immediately after removing them from the oven. Let the bars cool completely in the pan, then lift them out using the parchment overhang, cut into bars, and serve.
Notes
Note 1
: You can discard egg white or save and add it to breakfast the next morning. I love this
Egg Skillet
and this
Egg Wrap
.
Note 2
: Maple syrup is the secret ingredient in these bars. In a pinch, you can leave it out, but the bars do lack a bit of tenderness and a certain level of sweetness. I use
pure maple syrup
, not to be confused with pancake syrup.
Storage
: Store bars in an airtight container in the fridge for up to 1 week. Wrap bars individually and freeze for up to 3 months. Thaw at room temperature before serving.