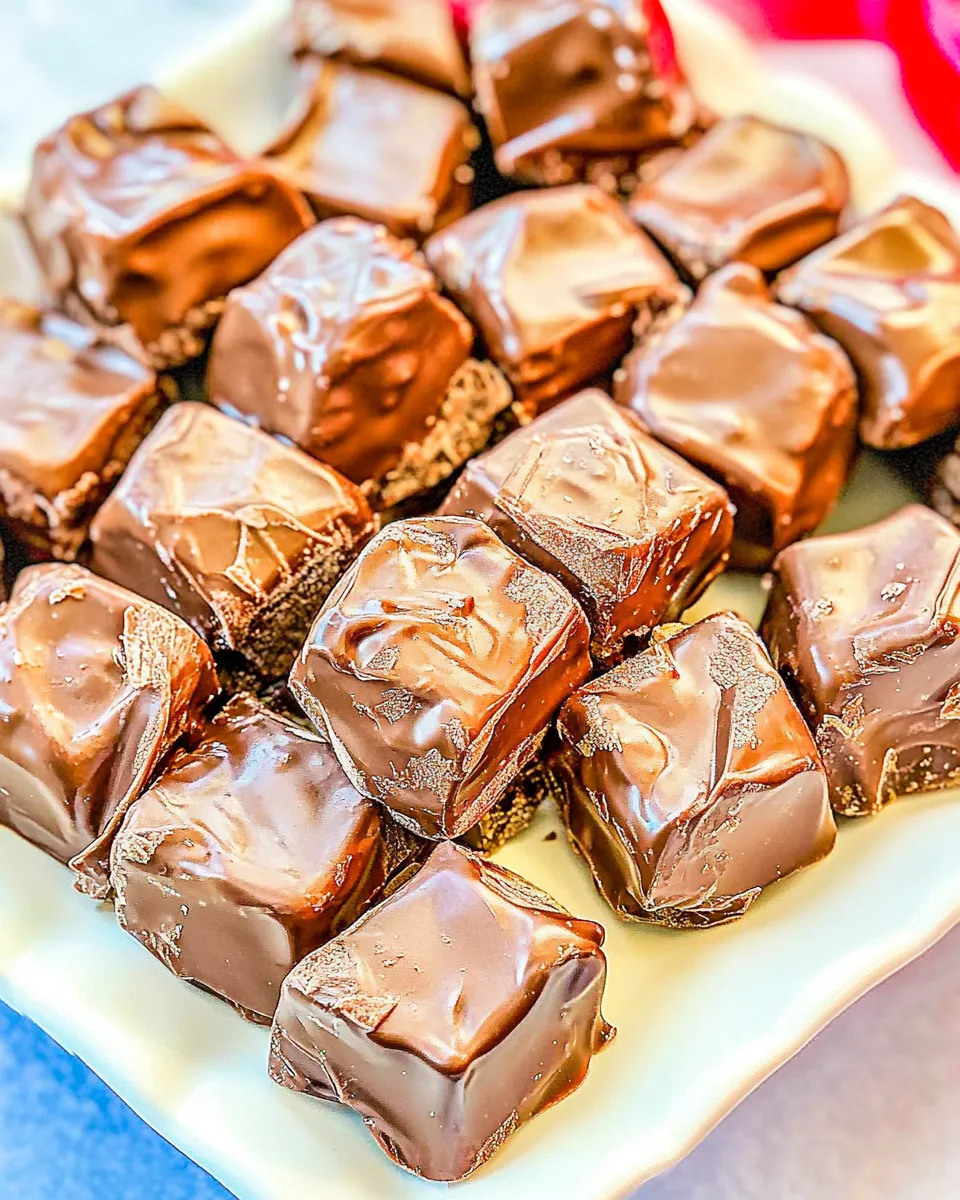
Chocolate-Covered Sponge Candy
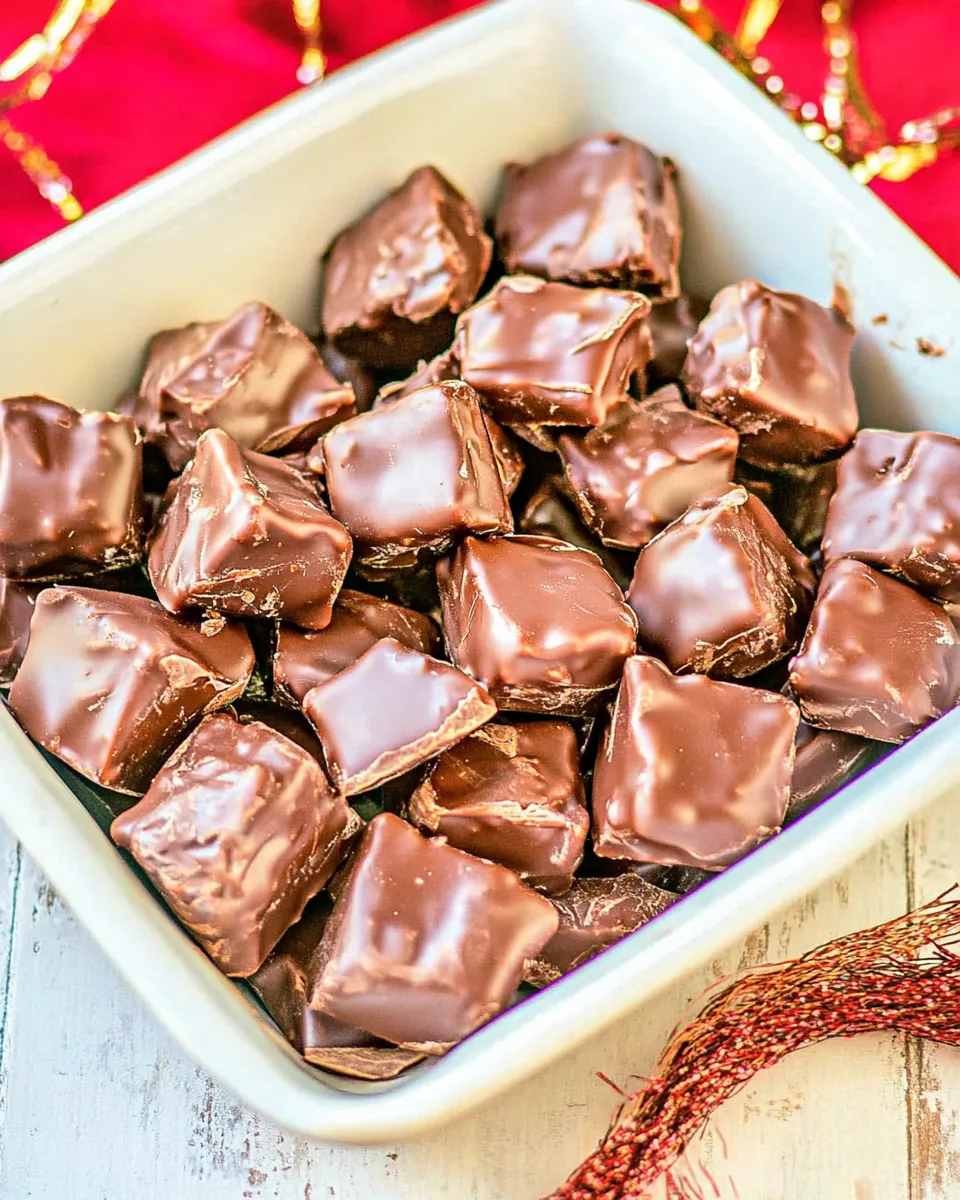
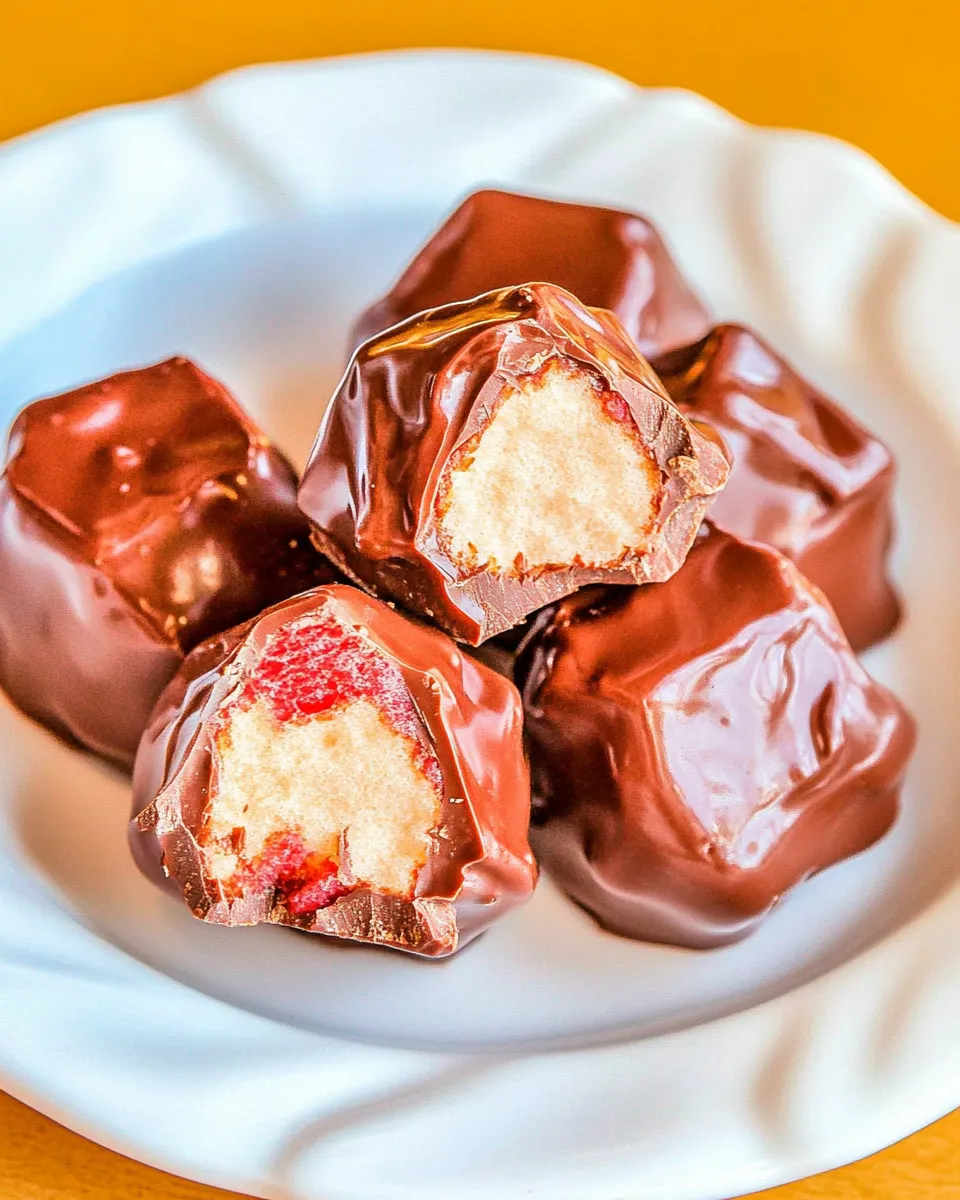
Crunchy, airy, and impossibly light — this chocolate-covered sponge candy is the kind of candy that makes people stop talking and start crunching. It starts as a hot, bubbling syrup that turns into a glassy, honeyed foam the moment baking soda hits it. Coat it in chocolate, and you have an elegant but simple candy that travels well and stores for weeks.
I make this when I want something impressive that doesn’t take a lot of hands-on time. The real work is watching the syrup reach the right temperature; after that, it moves quickly. With a candy thermometer, a patient hand, and a little caution around hot sugar, you’ll get perfect results.
This post walks you through the ingredient reasons, the exact step-by-step method, troubleshooting, and storage advice. Read the notes before you start so you know what to expect — then follow the steps precisely for the best crunchy, airy sponge candy coated in smooth milk chocolate.
Ingredient Notes
There are only a few moving parts here, and each one matters. Granulated sugar provides the structure. Dark corn syrup and honey slow crystallization and give a glossy sheen and richer flavor. Water helps the sugar dissolve evenly. Baking soda is the magic leavening agent that creates the characteristic airy, bubbly interior. Finally, milk chocolate wafers provide a quick, reliable coating that melts smoothly and sets with a snap.
Key risk points: uneven heating, stirring at the wrong time, or delayed addition of the baking soda. Keep the thermometer clipped correctly and be ready to add the sifted baking soda the moment you remove the pot from heat — the foam forms fast and you want to capture the expansion in the pan.
Ingredients
- 1 cup granulated sugar — gives the candy its hard, glassy structure; dissolve completely before boiling.
- ½ cup dark corn syrup — prevents crystallization and keeps the texture smooth.
- ½ cup honey — adds flavor depth and a softer, richer finish.
- 1 tablespoon water — helps the sugar dissolve evenly at the start.
- 2 ½ teaspoons baking soda, sifted — the leavening agent that creates the airy sponge texture; must be sifted for even distribution.
- 2 cups milk chocolate melting wafers, such as Ghirardelli — melts smoothly and sets with a good snap; use melting wafers for consistency.
Method: Chocolate-Covered Sponge Candy
- Line a 9×13-inch pan with parchment paper and spray the parchment lightly with cooking spray; set the pan aside.
- In a high-sided medium stockpot, combine 1 cup granulated sugar, ½ cup dark corn syrup, ½ cup honey, and 1 tablespoon water. Heat over medium, stirring occasionally until the sugar dissolves and the mixture is uniform.
- Clip a candy thermometer to the side of the pot with the bulb submerged in the syrup but not touching the bottom. Stop stirring, do not move the pot, and continue heating until the mixture reaches 300°F (hard‑crack stage). This will take about 20 minutes.
- Remove the pot from the heat. Have 2 ½ teaspoons sifted baking soda measured and ready; immediately add the baking soda to the hot mixture and stir quickly just until incorporated. The mixture will foam and expand—use caution.
- Immediately pour the foamy mixture into the prepared pan and tilt the pan to spread it evenly. Allow the candy to cool and set at room temperature, about 1 hour.
- When the candy has set, lift it from the pan using the parchment and break it into pieces or cut with a knife; pieces will be irregular.
- Place 2 cups milk chocolate melting wafers in a microwave-safe bowl and melt according to the package directions (or heat in short intervals, stirring until smooth).
- Dip each piece of sponge candy into the melted chocolate to coat, letting excess chocolate drip back into the bowl. Use a fork or dipping tool and place coated pieces on a sheet of parchment.
- Let the chocolate coating set at room temperature until firm, about 1 hour.
- Store the finished candy in an airtight container at room temperature for at least 2 weeks. Do not refrigerate or freeze.
Why It Works Every Time
Temperature and texture
Reaching 300°F (hard-crack stage) is the single most important factor. At that temperature, the sugar syrup will cool to a brittle, glass-like texture. If you stop short, the candy will be chewy; overshoot and it can burn or taste bitter. Use a reliable candy thermometer and clip the bulb into the syrup, clear of the bottom, so you get an accurate read.
Role of each ingredient
Dark corn syrup and honey are both humectants — they attract and hold moisture, inhibiting sugar crystals from forming during the boil and giving a cleaner, shinier final surface. The baking soda reacts with the hot acid in the syrup to produce carbon dioxide; those billions of tiny bubbles trapped as the syrup sets are what make the interior light and porous.
Technique beats tricks
Stop stirring once the thermometer is clipped. Stirring after the syrup begins to boil can introduce crystals or uneven heating. When the baking soda goes in, you need to move fast: stir to incorporate and pour immediately to capture the foam. This controlled haste results in uniform expansion and consistent texture.
No-Store Runs Needed
You probably have everything for this in a basic pantry: granulated sugar, a bottle of dark corn syrup, honey, baking soda, and chocolate melting wafers. If you don’t have melting wafers, look for a reliable, meltable chocolate you enjoy — but wafers or compound chocolate melt predictably and are easiest for dipping.
Other common items you might want to check for before starting: a candy thermometer, parchment paper, and a microwave-safe bowl or double boiler for melting chocolate. If you already bake, you likely have all of those on hand.
Gear Checklist
- 9×13-inch pan — shallow and wide is best to capture the foam evenly.
- Parchment paper — prevents sticking and makes lifting the set candy easy.
- High-sided medium stockpot — the foam expands a lot; the sides protect against overflow.
- Candy thermometer — accurate temperature is essential; clip it so the bulb sits in the syrup but not on the pot bottom.
- Measuring cups and spoons — exact quantities matter with candy.
- Sifter — for the baking soda to avoid lumps.
- Microwave-safe bowl or double boiler — for melting the chocolate wafers smoothly.
- Forks or dipping tools and parchment-lined sheet — for dipping and setting the chocolate.
- Heatproof spatula — to stir in the baking soda quickly and pour the foam.
Don’t Do This
- Don’t stir after the thermometer is clipped in place. Stirring can create sugar crystals and an uneven boil.
- Don’t add baking soda slowly. You need to add it all at once and stir quickly to get an even, foamy rise.
- Don’t use a shallow, narrow pot. The foam expands aggressively; a high-sided pot prevents dangerous spillover.
- Don’t rush the pour. Once the baking soda is in, move quickly but steadily — sloppy pouring leads to dense spots.
- Don’t refrigerate or freeze the finished candy. Moisture will soften the interior and ruin the crisp texture.
Make It Fit Your Plan
Scaling up is possible but requires a proportionally larger pot and pan. Keep the same ratios and be mindful that a larger volume takes longer to reach 300°F; heat evenly and monitor carefully. If you prefer a darker, less sweet coating, swap the milk chocolate wafers for dark chocolate melting wafers — they’ll set a bit firmer and shift the flavor profile toward bittersweet.
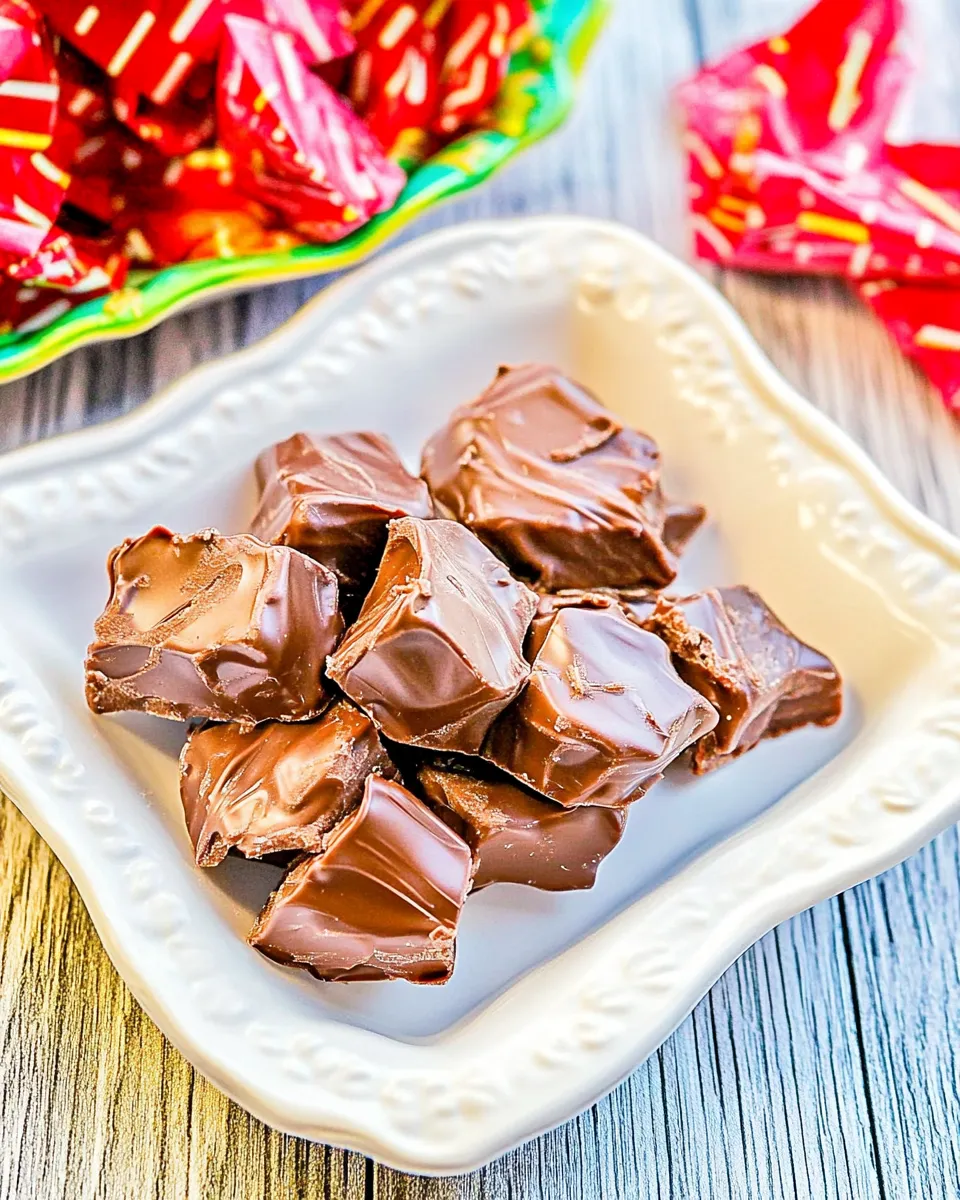
Want to gift these? Pack pieces in parchment-lined boxes or airtight tins. If you plan to share by mail, pack the pieces tightly to reduce breakage and avoid high-humidity shipping windows.
What Could Go Wrong
It never foams enough
If the candy stays dense, you likely didn’t add enough baking soda or it wasn’t sifted evenly. Check that your baking soda is fresh — old, clumped baking soda can underperform. Also verify you actually reached 300°F; lower temperatures produce denser candy.
It collapses after pouring
Collapsing usually happens if the syrup cooled too much before you added the baking soda or poured. Have everything measured, sifted, and ready so that the sequence is immediate: remove from heat, add baking soda, stir, and pour without delay.
Chocolate coating is streaky or matte
That’s often due to humidity, cooling too fast, or not tempering. Melting wafers are formulated to set without tempering, but if you use real chocolate, it helps to temper or at least melt gently and cool slightly before dipping to reduce streaking.
Shelf Life & Storage
Store the finished candy in an airtight container at room temperature for at least 2 weeks, as the method states. Keep it in a cool, dry place away from direct sunlight and heat sources. Do not refrigerate or freeze — refrigeration introduces moisture that will soften the crunchy interior and make the chocolate bloom (white streaks from fat migration).
If the room is warm, find the coolest part of your kitchen but still avoid refrigeration. Properly stored, the chocolate coating will protect the interior and maintain crispness for the storage period.
Ask the Chef
Q: My candy is sticky and not crisp. Why?
A: That’s usually from underheating. Make sure the syrup reaches 300°F and that you allow it to cool and set at room temperature. Also ensure your storage environment is dry — humidity will make it sticky.
Q: Can I use regular chocolate bars instead of wafers?
A: Yes, but melt them gently and be prepared for a longer set time. If you use real chocolate, tempering yields the best snap and shine. Melting wafers are convenient because they set reliably at room temperature.
Q: Can I flavor the syrup?
A: Small additions like a quarter-teaspoon of vanilla extract added after removing the pot from heat are possible, but avoid adding liquids before you reach the hard-crack stage. Also, be cautious: extra liquid can change the boiling behavior.
Hungry for More?
If you liked this chocolate-covered sponge candy, try your hand at other butter- or sugar-based confections that play with texture: classic toffee, peanut brittle, or chocolate-covered toffee bits. Each offers a different balance of crunch, chew, and chocolate coating technique.
Make this once, and you’ll see why it becomes a holiday staple — it’s impressive, portable, and quick once you’ve practiced the timing. Keep the thermometer close, the baking soda sifted, and your dipping station organized. Enjoy the crack.
Chocolate-Covered Sponge Candy
Ingredients
Equipment
Method
- Line a 9×13-inch pan with parchment paper and spray the parchment lightly with cooking spray; set the pan aside.
- In a high-sided medium stockpot, combine 1 cup granulated sugar, ½ cup dark corn syrup, ½ cup honey, and 1 tablespoon water. Heat over medium, stirring occasionally until the sugar dissolves and the mixture is uniform.
- Clip a candy thermometer to the side of the pot with the bulb submerged in the syrup but not touching the bottom. Stop stirring, do not move the pot, and continue heating until the mixture reaches 300°F (hard‑crack stage). This will take about 20 minutes.
- Remove the pot from the heat. Have 2 ½ teaspoons sifted baking soda measured and ready; immediately add the baking soda to the hot mixture and stir quickly just until incorporated. The mixture will foam and expand—use caution.
- Immediately pour the foamy mixture into the prepared pan and tilt the pan to spread it evenly. Allow the candy to cool and set at room temperature, about 1 hour.
- When the candy has set, lift it from the pan using the parchment and break it into pieces or cut with a knife; pieces will be irregular.
- Place 2 cups milk chocolate melting wafers in a microwave-safe bowl and melt according to the package directions (or heat in short intervals, stirring until smooth).
- Dip each piece of sponge candy into the melted chocolate to coat, letting excess chocolate drip back into the bowl. Use a fork or dipping tool and place coated pieces on a sheet of parchment.
- Let the chocolate coating set at room temperature until firm, about 1 hour.
- Store the finished candy in an airtight container at room temperature for at least 2 weeks. Do not refrigerate or freeze.
Notes
*Use a
sufficiently tall, high-sided stock pot.
The mixture will expand and bubble up pretty dramatically as it boils so use a pot with ample room; bigger or taller than you probably think you need.
**Use
Ghirardelli Chocolate Melting Wafers
rather than chocolate chips for your dipping chocolate. It’s less prone to seizing, can be reheated, and stays dip-able longer than chocolate chips will.
***Being that you can store the candy airtight for at least 2 weeks, it
makes great gifts for teachers, coaches, friends, coworkers, or as hostess gifts.
Pack the candy up in cute reusable jars or a festive looking cellophane bags, and as you find yourself needing little gifts throughout the holiday season, you’ll have some already
ready to go.
****Serving size is 1 piece of approximately 24 pieces the batch makes, you can make them smaller or larger if desired. Nutritional info is provided as a courtesy and is an approximation only.

![Homemade Poppy Chow [Chocolate & Peanut Butter-Covered Popcorn] photo](https://oventoasted.com/wp-content/uploads/2025/12/Poppy_Chow_Chocolate__Peanut_Butter-Covered_Popcorn-1-768x960.webp)