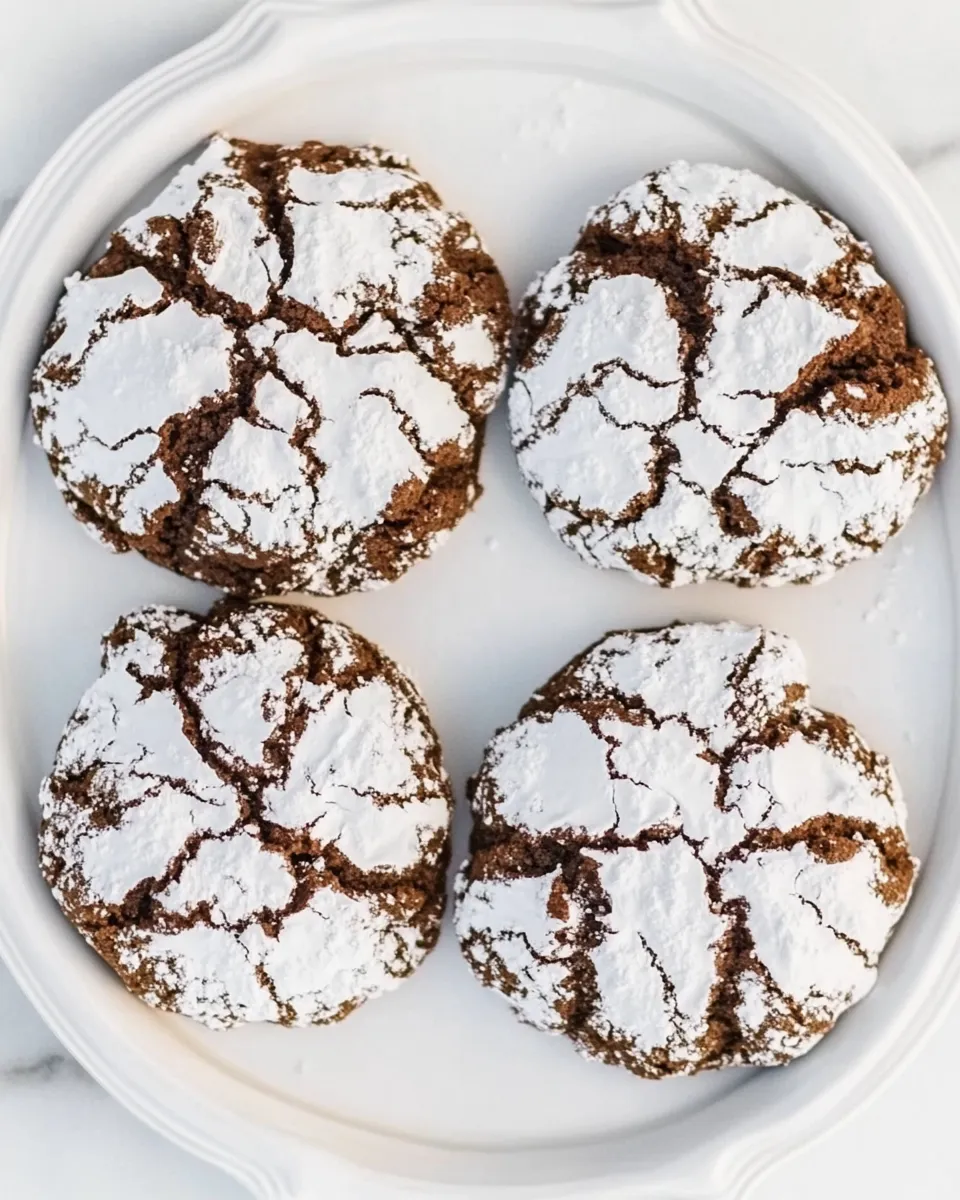
Chocolate Crinkle Cookies
These chocolate crinkle cookies are the kind of recipe I reach for when I want something reliably fudgy, quick to assemble, and impossible to resist. They give you a glossy, crackled top framed by a soft, slightly underbaked center — the texture contrast is the whole point. The technique is straightforward: mix, chill, portion, roll in powdered sugar, and bake one tray at a time.
I like that the dough hangs out in the fridge for a while; it’s forgiving. You can make the dough in the morning and bake in the evening, or chill it overnight for a little depth of flavor. Every step pulls double duty — the oil keeps the cookies tender, the chilling controls spread, and the powdered sugar gives that signature snowcap look.
No decorating skill required, and the cookies travel well. They’re great for a last-minute cookie swap, a quiet afternoon with coffee, or a holiday tin. Below you’ll find the exact ingredients and steps I use, followed by practical tips, troubleshooting, and storage notes so your batch turns out the way you want it.
Gather These Ingredients

- ½ cup unsweetened natural cocoa powder — gives the deep chocolate base; sift if it’s lumpy to avoid streaks in the dough.
- 1 cup granulated sugar — provides sweetness and helps create the crackled top.
- 2 large eggs — bind the dough and add richness; room temperature eggs mix more smoothly.
- ¼ cup vegetable oil — keeps the crumb tender and gives a slightly chewy interior.
- 1 teaspoon pure vanilla extract — balances and brightens the chocolate flavor.
- 1 cup all-purpose flour — structure for the cookies; measure by spooning into the cup and leveling off for best results.
- 1 teaspoon baking powder — leavening that helps the cookies crack and lift.
- ¼ teaspoon salt — enhances the chocolate and balances sweetness.
- ½ cup powdered sugar — for rolling the cookies in before baking; it creates the classic white crackle as the cookies spread.
Chocolate Crinkle Cookies in Steps
- If the cocoa powder is lumpy, sift ½ cup of unsweetened natural cocoa powder into a large bowl; otherwise measure ½ cup into the bowl. Add 1 cup granulated sugar, 2 large eggs, ¼ cup vegetable oil, and 1 teaspoon pure vanilla extract. Whisk until the mixture is smooth and well combined.
- Add 1 cup all-purpose flour, 1 teaspoon baking powder, and ¼ teaspoon salt to the bowl. Whisk gently until the dry ingredients are just incorporated and no large streaks of flour remain.
- Cover the bowl tightly with plastic wrap and chill the dough in the refrigerator for at least 2 hours or up to 48 hours.
- When ready to bake, preheat the oven to 350°F (180°C). Line a baking sheet with parchment paper or a silicone baking mat.
- Place ½ cup powdered sugar in a shallow bowl for rolling. Remove the dough from the fridge.
- Using a tablespoon (for small cookies, about 1 tablespoon / ~20 g) or a tablespoon twice (for large cookies, about 2 tablespoons / ~40 g), portion the dough and roll each portion into a smooth ball with your hands.
- Roll each dough ball in the powdered sugar until coated, shake off any excess, and place the coated balls on the prepared baking sheet about 2 inches apart.
- Bake one sheet at a time in the preheated oven for 12–14 minutes, until the cookie edges are set and the tops have crackled but the centers are still a bit soft/underdone.
- Allow the cookies to cool on the baking sheet for 10 minutes, then transfer them to a wire rack to cool completely.
Why This Chocolate Crinkle Cookies Stands Out
There are plenty of chocolate cookie recipes, but this one consistently delivers a tender, fudgy interior with dramatic tops that look bakery-made. The combination of oil and eggs instead of a larger butter proportion keeps the texture dense but soft; the dough doesn’t dry out as it chills. That texture is complemented by the powdered sugar exterior, which both insulates the top and provides the signature crackle as the cookie expands.
The method is efficient. You don’t need to cream butter and sugar or chill for days. A short chill is all that’s necessary to firm the dough so the cookies don’t spread flat. Because the recipe relies on simple pantry staples it’s forgiving: even if your measurements are slightly off, the basic chemistry — cocoa, sugar, egg, and flour — still produces a pleasant cookie.
Flavor-Forward Alternatives

Keep the core recipe intact and change the experience through small technique tweaks rather than inventing new components:
- Portion size: make smaller (1 tablespoon) for crispier edges and more pronounced crackles; make larger (2 tablespoons) for a chewier center and a showier crackle.
- Chill window: use the minimum 2 hours for a quicker bake; chill up to 48 hours for a firmer dough that spreads less and develops a deeper flavor.
- Powdered sugar coverage: roll generously for a stark white contrast; double-roll for a thicker coating that produces a more dramatic crackle.
What You’ll Need (Gear)
- Large mixing bowl — for combining wet and dry ingredients without spills.
- Whisk — to smooth the cocoa and dissolve the sugar evenly.
- Measuring cups and spoons — accurate flour and cocoa measurements make a big difference.
- Sifter or fine mesh sieve — useful if the cocoa powder is lumpy.
- Plastic wrap — to cover the dough while it chills.
- Baking sheet — one at a time is recommended for even baking.
- Parchment paper or silicone baking mat — prevents sticking and helps even browning.
- Tablespoon or small cookie scoop — for uniform cookies.
- Wire rack — to cool the cookies without soggy bottoms.
Problems & Prevention
- Cookies spread too flat — make sure the dough is well chilled. Placing the sheet in the fridge for 10–15 minutes before baking can help if your kitchen is warm.
- No crackle on top — roll the balls generously in powdered sugar; if the coating is thin the contrast won’t be as visible.
- Dry, crumbly cookies — avoid overmixing after adding the flour. Mix until just incorporated; overworking develops gluten and dries the finished cookie.
- Burnt bottoms — bake on the middle rack and use parchment or a silicone mat; if your oven runs hot, rotate the pan or lower the oven temperature by 10–15°F.
- Centers too raw — bake one sheet at a time as instructed and watch the edges; centers should be soft but not raw. If you prefer fully set centers, add 1–2 minutes to the bake time, checking closely.
Seasonal Serving Ideas
These cookies are versatile for different occasions. For winter and the holidays, arrange them in a tin with parchment for gifting. For casual gatherings, pile them on a platter alongside glasses of milk or mugs of coffee and tea. They’re also great in a cookie box or stacked between layers of parchment for a portable treat.
Notes from the Test Kitchen
We tested this recipe multiple times to pin down timing and technique. A few consistent findings:
- Chilled dough always spreads less and produces cleaner cracks. Don’t skip the minimum 2-hour chill if you want defined shapes.
- Baking one sheet at a time matters. Convection of heat changes if you load multiple sheets, and the cookies bake unevenly.
- The visual of doneness is important: edges should be set and the tops crackled while the centers still look slightly underbaked. They finish setting on the sheet in the 10-minute rest.
- Sifting the cocoa only when lumpy reduces streaks and gives a more consistent dough. If your cocoa is powder-fine, sifting is optional.
Meal Prep & Storage Notes

After baking, cool cookies completely on a wire rack before storing. Cookie moisture left in a container will soften the powdered sugar coating, so make sure they’re fully cool.
- Room temperature: Store in an airtight container for up to 5 days. Separate layers with parchment if stacking.
- Freezing: You can freeze baked cookies in a single layer on a sheet, then transfer to a freezer bag or container. Thaw at room temperature. Alternatively, freeze portioned dough balls (rolled but not sugared) on a tray, then bag them; when you need cookies, roll in powdered sugar and bake, adding a minute or two to the bake time if still cold.
- Reheating: Warm gently in a 300°F (150°C) oven for 3–4 minutes to refresh their texture if needed.
Common Questions
Do I have to chill the dough?
Yes — chilling firms the dough so the cookies don’t over-spread. A minimum of 2 hours is required; up to 48 hours is fine and deepens the flavor. If you’re short on time, a quick 30–45 minute chill in the freezer will help, but results aren’t as reliable.
What if I only have Dutch-processed cocoa?
This recipe was written for natural unsweetened cocoa. Dutch-processed cocoa is less acidic and may affect rise slightly, but you can still use it. Expect minor differences in texture and color; bake as instructed and judge doneness by edge set and top crackle.
Can I use butter instead of vegetable oil?
The oil keeps the cookies tender in a way butter might not. Butter will change the texture and flavor and may alter spread; if you substitute, gently melt and cool the butter first, but results will differ from the original.
How do I get bigger crackles?
Roll the dough balls generously in powdered sugar and avoid pressing the coating flat. Larger cookies (2 tablespoons) develop bigger fissures as they expand.
Time to Try It
These Chocolate Crinkle Cookies are a reliable, crowd-pleasing bake that doesn’t demand fuss. Follow the steps and pay attention to chilling and portioning; those two small checkpoints determine the look and texture. Bake one sheet at a time, use the powdered sugar generously, and let the cookies rest on the sheet for 10 minutes before transferring to cool completely.
Make a batch, enjoy fresh from the oven, tuck a few into a tin for a friend, and note what you liked best — smaller for crisp edges or larger for gooey centers. Once you get the hang of the timing in your oven, these will become one of your go-to chocolate cookies.
Chocolate Crinkle Cookies
Ingredients
Equipment
Method
- If the cocoa powder is lumpy, sift ½ cup of unsweetened natural cocoa powder into a large bowl; otherwise measure ½ cup into the bowl. Add 1 cup granulated sugar, 2 large eggs, ¼ cup vegetable oil, and 1 teaspoon pure vanilla extract. Whisk until the mixture is smooth and well combined.
- Add 1 cup all-purpose flour, 1 teaspoon baking powder, and ¼ teaspoon salt to the bowl. Whisk gently until the dry ingredients are just incorporated and no large streaks of flour remain.
- Cover the bowl tightly with plastic wrap and chill the dough in the refrigerator for at least 2 hours or up to 48 hours.
- When ready to bake, preheat the oven to 350°F (180°C). Line a baking sheet with parchment paper or a silicone baking mat.
- Place ½ cup powdered sugar in a shallow bowl for rolling. Remove the dough from the fridge.
- Using a tablespoon (for small cookies, about 1 tablespoon / ~20 g) or a tablespoon twice (for large cookies, about 2 tablespoons / ~40 g), portion the dough and roll each portion into a smooth ball with your hands.
- Roll each dough ball in the powdered sugar until coated, shake off any excess, and place the coated balls on the prepared baking sheet about 2 inches apart.
- Bake one sheet at a time in the preheated oven for 12–14 minutes, until the cookie edges are set and the tops have crackled but the centers are still a bit soft/underdone.
- Allow the cookies to cool on the baking sheet for 10 minutes, then transfer them to a wire rack to cool completely.
Notes
Bake Only One Tray at a Time.This crinkle cookie recipe doesn’t work very well if you try to bake two trays at once. They need to be baked in the very center of the oven, so be patient, and bake only one tray at a time. I suggest prepping two or three cookie trays so that you can keep things moving
Storing.These can be stored in an airtight container at room temperature for about a week. They are best eaten within a few days though.