Chocolate Dip
Chocolate dip is one of those tiny luxuries that turns ordinary snacks into something a little celebratory. It’s quick, forgiving, and wildly versatile — perfect for a last-minute dessert spread or a quiet night when you want something comforting without the fuss. This version is straightforward: good chocolate, warm cream, a kiss of vanilla, and an easy whisk to glossy smoothness.
I like to keep a jar of this on the counter when friends drop by. It takes minutes to make and everyone feels like a guest at a party. No complicated tempering, no special equipment, just predictable results you can rely on.
Below I’ll walk you through everything: what you need, the precise steps, gear that makes the job easier, common mistakes to avoid, and ways to lighten or elevate the dip if you want to experiment. Practical, clear, and ready to use.
The Essentials
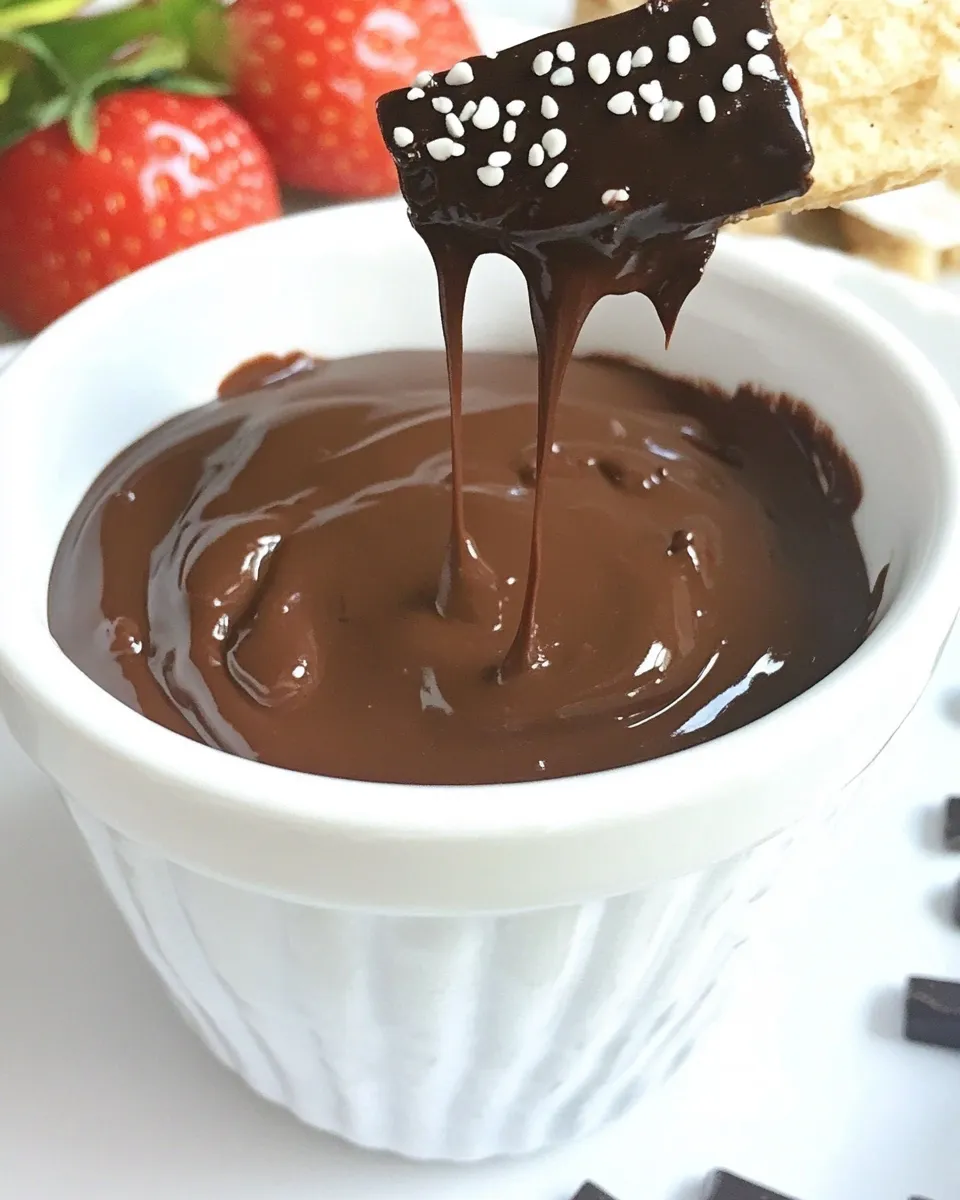
This Chocolate Dip is built on three simple ingredients and one basic technique: heat the cream, pour it over the chocolate, then whisk until glossy. That small sequence delivers a rich, velvety ganache-style dip that clings to fruit, cookies, and pretzels.
Plan on serving it warm. It’s at its best when soft and scoopable. If you need it thicker for dipping chunks of cake or a spoon, let it sit a few minutes to cool and thicken, stirring occasionally. If it firms too much, a quick warm bath or a short zap in the microwave brings it back.
Keep the chocolate quality honest. Semi-sweet chips work perfectly for a reliably balanced finish. If you use a bar instead of chips, chop it finely so it melts evenly when the hot cream hits it.
From Start to Finish: Chocolate Dip
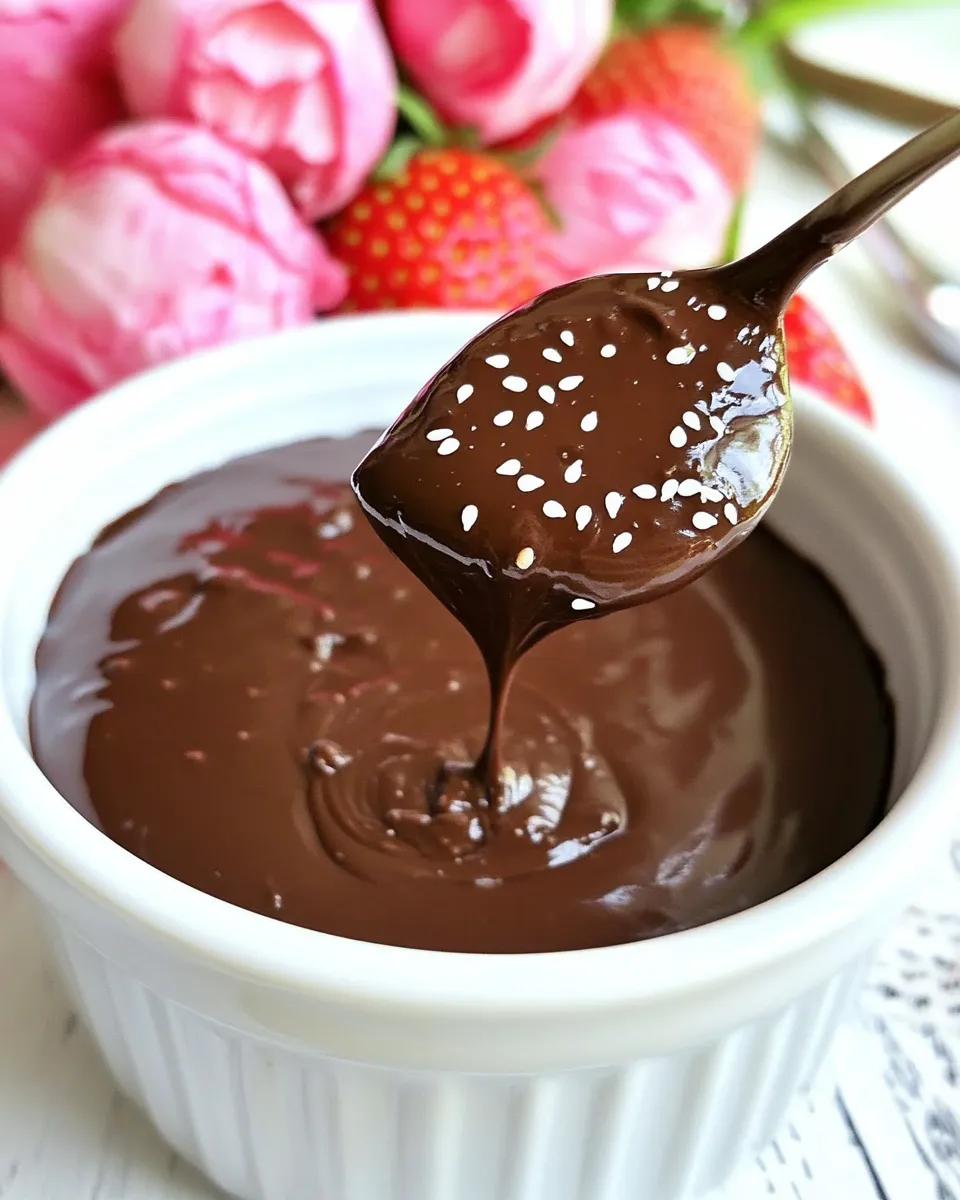
- Place 12 oz semi-sweet chocolate chips in a medium heatproof bowl.
- Heat 1 cup heavy whipping cream in a small saucepan over medium heat just until it begins to steam and small bubbles form around the edges — do not let it boil. Remove from heat.
- Pour the hot cream over the chocolate chips. Let sit undisturbed for 1–2 minutes to soften the chocolate.
- Whisk the chocolate and cream together from the center outward until smooth and glossy. Add 1 tsp vanilla extract and whisk until fully incorporated. If the mixture looks a little clumpy at first, continue whisking a few minutes and it will smooth out.
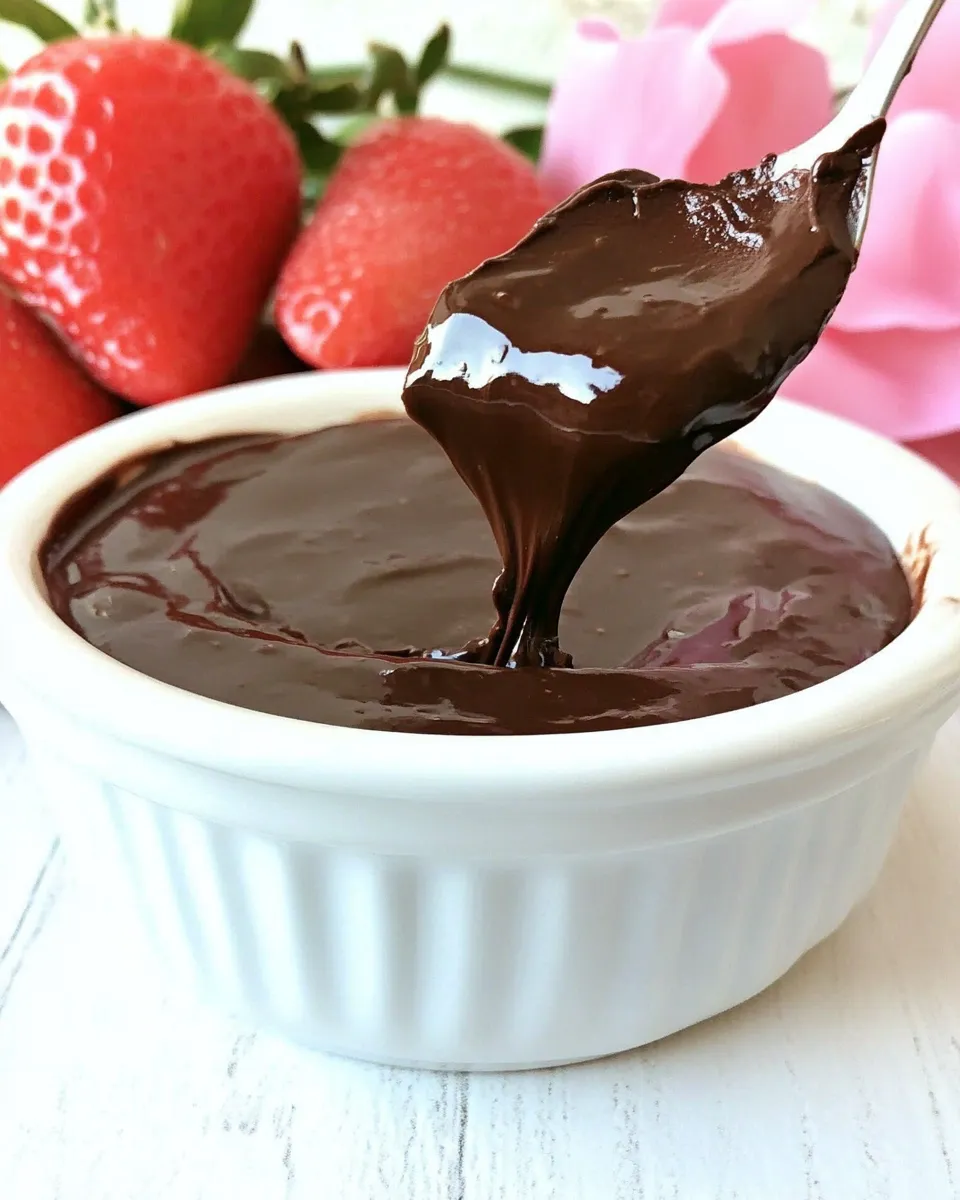
- Serve the chocolate dip immediately with desired dippers.
The Upside of Chocolate Dip
There’s a lot to like here. The texture is silky and clings to food without being gluey. It behaves predictably: warm it to thin, cool it to thicken. It pairs with a huge range of dippers — fruit, cookies, salty items — and it’s fast to make with pantry-stable ingredients.
For hosting, the dip sets an approachable tone. You don’t need to present a plated dessert; set out a board of dippers, warm the bowl, and guests do the rest. If you’re serving kids, the chocolate is an instant hit, but you can also pair it with more refined bites for adults.
Finally, the formula is forgiving. If a batch looks slightly grainy at first, more whisking usually fixes it. If you overheat the cream, you can still rescue the dip by emulsifying with a tiny addition of room-temperature cream or a short heat moderation and steady whisking.
International Equivalents
Different regions call similar chocolate sauces by different names. This recipe produces a ganache-style dip — often referred to as chocolate fondue in many Western contexts. In some European cafés, a similar warm, chocolate sauce accompanies pastries or roasts of fruit.
In Italy and France, a close cousin is made with dark chocolate and heavy cream, sometimes enriched with a small amount of butter or flavored with espresso or liqueur. In Spanish tapas culture, thick chocolate sauces serve churros or fruit. The basic technique — hot cream over chocolate, then whisk — is universal.
Whatever the label, the idea is the same: melt good chocolate into warm fat for a glossy, pourable finish. Adjust the chocolate type to match local preferences for sweetness or intensity.
Kitchen Gear Checklist
- Medium heatproof bowl — for melting the chocolate safely over steam or for the hot-cream method.
- Small saucepan — to heat the cream evenly without boiling it.
- Whisk — a good whisk helps you reach that smooth, glossy finish.
- Measuring cups and spoons — for accurate ratios; the balance of cream to chocolate matters.
- Serving bowl — something heatproof if you want to bring the dip straight to the table warm.
Easy-to-Miss Gotchas
- Boiling the cream — if the cream comes to a rolling boil, it changes texture and can separate. Remove at the first steam and edge bubbles.
- Chocolate temperature shock — pouring scalding cream onto very cold chocolate can cause uneven melting. Let the cream sit a moment after removing from heat so it’s hot but not aggressively boiling.
- Whisking patience — the mix can look clumpy at first. Keep whisking from the center outward; the emulsion will come together.
- Wrong chocolate type — candy coating melts differently than quality baking chocolate. Use semi-sweet chips or a chopped bar for best texture.
How to Make It Lighter
If you want a lighter finish without sacrificing too much richness, make small swaps and manage portions. Here are practical approaches that preserve texture while trimming calories.
- Reduce cream, increase water — replace up to a quarter of the cream with hot water to lower fat slightly. It thins the mix, so don’t remove too much.
- Use lower-fat dairy carefully — half-and-half will work but produces a looser dip and less sheen. Add it slowly and adjust cooling time for thickness.
- Serve with higher-fiber dippers — fruit and whole-grain biscuits let you enjoy the dip while keeping overall plate calories lower.
Pro Tips & Notes
Texture and temperature
For a glossy finish, whisk from the center outward. That draws the chocolate into the cream and builds an even emulsion. If you prefer a pourable sauce for drizzling, slightly increase the cream by 1–2 tablespoons and keep it warm.
Flavor variations
Vanilla is included for balance. If you want more depth, a splash of bourbon, rum, or a teaspoon of espresso powder folded in at the end adds complexity. Add such flavors sparingly; the dip’s base is already rich.
Fixes
If the dip breaks (looks grainy or oily), whisk in a teaspoon of warm water or a tablespoon of warm cream, a little at a time. A steady, patient whisk usually brings it back together. Avoid aggressive heat; gentle warming is safer.
Storage Pro Tips
- Short-term — keep the dip in an airtight container in the refrigerator for up to 5 days. It will firm up as it cools.
- Reheating — warm gently over a double boiler or microwave in short 10–15 second bursts, stirring between intervals until smooth. Avoid overheating.
- Transport — if you need to bring it to a party, use a small insulated container and reheat briefly on arrival, or use a fondue pot with a tea light for low, constant warmth.
Chocolate Dip Q&A
Q: Can I make this ahead? A: Yes. The dip keeps refrigerated for several days. Rewarm gently before serving. It won’t lose flavor, but texture will change when chilled — simply reheat and whisk.
Q: What if I don’t have semi-sweet chips? A: You can use a chopped chocolate bar of similar sweetness. Keep the total chocolate weight consistent and chop evenly so it melts predictably.
Q: How do I thicken the dip if it’s too runny? A: Let it sit at room temperature to cool, stirring occasionally. It will naturally thicken as it cools. For a thicker set, refrigerate briefly, checking every few minutes until it reaches the desired consistency.
Q: Can I freeze it? A: Freezing is possible but not ideal. The emulsion can change on thawing. If you freeze, thaw slowly in the refrigerator and then re-emulsify with gentle heat and whisking.
Bring It to the Table
Set the dip in a shallow, heatproof bowl on a small platter with dippers arranged around it. Offer a variety of textures: fresh strawberries, sliced bananas, toasted marshmallows, shortbread, pretzels, or cubes of pound cake. If you want to be intentional, include one surprising salty item — the contrast highlights the chocolate.
Label the bowl if you’re serving guests with dietary restrictions. If the dip will sit out, keep it covered or on a low, steady heat source if the room is cool; otherwise it will thicken and lose that glossy, dippable texture.
Ingredients
- 12 oz semi-sweet chocolate chips — the primary flavor and texture; chips melt evenly and give reliable sweetness.
- 1 cup heavy whipping cream — provides the fat that creates a smooth, glossy emulsion with the chocolate.
- 1 tsp vanilla extract — brightens and rounds the chocolate’s flavor; add at the end for best aroma.
Chocolate Dip
Ingredients
Equipment
Method
- Place 12 oz semi-sweet chocolate chips in a medium heatproof bowl.
- Heat 1 cup heavy whipping cream in a small saucepan over medium heat just until it begins to steam and small bubbles form around the edges — do not let it boil. Remove from heat.
- Pour the hot cream over the chocolate chips. Let sit undisturbed for 1–2 minutes to soften the chocolate.
- Whisk the chocolate and cream together from the center outward until smooth and glossy. Add 1 tsp vanilla extract and whisk until fully incorporated. If the mixture looks a little clumpy at first, continue whisking a few minutes and it will smooth out.
- Serve the chocolate dip immediately with desired dippers.
Notes
Does this chocolate dip harden?
It won’t harden at room temp, but it’s similar to spreadable butter at room temp. Still can scoop the chocolate out of the bowl, but note it won’t be drippy like when you first make it.
How to reheat Easy Chocolate Dip
You can reheat slowly in the microwave (in a microwave-safe bowl) to get it back to the original softer chocolate mixture state – I’d start with 60 seconds on 50% power and then stir stir stir! Repeat as many times as necessary.