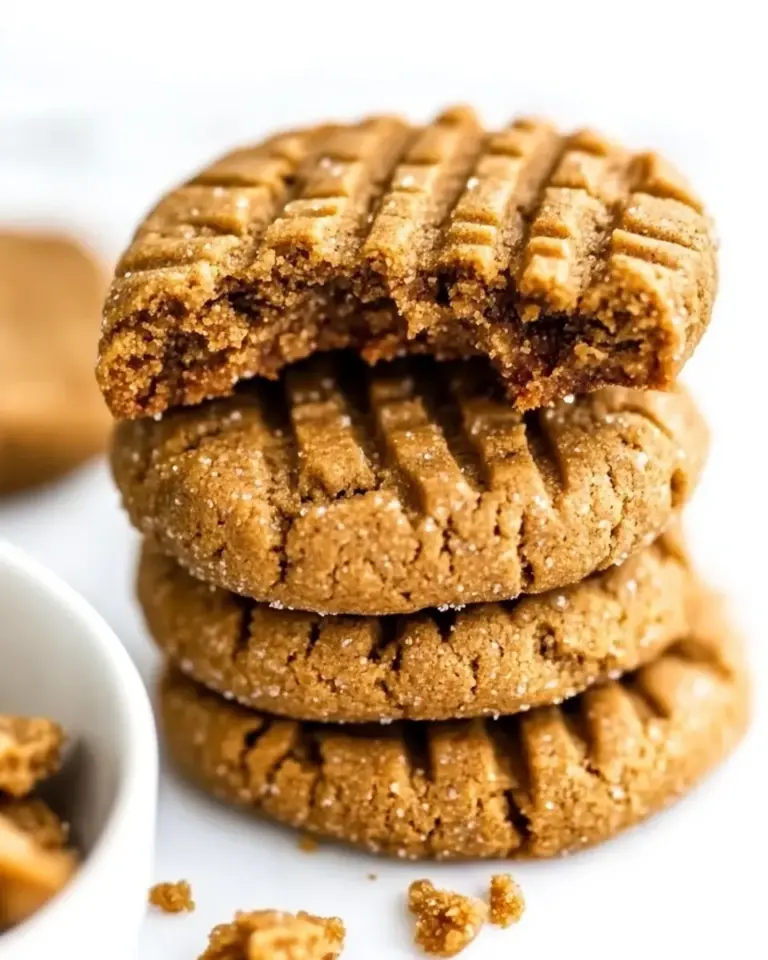
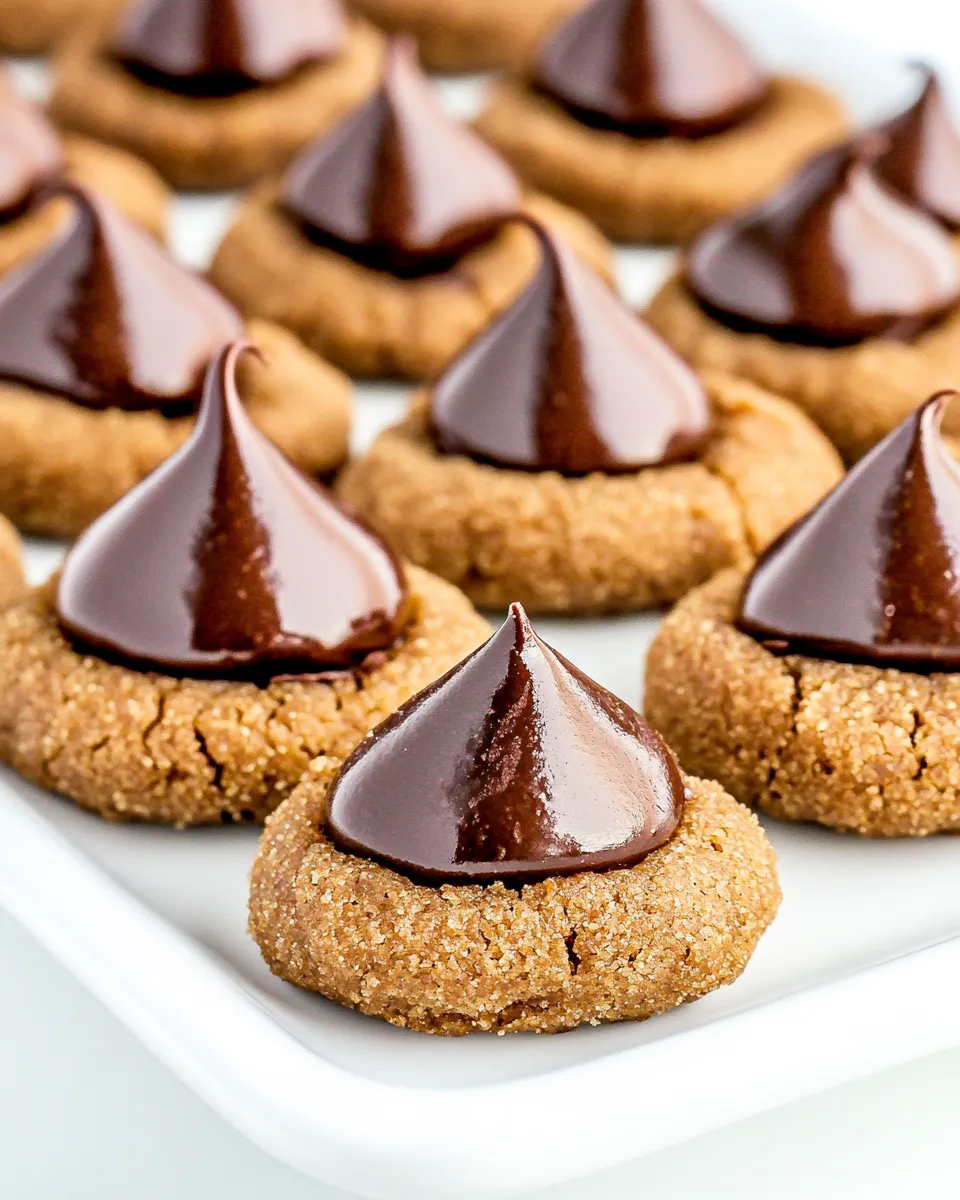
Chocolate Peanut Butter Blossoms
These are the cookies I reach for when I want something that feels homemade but reliably perfect. Chocolate Peanut Butter Blossoms pair a tender, cocoa-scented peanut butter dough with the snap and shine of a Chocolate Kiss pressed into the center while hot. They’re quick to portion, forgiving in the oven, and endlessly crowd-pleasing.
I’ll keep this practical: what to buy, exactly how to make them, what to watch for, and how to store them so they stay soft. Expect clear steps and usable tips from testing so you don’t have to guess about dough texture or oven placement. If you like short, direct instructions that actually translate to consistent cookies, you’ll be comfortable with this recipe.
Make a batch for a party, a school bake sale, or a quiet afternoon snack stash. They freeze well, travel well, and unwrapped, they’re a classic that hits childhood nostalgia notes without being fussy.
What You’ll Need
Ingredients
- ½ cup granulated sugar (100 grams) — adds structure and a crisp edge; helps the turbinado sugar stick if coating.
- ⅓ cup light brown sugar (71 grams) — brings moisture and a mild caramel note.
- 10 tablespoons unsalted butter (141 grams) — cool(ish) but softened; builds richness and helps the cookies spread to the right degree.
- 10 tablespoons creamy peanut butter (169 grams) — the main flavor; creamy keeps the dough smooth and easy to roll.
- 2 teaspoons pure vanilla extract (8 grams) — essential for depth; vanilla bean paste works too.
- 1 large egg (50 grams) — room temperature; binds and gives lift.
- 1¼ cups all-purpose flour (150 grams) — the structure; measure accurately for consistent results.
- ¼ cup unsweetened cocoa powder (21 grams) — gives chocolate flavor and color without extra sweetness.
- ¾ teaspoon baking soda — helps the cookies rise and crack correctly.
- ½ teaspoon baking powder (2 grams) — adds a little extra lift for a lighter texture.
- ¾ teaspoon kosher salt — balances the sweetness and enhances peanut butter flavor.
- Raw or turbinado sugar — optional; for rolling if you want a sparkly exterior and a slight crunch.
- 55 Chocolate Kisses (312 grams / 11 ounces), unwrapped — one per cookie, pressed into the centers while hot.
Cook Chocolate Peanut Butter Blossoms Like This
- Preheat the oven to 375°F. Place two oven racks in the upper‑middle and lower‑middle positions. Line 3 baking sheets with parchment paper and set aside.
- In the bowl of a stand mixer fitted with the paddle attachment, add ½ cup granulated sugar (100 g) and ⅓ cup light brown sugar (71 g). Beat 15 seconds on low speed to combine.
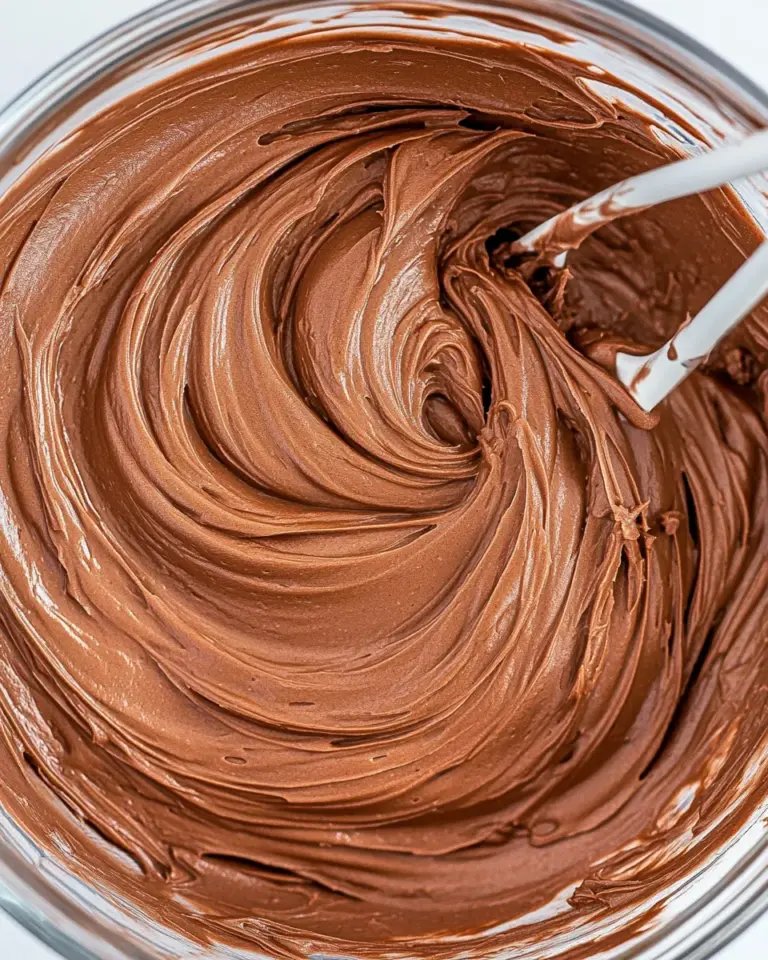
- Add 10 tablespoons unsalted butter (141 g), 10 tablespoons creamy peanut butter (169 g), and 2 teaspoons pure vanilla extract (8 g). Cream on medium speed until the mixture is light, smooth, and fluffy, about 3 minutes.
- Add 1 large egg (50 g) and beat until incorporated, about 30 seconds.
- In a separate large bowl, whisk together 1¼ cups all‑purpose flour (150 g), ¼ cup unsweetened cocoa powder (21 g), ¾ teaspoon baking soda, ½ teaspoon baking powder (2 g), and ¾ teaspoon kosher salt.
- Add the dry ingredients to the mixer and mix on low speed just until incorporated and no dry streaks remain. Do not overmix.
- The dough should be firm enough to roll into balls. If it is too soft or sticky to handle, cover and refrigerate for 1 hour.
- Roll the dough into 1‑inch balls. (Optional: use a 1½‑inch scoop and split each scoop in half to make two 1‑inch balls.) If using, roll each ball in raw or turbinado sugar.
- Place the dough balls on the prepared baking sheets about 2 inches apart.
- Bake at 375°F for 9–10 minutes, or until the cookies are just starting to firm around the edges.
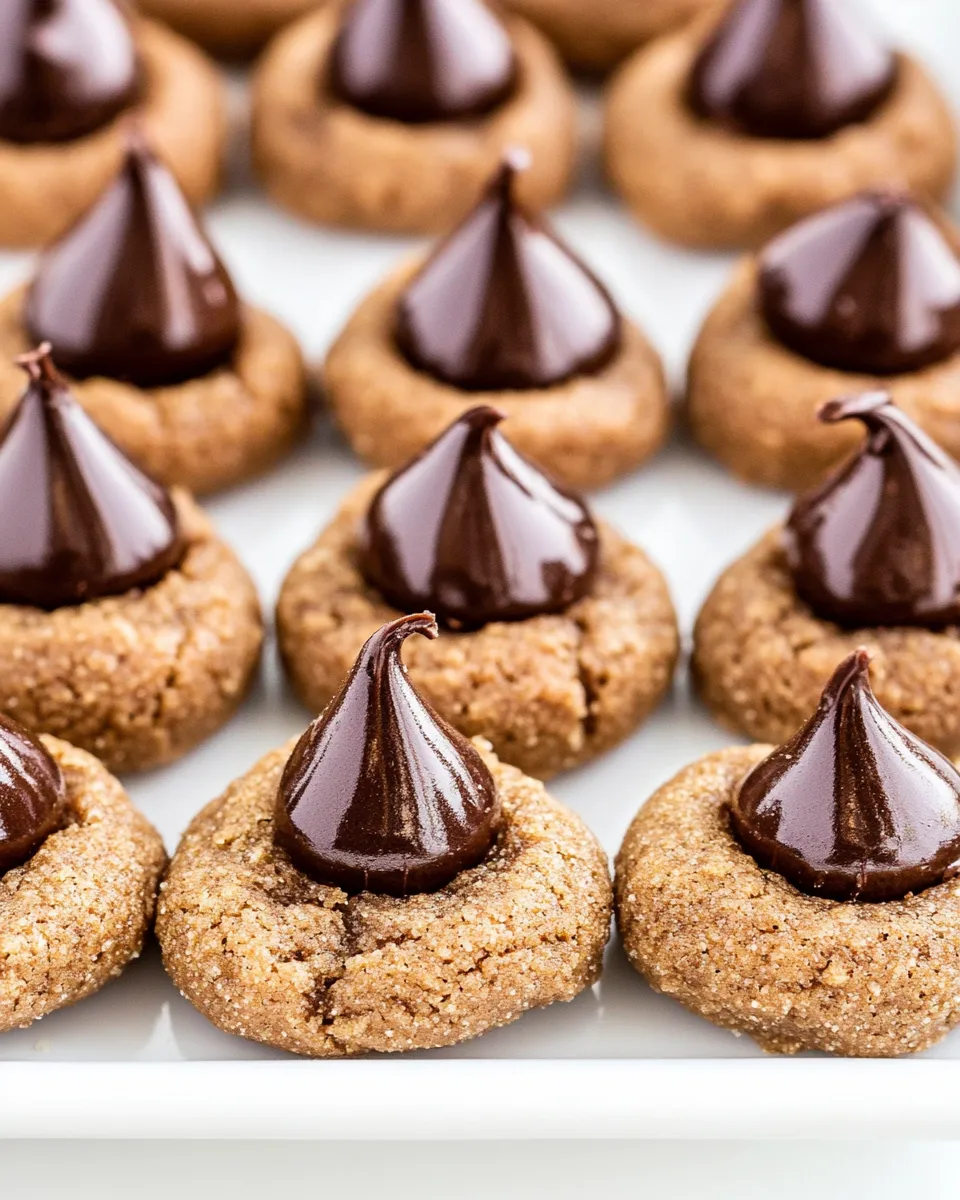
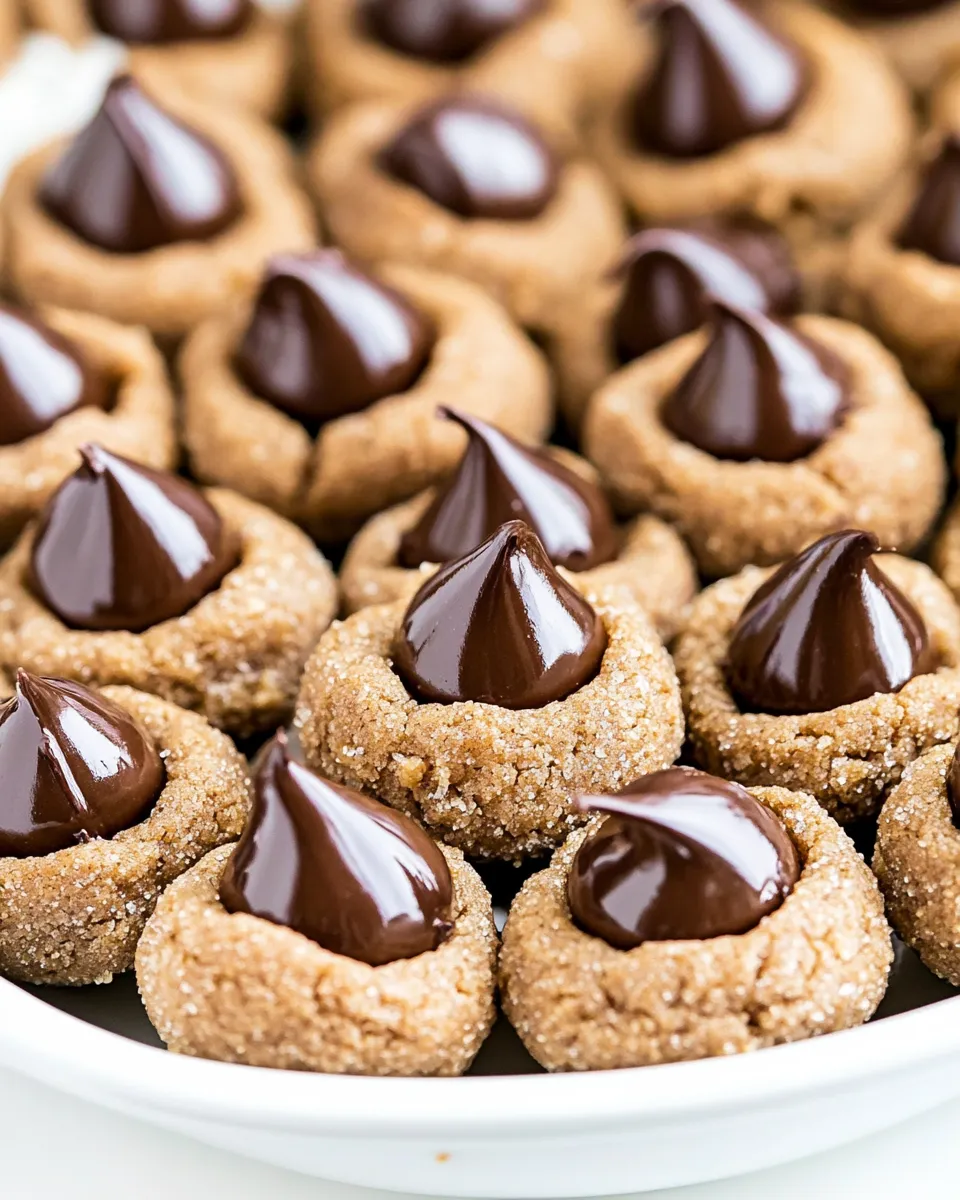
- Remove the baking sheet from the oven and immediately press 1 unwrapped Chocolate Kiss into the center of each cookie; the tops and edges will crack as you press.
- Let the cookies cool on the baking sheet for 2 minutes, then transfer them to a cooling rack to cool completely.
Why This Recipe is a Keeper
It balances two big flavors without either overpowering the other: peanut butter for savory richness and cocoa for just enough chocolate. The dough is forgiving—if it’s too soft you can chill it for an hour and still get the intended results. The method creates those classic “crack” lines around the Kiss, which gives the cookie its signature look.
Texture is reliable: slightly crisp edges and a tender, not cakey, center. The Kisses set into the warm cookies and keep a glossy, partially solid center that’s pleasant to bite into. Finally, these are quick to portion and bake, so you can make large batches for gatherings without spending all day in the kitchen.
If You’re Out Of…
If you don’t have one of the listed items, here are practical substitutions and what to expect from each:
- Unsalted butter — you can use salted butter; omit or reduce any added salt elsewhere. Flavor will be slightly different but acceptable.
- Creamy peanut butter — natural peanut butter can work but may make the dough looser if it separates; stir well and consider chilling the dough a bit longer.
- Chocolate Kisses — any small, individually wrapped chocolate will do in a pinch; unwrap and press into cookies the same way. (You may get a slightly different melt consistency.)
- Turbinado sugar — plain granulated sugar is fine for coating; it won’t sparkle the same but will add a light crunch.
Before You Start: Equipment
Gather these tools so the bake flows smoothly.
- Stand mixer with paddle attachment (or a hand mixer and a sturdy bowl).
- Baking sheets (3) lined with parchment paper.
- Measuring cups and a kitchen scale if you prefer grams for accuracy.
- Small scoop (1½‑inch) or a tablespoon to portion cookies; rolling by hand works too.
- Cooling racks to let cookies finish setting.
Avoid These Mistakes
Small missteps are repeatable, but these cause inconsistent results:
- Overmixing the dry ingredients into the wet. Mix just until no dry streaks remain. Overworking the flour develops gluten and makes cookies tough.
- Baking longer than instructed. Remove at 9–10 minutes; the cookies continue to set after coming out of the oven. Overbaked cookies lose tenderness.
- Skipping the quick chill if dough is sticky. If you can’t roll it neatly, chill. Sticky dough spreads unpredictably in the oven.
- Placing the Kiss too early. Wait until you remove the sheet from the oven—pressing in while still very hot gives the right crack pattern without flattening the cookie too much.
- Using a warm, soft butter straight from the fridge. The recipe asks for cool(ish) but softened butter—too warm and the dough becomes greasy and hard to handle.
Better Choices & Swaps
Want to tweak flavor or texture? These options work without breaking the recipe’s structure.
- Use high-quality peanut butter for a cleaner, brighter peanut flavor; skip varieties with added oils or large amounts of salt.
- Swap unsweetened cocoa for Dutch-processed if you prefer a darker, mellower chocolate note; you may notice a slight change in color and acidity.
- Choose Kisses made with higher-cocoa solids if you want a less sweet center. The cookie dough remains the same.
- Coat in raw or turbinado sugar to get a sparkling edge and slight crunch; skip it for a softer exterior.
What I Learned Testing
Testing makes the difference between “okay” and “consistently great.” A few lessons from multiple batches:
1) Dough temperature matters. The dough that was slightly firm at room temperature rolled and held shape better than dough that was too soft. When the dough is tacky, chilling for an hour saves you time and nerves during portioning.
2) Parchment is your friend. I tried silicone liners and unlined sheets; parchment produced the cleanest bottoms and the most even browning.
3) Watch the timing at the end of the bake. Nine minutes gives a tender center; ten can push them toward a firmer bite. Pull one tray out at nine and check—if edges are barely set, that tray is done.
4) Press the chocolate in immediately after removing the tray from the oven. Waiting too long means the Kiss won’t sink and the top will remain smooth rather than showing the cracked, rustic look we want.
Save for Later: Storage Tips
These cookies keep well if you handle them correctly.
- Room temperature: Store in an airtight container for up to 3 days. Place a sheet of parchment between layers to prevent sticking.
- Refrigerator: Not necessary and can dry cookies out, but you can refrigerate for up to a week if your kitchen is very warm. Bring back to room temperature before serving for best texture.
- Freezing: Freeze baked cookies in a single layer on a tray until solid, then transfer to a freezer bag or container for up to 3 months. Thaw at room temperature. You can also freeze unbaked dough balls on a tray and then store frozen; bake directly from frozen—add 1–2 minutes to the bake time.
Common Questions
Q: My candies lost their shine. Why?
A: If a Kiss is pushed into a cookie that’s cooled too much it won’t melt and lose that glossy top. Press them in while the cookies are still hot from the oven.
Q: Can I make these nut-free?
A: The peanut butter is central to the cookie’s flavor and texture. For nut-free alternatives, consider commercially available seed butter substitutes, but expect textural differences. I didn’t test those here, so results may vary.
Q: Why did my cookies spread too much?
A: Likely dough was too warm or overworked. Chill the dough, use cool(ish) butter, and measure flour accurately.
Q: Can I halve the recipe?
A: Yes. The method and bake time stay the same; just scale the quantities and use fewer Kisses.
Ready to Cook?
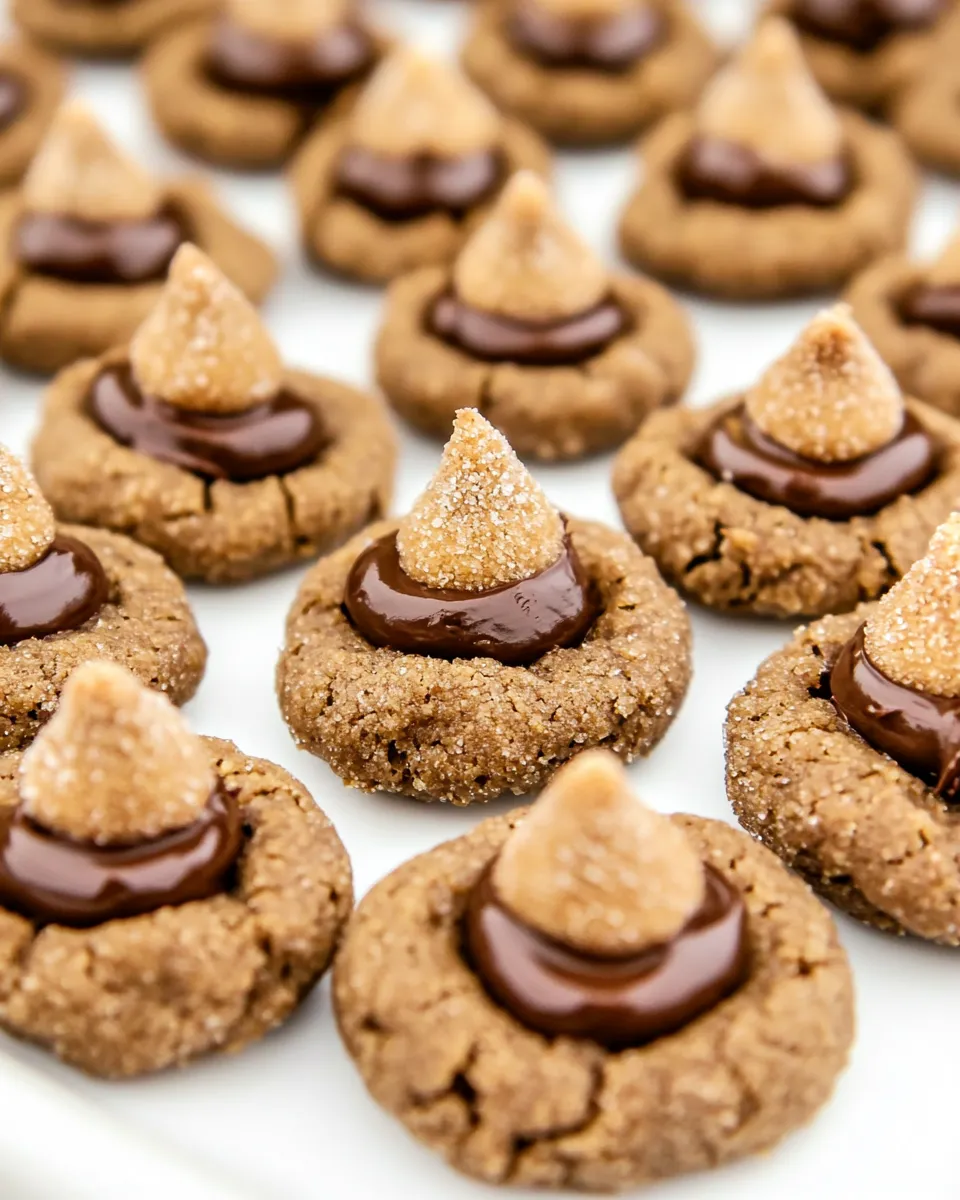
Set the oven to 375°F, line your sheets, and assemble the ingredients on the counter. If you follow the steps above—especially the mix-ins and the brief chill if needed—you’ll get even batches that look like the classic Chocolate Peanut Butter Blossoms: cracked tops, glossy centers, and a soft, peanut-buttery crumb.
Make a batch today. Package some for neighbors and leave a few on a cooling rack for yourself. They travel well and the recipe scales if you need more.
Chocolate Peanut Butter Blossoms
Ingredients
Equipment
Method
- Preheat the oven to 375°F. Place two oven racks in the upper‑middle and lower‑middle positions. Line 3 baking sheets with parchment paper and set aside.
- In the bowl of a stand mixer fitted with the paddle attachment, add ½ cup granulated sugar (100 g) and ⅓ cup light brown sugar (71 g). Beat 15 seconds on low speed to combine.
- Add 10 tablespoons unsalted butter (141 g), 10 tablespoons creamy peanut butter (169 g), and 2 teaspoons pure vanilla extract (8 g). Cream on medium speed until the mixture is light, smooth, and fluffy, about 3 minutes.
- Add 1 large egg (50 g) and beat until incorporated, about 30 seconds.
- In a separate large bowl, whisk together 1¼ cups all‑purpose flour (150 g), ¼ cup unsweetened cocoa powder (21 g), ¾ teaspoon baking soda, ½ teaspoon baking powder (2 g), and ¾ teaspoon kosher salt.
- Add the dry ingredients to the mixer and mix on low speed just until incorporated and no dry streaks remain. Do not overmix.
- The dough should be firm enough to roll into balls. If it is too soft or sticky to handle, cover and refrigerate for 1 hour.
- Roll the dough into 1‑inch balls. (Optional: use a 1½‑inch scoop and split each scoop in half to make two 1‑inch balls.) If using, roll each ball in raw or turbinado sugar.
- Place the dough balls on the prepared baking sheets about 2 inches apart.
- Bake at 375°F for 9–10 minutes, or until the cookies are just starting to firm around the edges.
- Remove the baking sheet from the oven and immediately press 1 unwrapped Chocolate Kiss into the center of each cookie; the tops and edges will crack as you press.
- Let the cookies cool on the baking sheet for 2 minutes, then transfer them to a cooling rack to cool completely.
Notes
Use a cookie scoop to make the balls so they are uniformed in size so that they bake evenly.
All of your ingredients should be at room temperature other than the butter, which should be cool but softened.
Let the cookies cool completely before storing.