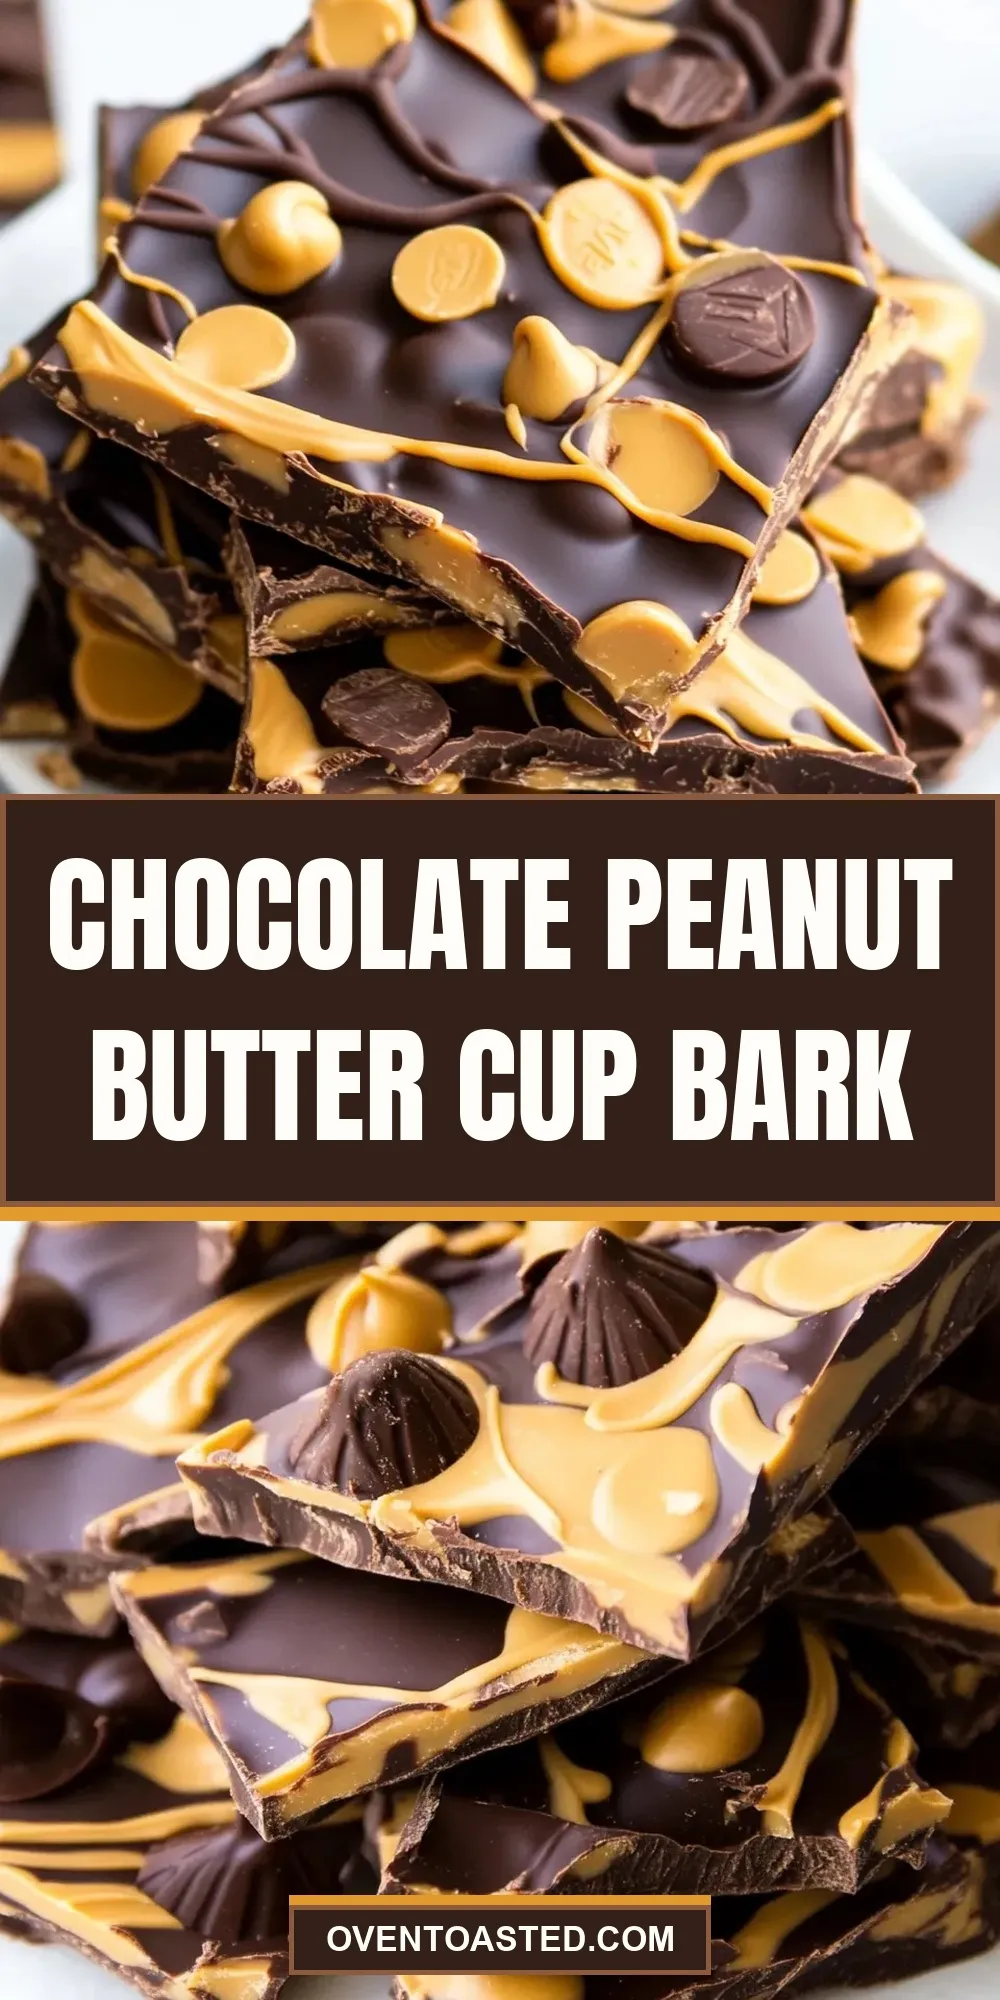
Chocolate Peanut Butter Cup Bark
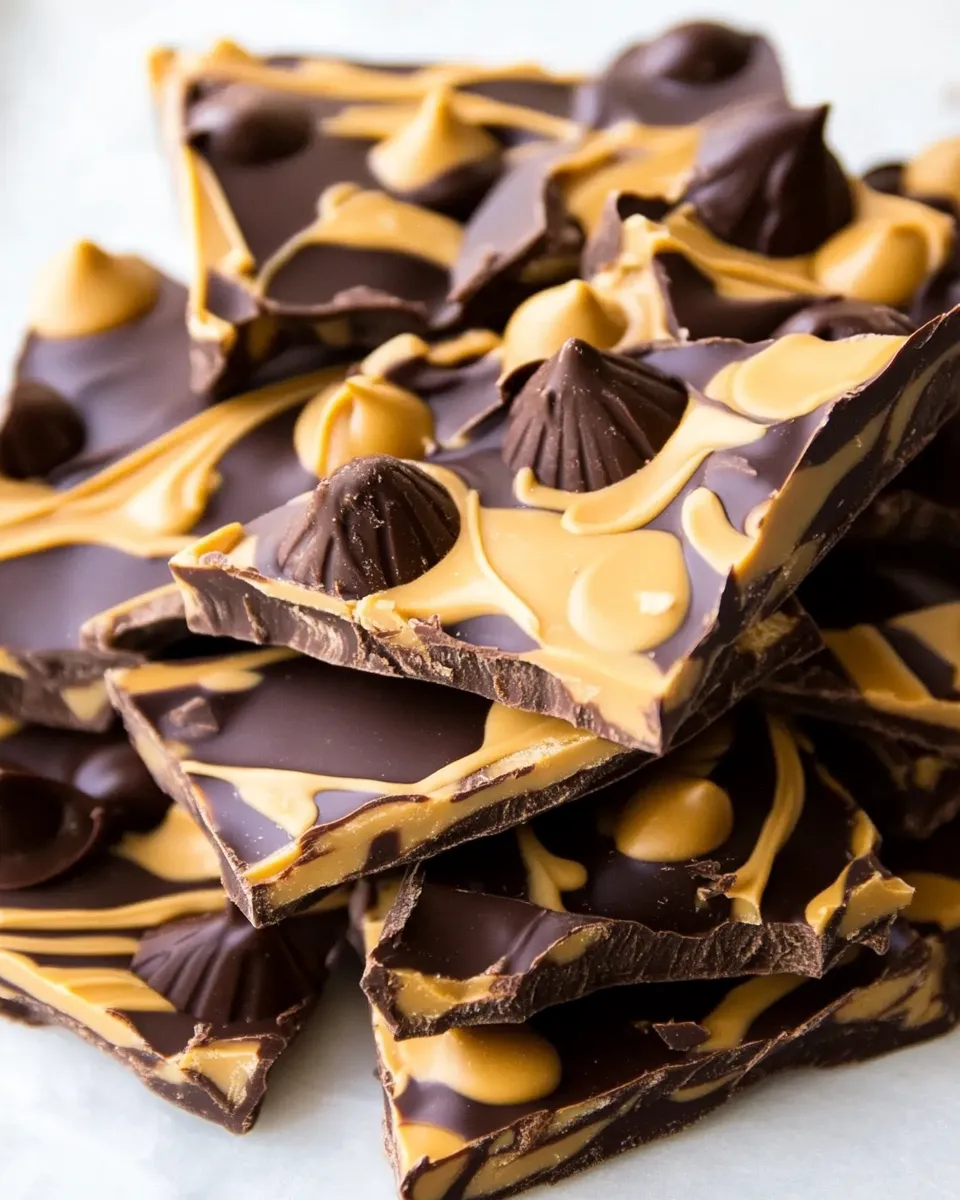
I love recipes that look fancy but come together with almost no fuss — this Chocolate Peanut Butter Cup Bark is one of those. It’s two-layer chocolate with peanut butter ribbons and a scatter of mini peanut butter cups on top. The result is a crowd-pleasing, slice-and-serve candy that feels special without demanding much time or equipment.
This recipe is straightforward and forgiving. You’ll melt good dark chocolate for the base, drizzle peanut butter-flavored chips, swirl, and press mini peanut butter cups into the surface. Let it set and break into pieces. No tempering, no candy thermometer, and the process works in a normal kitchen without exotic tools.
Below I walk you through the ingredients, the exact step-by-step method, useful tool suggestions, common pitfalls to watch for, and practical storage tips so your bark stays crisp and glossy. Read the directions through once, gather the few items you need, and you’ll have a batch ready in an afternoon.
What’s in the Bowl
This section previews the components before you start. You’ll see rich dark chocolate for the base, peanut butter chips that become a silky drizzle, and mini peanut butter cups for texture and obvious peanut-buttery fun. There’s also an optional fat to loosen the drizzle if needed. Measure everything before you begin so the work flows smoothly.
Ingredients
- 8 ounces good quality, dark chocolate (70-80%), very finely chopped — the flavor backbone and base of the bark; finely chopping helps it melt evenly.
- 6 ounces peanut butter chips — melts to a sweet, peanutty drizzle and forms the swirls with the dark chocolate.
- 1 tablespoon unflavored vegetable shortening or coconut oil (optional, as needed) — used only if the peanut butter chips are too thick to drizzle; add sparingly.
- 1 cup mini peanut butter cups (I used Trader Joe’s, but you can also chop up larger peanut butter cups instead) — pressed into the top so every bite has peanut cup pieces; mini cups make distribution easy.
Chocolate Peanut Butter Cup Bark: Step-by-Step Guide
- Line a baking sheet with parchment paper or a silicone baking mat and set aside. Measure out the 8 ounces finely chopped dark chocolate, 6 ounces peanut butter chips, and 1 cup mini peanut butter cups.
- Melt the dark chocolate: place the 8 ounces of finely chopped chocolate in a heatproof bowl. Use one of these methods:
- Double boiler: set the bowl over (not touching) gently simmering water and stir frequently until the chocolate is just melted and smooth. Remove the bowl from the heat and continue stirring off the heat until fully smooth. Avoid letting steam or water contact the chocolate.
- Microwave: microwave on medium power in 15–20 second intervals, stirring well between each interval, until the chocolate is smooth and fully melted. Do not overheat.
- Melt the peanut butter chips: place the 6 ounces of peanut butter chips in a microwave-safe bowl. Microwave on medium power in 20-second intervals, stirring between each interval, until the chips are smooth and “drizzleable.”
- If the melted peanut butter chips are too thick to drizzle, add up to the 1 tablespoon of unflavored vegetable shortening or coconut oil from the ingredient list. Add a small amount at a time and stir until the peanut butter chips reach a drizzleable consistency.
- Pour the melted dark chocolate onto the prepared baking sheet. Use an offset spatula or the back of a spoon to spread it into an even layer to the thickness you want for the finished bark.
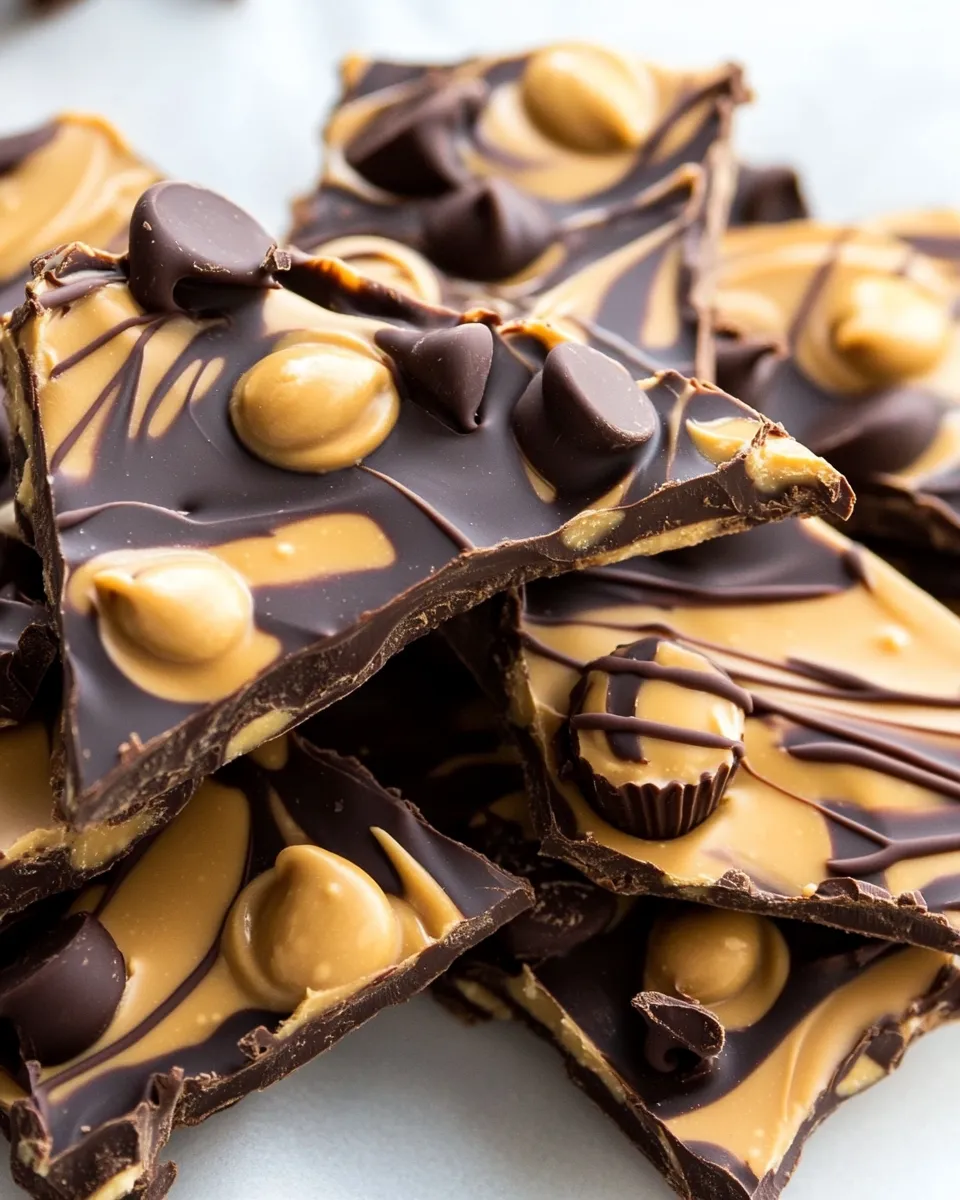
- Drizzle the melted peanut butter chips over the chocolate in lines or blobs. Use a toothpick or skewer to drag through the two layers to create decorative swirls.
- Evenly scatter the 1 cup mini peanut butter cups over the top of the swirled chocolate, pressing each cup gently into the chocolate so it sticks.
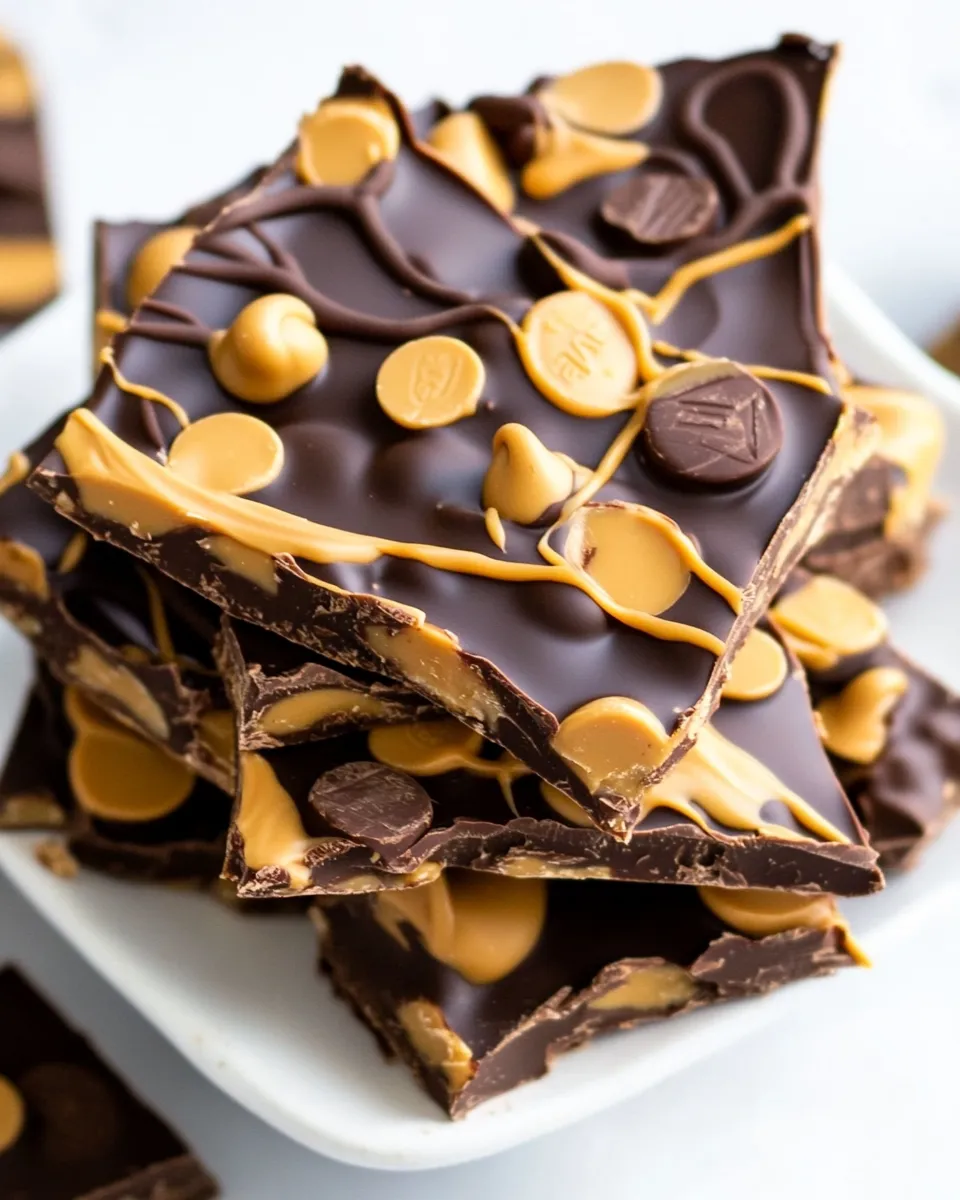
- Let the bark set, uncovered at room temperature, until firm, about 1 to 2 hours. Once set, break or cut into serving-size pieces.
Why This Recipe Is Reliable
The method keeps things simple: melt, spread, swirl, and set. Because you aren’t tempering chocolate for shine and snap, the technique is forgiving — small temperature shifts won’t ruin the final result. The two separate melts let you control texture: dark chocolate for structure and peanut butter chips for decorative flavor.
The directions include an optional binder (shortening or coconut oil) to rescue overly thick drizzles. That small fail-safe keeps the risk of clumping low and makes the peanut butter chips easy to manipulate. Measuring everything ahead also removes last-minute hesitation and keeps the process moving smoothly.
Easy Ingredient Swaps
Keep swaps conservative so the recipe’s balance stays intact. The ingredient list already mentions the core alternatives:
- Mini peanut butter cups — if you don’t have minis, chop up larger peanut butter cups and scatter them across the bark as suggested in the ingredient note.
- 1 tablespoon unflavored vegetable shortening or coconut oil — use whichever you prefer if the peanut butter chips are too thick; the choice is about texture, not flavor.
- Dark chocolate (70–80%) — this recipe relies on the intensity of dark chocolate to balance the sweet peanut butter chips; the provided percentage guides that balance.
Essential Tools for Success
There aren’t many moving parts here, but the right tools make a difference:
- Heatproof bowl for melting chocolate (glass or metal).
- Sturdy spatula or offset spatula to spread the chocolate evenly.
- Toothpick or skewer for dragging and making swirls in the top layer.
- Microwave-safe bowl for the peanut butter chips if you use the microwave method.
- Baking sheet lined with parchment paper or a silicone mat so the bark releases cleanly.
Easy-to-Miss Gotchas
Several small things can derail an otherwise perfect batch. Watch for these points:
- Keep water away from chocolate when using the double boiler. Even a little steam or a stray drop will seize the chocolate, making it grainy.
- Don’t overheat in the microwave. Short bursts and frequent stirring are safer; chocolate holds heat and can burn quickly.
- If your peanut butter chips seem clumpy after melting, give them a few extra stir cycles before adding any shortening. Sometimes gentle stirring clears them right up.
- Press the mini peanut butter cups gently into the surface. Pressing too hard can push through the chocolate base; too light and they won’t stick when the bark sets.
- Let the bark set undisturbed. Moving the sheet before it’s firm will cause shifting and uneven surfaces.
Seasonal Twists
This bark is inherently festive because of the peanut butter cups. If you’re serving for a gathering, plan how it will be presented rather than altering ingredients. For example, arrange the final pieces on plates or in paper cones for easy handout. The base recipe shines on its own and pairs well with seasonal plating — think favorite wrapping or labels in winter or bright trays for summer parties.
Behind the Recipe
Chocolate bark is a classic because it lets you combine bold flavors with minimal technique. This version leans into the classic chocolate-and-peanut-butter pairing, but it keeps the structure simple: a solid chocolate foundation and a softer peanut butter layer. The mini peanut butter cups add nostalgia and texture; they also make the bark feel like a candy bar in bite-sized chunks.
I favor good-quality dark chocolate here because it offsets the sweetness of the peanut butter chips. Finely chopping the dark chocolate before melting speeds the process and helps achieve a smooth melt without overheating any piece.
Cooling, Storing & Rewarming
Cool the bark uncovered at room temperature until it sets, about 1 to 2 hours. Avoid refrigerating immediately; cold air can introduce condensation that dulls the finish. Once set, transfer to an airtight container and store in a cool, dry place.
If your kitchen is warm and you need to chill the bark, place it in the refrigerator briefly until firm, then store it in an airtight container at cooler room temperature or in the fridge. When refrigerated, allow pieces to come to room temperature for 10–20 minutes before serving so flavors open up and the texture softens slightly.
Freezing is possible: pack pieces in a single layer separated by parchment, then into a sealed container. Thaw in the refrigerator or at room temperature before serving. Avoid multiple freeze-thaw cycles as they can affect texture.
Quick Questions
Q: Can I temper the chocolate for extra snap? A: You can, but the recipe is built to be simple; tempering isn’t necessary. If you do temper, expect a glossier, firmer finish, but the process adds time and care.
Q: How long will the bark keep? A: Stored in an airtight container in a cool, dry place, it will stay good for up to 2 weeks. In the refrigerator, it keeps a bit longer but can pick up moisture if not sealed well.
Q: My peanut butter chips aren’t melting smoothly. What now? A: Stir more between 20-second microwave intervals. If they remain too thick, add tiny amounts of the optional shortening or coconut oil, up to the 1 tablespoon noted, stirring until drizzleable.
Final Thoughts
This Chocolate Peanut Butter Cup Bark is a reliable, low-fuss treat that delivers big on flavor. It’s ideal for gift boxes, potlucks, or an easy weekend project. The recipe’s small ingredient list and short set of steps keep the focus on technique — careful melting, deliberate spreading, and smart timing. Follow the steps, watch for the easy-to-miss points, and you’ll end up with glossy chocolate, charming swirls, and satisfying bites that always get passed around.
Make sure to measure and prep before you begin, work with a steady hand when swirling, and enjoy the best part: breaking the set sheet into uneven, shareable pieces. That imperfect, homemade look is the whole point.
Chocolate Peanut Butter Cup Bark
Ingredients
Equipment
Method
- Line a baking sheet with parchment paper or a silicone baking mat and set aside. Measure out the 8 ounces finely chopped dark chocolate, 6 ounces peanut butter chips, and 1 cup mini peanut butter cups.
- Melt the dark chocolate: place the 8 ounces of finely chopped chocolate in a heatproof bowl. Use one of these methods: - Double boiler: set the bowl over (not touching) gently simmering water and stir frequently until the chocolate is just melted and smooth. Remove the bowl from the heat and continue stirring off the heat until fully smooth. Avoid letting steam or water contact the chocolate. - Microwave: microwave on medium power in 15–20 second intervals, stirring well between each interval, until the chocolate is smooth and fully melted. Do not overheat.
- Melt the peanut butter chips: place the 6 ounces of peanut butter chips in a microwave-safe bowl. Microwave on medium power in 20-second intervals, stirring between each interval, until the chips are smooth and “drizzleable.”
- If the melted peanut butter chips are too thick to drizzle, add up to the 1 tablespoon of unflavored vegetable shortening or coconut oil from the ingredient list. Add a small amount at a time and stir until the peanut butter chips reach a drizzleable consistency.
- Pour the melted dark chocolate onto the prepared baking sheet. Use an offset spatula or the back of a spoon to spread it into an even layer to the thickness you want for the finished bark.
- Drizzle the melted peanut butter chips over the chocolate in lines or blobs. Use a toothpick or skewer to drag through the two layers to create decorative swirls.
- Evenly scatter the 1 cup mini peanut butter cups over the top of the swirled chocolate, pressing each cup gently into the chocolate so it sticks.
- Let the bark set, uncovered at room temperature, until firm, about 1 to 2 hours. Once set, break or cut into serving-size pieces.