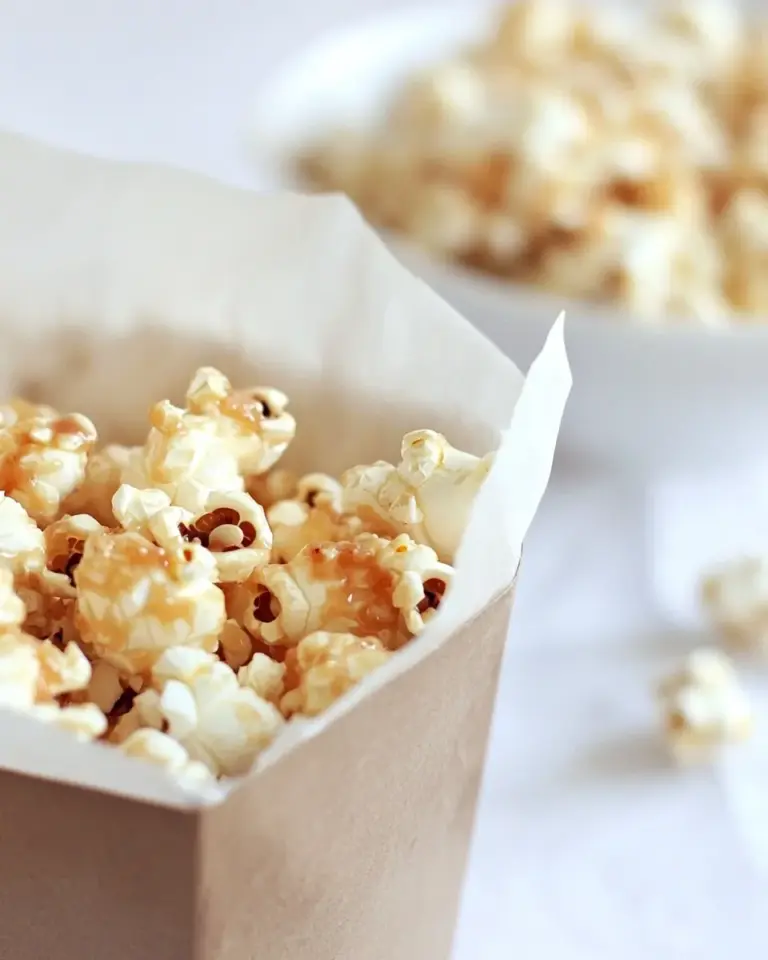
Chocolate Popcorn
This chocolate popcorn recipe is one of those late-afternoon rescues: fast, forgiving, and reliably addictive. It’s popcorn dressed in a simple chocolate-butter-corn-syrup glaze that sets crisp without turning the kernels rock-hard. No tempering chocolate, no double boilers — just a microwave, a bowl, and twenty minutes of hands-on time plus cooling.
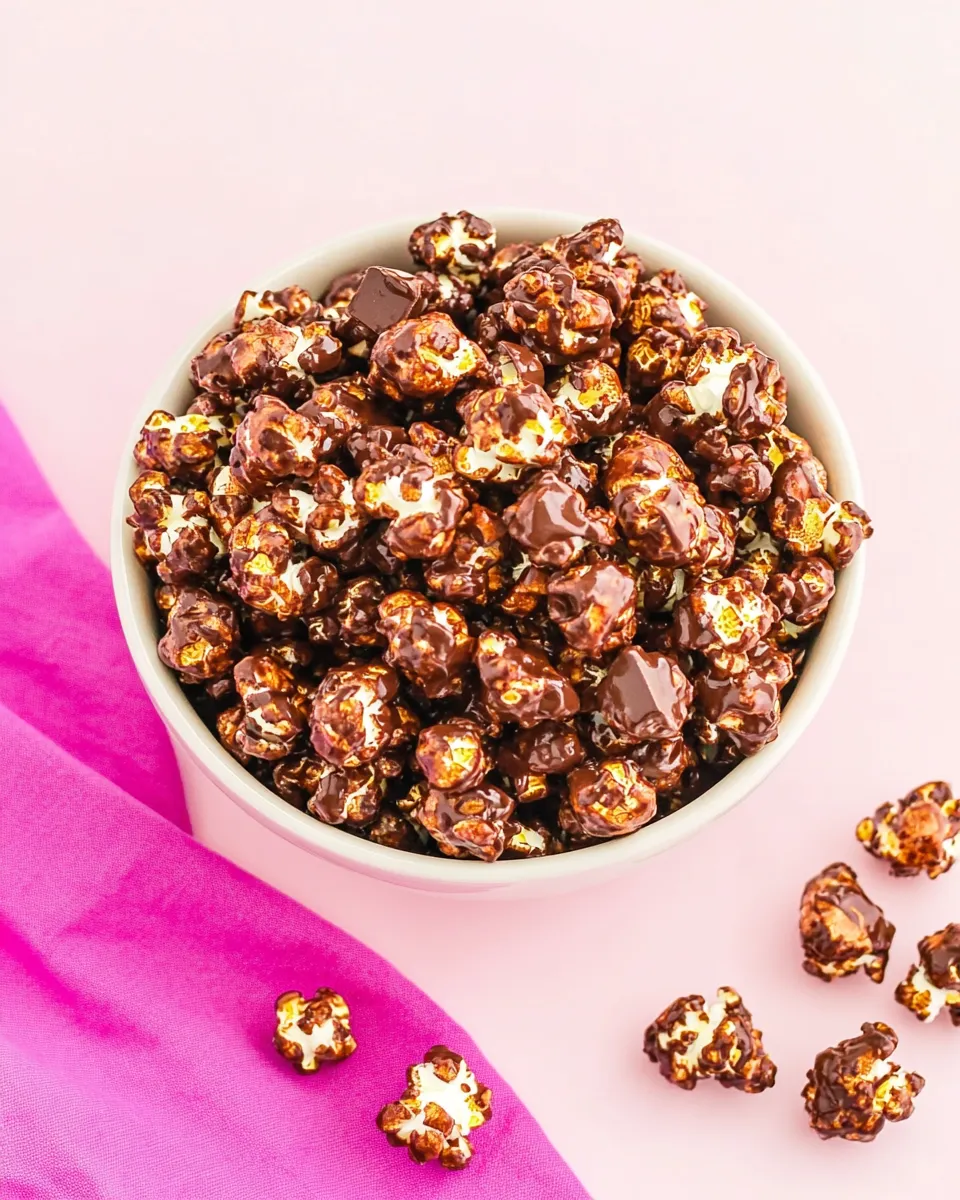
I test snacks the way other people test coffee — repeatedly and with full attention. This version keeps the ratios tight so the coating binds to the popcorn, gives a deep chocolate flavor from cocoa powder, and finishes with a shake of salt if you like contrast. The result is snackable, giftable, and great for movie nights or small gatherings.
Read through the method once, gather the few tools, and you’ll have a batch that stays crisp for days if stored properly. Below I list ingredients straight from the recipe, step-by-step directions unmodified, practical tips from the test kitchen, troubleshooting, and sensible storage advice.
What Goes In
Everything you need is pantry-friendly and measured so the coating sets correctly. The sweetness, fat, and corn syrup work together to create a glossy chocolate coating that adheres to the popcorn. Cocoa provides chocolate flavor without melting problems you’d get from chopped chocolate in a quick microwave method.
Ingredients
- 190 grams popped popcorn (about 24 cups) — the base; use freshly popped, fully popped kernels for best texture.
- ½ cup brown sugar (107 grams) — sweetener and caramelizing element that helps the coating set and adds depth.
- ½ cup unsalted butter (113 grams), slightly melted (1 stick) — provides fat for a rich mouthfeel and helps the coating spread evenly.
- ¼ cup light corn syrup (78 grams) — prevents crystallization and keeps the coating glossy and bindable.
- ¼ cup unsweetened cocoa powder (21 grams) — concentrated chocolate flavor without extra sugar or tempering.
- 1 teaspoon pure vanilla extract (4 grams) — brightens and rounds the chocolate notes.
- Sea salt — optional, to taste; balances sweetness and lifts flavors when sprinkled sparingly.
Method: Chocolate Popcorn
- Line a baking sheet with parchment paper and set it aside. Place 190 grams popped popcorn (about 24 cups) in an extra-large bowl.
- In a large microwave-safe bowl, combine ½ cup brown sugar (107 g), ½ cup slightly melted unsalted butter (113 g), ¼ cup light corn syrup (78 g), and ¼ cup unsweetened cocoa powder (21 g). Stir until the mixture is evenly combined.
- Microwave the bowl on high for 3 minutes.
- Carefully remove the bowl (it will be hot) and stir. The mixture should be boiling or bubbling. If it is not boiling, return the bowl to the microwave and heat on high in 30-second intervals, stirring after each interval, until the mixture is boiling.
- Stir in 1 teaspoon pure vanilla extract (4 g) and sea salt to taste, if using.
- Immediately pour the hot butter/sugar/cocoa mixture over the popcorn. Use a rubber spatula to gently fold and stir the popcorn until the kernels are evenly coated.
- Spread the coated popcorn in an even layer on the prepared parchment-lined baking sheet.
- Let the popcorn cool at room temperature for 2 hours before serving or packaging.
Why Cooks Rave About It
It hits a handful of reliable snack benchmarks: crisp texture, clear chocolate flavor, and a coating that doesn’t flake off. The brown sugar gives more depth than white sugar; corn syrup ensures the coating remains glossy and doesn’t crystallize into a grainy mess. The method is quick and repeatable — the microwave step reliably brings the sugar mixture to a boil so it can set properly when cooled.
Compared with melted chocolate coatings, this approach avoids tempering and the risk of bloom. Compared with caramel popcorn, this version is less sticky and more instantly chocolatey. It’s also forgiving: slight variations in microwave power are manageable by checking for bubbling and adding short additional heating intervals.
International Equivalents
Every culture has a popcorn-adjacent sweet treat: caramel corn in the U.S., chocolate-dusted popcorn variations, and candied popcorn in many parts of Europe. If you want something similar with regional ingredients, swap the cocoa-style coating for local chocolate-powdered mixes or layer toasted nuts and spices typical to the region. The core idea — a syrupy chocolate binder over popped corn — translates easily with local sweeteners or chocolate powders.
Recommended Tools
- Extra-large mixing bowl — gives you room to fold without crushing the popcorn.
- Large microwave-safe bowl — for heating the butter/sugar/cocoa mixture safely and evenly.
- Rubber spatula — flexible for folding and scraping the hot mixture.
- Baking sheet lined with parchment paper — prevents sticking and makes cooling and packaging simple.
- Measuring cups and spoons (or a kitchen scale) — precise measures help the coating set correctly.
- Oven mitts or thick kitchen towel — for safely removing the hot microwave bowl.
Pitfalls & How to Prevent Them
- Undercooked sugar mixture: If the butter/sugar/cocoa isn’t boiling, the coating won’t set properly. Check after the 3-minute microwave and return in 30-second bursts until bubbling.
- Burned mixture: Sugar burns quickly once it starts boiling. Avoid extended high-power heating beyond bubbling — stir frequently and watch for darkening.
- Soggy popcorn: Using popcorn that’s already slightly stale or steaming-hot can give you soggy results. Use freshly popped but cooled popcorn, and spread the coated batch thinly to allow air circulation while it cools.
- Uneven coating: Pour the hot mixture over only a portion of the popcorn first and fold gently; repeat pouring and folding if necessary to distribute more evenly without crushing kernels.
- Safety hazard: The sugar mixture is very hot. Use oven mitts, keep kids away while pouring, and avoid tasting the coating before it cools.
Substitutions by Diet
If you need to adapt this recipe for dietary preferences, focus on the functional role of each ingredient rather than exact swaps. Butter provides fat; a plant-based stick with similar melt properties can work in vegan versions. Light corn syrup acts as a non-crystallizing liquid sweetener; you’ll want a liquid sweetener with similar viscosity if swapping. Cocoa powder supplies dry chocolate flavor; unsweetened alternatives are the most straightforward swap one-to-one.
Be cautious with direct swaps of the corn syrup. Thinner liquids may not bind the coating the same way, and thicker ones behave differently when microwaved. If you swap a wet ingredient, test with a small batch first and watch the boiling behavior closely.
Notes from the Test Kitchen
1) Popcorn volume matters. The recipe was tuned for roughly 190 g popped popcorn — about 24 cups. If you change the popcorn amount, adjust the coating volume proportionally rather than assuming the same amount will cover a larger batch evenly.
2) Microwave power varies. A 3-minute baseline worked for my test microwave (1,000 W). If yours is weaker or stronger, treat the 3-minute step as a starting point and rely on the visual cue of bubbling. Short 30-second bursts after the initial 3 minutes give you control without overcooking.
3) Cooling time is important. The coating needs two hours at room temperature to set properly. Don’t rush with refrigeration — cold can cause condensation or change the texture. Let it cool uncovered on the baking sheet.
4) Texture checks: The finished popcorn should be a crisp, slightly brittle shell. If it flexes and sticks, the sugar didn’t reach the right boiling stage; consider reheating small batches or discarding and retrying with careful attention to bubbling.
Shelf Life & Storage
Store cooled chocolate popcorn in an airtight container at room temperature. Kept sealed and away from heat or humidity, it will stay crisp for about 5–7 days. If you want to extend shelf life for gifting, use airtight tins and include a small desiccant packet (food-safe) or a slice of apple wrapped in paper towel to help control moisture — check frequently to avoid sogginess.
Do not refrigerate for storage. Cold storage can introduce moisture and cause the coating to soften or the popcorn to become chewy. If you need to transport it, pack gently to avoid crushing the coated pieces.
Common Qs About Chocolate Popcorn
Q: Can I use pre-popped flavored popcorn? A: You can, but flavored popcorn (buttered, salted, or sweetened) changes the final balance. Reduce added salt if the popcorn is already salted; flavored coatings may compete with the chocolate glaze.
Q: What if my coating is grainy? A: Graininess usually means the sugar crystallized. Reheat gently, stir until smooth, and ensure you’re using the corn syrup to reduce crystallization. Brown sugar has molasses which helps, but cleanliness and stirring matter too.
Q: Can I speed up cooling? A: Don’t use refrigeration. You can place the tray in a cool, dry room or near a fan to help air circulate, but allow the full two hours for the sugar glaze to set.
Q: Is the popcorn very sweet? A: It’s sweet, but the cocoa and optional sea salt balance the sweetness. If you prefer less sweet, reduce the brown sugar slightly in future batches, but be aware that changing the sugar amount may affect how well the coating sets.
Next Steps
Make a test batch, taste, and tweak. If you like more intense chocolate, adjust cocoa slightly next time (keeping in mind it is dry and will change the consistency). If you want to add texture, fold in a small handful of toasted nuts or seeds after the initial coating step while it’s still warm — the warmth will help them adhere.
Package leftover popcorn in airtight bags or tins for snacks, movie nights, or small homemade gifts. Label with the date and “best by” in a week. And if you’ve got questions while you’re making it, save this page for reference — the steps above are the exact sequence that produced consistent results in my kitchen.
Chocolate Popcorn
Ingredients
Equipment
Method
- Line a baking sheet with parchment paper and set it aside. Place 190 grams popped popcorn (about 24 cups) in an extra-large bowl.
- In a large microwave-safe bowl, combine ½ cup brown sugar (107 g), ½ cup slightly melted unsalted butter (113 g), ¼ cup light corn syrup (78 g), and ¼ cup unsweetened cocoa powder (21 g). Stir until the mixture is evenly combined.
- Microwave the bowl on high for 3 minutes.
- Carefully remove the bowl (it will be hot) and stir. The mixture should be boiling or bubbling. If it is not boiling, return the bowl to the microwave and heat on high in 30-second intervals, stirring after each interval, until the mixture is boiling.
- Stir in 1 teaspoon pure vanilla extract (4 g) and sea salt to taste, if using.
- Immediately pour the hot butter/sugar/cocoa mixture over the popcorn. Use a rubber spatula to gently fold and stir the popcorn until the kernels are evenly coated.
- Spread the coated popcorn in an even layer on the prepared parchment-lined baking sheet.
- Let the popcorn cool at room temperature for 2 hours before serving or packaging.
Notes
The mixture should be boiling when you take it out of the microwave, if it’s not, continue to heat it.
Let cool fully, about 2 hours, before storing.